Use this repository to git (get) started with data engineering tasks using Azure Data Diabetes datasetFactory and Azure Databricks
git clone https://github.com/commonacumen/gitstartedwithdataengineering.git
The datasets are from Diabetes dataset on Microsoft.com orginally from Original dataset description and Orginal data file and a ageband dataset created by me.
These datasets have been included in the data folder in this GitHub Repo Datasets Here
Step 2 Create an Azure Data Factory pipeline from local template to copy and transform datasets using ADF
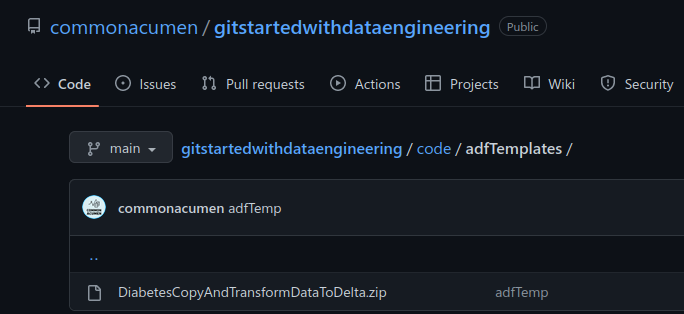
Download ADF Template zip or find it in your cloned GitHub Repo.
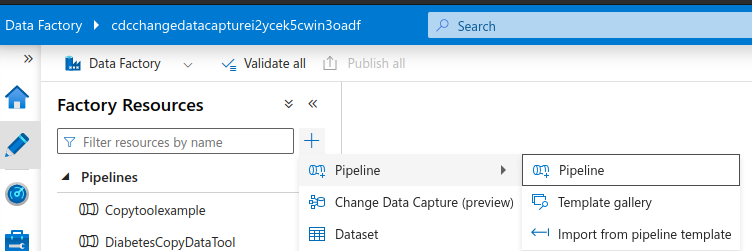
Open up the ADF deployed by the ARM template. Select Pipeline > Import from pipeline template
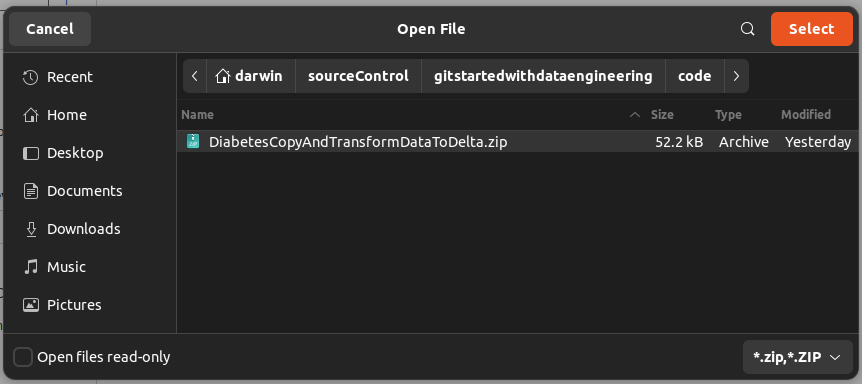
Click on the zip file and click Open
It should look like this
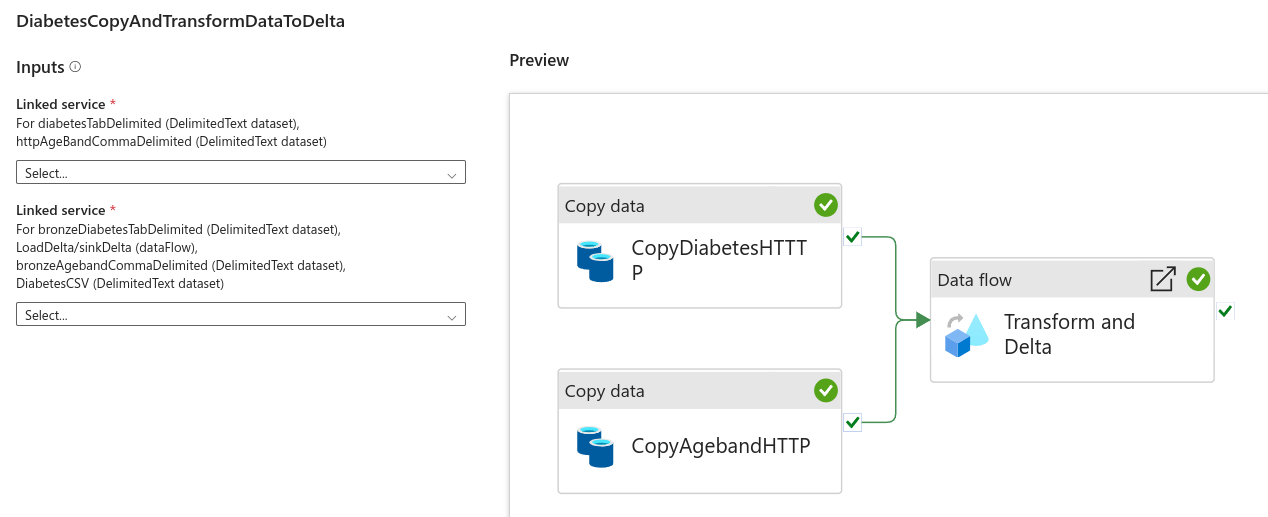
Select +New in the first User input and create an HTTP Linked Service.
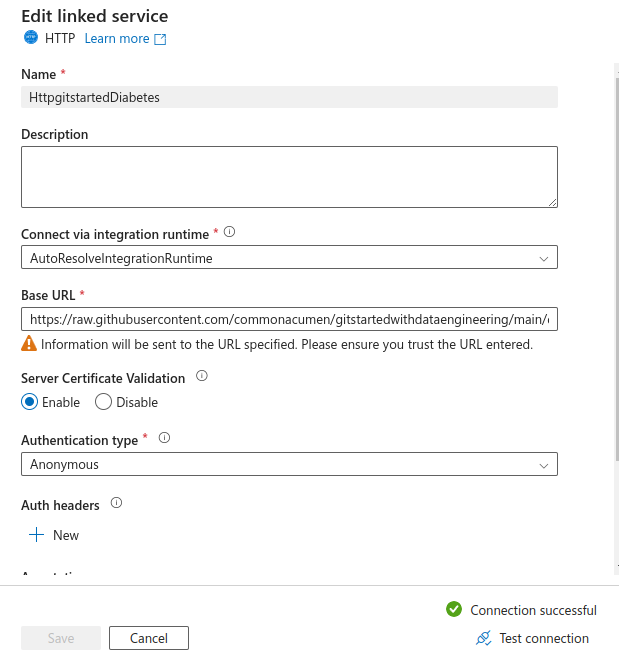
Make sure the url is using raw
https://raw.githubusercontent.com/commonacumen/gitstartedwithdataengineering/main/data/
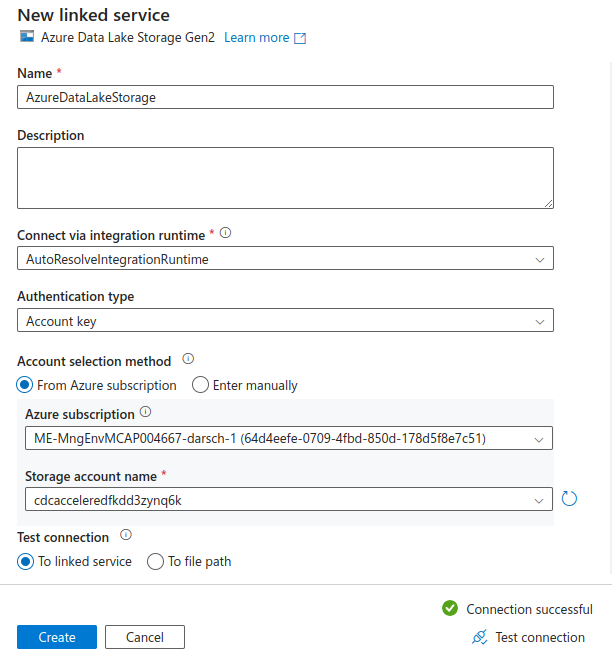
Select +New in the second User input and create an Azure Data Lake Storage Gen2 Linked Service
Then click on Use this template
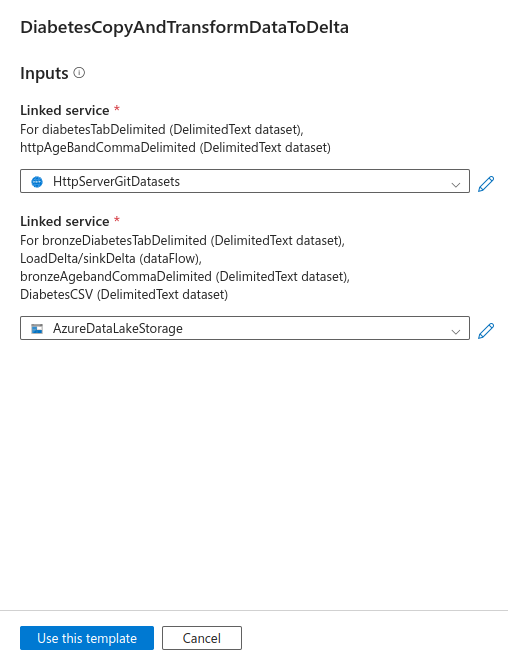
It should look like this when it is imported
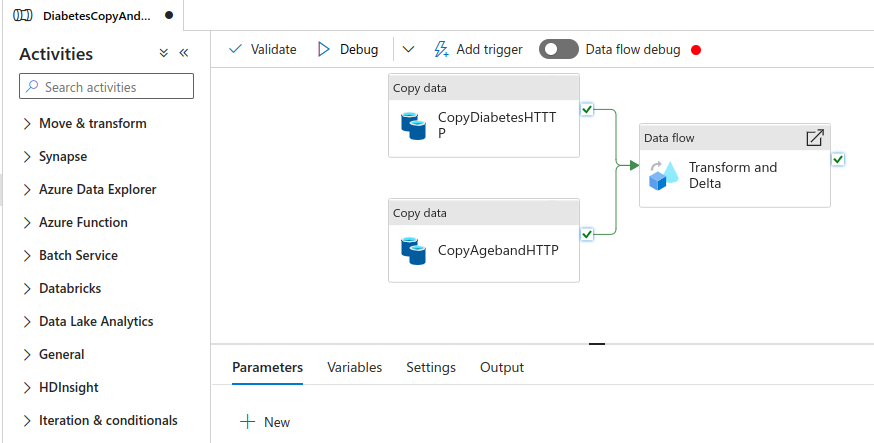
Click on Debug, and Click OK
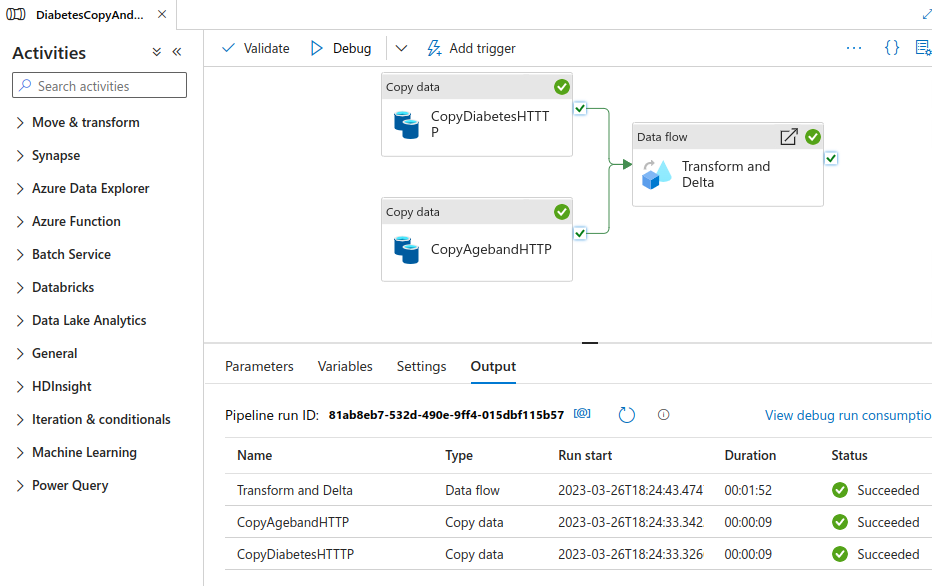
Once the pipeline runs successfully it should look like this
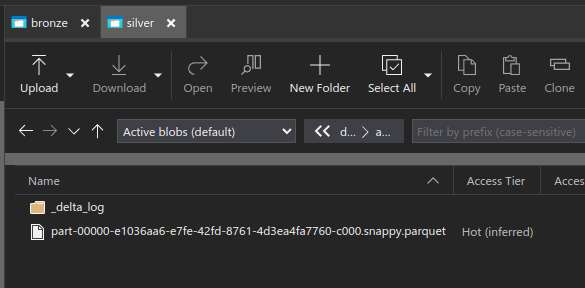
Check that the files have been created in Storage using Azure Storage Explorer or the Azure Portal in the browser. The files should be in silver container at a path like diabetes/adfdelta/
You can now save the pipeline by clicking on Publish all
-
Databricks Runtime 8.3 or above when you create your cluster
-
Setup Permissions to ADLS Gen2
-
Secrets in Key vault
Steps
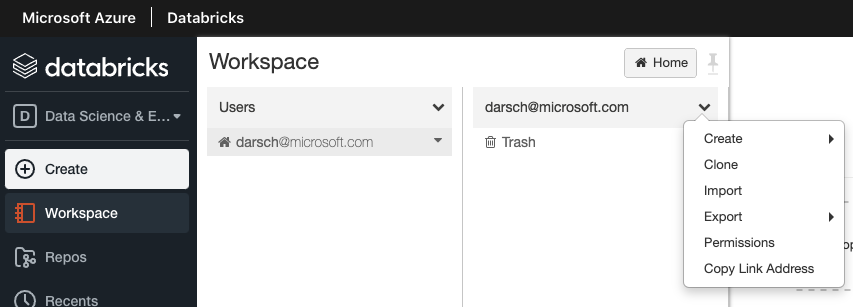
Open up you Databricks workspace and navigate to your user, select the dropdown and select import
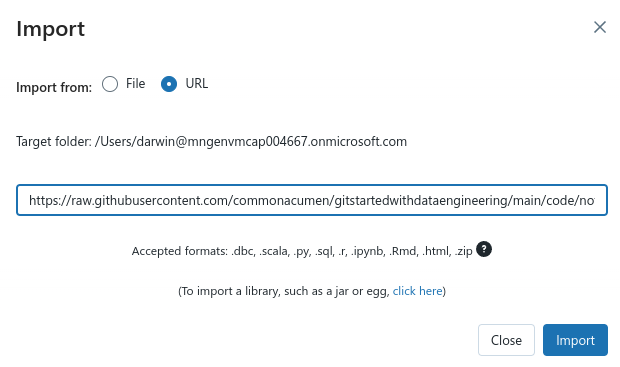
Import from file if you cloned the repo locally or enter the URL https://raw.githubusercontent.com/commonacumen/gitstartedwithdataengineering/main/code/notebooks/ConnectToDeltaOnADLS.ipynb to the Notebook in GitHub Repo ConnectToDeltaOnADLS.ipynb and click Import
You should now have a notebook that looks like this:
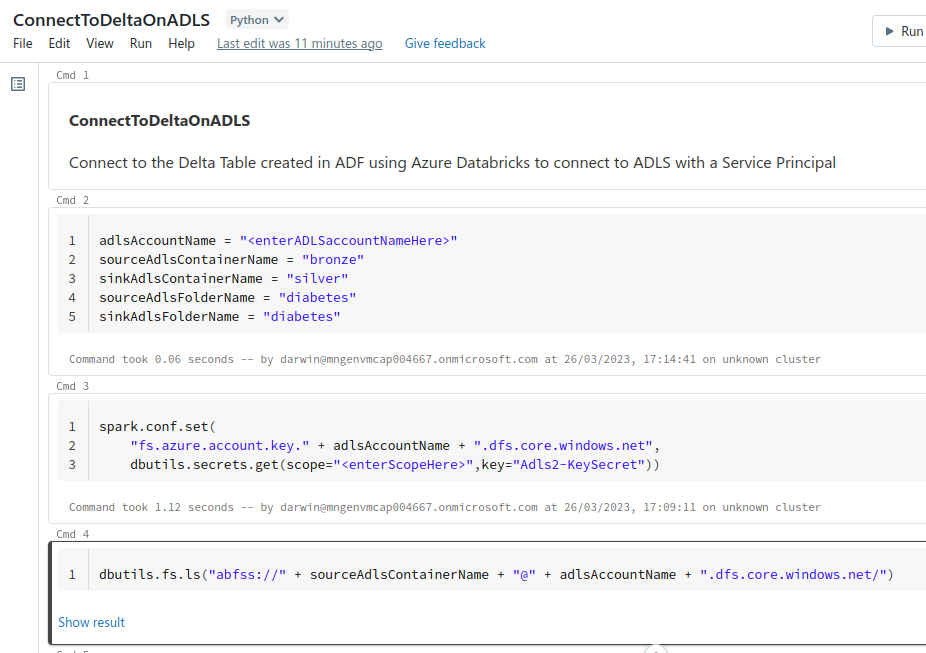
Change the value of the adlsAccountName = "" in cell one to the ADLS AccountName of in your deployment
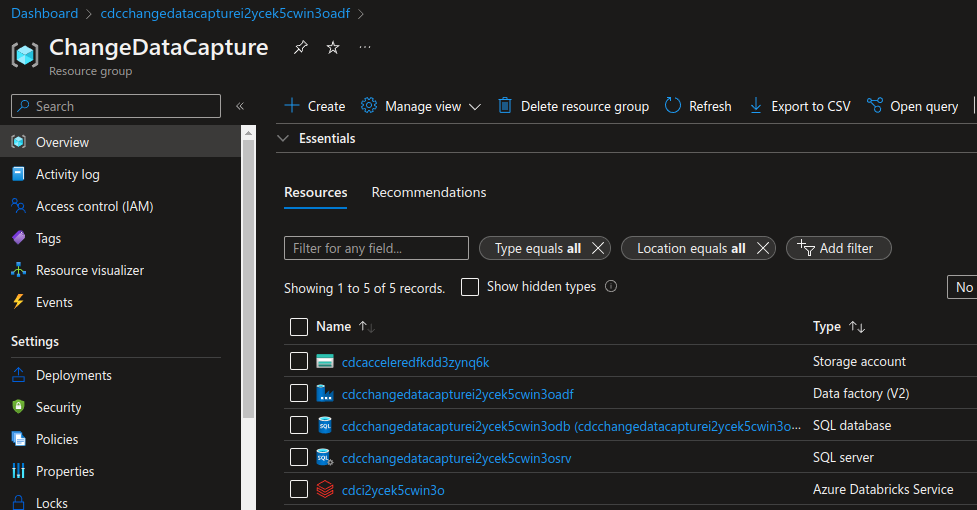
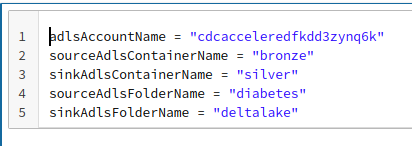
In my chase my deployment has a Storage account name of cdcacceleredfkdd3zynq6k so the first row of the cell would read:
adlsAccountName = "cdcacceleredfkdd3zynq6k"
Create a Service principal Reference
Create an Azure Active Directory app and service principal in the form of client ID and client secret.
-
Sign in to your Azure Account through the Azure portal.
-
Select Azure Active Directory.
-
Select App registrations.
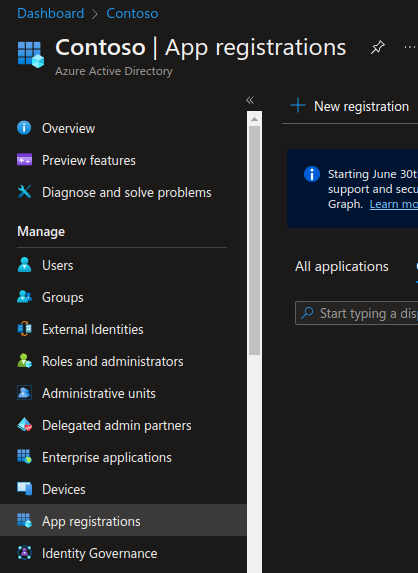
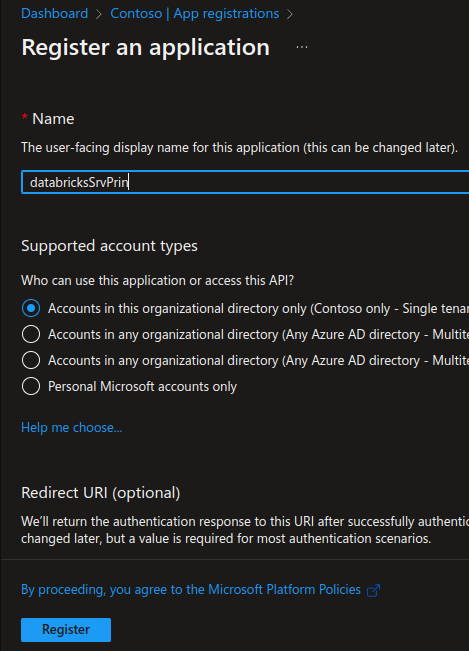
- Select New registration.
Name the application something like databricksSrvPrin. Select a supported account type, which determines who can use the application. After setting the values, select Register.
Note that it is a good idea to name the application with something unique to you like your email alias (darsch in my case) because other might use similar names like databricksSrvPrin.
-
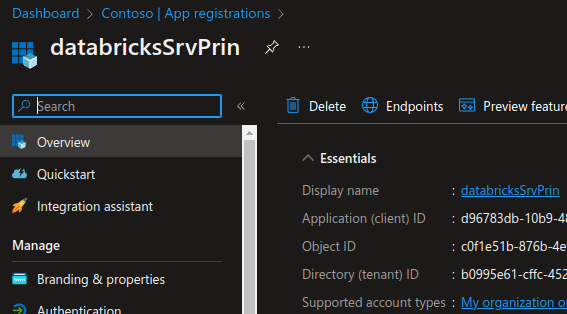
Copy the Directory (tenant) ID and store it to use to create an application secret.
-
Copy the Application (client) ID and store it to use to create an application secret.
Assign Role Permissions
-
At storage account level assign this app service pricipal the following role to the storage account in which the input path resides:
Storage Blob Data Contributorto access storage

Create a new application secret
-
Select Azure Active Directory.
-
From App registrations in Azure AD, select your application.
-
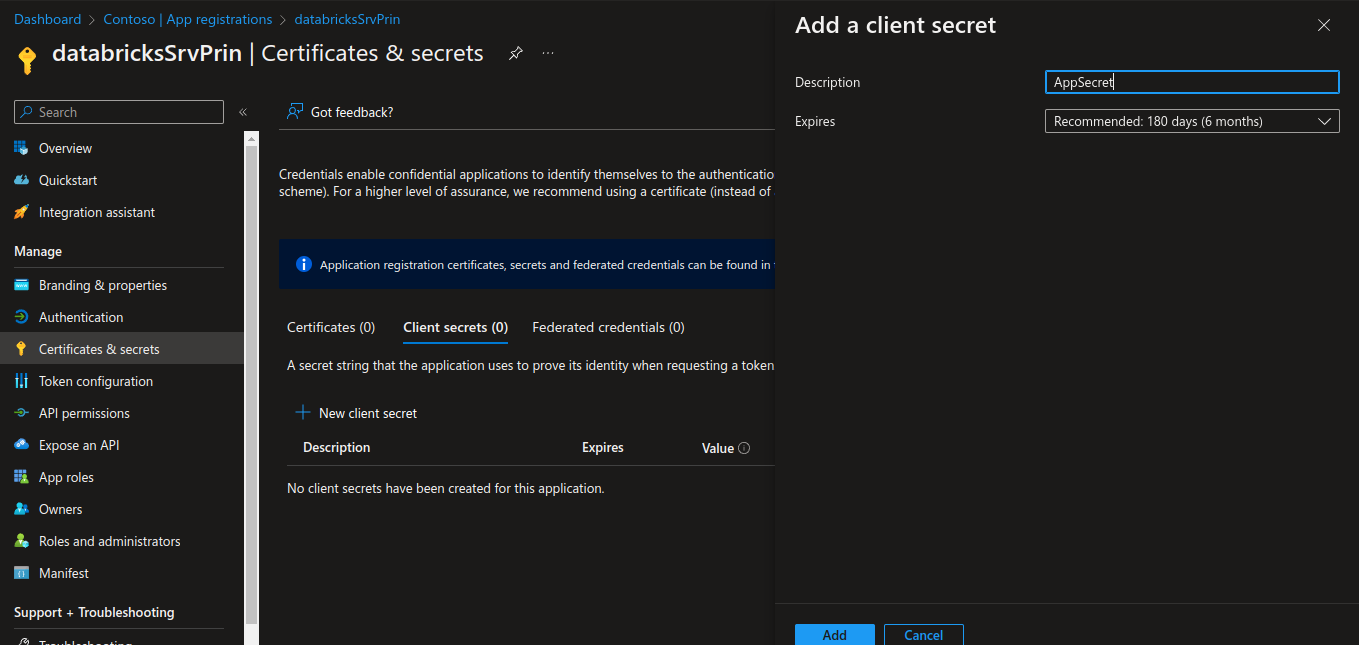
Select Certificates & secrets.
-
Select Client secrets -> New client secret.
-
Provide a description
AppSecretof the secret, and a duration. When done, select Add.
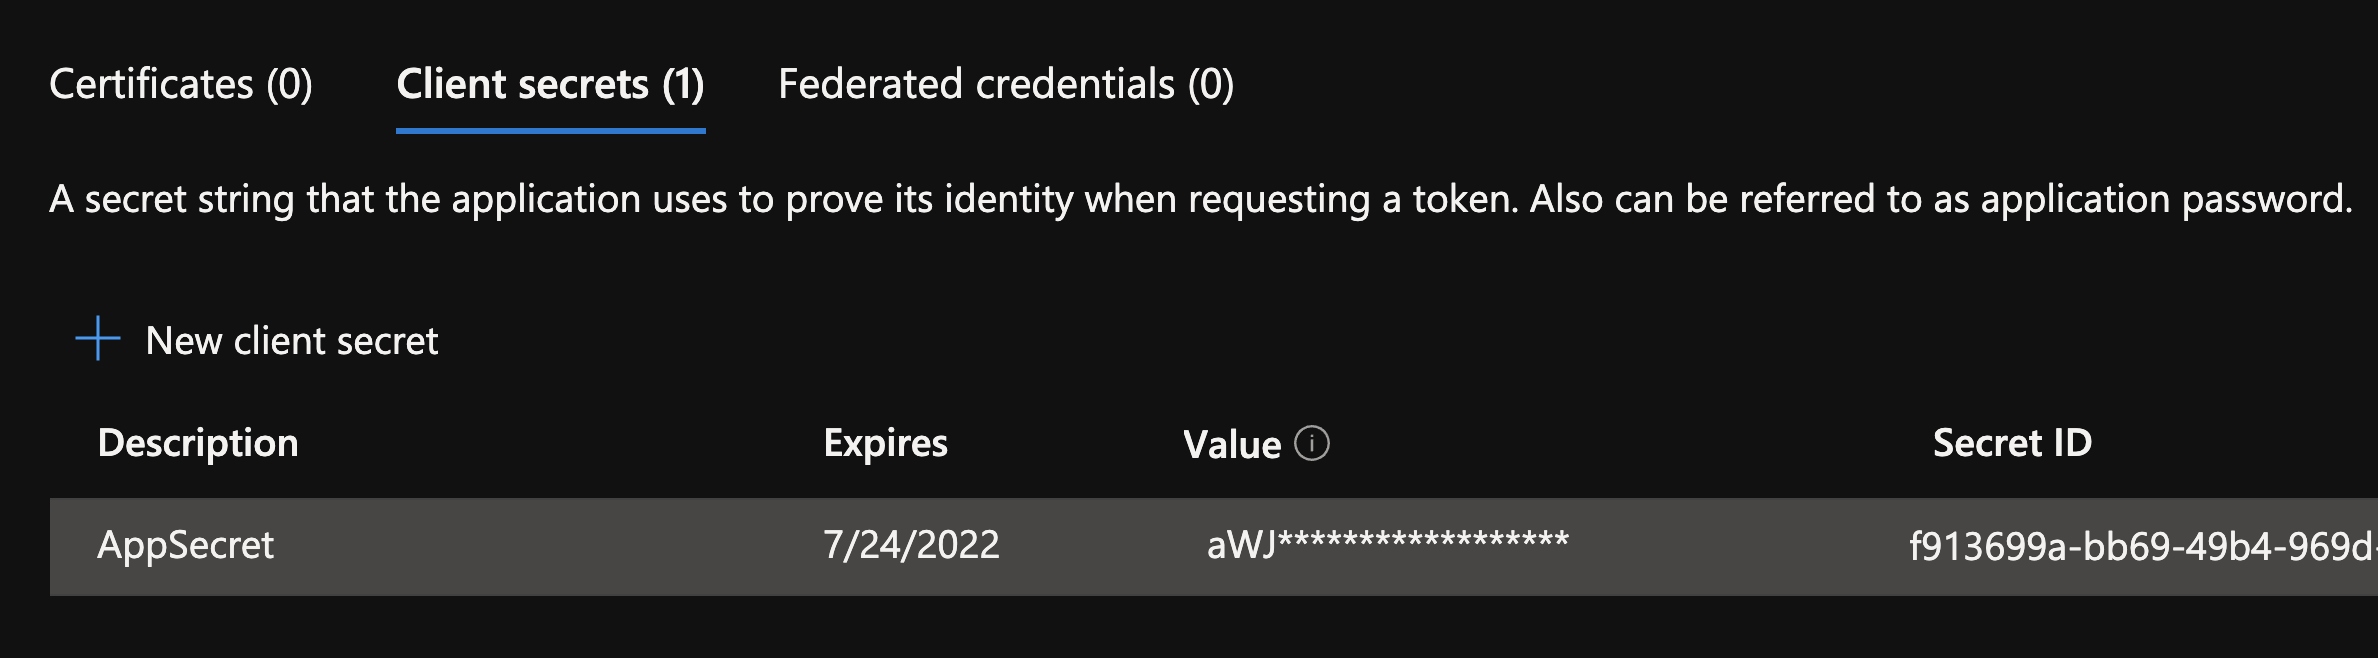
After saving the client secret, the value of the client secret is displayed. Copy this value because you won't be able to retrieve the key later. You will provide the key value with the application ID to sign in as the application. Store the key value where your application can retrieve it.
Create a Key Vault in the Resource group by clicking Create
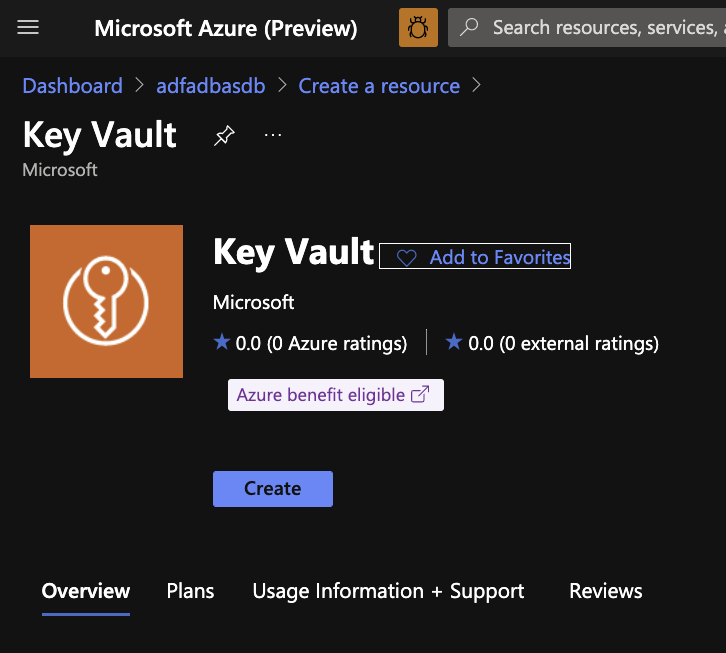
Search for Key vault
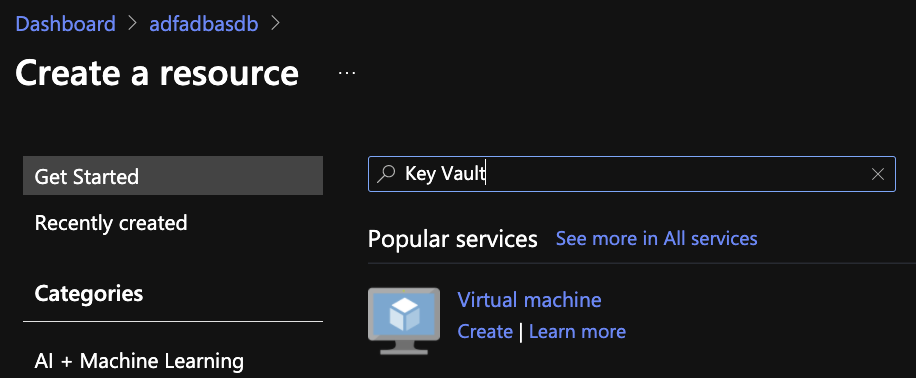
Click Create
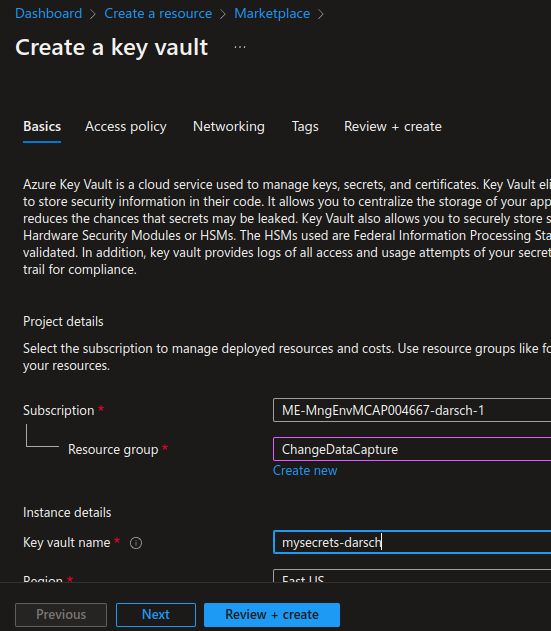
Create the Key Vault in the same Resource group and Region as you other resource deployed. Click Review and Create and then click Create
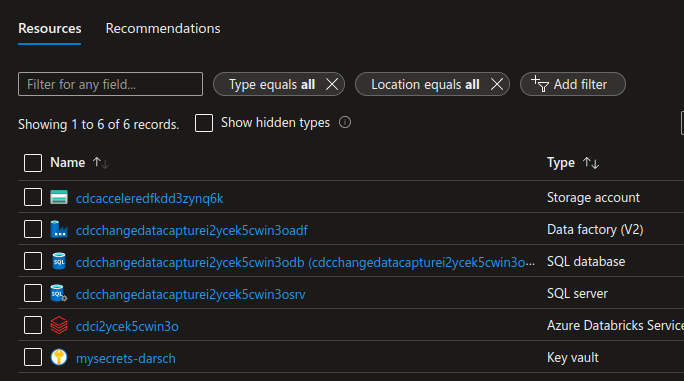
You should now have a Key vault in your resources
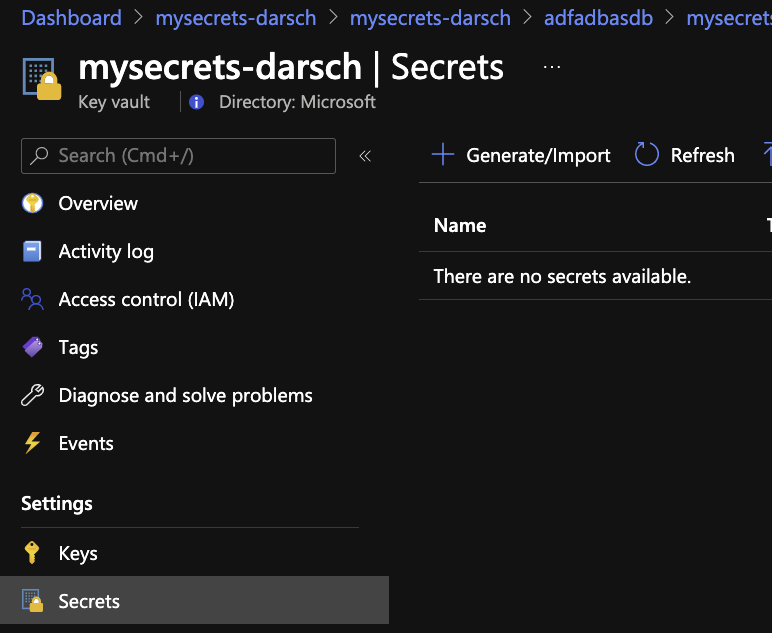
Open up you Key vault and add the appsecret created above
Choose Secrets and click Generate/Import
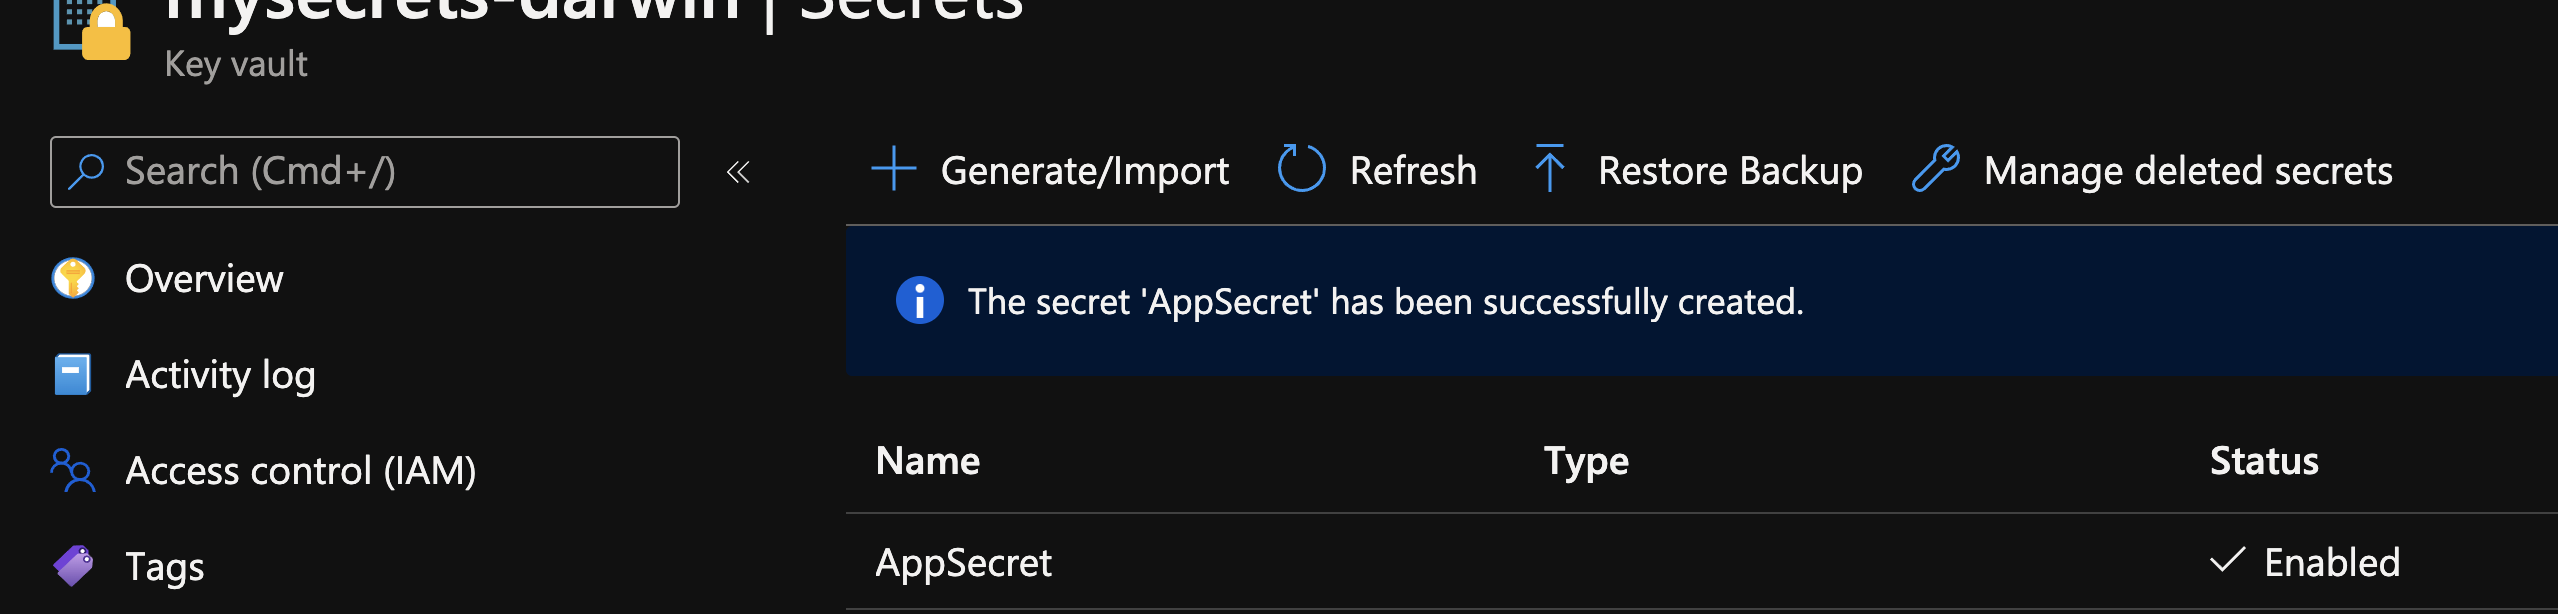
Enter you secret Name and paste in the app secret you created earlier, set activation date and click Create
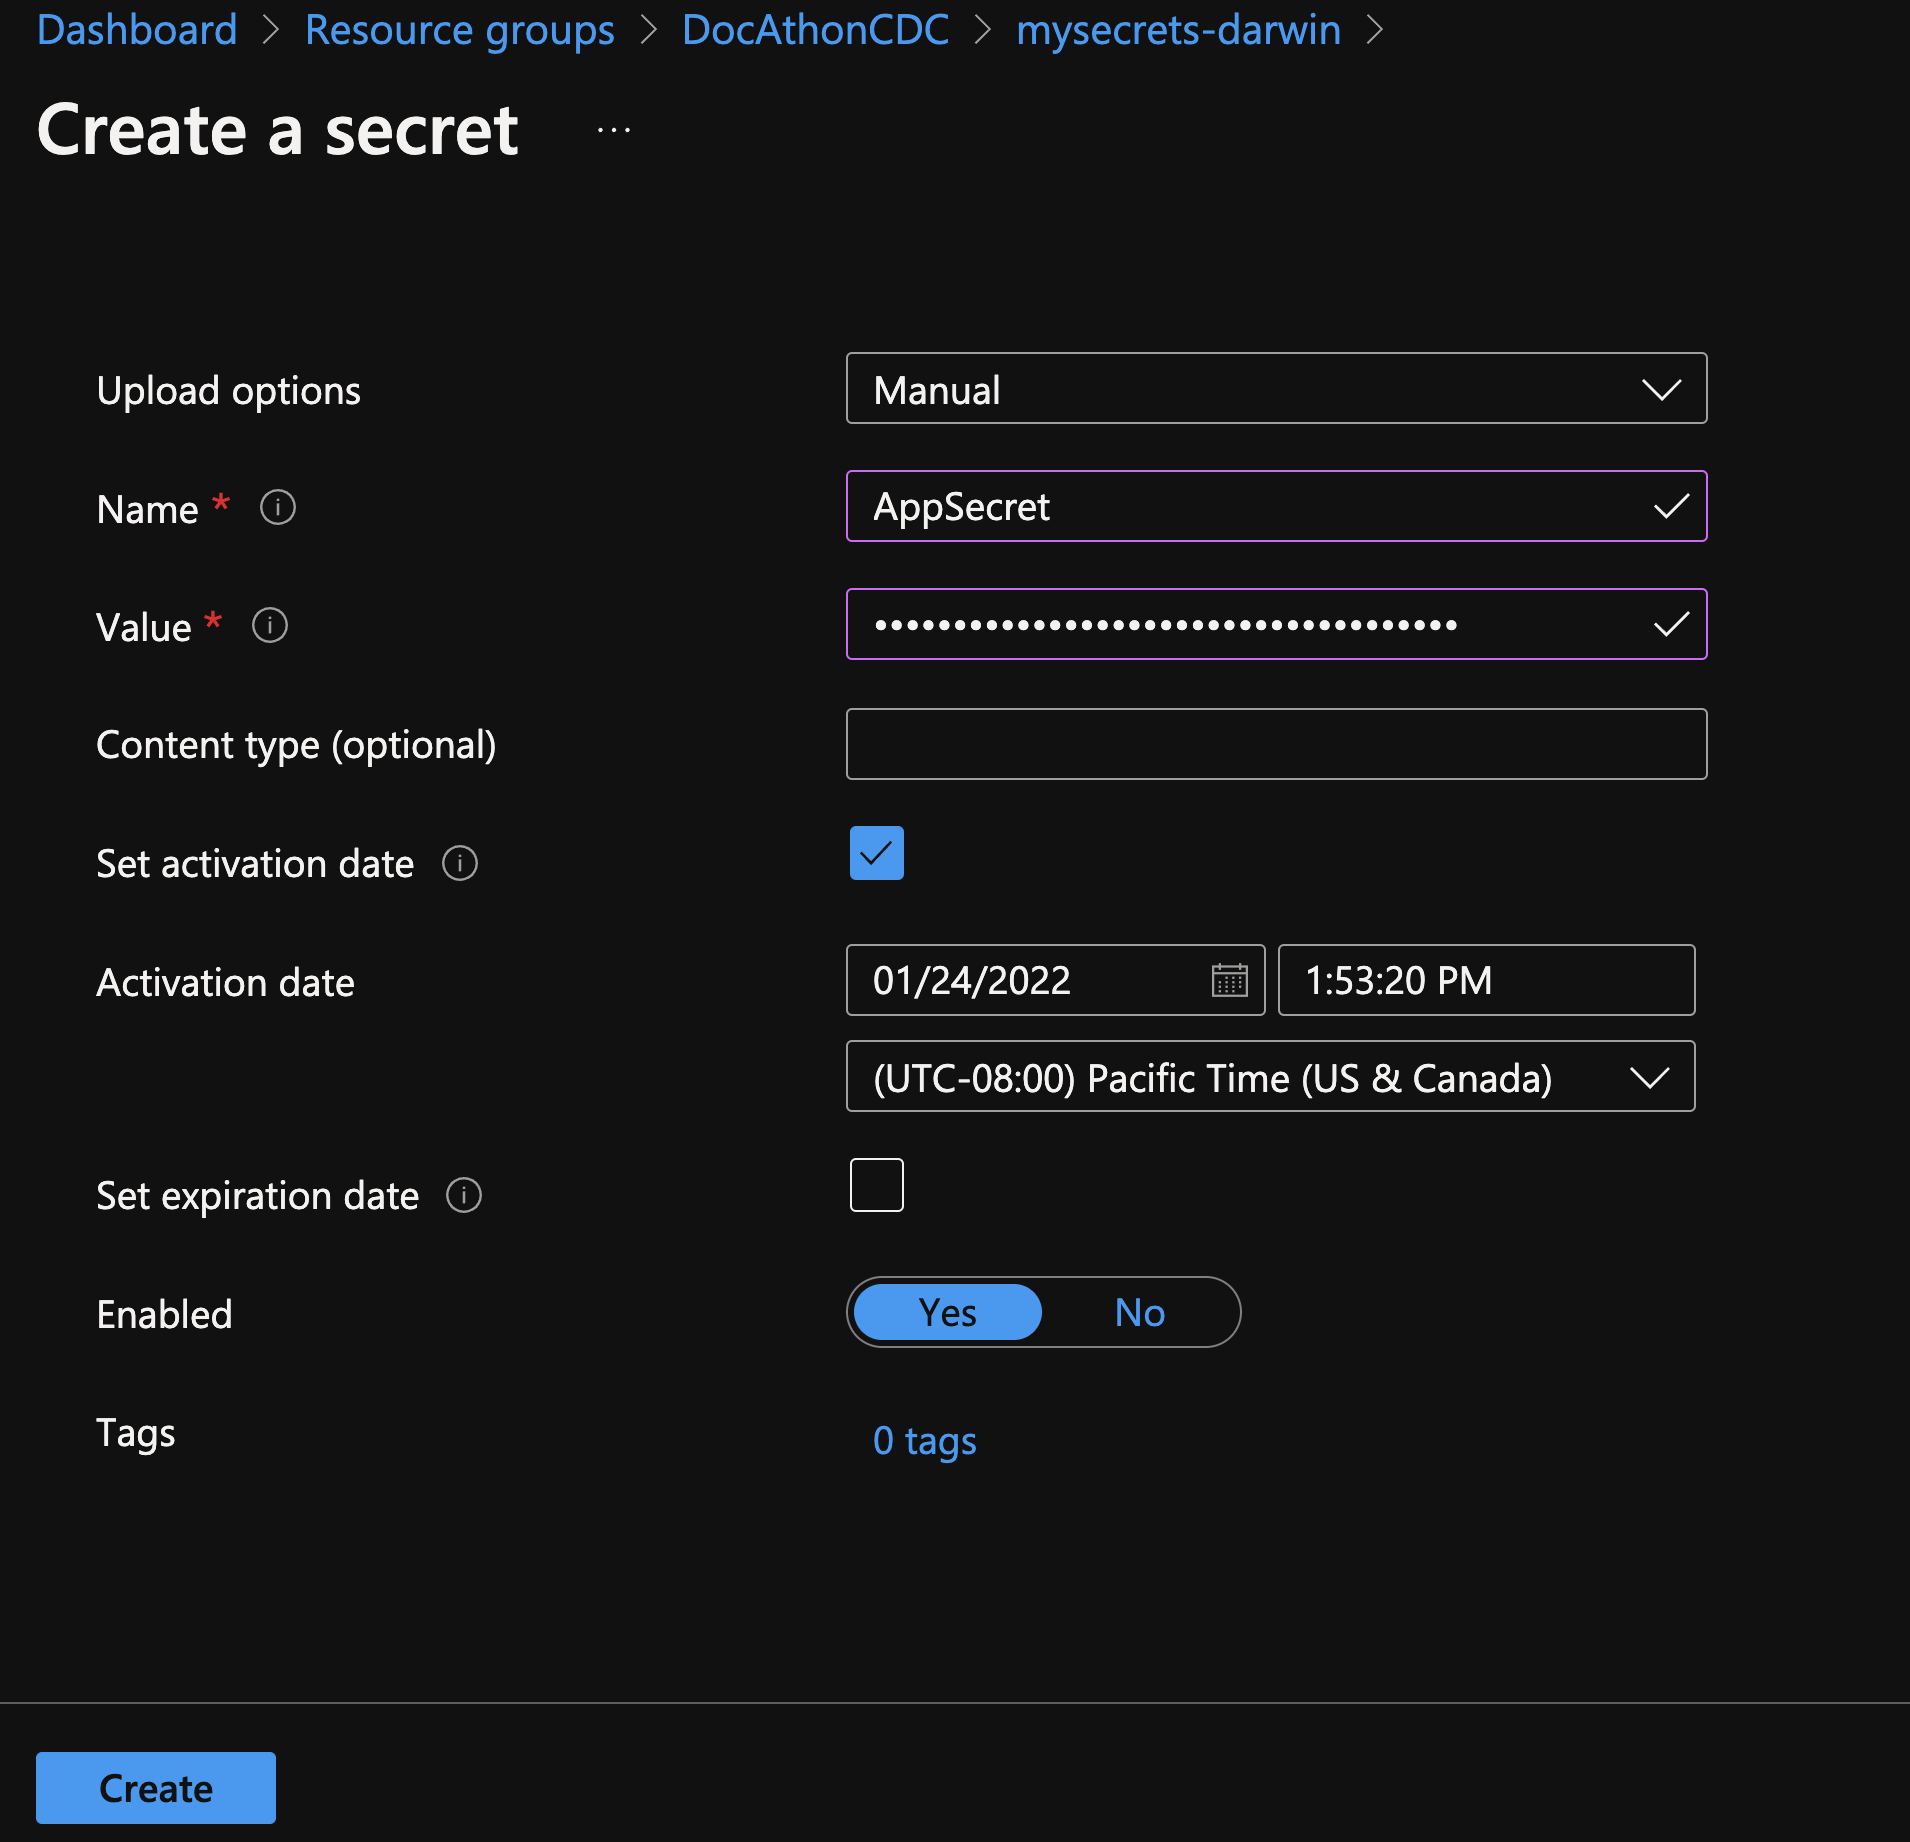
It should look like this:
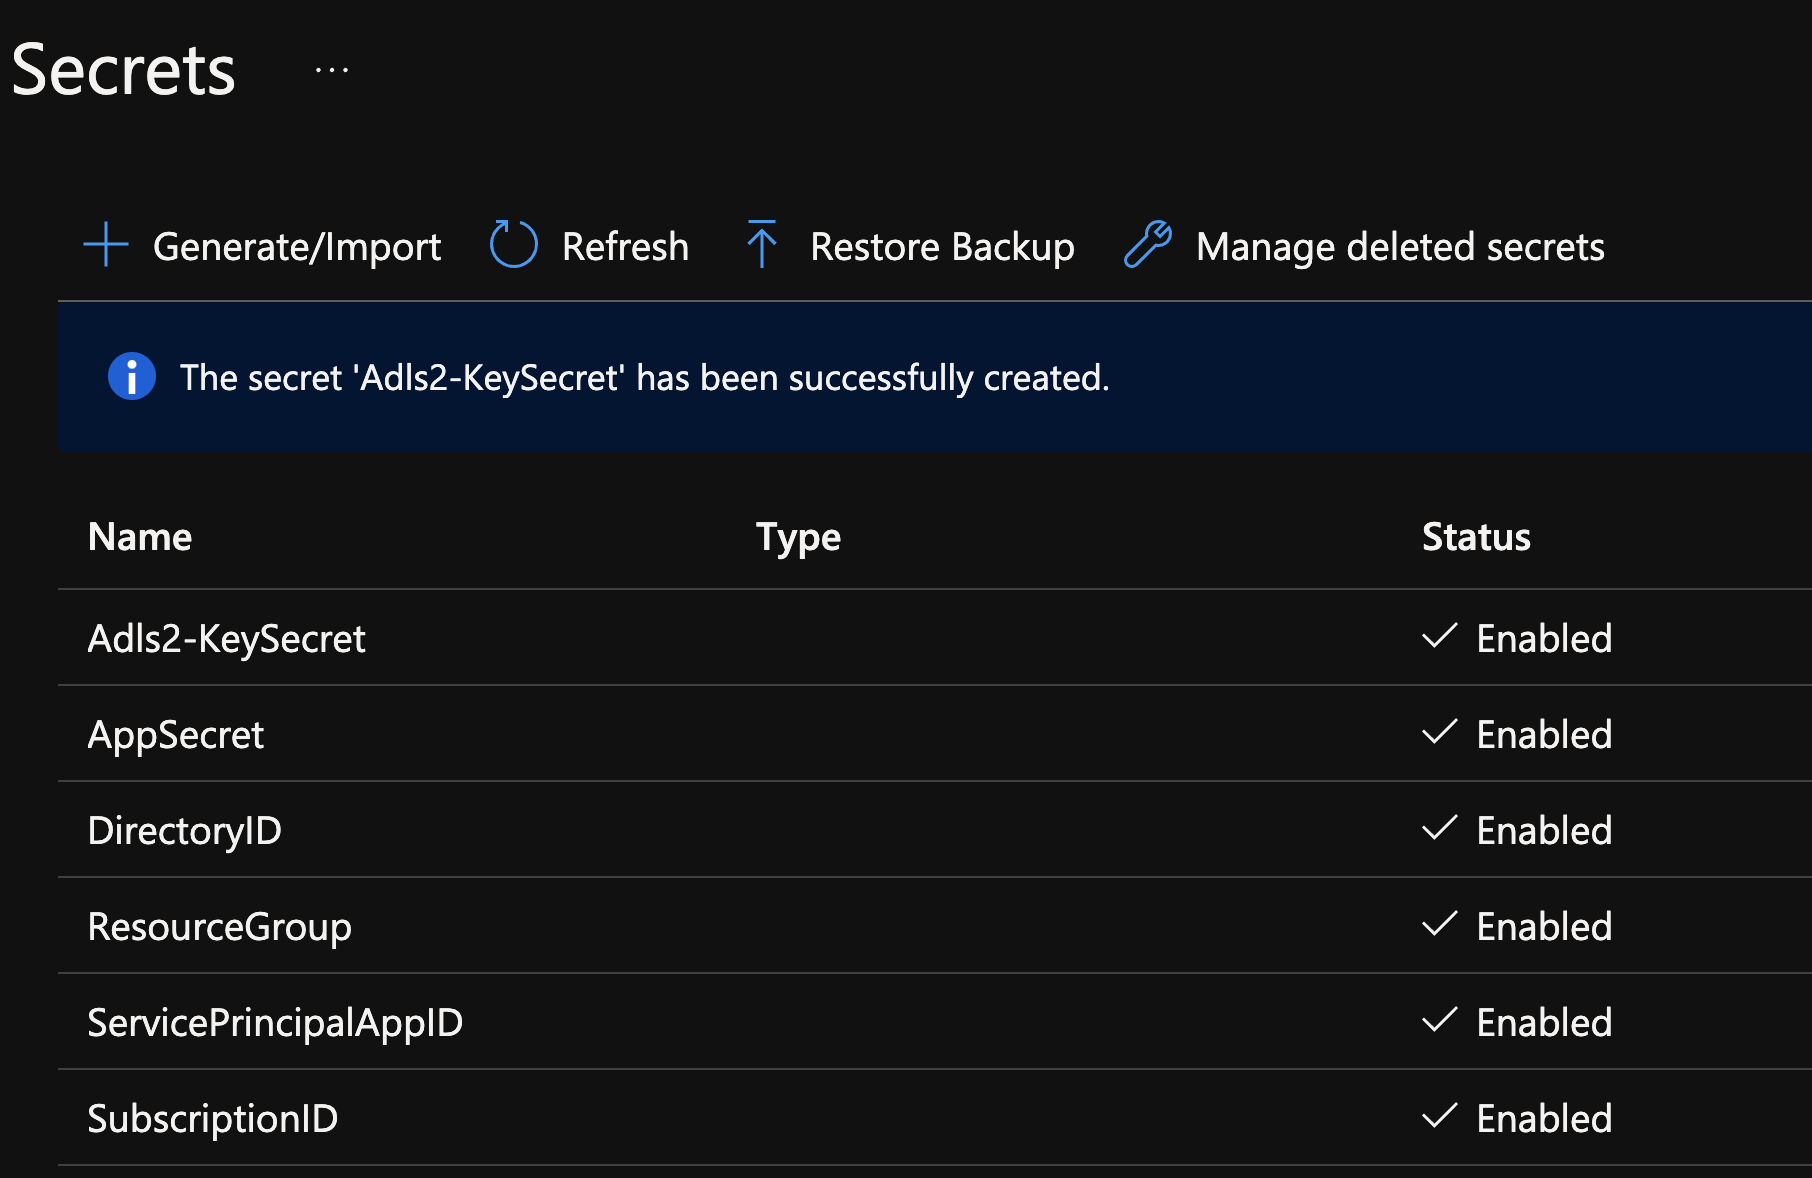
Create the rest of the secrets you need for the notebook
Create the rest of the secrets in cell 4 of the notebook. The secret names are at the end of each line after EnterDatabrickSecretScopeHere
SubscriptionID = dbutils.secrets.get("<EnterDatabrickSecretScopeHere>","SubscriptionID")
DirectoryID = dbutils.secrets.get("<EnterDatabrickSecretScopeHere>","DirectoryID")
ServicePrincipalAppID = dbutils.secrets.get("<EnterDatabrickSecretScopeHere>","ServicePrincipalAppID")
ServicePrincipalSecret = dbutils.secrets.get("<EnterDatabrickSecretScopeHere>","AppSecret")
ResourceGroup = dbutils.secrets.get("<EnterDatabrickSecretScopeHere>","ResourceGroup")
BlobConnectionKey = dbutils.secrets.get("<EnterDatabrickSecretScopeHere>","Adls2-KeySecret")
#Secret Names#

SubscriptionID

DirectoryID

ServicePrincipalAppID

AppSecret (already created above)

ResourceGroup

Adls2-KeySecret
The Adls2-KeySecret is created using the storage account key
Create an Azure Key Vault-backed secret scope using the UI Reference
Verify that you have Contributor permission on the Azure Key Vault instance that you want to use to back the secret scope.
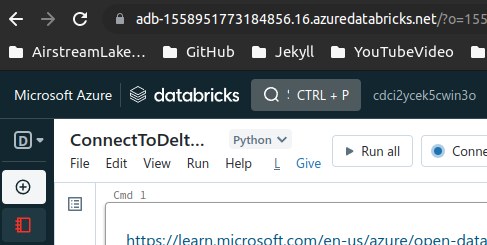
Go to https://databricks-instance/#secrets/createScope. This URL is case sensitive; The "S" in scope in createScope must be uppercase.
https://databricks-instance/#secrets/createScope
In my case https://adb-1558951773184856.16.azuredatabricks.net/#secrets/createScope
You can find the databricks-instance in the URL of your workspace
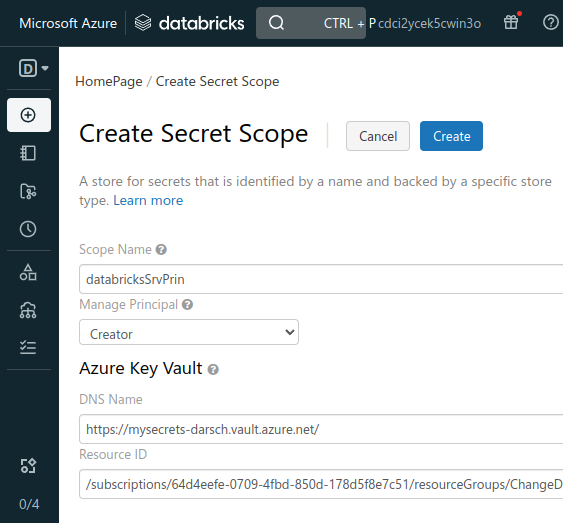
Enter Scope Name: I choose something like databricksSrvPrin which is what I used in the notebook
Manage Principal: All Users
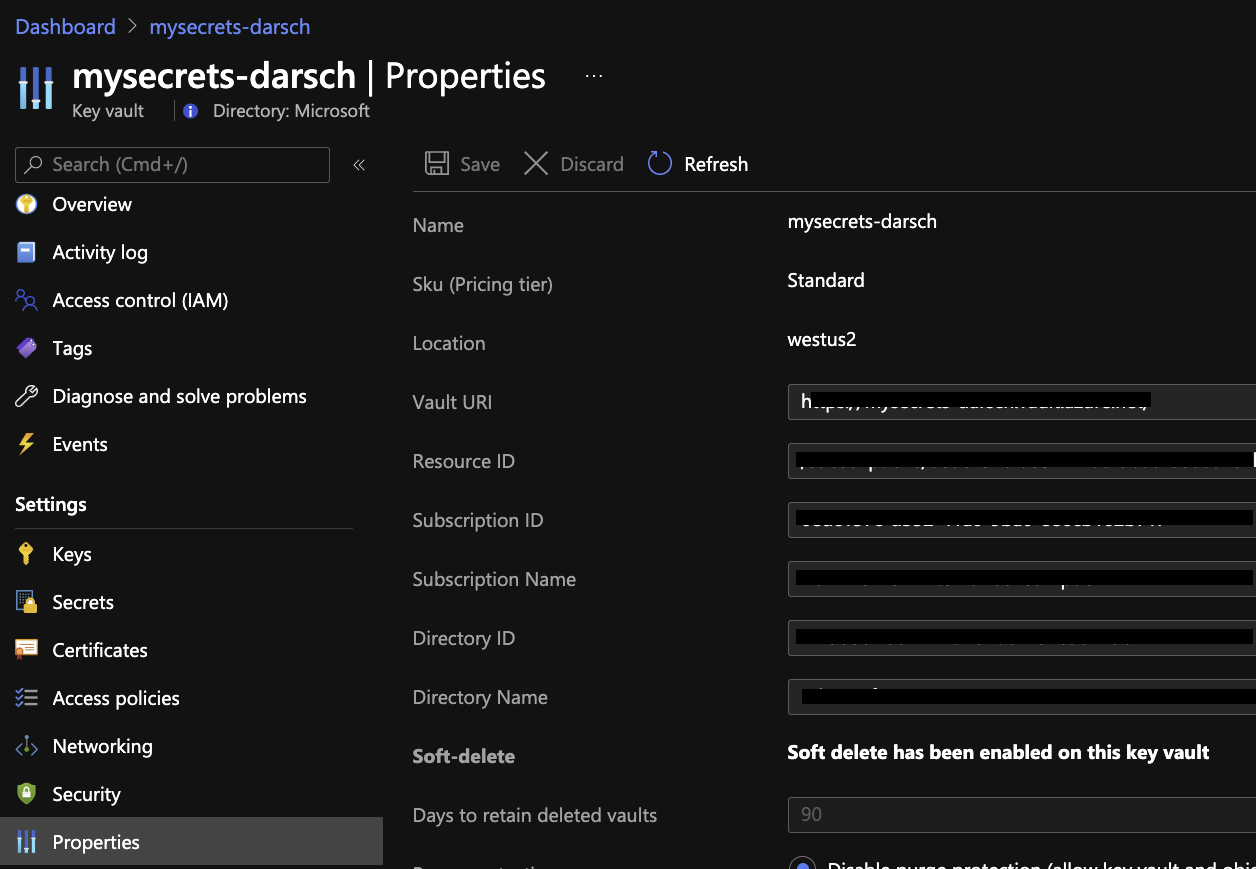
DNS Name: https://xxxxxx.vault.azure.net/ Find in the properties of Key vault under Vault URI
Resource ID: Find in the properties of the Key vault. Looks something like this:
/subscriptions/xxxxxxxx-xxxx-xxxx-xxxx-xxxxxxxxxxxx/resourcegroups/databricks-rg/providers/Microsoft.KeyVault/vaults/databricksKV
Click Create
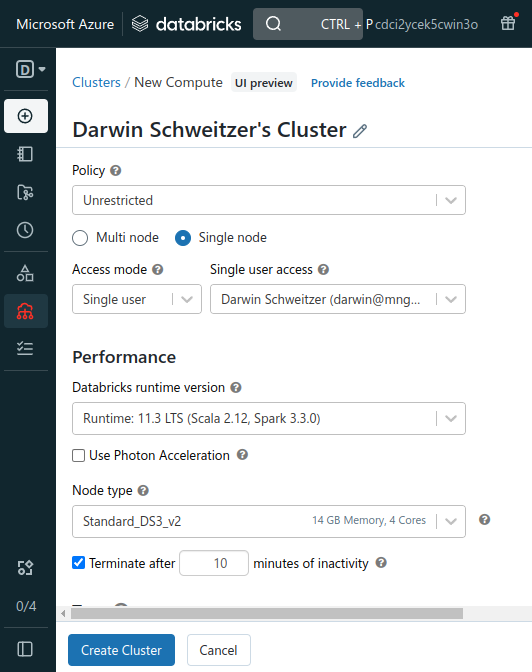
Create a cluster using the Runtime 8.3 or above
Enter Cluster Name, Runtime Version, Set Terminate after, Min Workers, Max Workers and click Create Cluster
Change the value of EnterDatabrickSecretScopeHere in cell 3 and 5 to the Scope name you created earlier.
In my chase databricksSrvPrin so the 3 cell would read:
spark.conf.set(
    "fs.azure.account.key." + adlsAccountName + ".dfs.core.windows.net",
    dbutils.secrets.get(scope="databricksSrvPrin",key="Adls2-KeySecret"))
The 5 cell would read:
SubscriptionID = dbutils.secrets.get("databricksSrvPrin","SubscriptionID")
DirectoryID = dbutils.secrets.get("databricksSrvPrin","DirectoryID")
ServicePrincipalAppID = dbutils.secrets.get("databricksSrvPrin","ServicePrincipalAppID")
ServicePrincipalSecret = dbutils.secrets.get("databricksSrvPrin","AppSecret")
ResourceGroup = dbutils.secrets.get("databricksSrvPrin","ResourceGroup")
BlobConnectionKey = dbutils.secrets.get("databricksSrvPrin","Adls2-KeySecret")
Once the cluster is started you will be able to run the code in the cells
Click on Run Cell

Do this for the next cell down etc.
You can skip cell 8 the first time because nothing has been mounted. You may get an error like this in cell 7:
