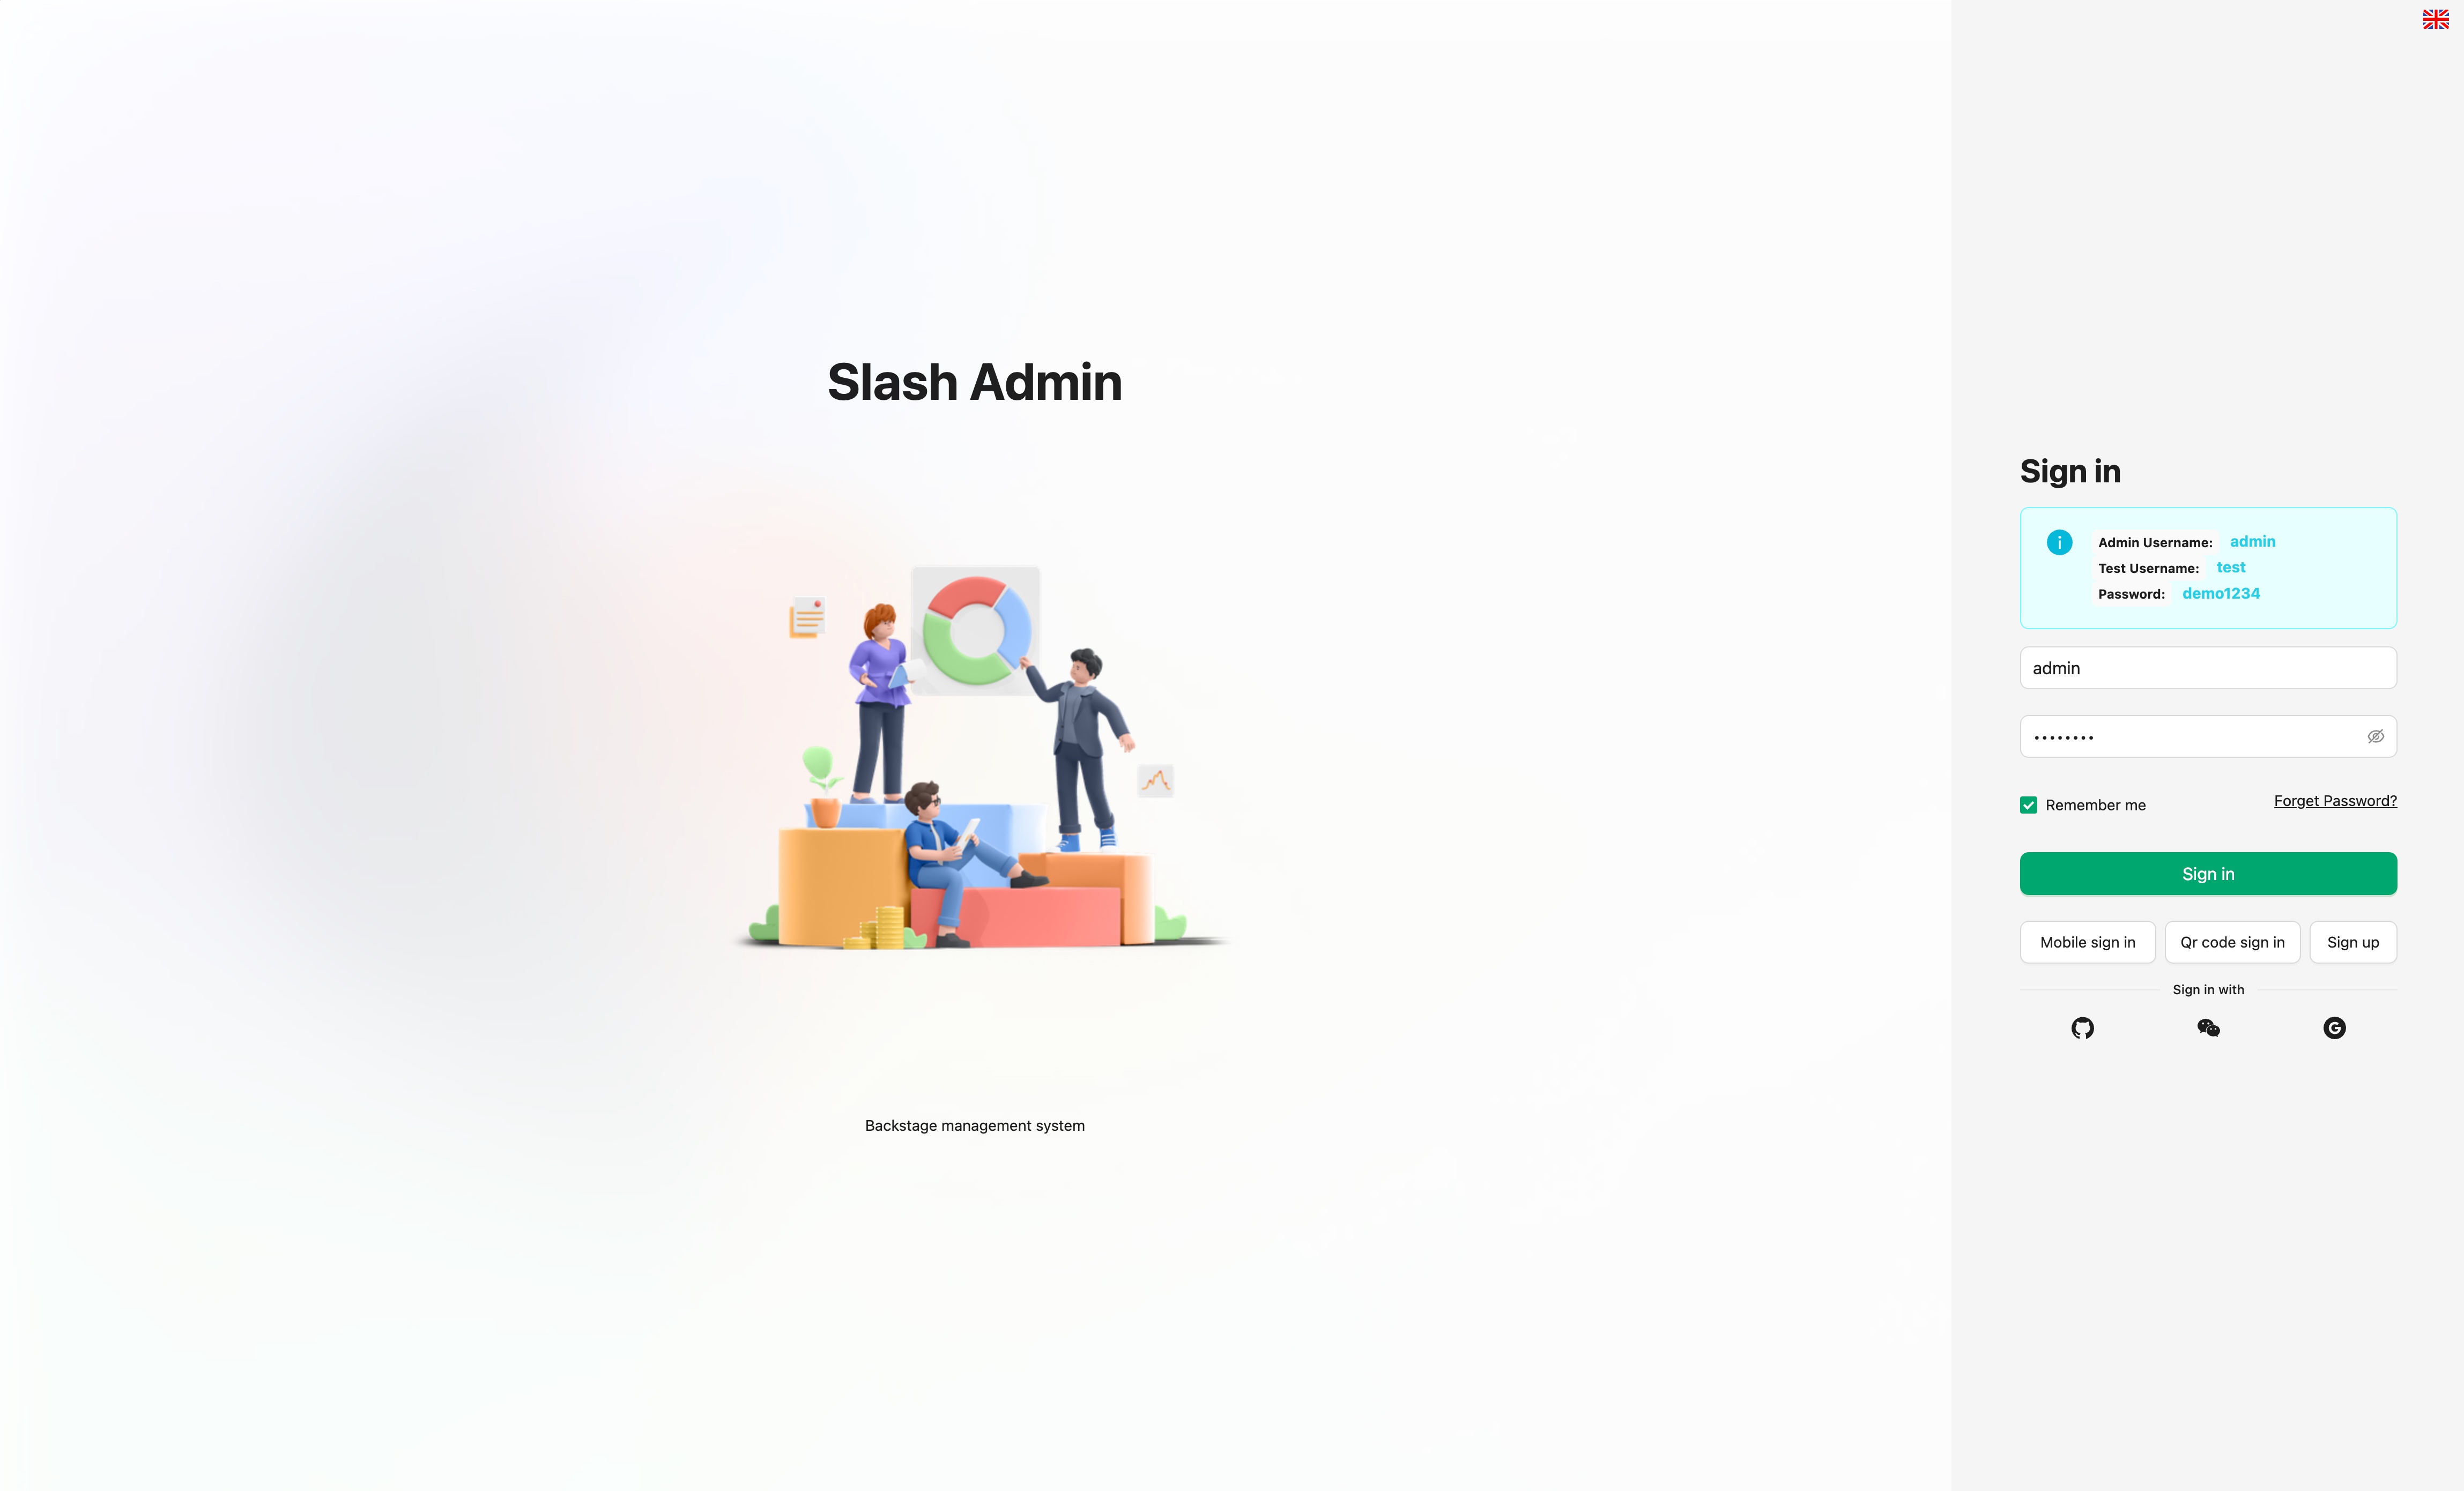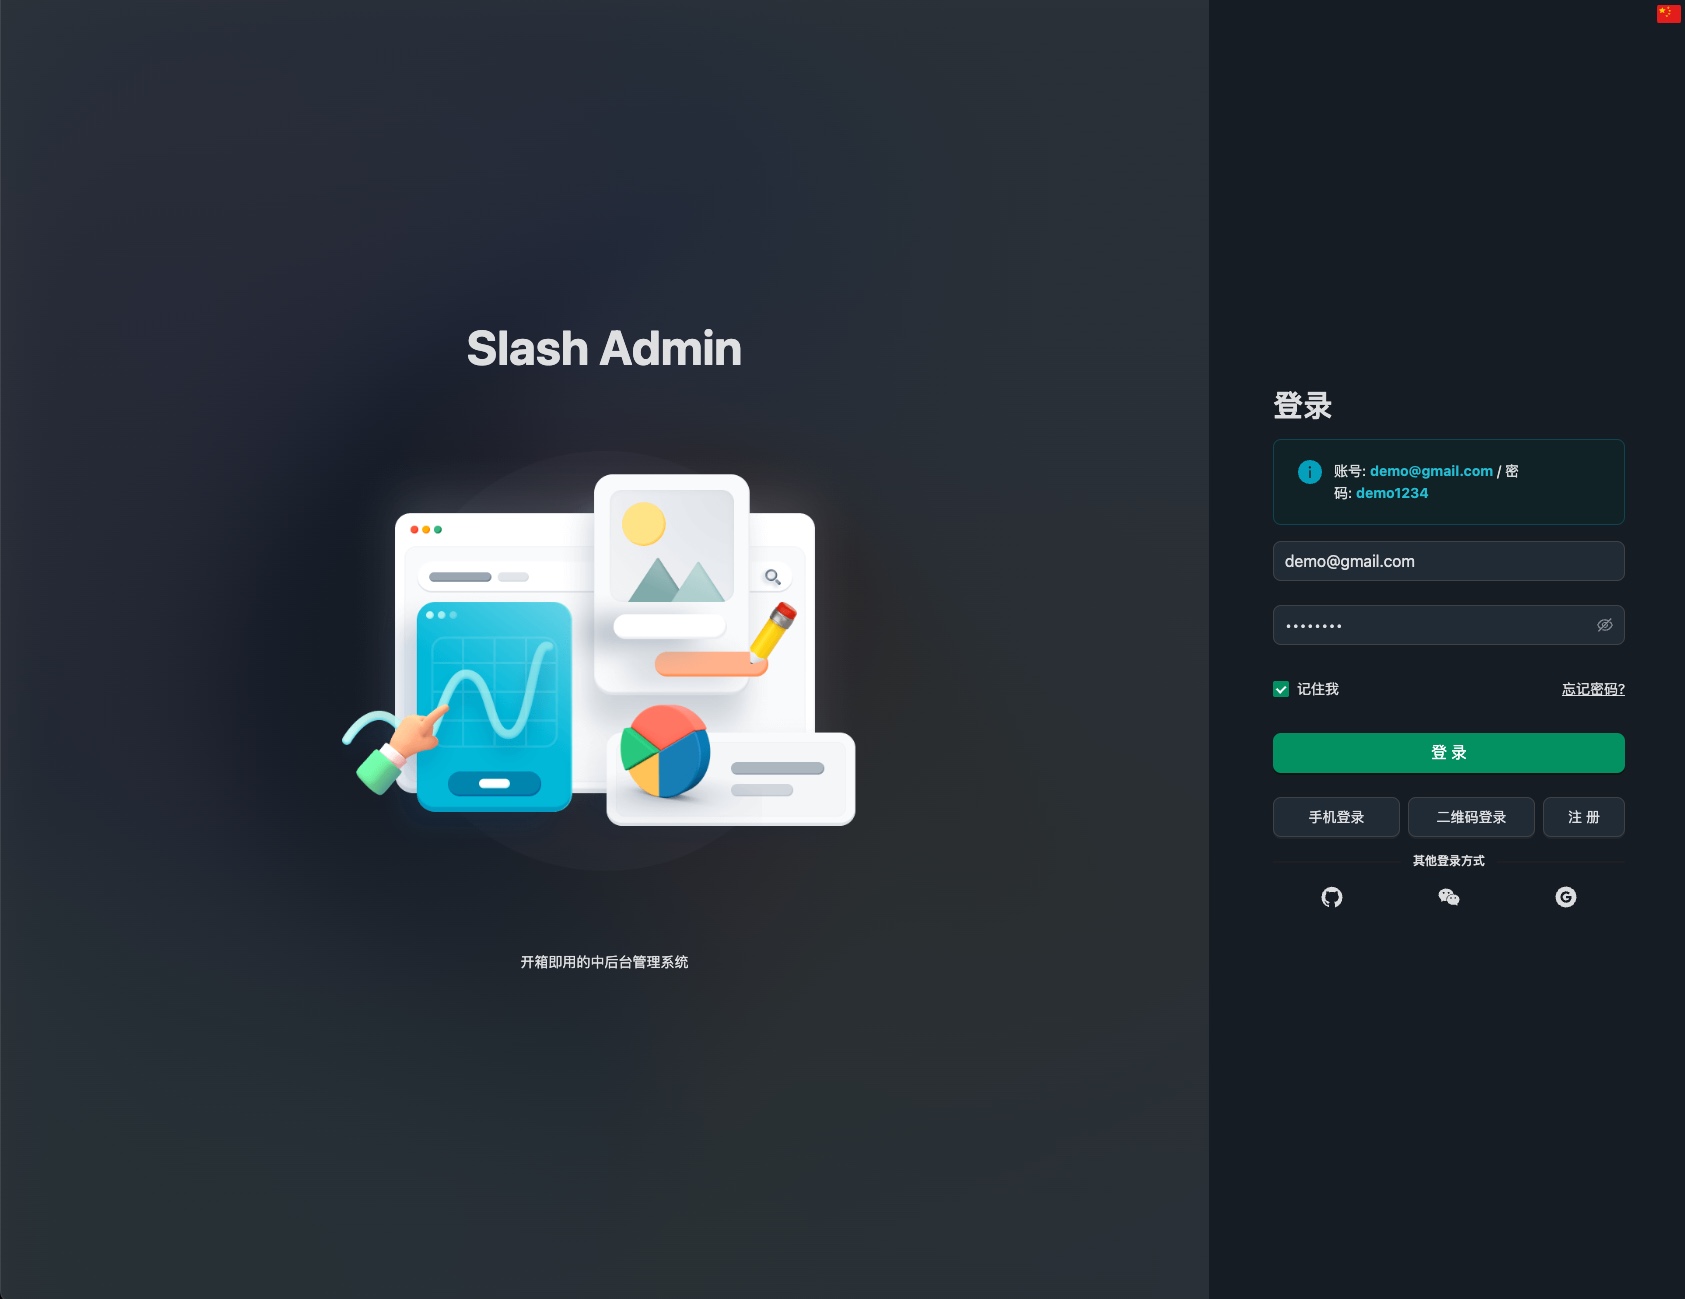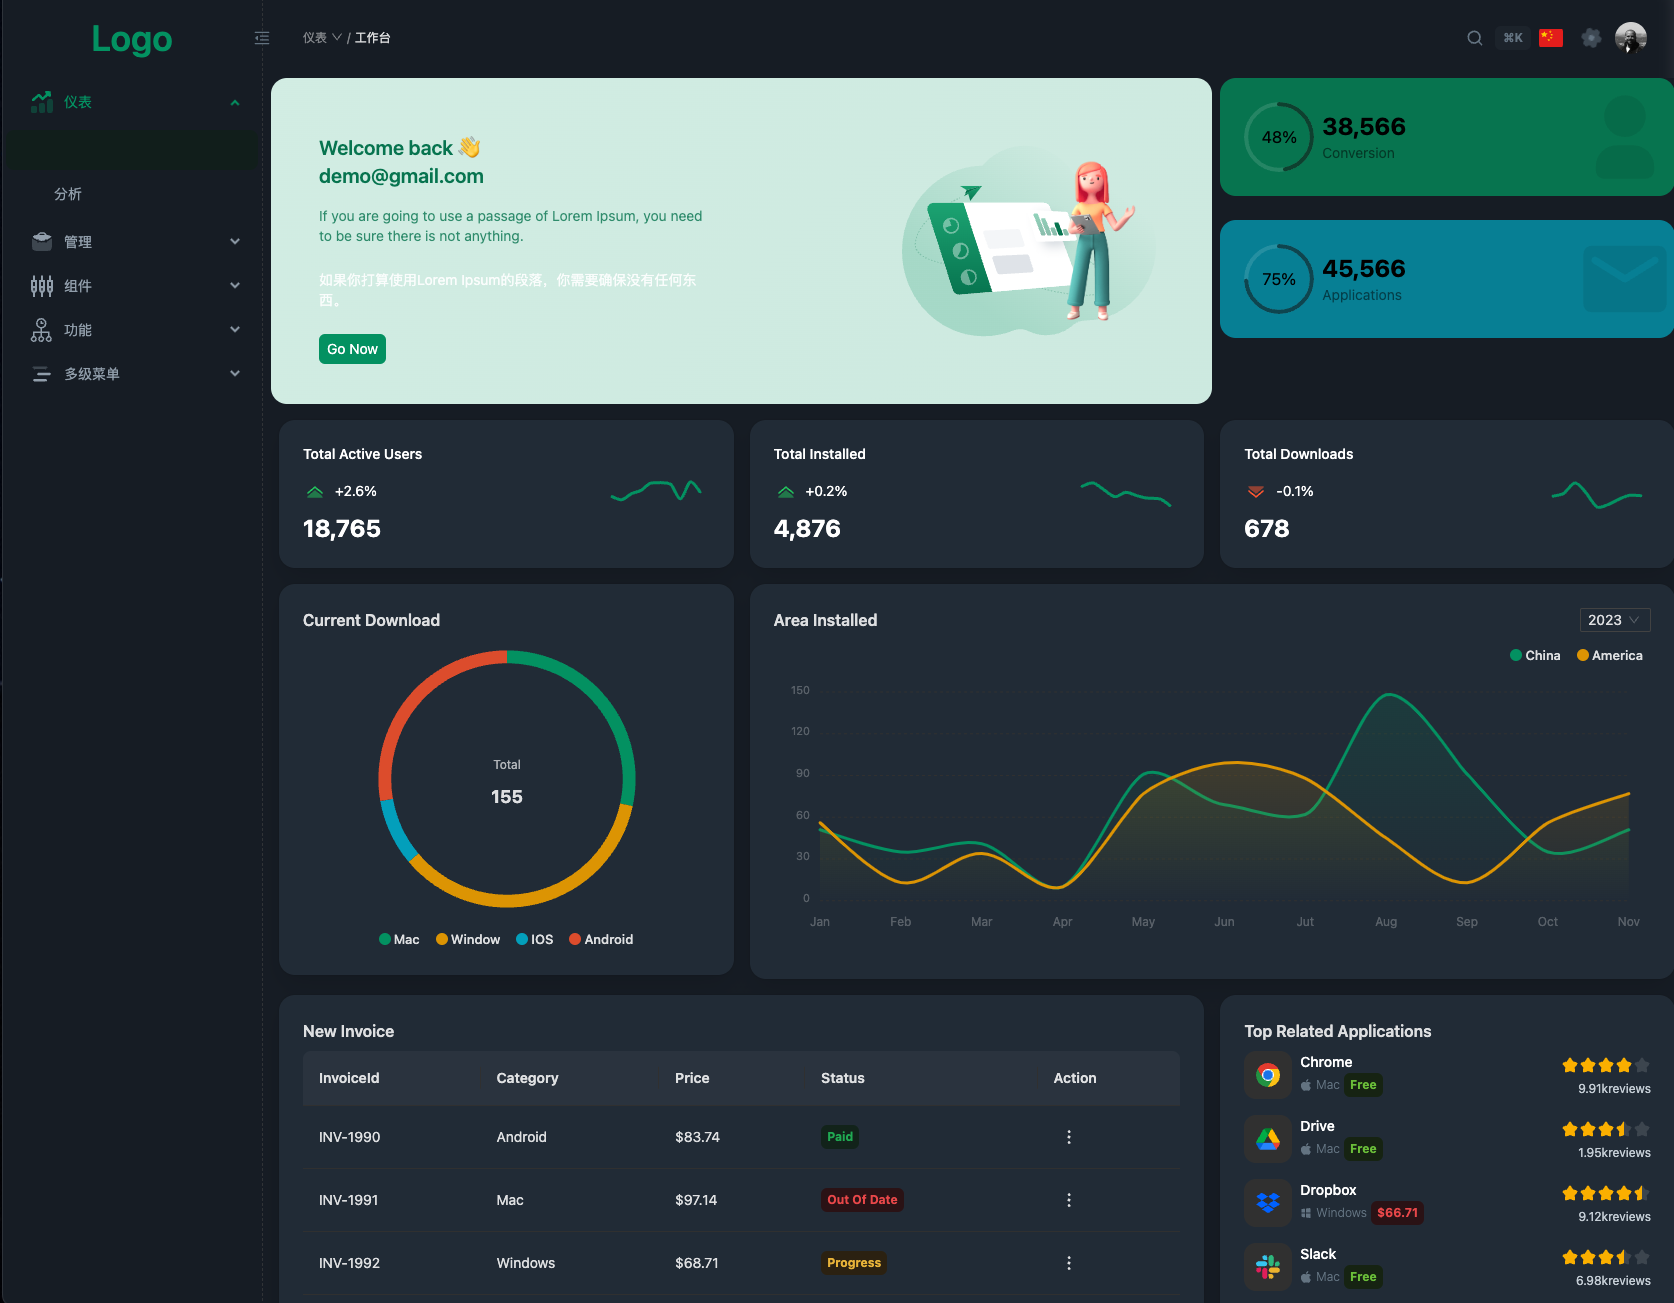
Slash Admin is a modern admin dashboard template built with React 18, Vite, Ant Design, and TypeScript. It is designed to help developers quickly create powerful admin management systems.
Preview · Discord · Document
English | 中文
 |
 |
|---|---|
 |
 |
- Built using React 18 hooks.
- Powered by Vite for rapid development and hot module replacement.
- Integrates Ant Design, providing a rich set of UI components and design patterns.
- Written in TypeScript, offering type safety and an improved development experience.
- Responsive design, adapting to various screen sizes and devices.
- Flexible routing configuration, supporting nested routes.
- Integrated access control based on user roles.
- Supports internationalization for easy language switching.
- Includes common admin features like user management, role management, and permission management.
- Customizable themes and styles to meet your branding needs.
- Mocking solution based on MSW and Faker.js.
- State management using Zustand.
- Data fetching using React-Query.
git clone https://github.com/d3george/slash-admin.gitIn the project's root directory, run the following command to install project dependencies:
pnpm installRun the following command to start the development server:
pnpm devVisit http://localhost:3001 to view your application.
Run the following command to build the production version:
pnpm buildEnter the project root directory in the terminal and execute the following command to build the Docker image:
docker build -t your-image-name .
Make sure to replace your-image-name with your own image name
Run your application in the Docker container using the following command:
docker run -p 3001:80 your-image-name
This will run your application on port 80(exposed in Dockerfile) of the container and map it to port 3001 on your host.
Now you can access http://localhost:3001 to view the deployed applications.
Enter the project root directory in the terminal and execute the following command to start Docker Compose:
docker-compose up -d
Docker Compose will build an image based on the configuration defined by 'docker-compose. yaml' and run the container in the background.
After the container runs successfully, it can also be accessed through http://localhost:3001 To view the deployed applications.
reference.commitlint.config.js
featnew featuresfixfix thedocsdocumentation or commentsstylecode format (changes that do not affect code execution)refactorrefactorperfperformance optimizationrevertrevert committesttest relatedchorechanges in the construction process or auxiliary toolscimodify CI configuration and scriptstypestype definition file changeswipin development

