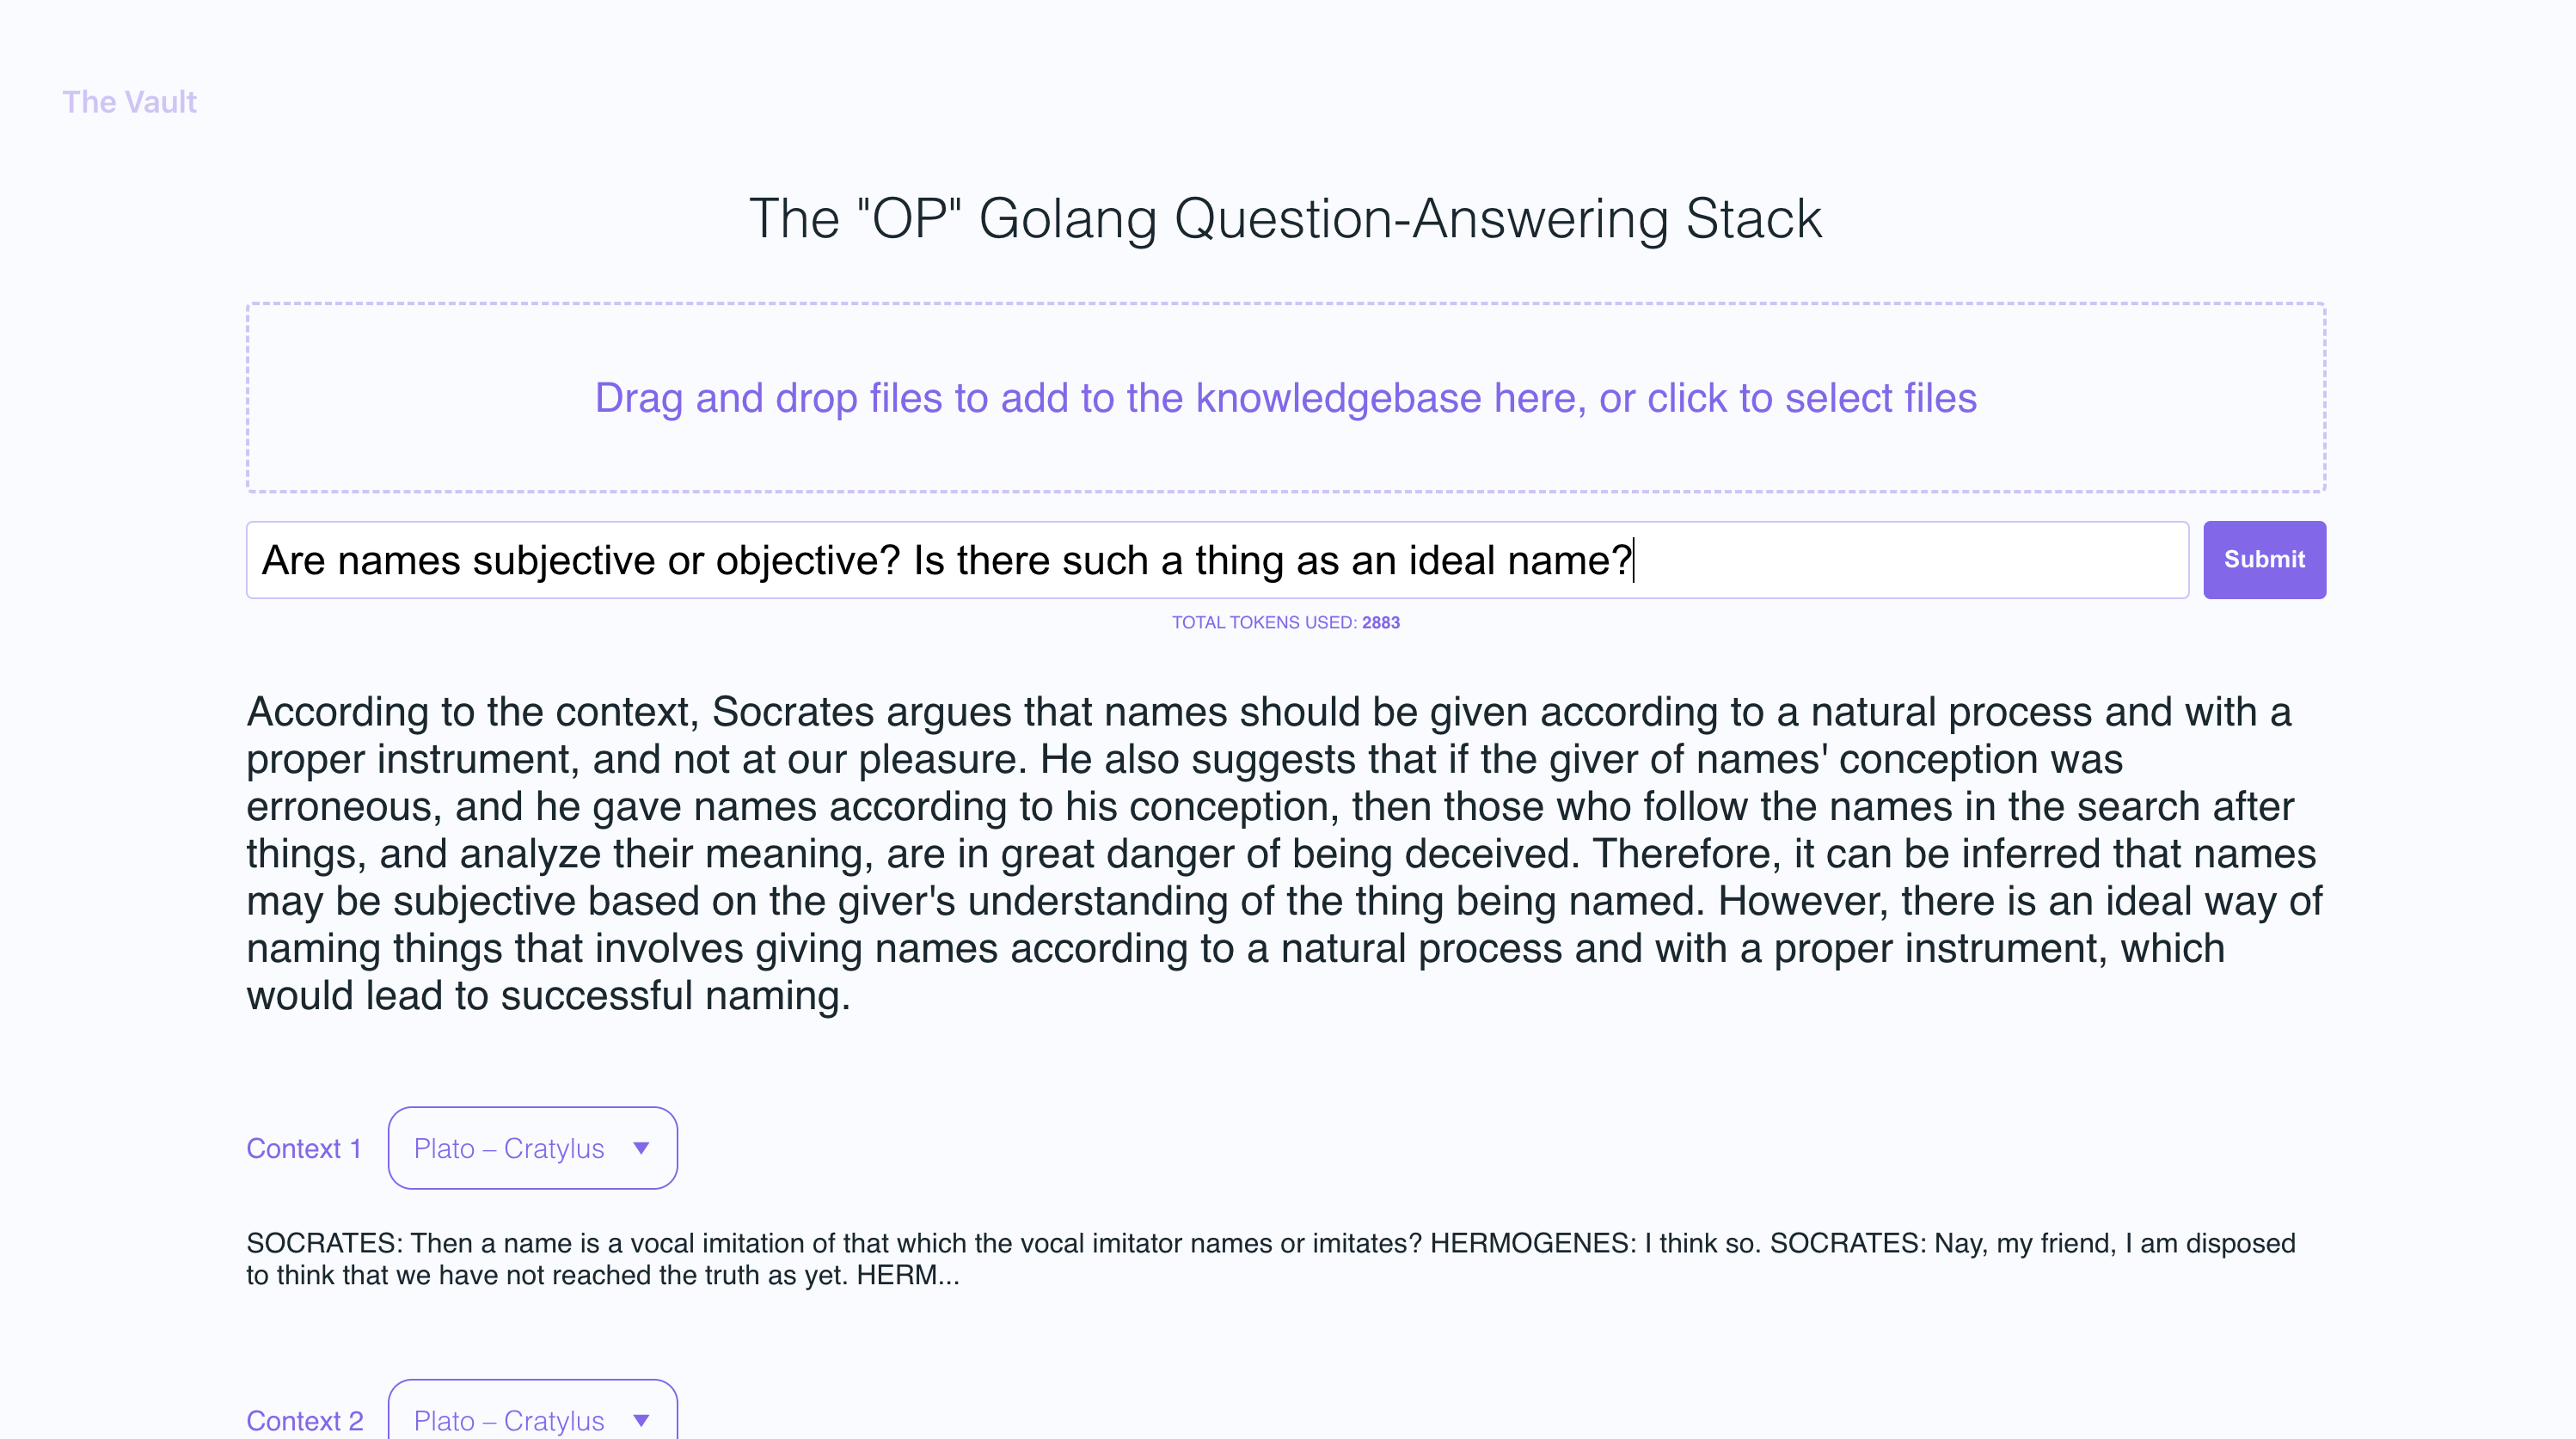
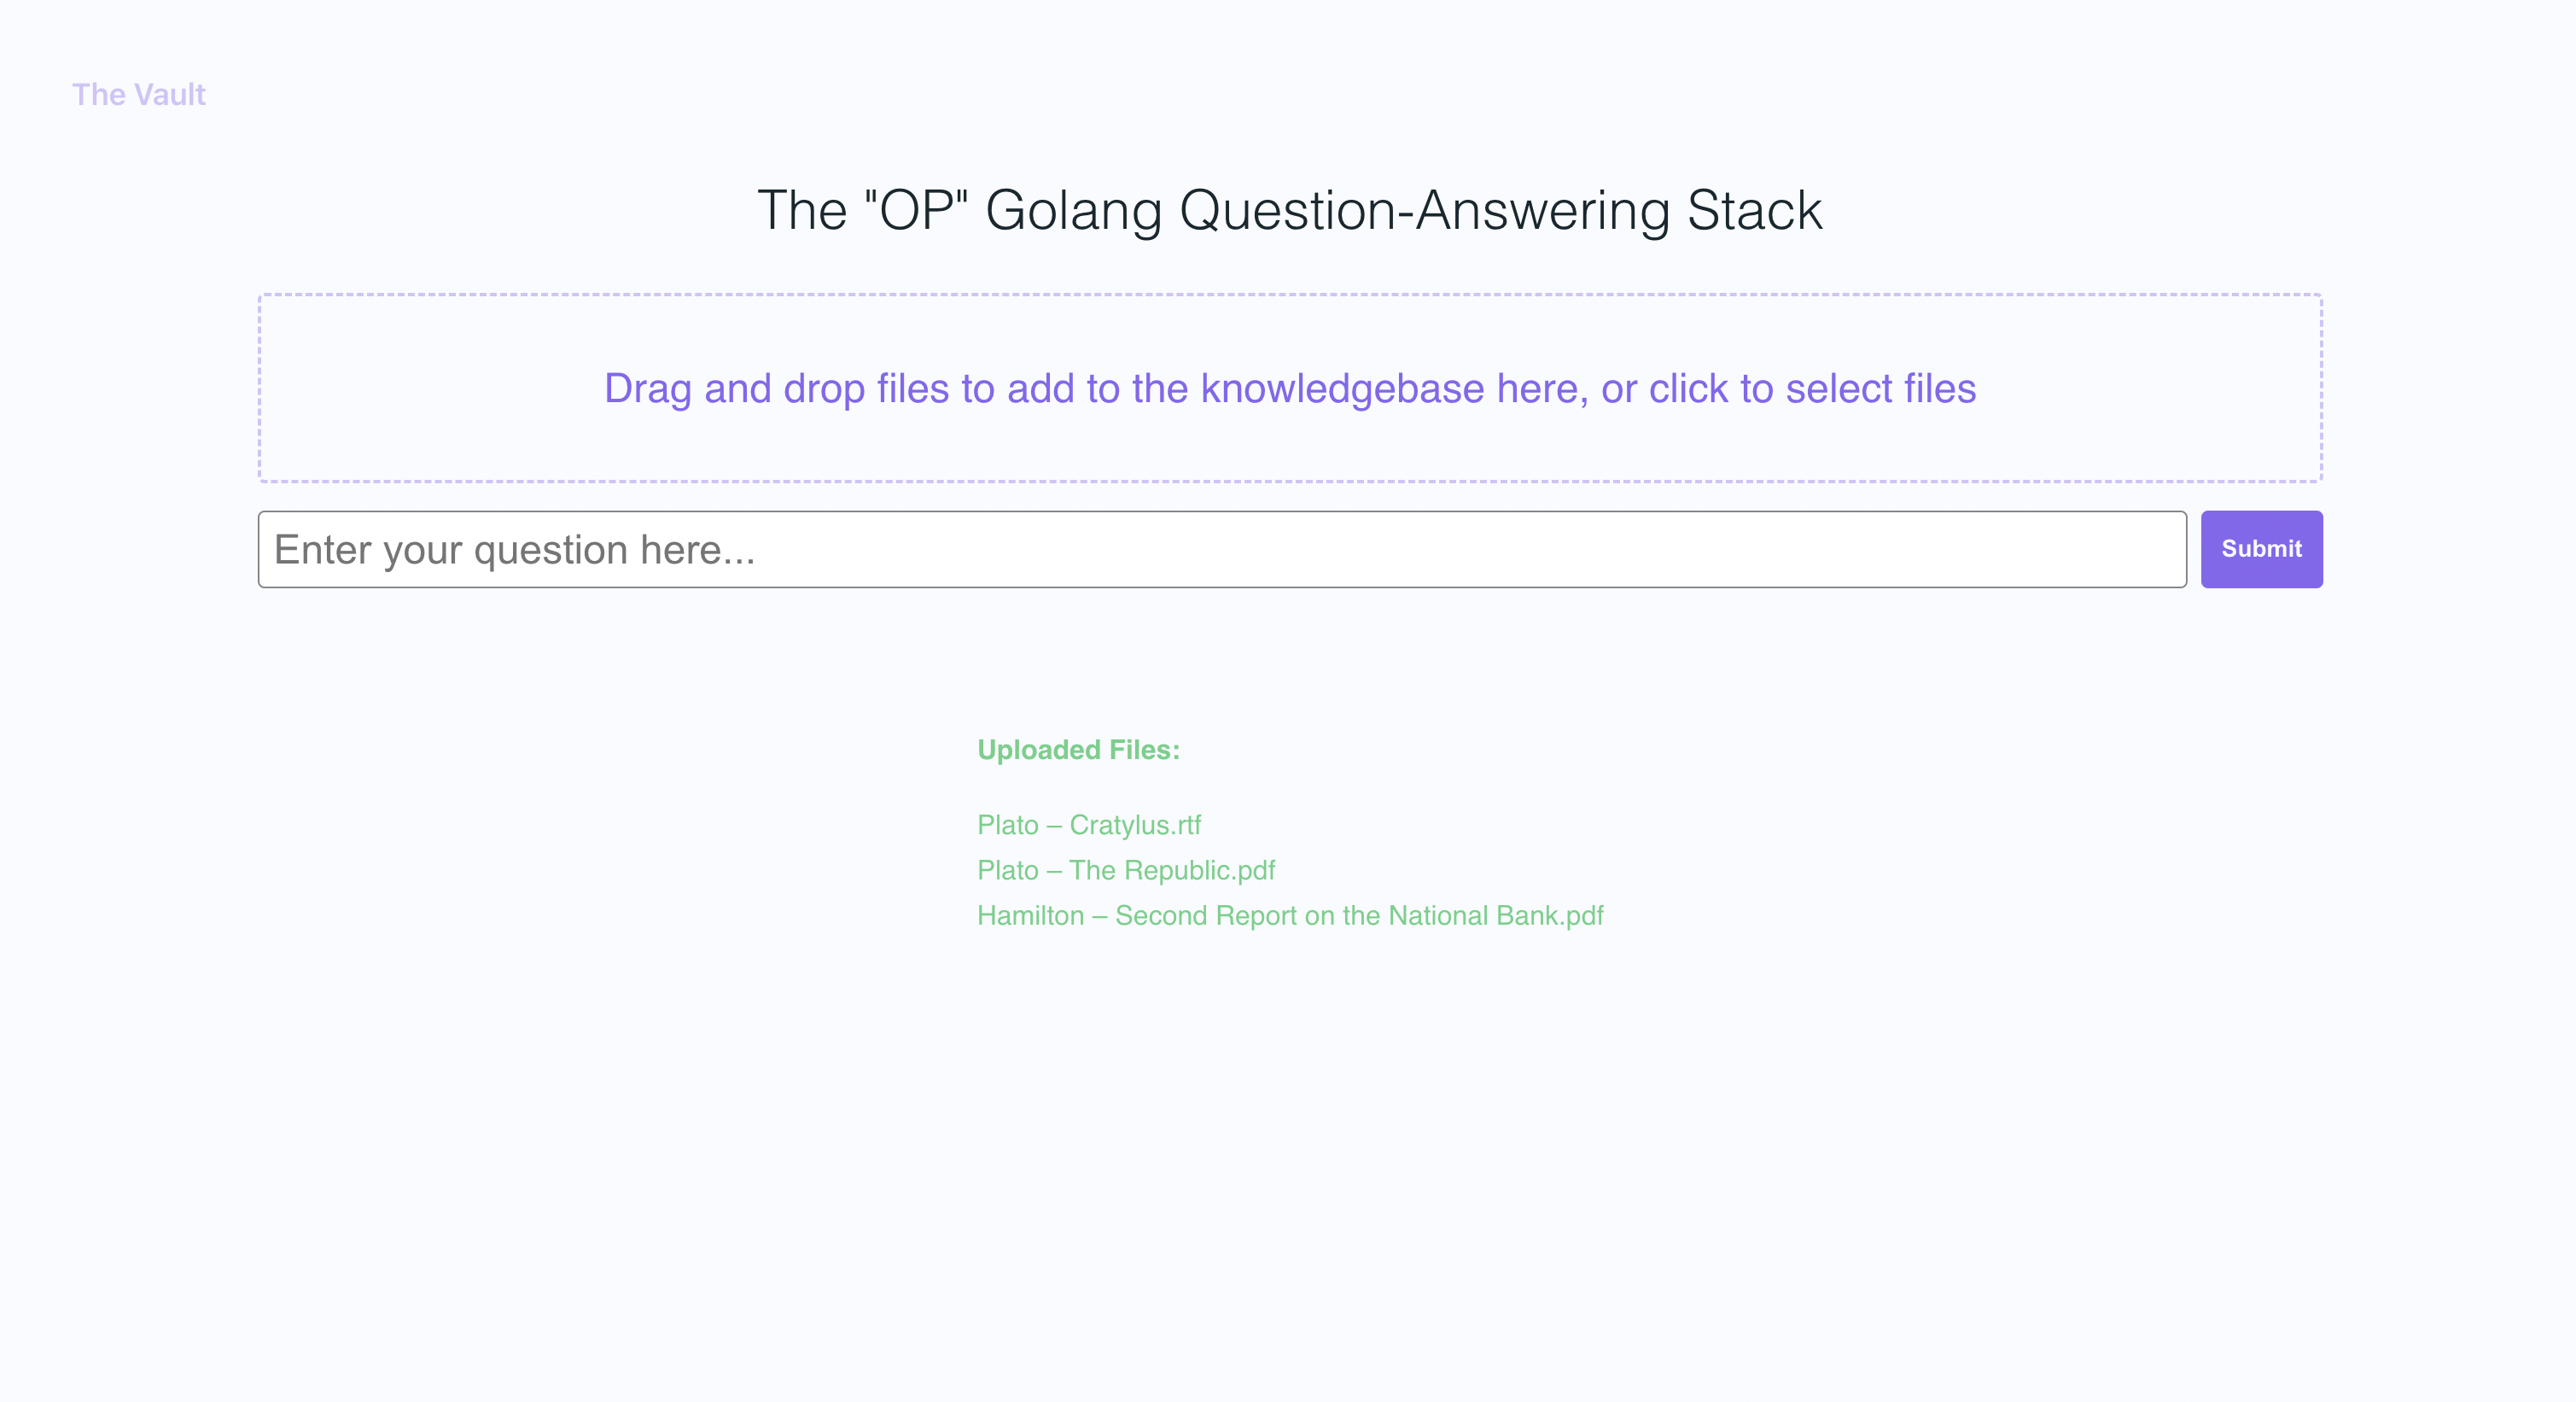
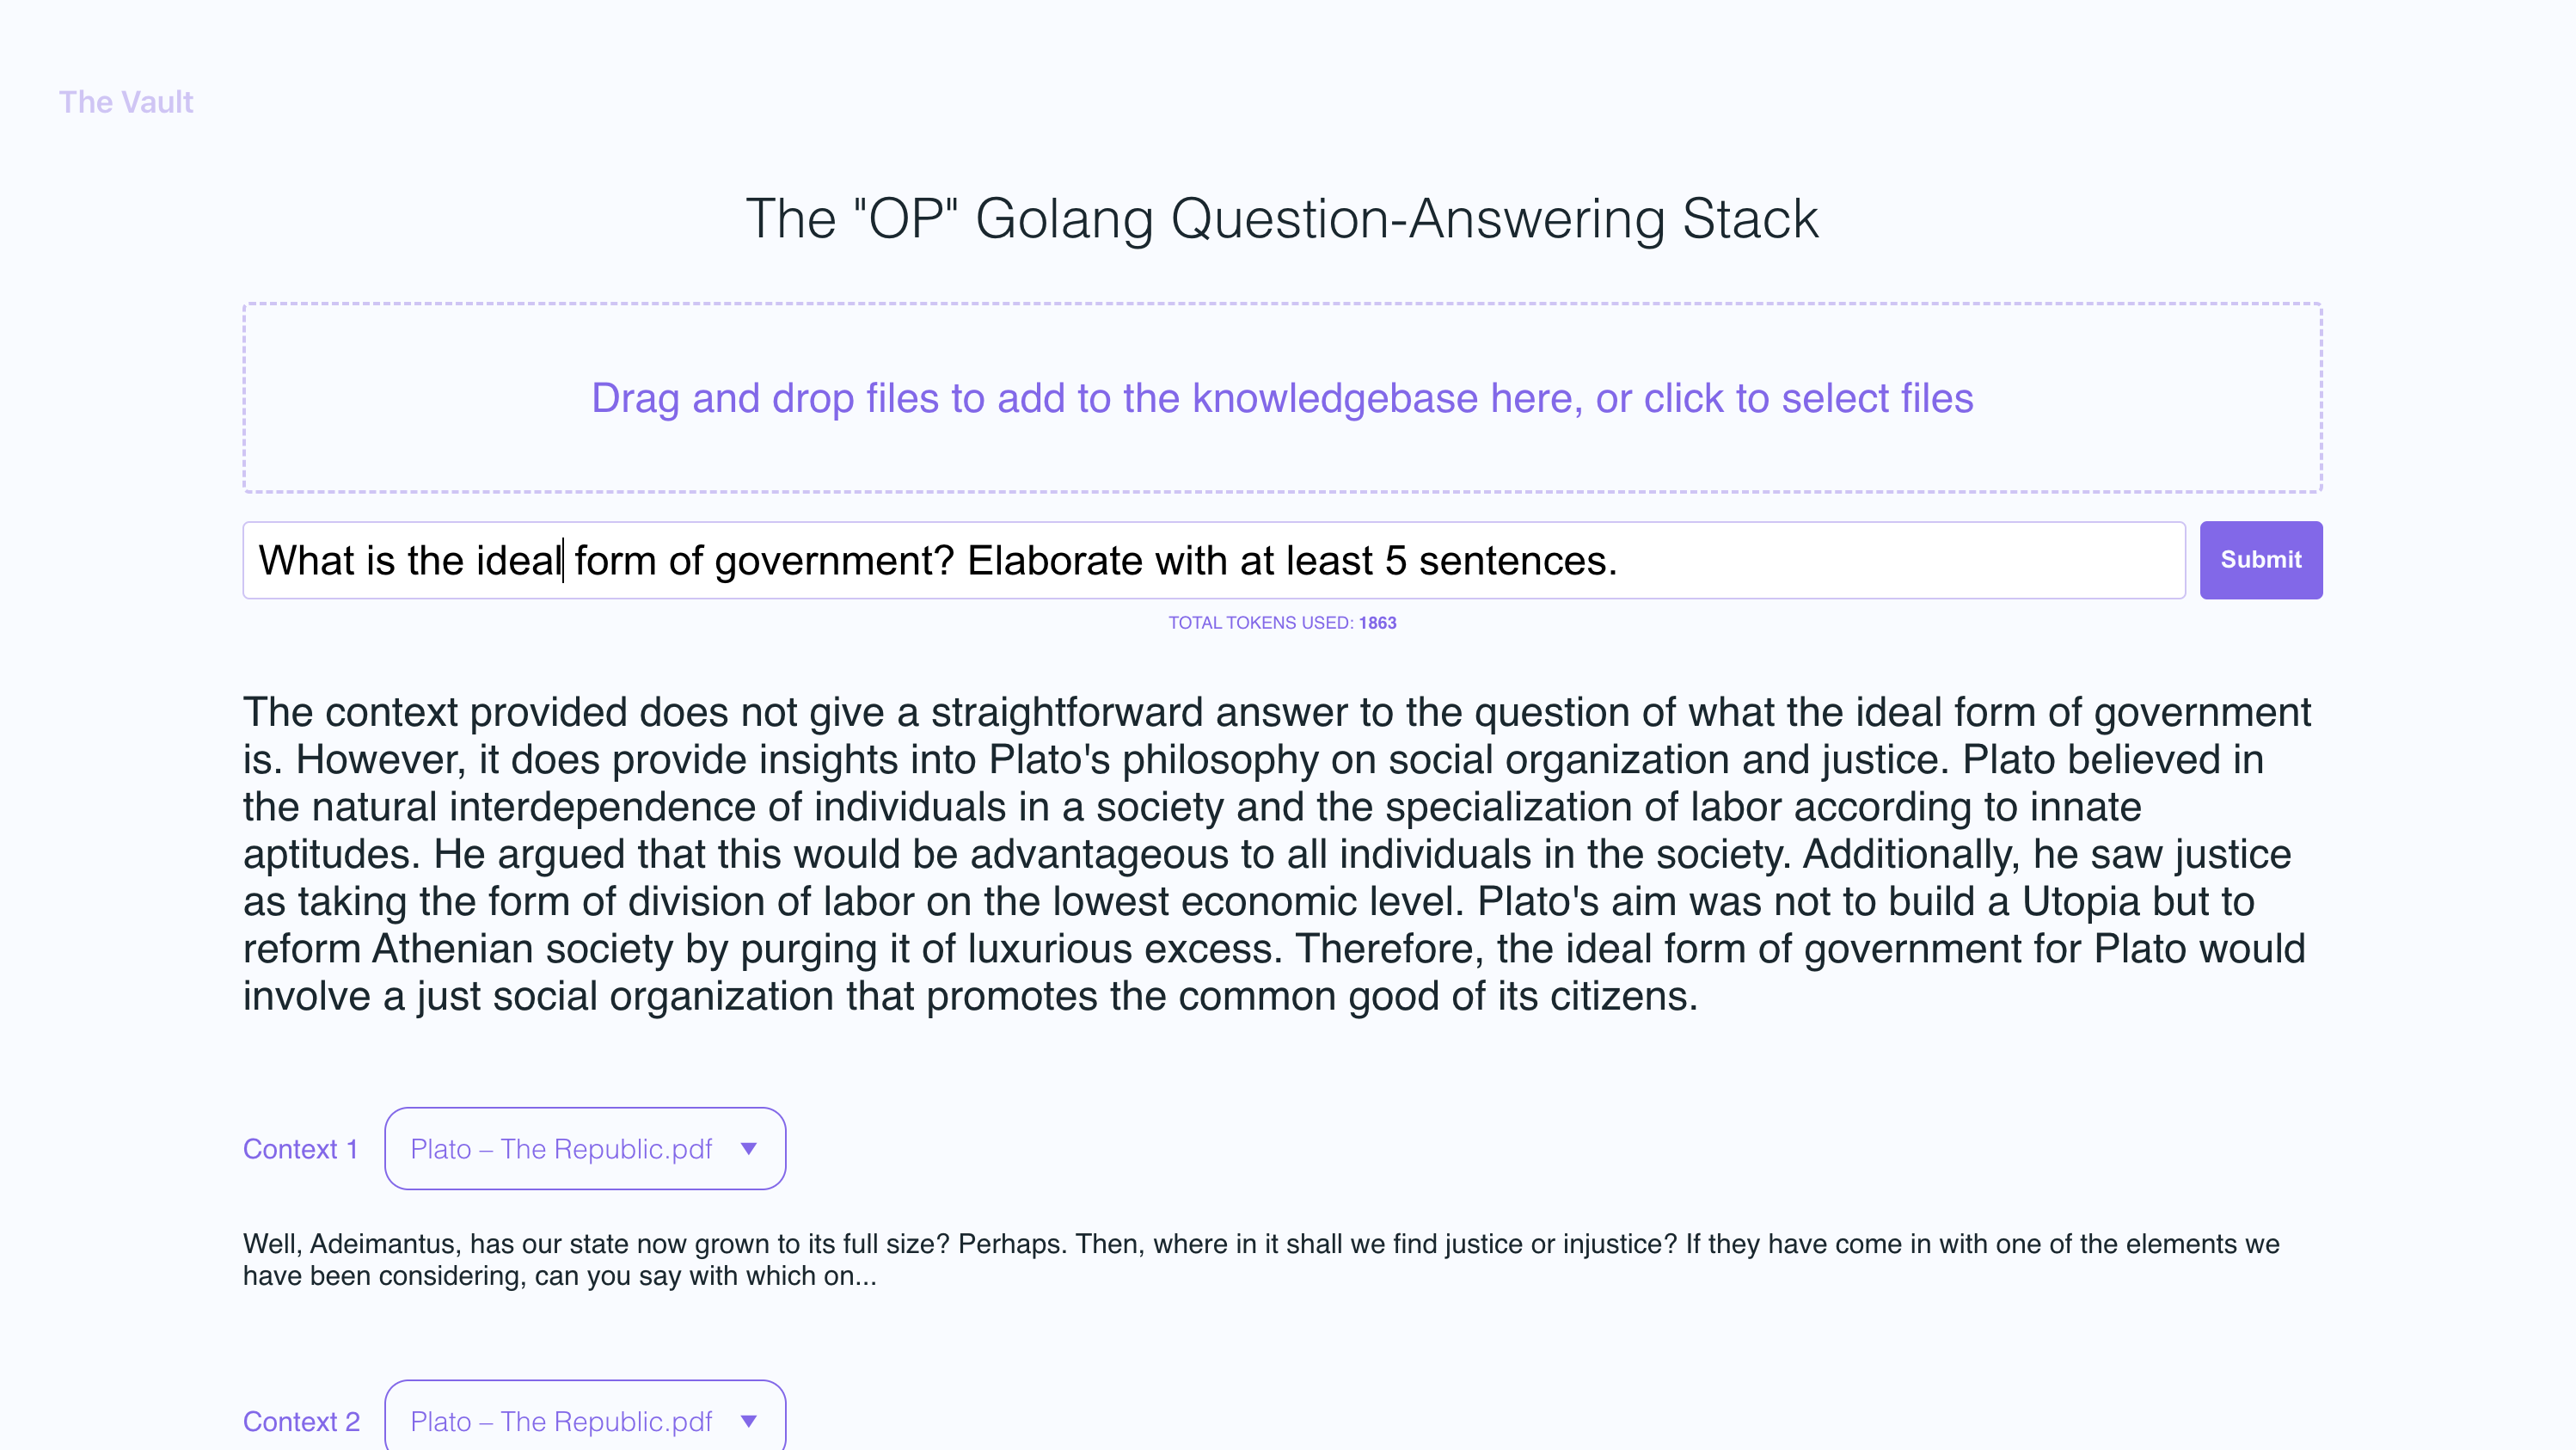
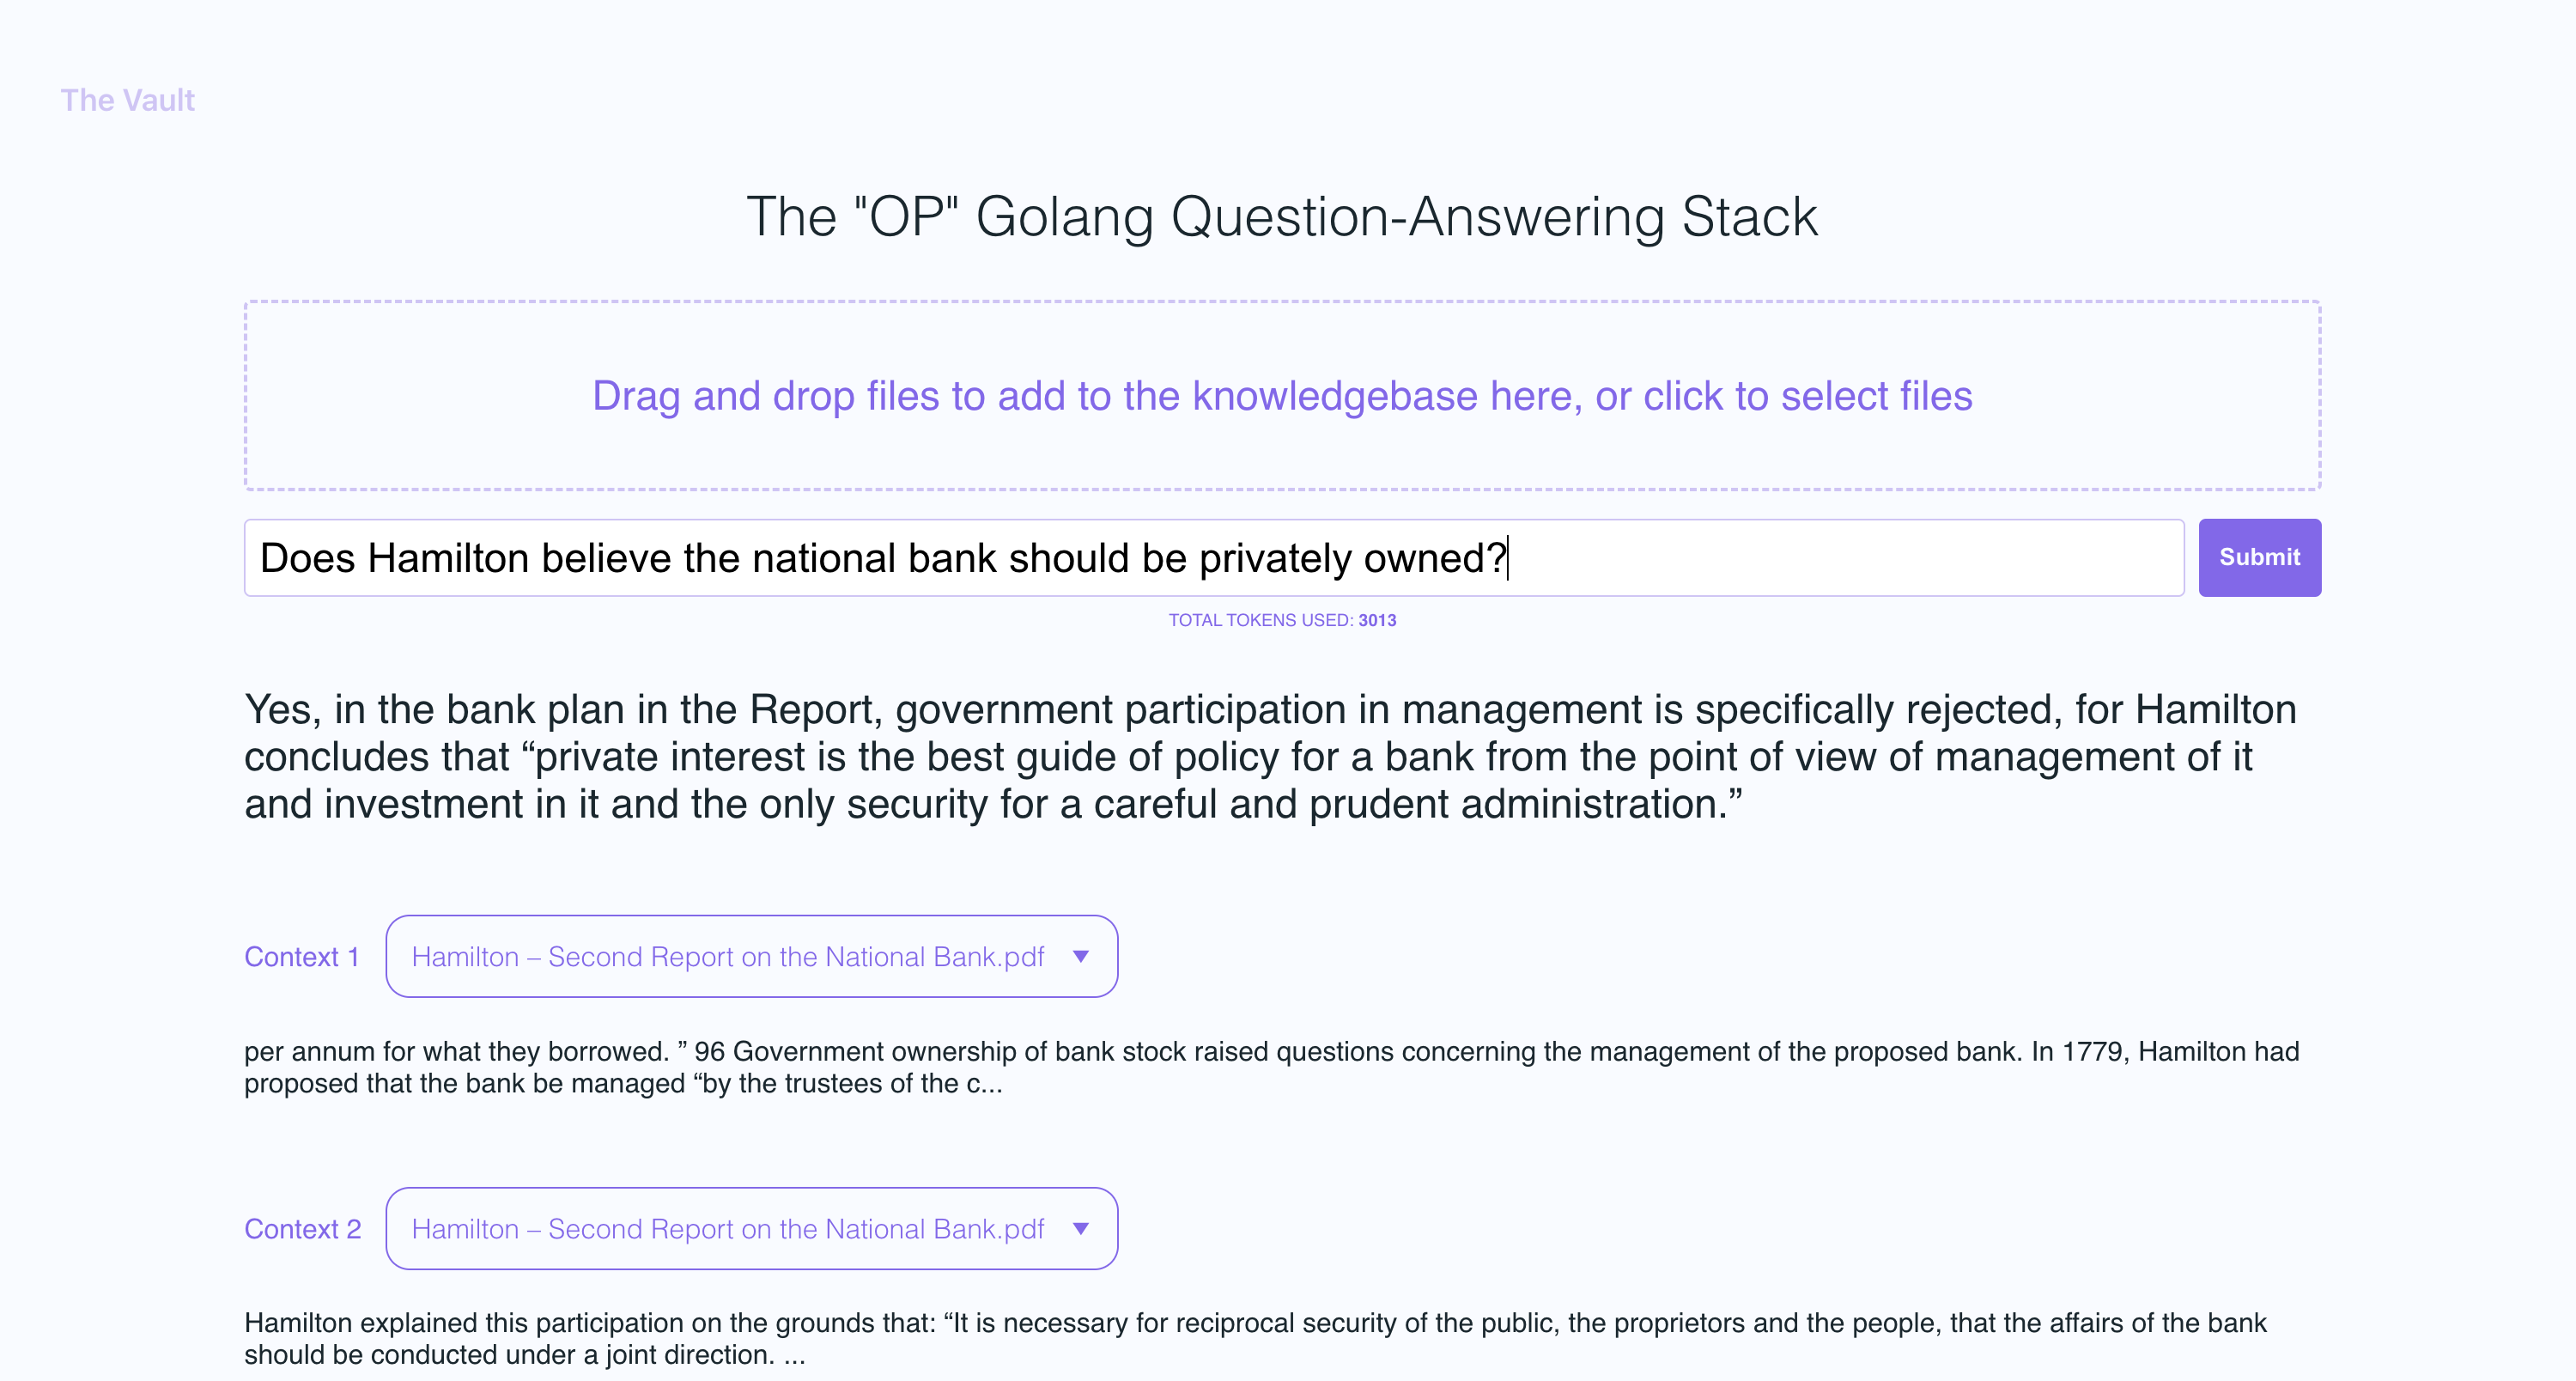
OP Vault uses the OP Stack (OpenAI + Pinecone Vector Database) to enable users to upload their own custom knowledgebase files and ask questions about their contents.
With quick setup, you can launch your own version of this Golang server along with a user-friendly React frontend that allows users to ask OpenAI questions about the specific knowledge base provided. The primary focus is on human-readable content like books, letters, and other documents, making it a practical and valuable tool for knowledge extraction and question-answering. You can upload an entire library's worth of books and documents and recieve pointed answers along with the name of the file and specific section within the file that the answer is based on!
With The Vault, you can:
- Upload a variety of popular document types via a simple react frontend to create a custom knowledge base
- Retrieve accurate and relevant answers based on the content of your uploaded documents
- See the filenames and specific context snippets that inform the answer
- Explore the power of the OP Stack (OpenAI + Pinecone Vector Database) in a user-friendly interface
- Load entire libraries' worth of books into The Vault
- node: v19
- go: v1.18.9 darwin/arm64
- poppler
- Install go:
Follow the go docs here
- Install node v19
I recommend installing nvm and using it to install node v19
- Install poppler
sudo apt-get install -y poppler-utils on Ubuntu, or brew install poppler on Mac
- Create a new file
secret/openai_api_keyand paste your OpenAI API key into it:
echo "your_openai_api_key_here" > secret/openai_api_key
- Create a new file
secret/pinecone_api_keyand paste your Pinecone API key into it:
echo "your_pinecone_api_key_here" > secret/pinecone_api_key
When setting up your pinecone index, use a vector size of 1536 and keep all the default settings the same.
- Create a new file
secret/pinecone_api_endpointand paste your Pinecone API endpoint into it:
echo "https://example-50709b5.svc.asia-southeast1-gcp.pinecone.io" > secret/pinecone_api_endpoint
-
Install javascript package dependencies:
npm install -
Run the golang webserver (default port
:8100):npm start -
In another terminal window, run webpack to compile the js code and create a bundle.js file:
npm run dev -
Visit the local version of the site at http://localhost:8100
- Install go:
Follow the go docs here
- Install node v19
I recommend installing nvm and using it to install node v19
- Install poppler
via uer5305519 and Jeru Luke on stack overflow
Go to this page and download the binary of your choice. In this example we will download and use poppler-0.68.0_x86.
Extract the archive file poppler-0.68.0_x86.7z into C:\Program Files. Thus, the directory structure should look something like this:
C: └ Program Files └ poppler-0.68.0_x86 └ bin └ include └ lib └ share
Add C:\Program Files\poppler-0.68.0_x86\bin to your system PATH by doing the following: Click on the Windows start button, search for Edit the system environment variables, click on Environment Variables..., under System variables, look for and double-click on PATH, click on New, then add C:\Users\Program Files\poppler-0.68.0_x86\bin, click OK.
From the start menu, search for Edit the system environment variables, click on Environment Variables..., then on the lower half of the next dialogue under System Variables, select New.... Create three new key value pairs:
- OPENAI_API_KEY : OpenAI API Key
- PINECONE_API_KEY : Pinecone API key
- PINECONE_API_ENDPOINT : https://Pinecone API endpoint
IF YOU DON'T PREPEND HTTPS:// TO YOUR ENDPOINT, IT WILL FAIL
When setting up your pinecone index, use a vector size of 1536 and keep all the default settings the same.
- Within the project folder, create an empty 'bin' folder.
Use Git Bash for the following commands
-
Install javascript package dependencies:
npm install -
Run the golang webserver (default port
:8100):npm startIf you run into issues with this step such as Go reporting incompatibility with your Windows version, you can run the following command from the base of the project folder in bash:
env GOOS=windows GOARCH=amd64 go build -o ./bin/vault-web-server.exe ./vault-web-serverBased on your system specs, you may need to modify the GOARCH variable
-
In another terminal window, run webpack to compile the js code and create a bundle.js file:
npm run dev -
Visit the local version of the site at http://localhost:8100
In the example screenshots, I uploaded a couple of books by Plato and some letters by Alexander Hamilton, showcasing the ability of OP Vault to answer questions based on the uploaded content.
The golang server uses POST APIs to process incoming uploads and respond to questions:
-
/uploadfor uploading files -
/api/questionfor answering questions
All api endpoints are declared in the vault-web-server/main.go file.
The vault-web-server/postapi/fileupload.go file contains the UploadHandler logic for handling incoming uploads on the backend.
The UploadHandler function in the postapi package is responsible for handling file uploads (with a maximum total upload size of 300 MB) and processing them into embeddings to store in Pinecone. It accepts PDF and plain text files, extracts text from them, and divides the content into chunks. Using OpenAI API, it obtains embeddings for each chunk and upserts (inserts or updates) the embeddings into Pinecone. The function returns a JSON response containing information about the uploaded files and their processing status.
- Limit the size of the request body to MAX_TOTAL_UPLOAD_SIZE (300 MB).
- Parse the incoming multipart form data with a maximum allowed size of 300 MB.
- Initialize response data with fields for successful and failed file uploads.
- Iterate over the uploaded files, and for each file: a. Check if the file size is within the allowed limit (MAX_FILE_SIZE, 300 MB). b. Read the file into memory. c. If the file is a PDF, extract the text from it; otherwise, read the contents as plain text. d. Divide the file contents into chunks. e. Use OpenAI API to obtain embeddings for each chunk. f. Upsert (insert or update) the embeddings into Pinecone. g. Update the response data with information about successful and failed uploads.
- Return a JSON response containing information about the uploaded files and their processing status.
After getting OpenAI embeddings for each chunk of an uploaded file, the server stores all of the embeddings, along with metadata associated for each embedding in Pinecone DB. The metadata for each embedding is created in the upsertEmbeddingsToPinecone function, with the following keys and values:
file_name: The name of the file from which the text chunk was extracted.start: The starting character position of the text chunk in the original file.end: The ending character position of the text chunk in the original file.title: The title of the chunk, which is also the file name in this case.text: The text of the chunk.
This metadata is useful for providing context to the embeddings and is used to display additional information about the matched embeddings when retrieving results from the Pinecone database.
The QuestionHandler function in vault-web-server/postapi/questions.go is responsible for handling all incoming questions. When a question is entered on the frontend and the user presses "search" (or enter), the server uses the OpenAI embeddings API once again to get an embedding for the question (a.k.a. query vector). This query vector is used to query Pinecone db to get the most relevant context for the question. Finally, a prompt is built by packing the most relevant context + the question in a prompt string that adheres to OpenAI token limits (the go tiktoken library is used to estimate token count).
The frontend is built using React.js and less for styling.
If you'd like to read more about this topic, I recommend this post from the pinecone blog:
I hope you enjoy it (:
I currently have the max individual file size set to 3MB. If you want to increase this limit, edit the MAX_FILE_SIZE and MAX_TOTAL_UPLOAD_SIZE constants in fileupload.go.


