A bin collection notifier partly inspired by this Twitter post by Darren Tabard. Significant changes include collection schedule download from a Google Calendar, OLED display support, use of two NeoPixel Rings for greater brightness, and a capacitive touch sensor to cancel the reminder.
This is a project in two parts - simple Arduino code running on an ESP8266 handles the WiFi connection, drives the NeoPixel, and regularly downloads calendar events in JSON format from a Google Calendar. On first start it will launch a captive portal access point (SSID "Bindicator"), where you must supply a Google Scripts App ID for your calendar.
Once connected any collections will cause the Bindicator to light up 24 hours before. Tapping the top of the "bin" will cancel the reminder. Multiple collections (three maximum) on the same day will show as the colour cycling. Colour is determined by the colour chosen for the event in Google Calendar. If the reminder is ignored, it will auto-cancel at 8.00am on the day of collection.
Calendar data is refreshed every 20 minutes.
- ESP8266 development board with OLED (any ESP8266 will work) OR Makerfire D1 Mini or clone
- NeoPixel 7-LED ring (or generic equivalent) * 2
- Generic capacitive touch sensor
The Arduino code is plug-and-play. Further information on customising the program is available below.
If you're using a plain ESP8266 board you should comment out the DISPLAY definition on line 18.
Instead of trying to download and parse an entire calendar, the heavy lifting is handled by a Google Script. Go to Google Scripts and create a new project. Copy and paste the code from the GoogleScript.gs file, save it, and publish it.
You need to save the API ID at this point. This is the section of the URL from /macros/s through to /exec (see below in bold):
https://script.google.com/macros/s/**AKfycbzcUsdfsdfsdltDtBHlbgde_9fXQvYMuddsvGhHFIGcSl3wr_5k**/exec
You'll need to supply this ID when you set up the Bindicator for the first time, otherwise it'll just show you my bin collection calendar.
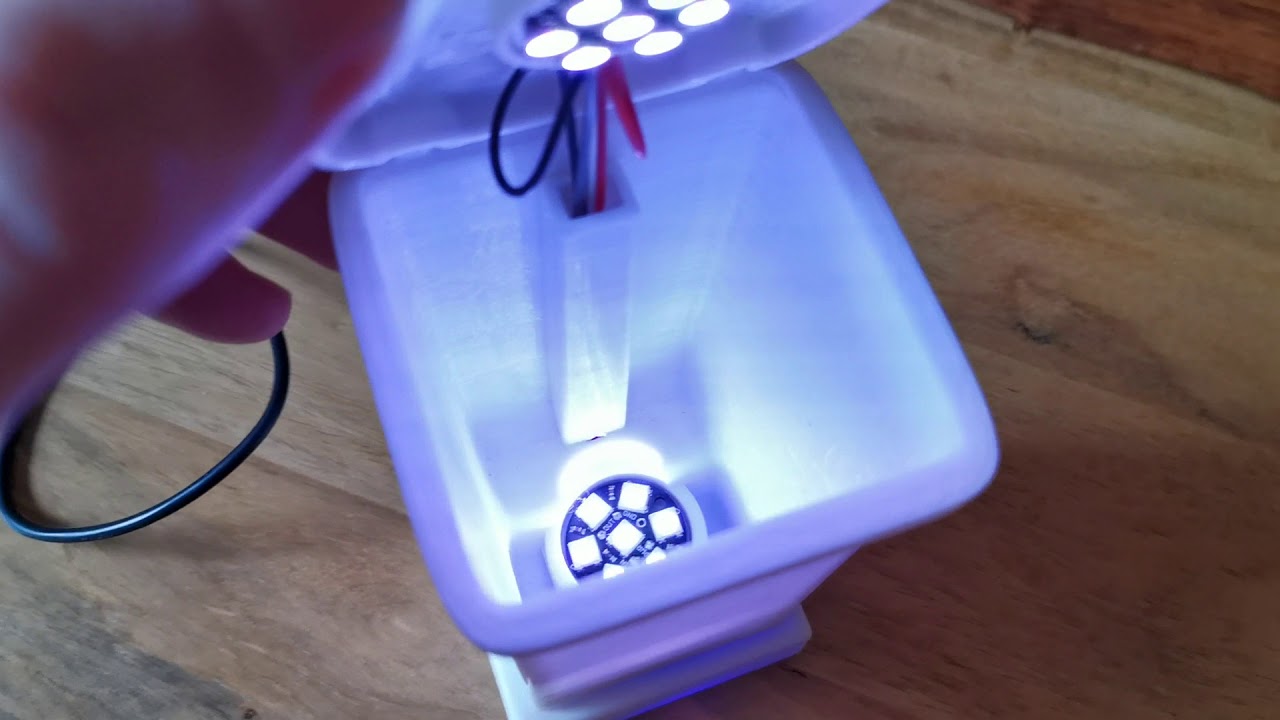
Minimal soldering required. You'll need to solder wires to the NeoPixels and touch sensor. The NeoPixels support loop-in-and-out for data, saving a pin on the ESP8266. Dupont jumper wires can be used to connect to the board. I removed the plastic connector and replaced it with thin heat shrink tube to allow more flexibility when squashing everything into the base.
NeoPixels and the button are happy on either 3.3 or 5V. I would not recommend running both from 3.3V as the on-board regulator will struggle, but the 5V side should be fine, as is a mixture of both.
Important: The D1 Mini only has one ground. Either loop through both NeoPixels and then on to the button, or solder a couple of header pins horizontally to the top of the USB port (common ground).
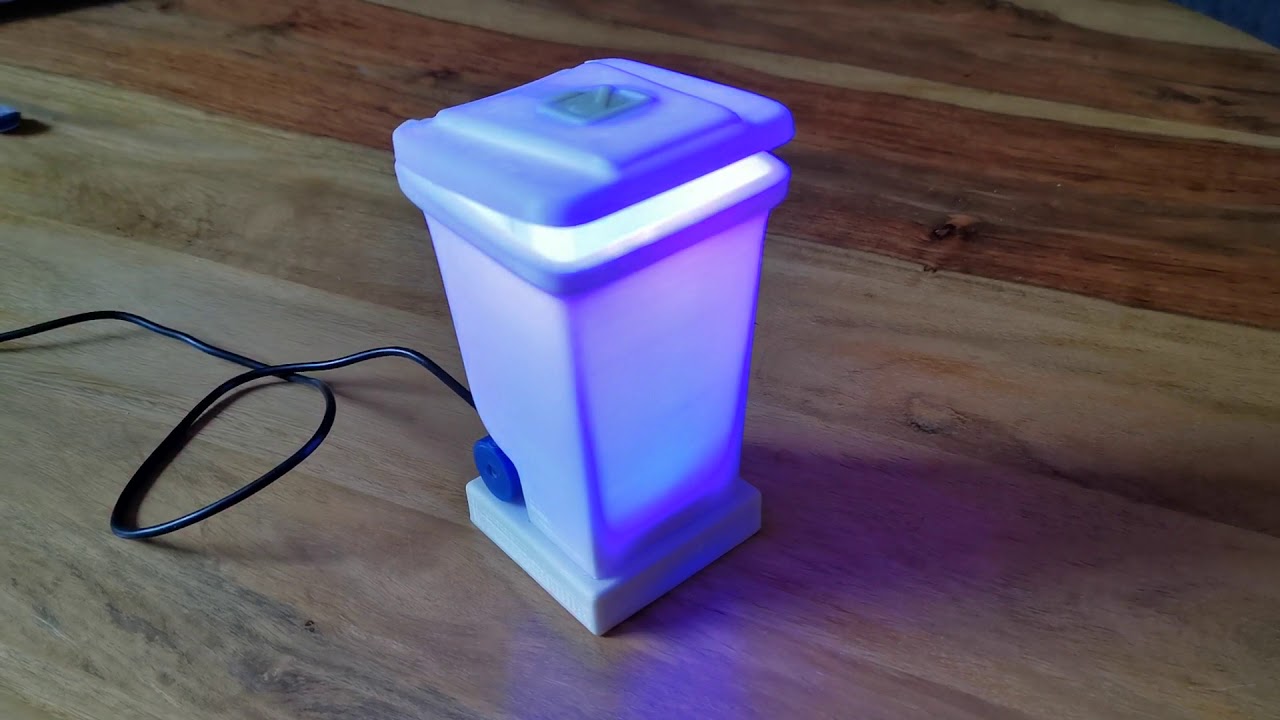
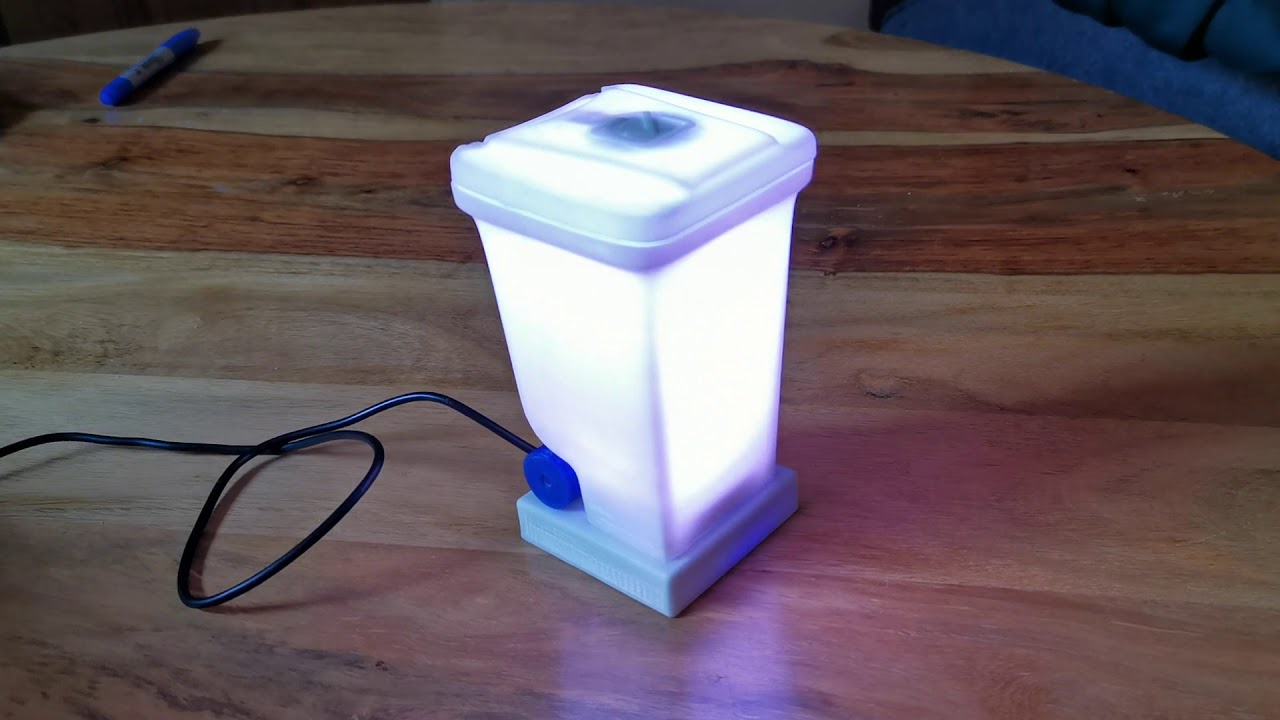
I've modified a fantastic model of a wheelie bin / trash can by DrLex. You'll need to download the wheels and axles from Thingiverse because I've not edited them. I've changed the bin model to include a mounting ring for the NeoPixel and a housing for the capacitive touch switch. I'd recommend printing with extra solid layers both on the sides and the top. I've used transparent PLA and white. White is best. Grey definitely doesn't work. :-)
If you use transparent PLA you may wish to print a diffuser which drops on top of the LED ring. This makes the light much easier to see in daylight, and prevents colour fringing effects from the layer lines.
I hot-glued the button and NeoPixel to the lid.
- Pulsing White: Connecting to WiFi
- Solid White: Downloading calendar data
- Magenta (at startup): WiFi portal running
- Magenta: Reminder cancelled
- Red: Unable to connect to WiFi
Can't connect to WiFi. The ESP8266 will only connect to 2.4GHz networks. If the captive portal isn't working properly, you can easily hard-code the SSID / password / Google Script ID into the Arduino program.
I can connect but then see a single red flash Check your Google Script ID. This is a response to a 404, which Google returns if the script ID is wrong. See above.
Corrupted names on the OLED display. I think this is a memory leak from the Linked List which handles events. The reality is that I'm not sure why it's happening. If you don't like it just reboot the Bindicator.
Colours aren't distinctive. I'd recommend sticking with strong primary colours (green / blue / orange etc) instead of the paler equivalents. The brightness variable may help here, as would implementing the gamma correction function available from Adafruit. If you don't like them, they're easily corrected (8 bit RGB values).
Generic "it's not working!" The ESP8266 is quite particular over pins used for GPIO, especially at boot. Check the various pin-outs on Google for recommendations. The numbers silk-screened onto the board do not correspond with the Arduino IDE assignment.
You could also uncomment the DEBUG flag in the DebugMacros.h file which will provide more information through the serial monitor.
Reducing the reliance on hot-glue would be a start. I wasn't aware of NeoPixel linear boards when I built this, which could be used to create some very interesting effects if mounted on the inside back wall of the model.
- Darren Tabard for the inspiration.
- DrLex for the incredible 3D model.
- Adafruit for their NeoPixel Library.
- Arkhipenko for the TaskScheduler Library library.
- ElectronicsGuy for his HTTPSRedirect library, without which this wouldn't be possible.
- Olikraus's u8g2 display library and fonts.
- ArduinoJSON.