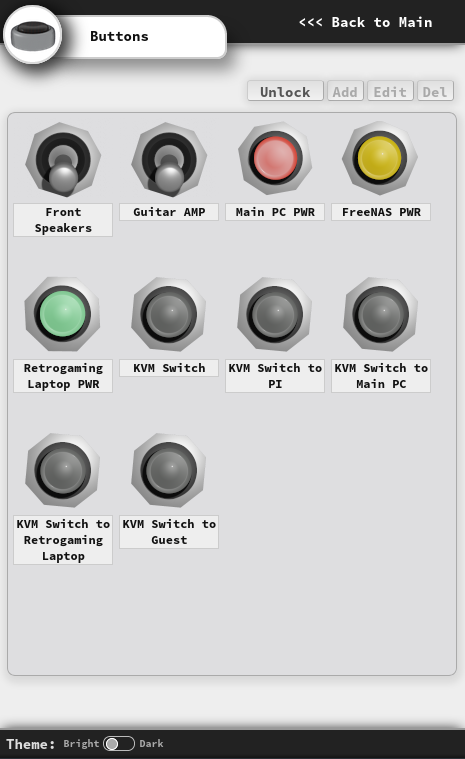
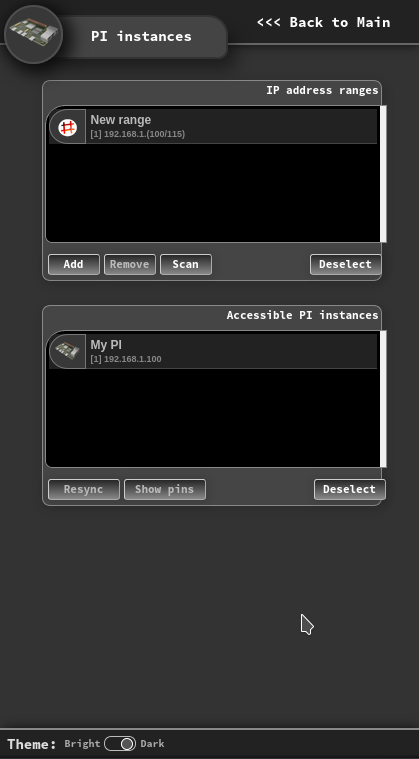
This is a web UI for managing, grouping and operating GPIO pins on one or more Raspberry PIs. Works on Raspberry Pi 4, using Java 11, MariaDB and HTTPD. Security is missing, but may be added on request.
This app is meant to allow remote control of various elements within a server rack. These are not all rackable devices and some of them (KVM switches for example) cannot be mounted onto the front of the rack so that they can be easily operated. This is an alternative to building a mounted control panel with buttons and switches. Instead, one might consider having a virtual panel that can be carried over to the next room or anywhere within the range of the wi-fi network.
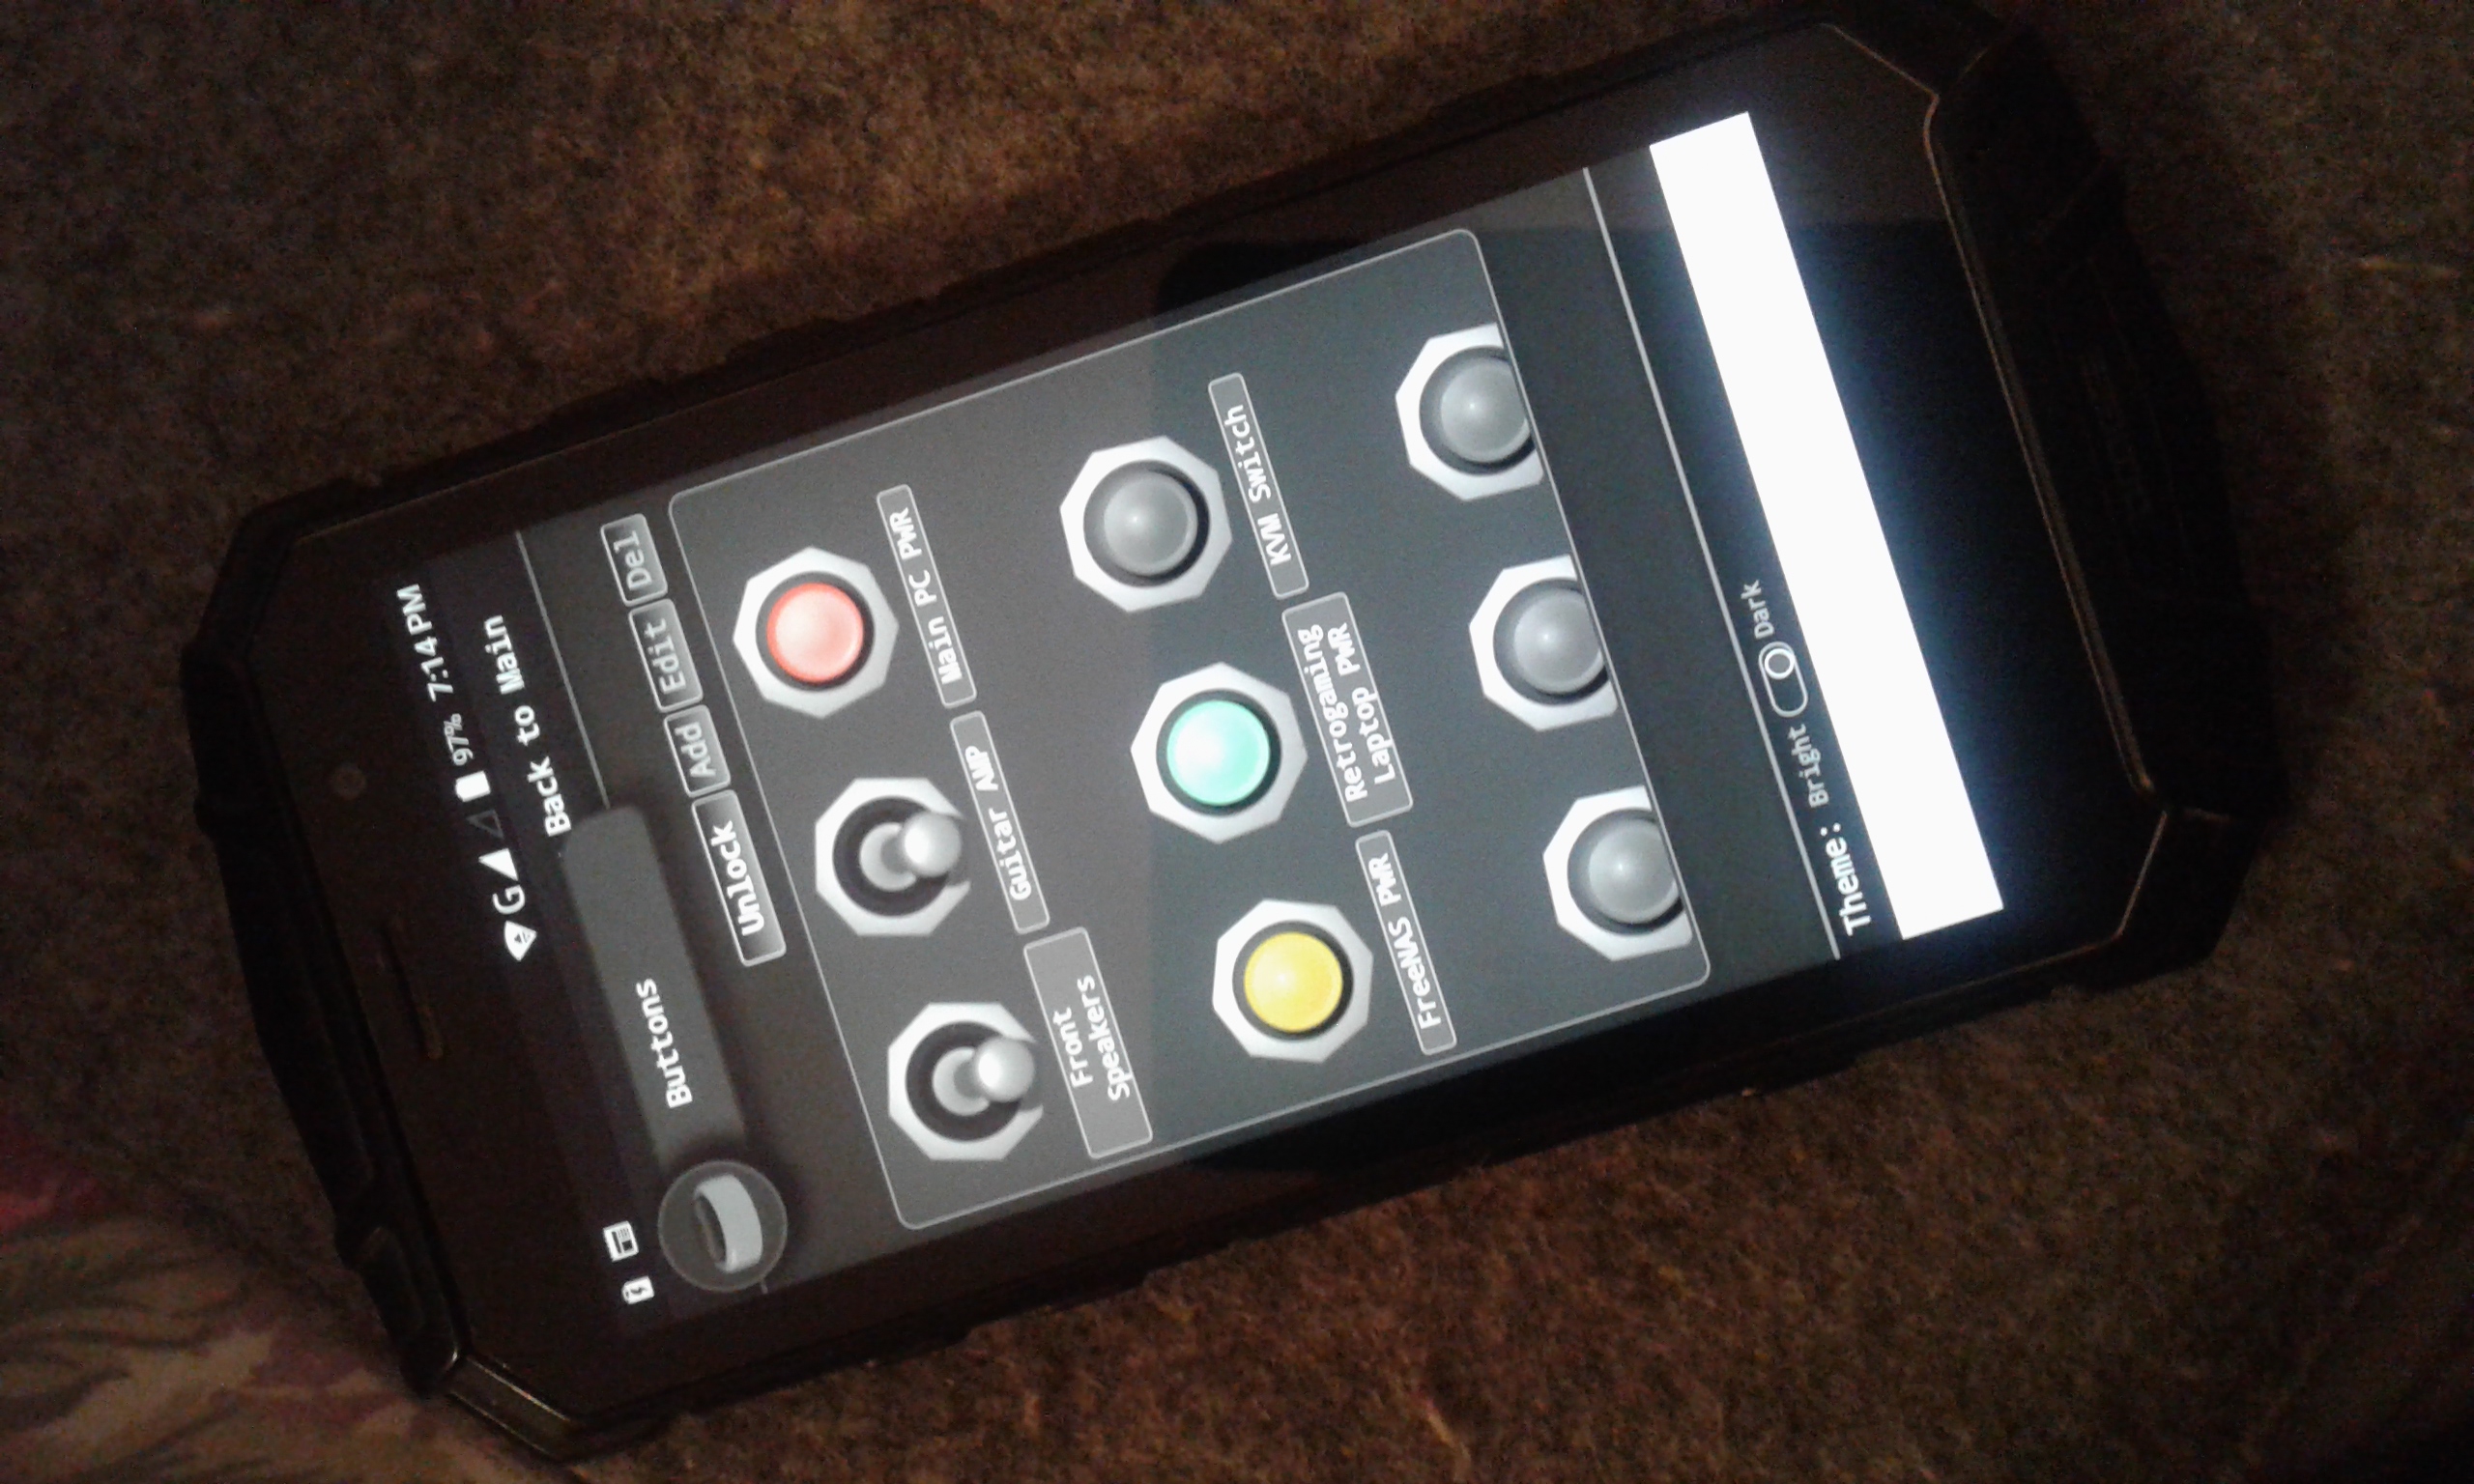
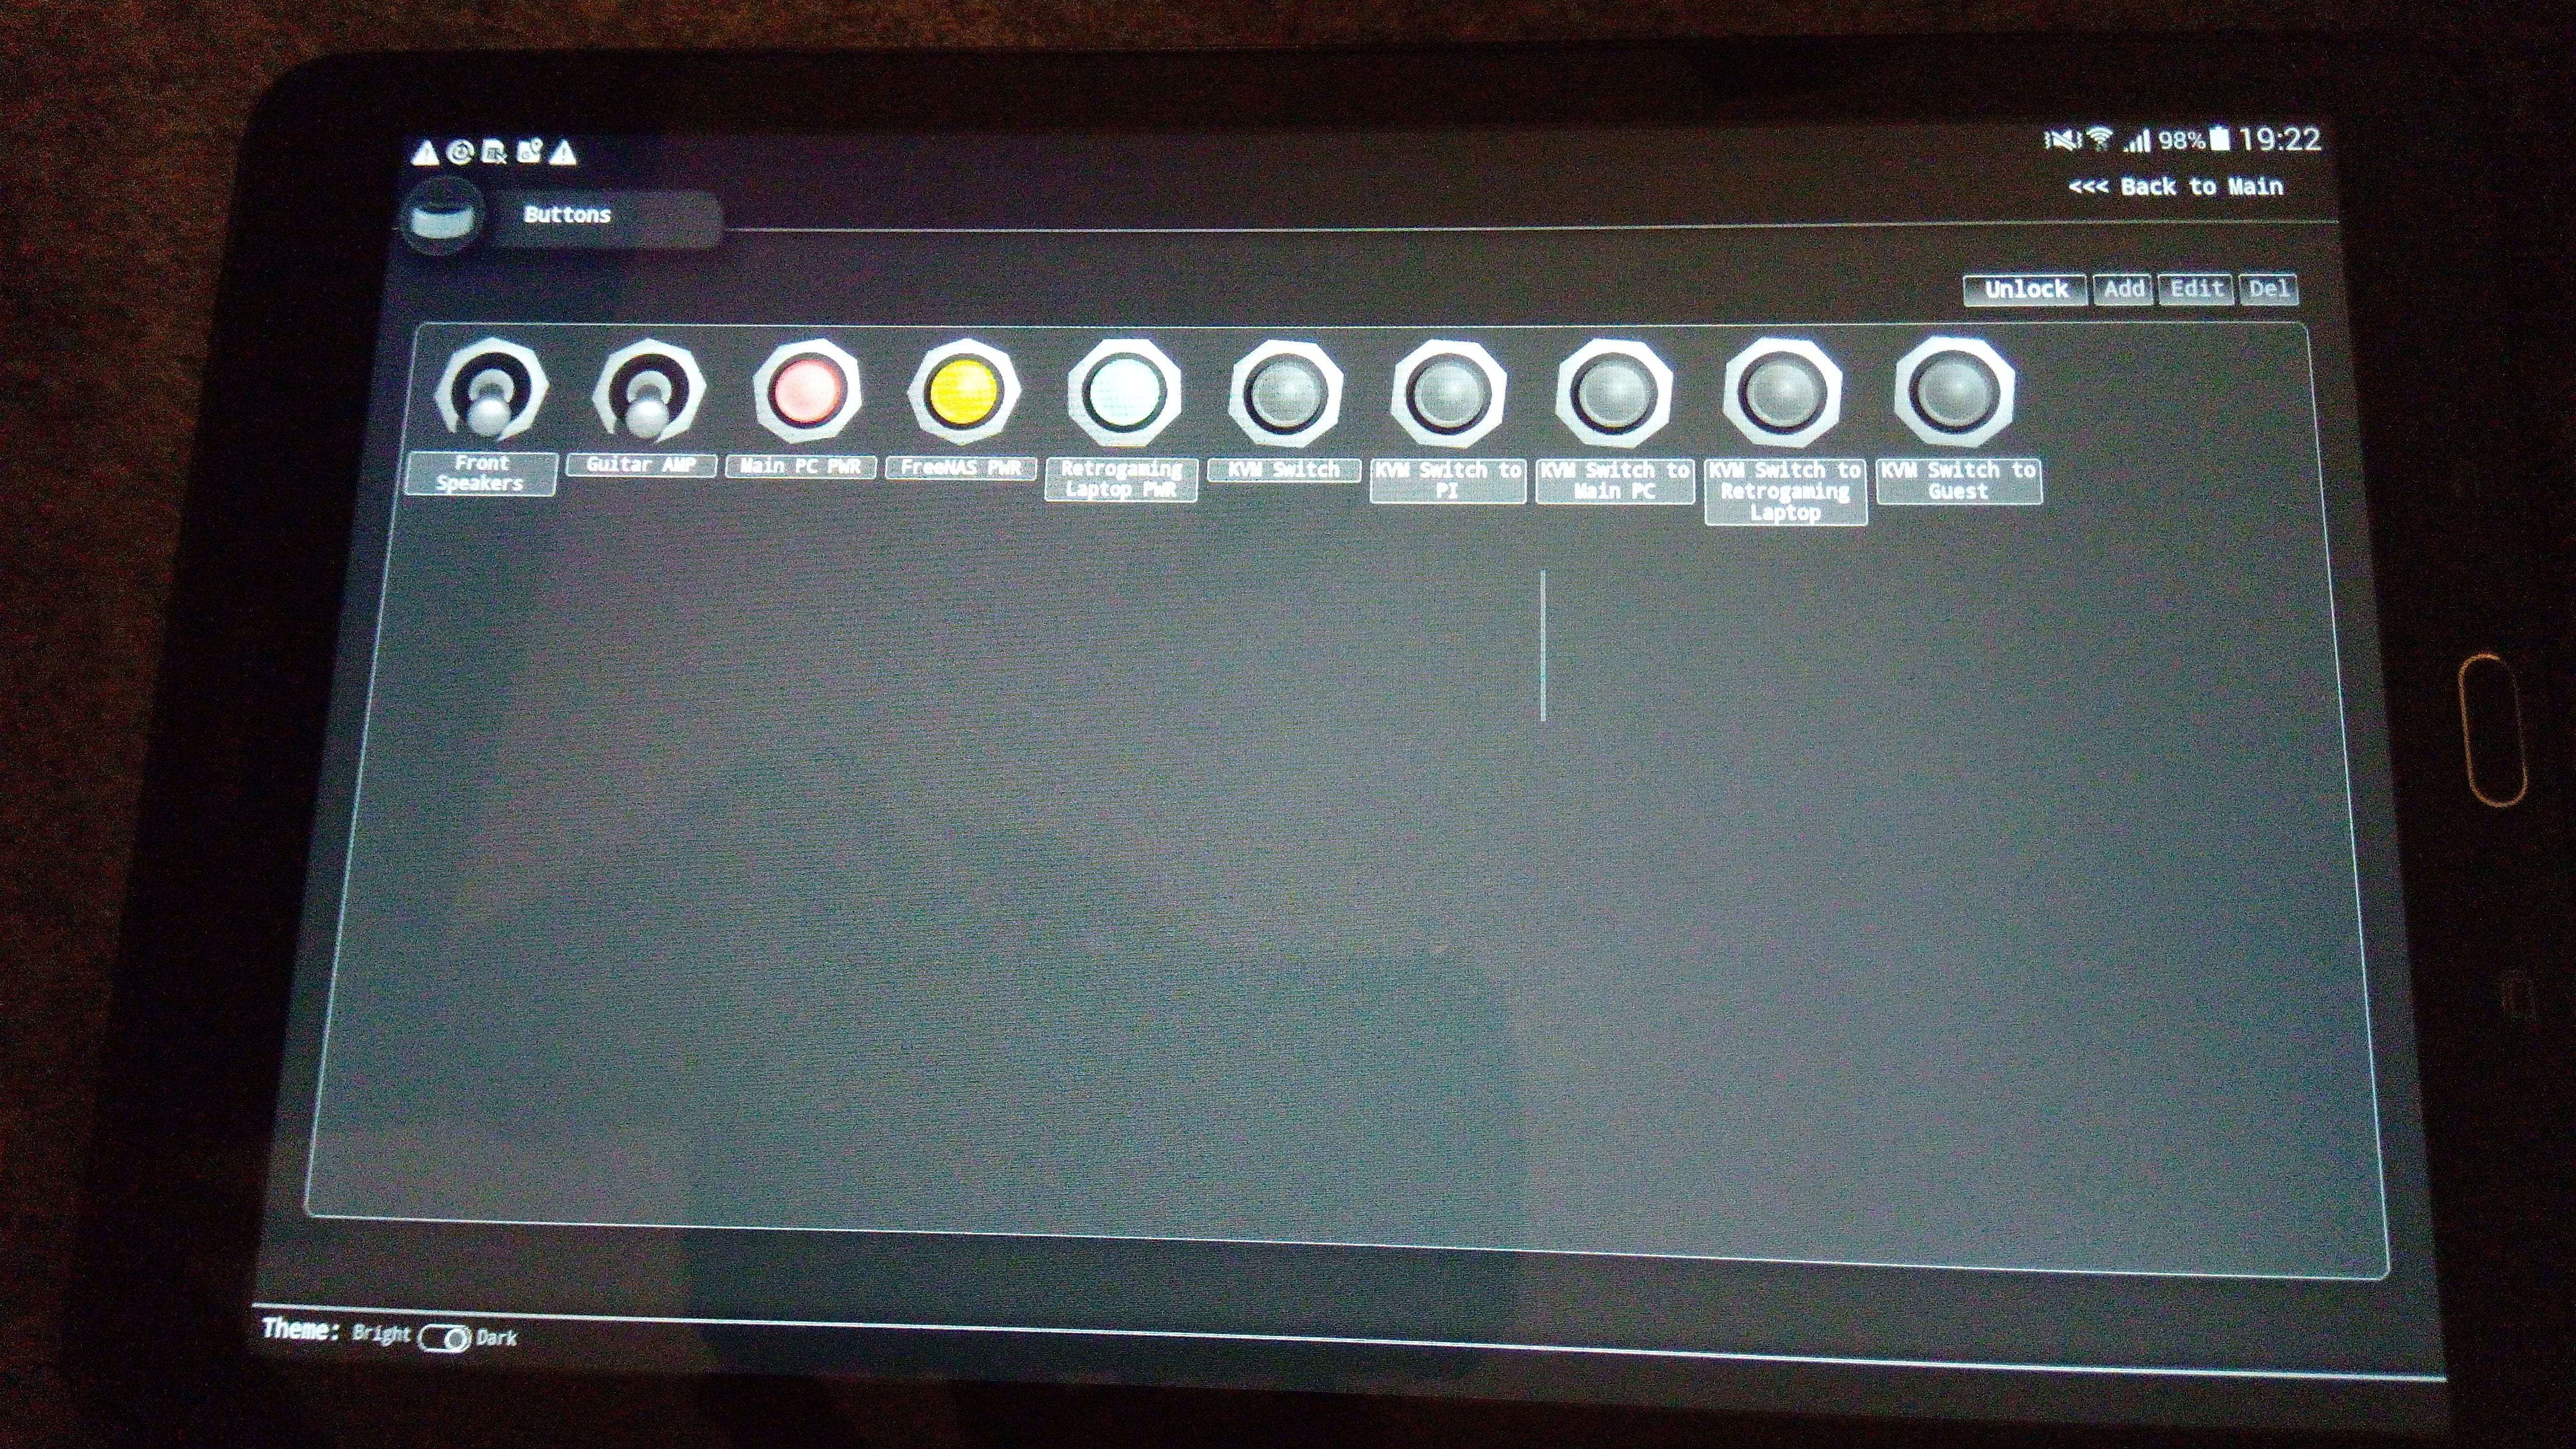
The web UI has both a bright and a dark skin, is responsive, within certain limits, and renders well on mobile devices.
The buttons panel is fully configurable. Users may choose the button appearence, text and order and even upload new button images if the stock ones are not representative for the functionality.
Since the intended purpose of the app is to operate relays as either pushbuttons or on/off switches, One should not expect more capabilities such as being able to set the intensity of a knob. However, all aspects of the on/off/pushbutton functionality are configurable. Users may set things like the amount of time a pushbutton should stay pressed or how many states the target device has, so that one may define a virtual button that performs the push operation on the physical button as many times as it's required to set the state to the desired one.
- The Python scripts residing in the piinterface-pi module consist of a Flask web service which has to be running on each PI to provide acess to the functionality specified in the config file for that PI
- The JAR file residing in the piinterface-rest module is the management app, which registers the user-defined buttons and their functionality and calls the Flask web service on each pi when the buttons are pushed
- The Angular UI files residing in the piinterface-ui module provide the actual web interface where users define and push the buttons
The build process is managed by Maven. All one needs to do is run a clean install.
cd piinterface
mvn clean install
The built packages can be found at the following locations:
- the JAR file can be found at piinterface/piinterface-rest/target/
- the Angular UI files can be found at piinterface/piinterface-ui/dist/piinterface-ui/
The Python scripts do not necessarily need to be built. They can be run using Flask, although it is not reccommended unless the network is secured.
These scripts should be installed on each PI which has to be operated by this program. The installation is straight forward:
- Make sure that Flask is installed
- Put the scripts in a directory of your choosing
- Open config.ini and follow the instructions provided there to set up the functionality available on the PI running the scripts
- Although not reccommended due to security concerns, running the python scripts can be done using Flask, as follows. If the network is not secure, then the Flask app will have to be compiled and installed on an HTTP server, such as Apache HTTPD.
cd $directory_where_you_put_the_python_scripts
export FLASK_APP=gpio-flask.py
flask run -p 4001 --host='ip.of.the.pi'
This should be installed on only one device, be it a PI or some other environment running JDK 11. The following steps focus on installing the JAR file on a PI.
- Install JDK 11, following the instructions provided here
- Install MariaDB, following the instructions provided here
- Log into MariaDB and create a user named piinterface and a database with the same name for the user:
CREATE USER piinterface@localhost IDENTIFIED BY 'piinterface';
CREATE DATABASE piinterface;
GRANT ALL PRIVILEGES ON piinterface.* TO piinterface;
- There is a script named "install.sql" under piinterface/piinterface-rest/running. This script must be run while logged into MariaDB:
source {path-top-piinterface}/piinterface-rest/running/install.sql
- Close the MariaDB client
- Put the JAR file in a directory of your choosing. Rename the JAR file to piinterface-rest.jar.
- Copy the files application.properties, run.bat and run.sh from piinterface/piinterface-rest/running into the aforementioned directory
- If on a Unix-based system, grant execution rights on run.sh
- Run either run.sh or run.bat, depending on the operating system
These should go in the document root of an HTTP server / virtual host. While any web server may be used, this will focus on HTTPD under Raspberry PI.
- Install HTTPD, following the instructions provided here. It is not necessary to install PHP or any other additional extensions.
- Copy the files from piinterface/piinterface-ui/dist/piinterface-ui/ into /var/www/html
- Open index.html and edit the backendAddress property of the configuration tag so that it specifies the IP address of the PI where the JAR is running. This page will be interpreted by the web browser on your computer/phone/tablet and these devices will need to know where to find the back-end module (JAR file).
After installing and configuring the 3 modules:
- The PI module should be available on each PI to be controller, on port 4001 (i.e. http://192.168.1.100:4001/info)
- The back-end module should be available at the IP address of the PI on port 8080 (i.e. http://192.168.1.100:8080/api/piInstances/findAll)
- The web UI should be available at the IP address of the PI where it was installed, on port 80 (i.e. http://192.168.1.100)


