This software works with different algorithms and instances in order to work with multiple trading strategies.
Concept list:
- Algorithm: We understand an algorithm as the logic to trade. This repository has no algorithm, they have to be installed.
- Instance: An instance is an entity with an assigned algorithm and a config file. The config file usually comes with a maxium budget.
With this two concepts we can understand how MTR works. Algorithms are installed, instances are created, each instance has its own properties.
It is possible, and it is intentional to have multiple instances running in order to apply multiple strategies to the market.
Quick guide for server installing, install git, clone this repository and run in this root: make install
Verbose guide for server installing:
- Install dependencies: Git, Docker && Docker Compose.
- Clone this repository (For example,
/home/mtr/services/mtr-engine). - Install an algorithm (
make add repo='link', add it/uncomment also to theRobotEngineFactory::robotEngines). - Create a .env from template (
cat .env.develop > .env). - Add your Binance keys to your .env, the rest of variables can be blank. (
vim .env) - Setup and testing (
make build && make unit). - Create a configuration file in /data to your bot and fill the belonged parameters. (
vim data/1.json). - Add the file to your instances in index.json, only needed for multitrading instances. (
vim data/index.json). - Run cron.php.
make cron - Done!
Useful tips:
- To stop the services: make down
- To check the history: data/history-logs/{instance}.json
- To check the errors: data/error-logs/{instance}.json
- To soft stop the cron you can do
touch stopin the project's root. - To brush your teeth every day is cheaper than go to the dentist in a few years.
Create a copy of .env.develop
cat .env.develop > .env
Fill the following fields in order to allow the robot to connect with Binance:
BINANCE_PUBLIC_KEY=
BINANCE_PRIVATE_KEY=
If you don't know how to generate or what are this keys, google: "Binance api keys" in order to document yourself.
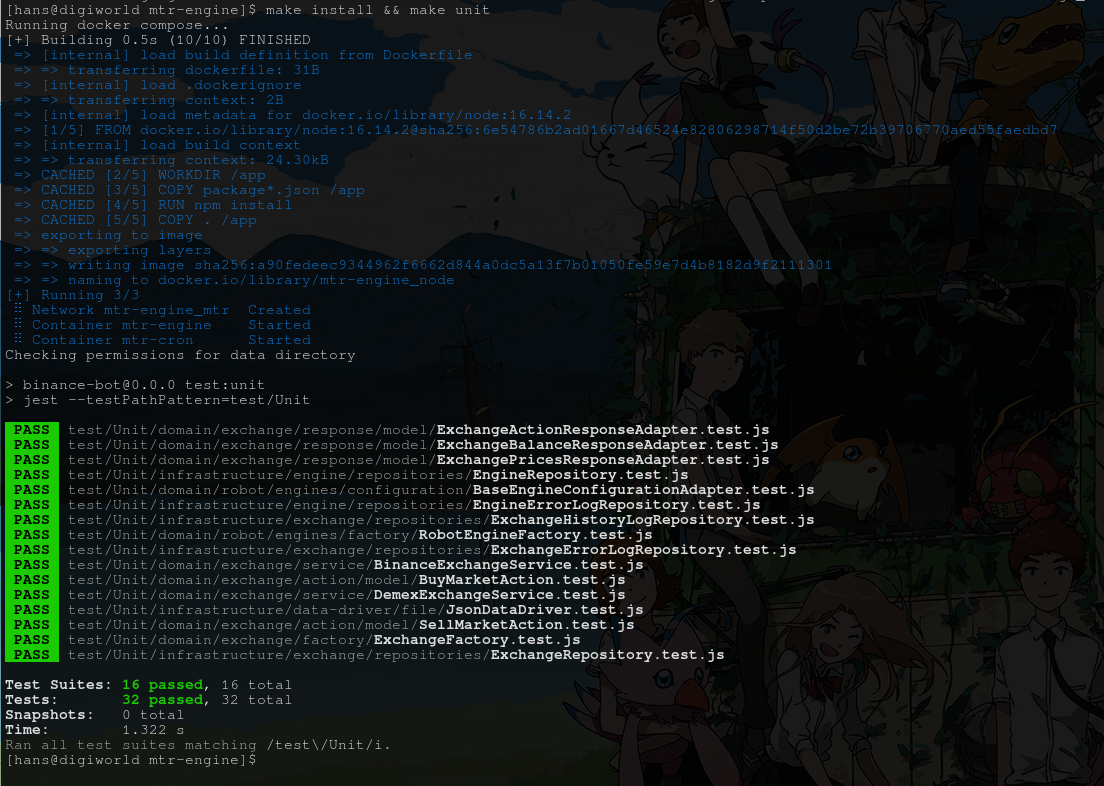
Good practise is to run unit tests:
$ make build && make unit
This will create a couple of docker containers, one for a php and another one for nodejs. Nodejs will run the bot service and php will allow you to manage how the requests are made.
(Image is out-to-date, is not make install but make build)
All data for trading is on /data.
You will find error-logs, history-logs directories, which will save errors and the history of trading.
Json files located directly under /data are instances' data of an algorithm. The file data/index.json will collect them and set to active or not. Right now the entry point of the API to run all engines on parallel is removed, but it will be restored.
The repository provides some examples of this configuration, you can restore the index.json to:
{
"instances": {}
}
It will remove all relation with json files. Then, you can just remove 1.json, 2.json, 3.json and 4.json.
In order to get an algorithm, you have two ways: Create it or clone it.
In case of having a repository with an existing algorithm, go to the root with terminal and execute:
make add $link
Where $link is the link to the repository.
It will perform a clone on mtr-engine/domain/robot/engines/trading-algorithms, now we have to add it to the RobotEngineFactory.
In RobotEngineFactory::robotEngines, add a new key and the class instance (there's commented an example on the class):
robotEngines = {
 'linear_function': LinearFunctionRobotEngine
}
You will have registered a new algorithm.
Algorithms provide their own unit tests, so run
$ make build && make unit
to move the changes to the docker container and run all the unit tests.
MTR does not perform actions if no request is sent to it.
The cron.php is a file to perform the requests to the node service. It's running once you have executed make install.
Until the endpoint to perform multiple async requests be finished, the file cron.php will have to be edited before execute it.
In the loop, repeat this line with the instance id and the engine key you have set before in the RobotEngineFactory.
file_get_contents('http://localhost:3000/instance/?id=4&engine=linear_function');
NOTES: In case you would like to execute the php file from the docker container:
- Change the url in cron.php from localhost to the ip of the mtr-engine docker container. You can do it from
docker exec -it mtr-engine ip aordocker inspect mtr-enginefile_get_contents('http://172.26.0.2:3000/instance/?id=4&engine=linear_function'); - Execute it. The command
make upshould be executed before in order to have the container running. (Remove the -d in case you want to debug the execution)
docker exec -it -d mtr-cron php cron.php