- 记录一些在创建项目过程中解决的一些问题
<a th:href="@{/tomanage/}+${list.getId()}">人员管理</a>    //第一种方法  传递一个参数

 <a th:href="@{'/deleteuser/'+${list.getId()}+'/'+${pid}}">删除</a></td>  //第二种方法,传递多个参数
前端接受
-
注意: 使用@PathVariable("id")接收参数 。 不能用RequestParam()。 否则会报错。
Required request parameter 'id' for method parameter type long is not presen
@GetMapping("/deleteuser/{id}/{pid}")`
    public String deleteuser(@PathVariable("id")long id,@PathVariable("pid")long pid, HttpSession session,Model model){
        List<User> users =(List<User>)session.getAttribute("users");
        User user = userService.getById(id);
        users.remove(user);
        model.addAttribute("users",users);
        return "home/usermanage";
}//1.将日期转化为字符串
Date date = new Date();
SimpleDateFormat sdf = new SimpleDateFormat("yyyy-MM-dd HH:mm:ss");
String format = sdf.format(date);
//2.将字符串转化为日期
String time = "1994-11-24 07:11:24";
SimpleDateFormat sdf = new SimpleDateFormat("yyyy-MM-dd HH:mm:ss");
Date date = sdf.parse(time); -
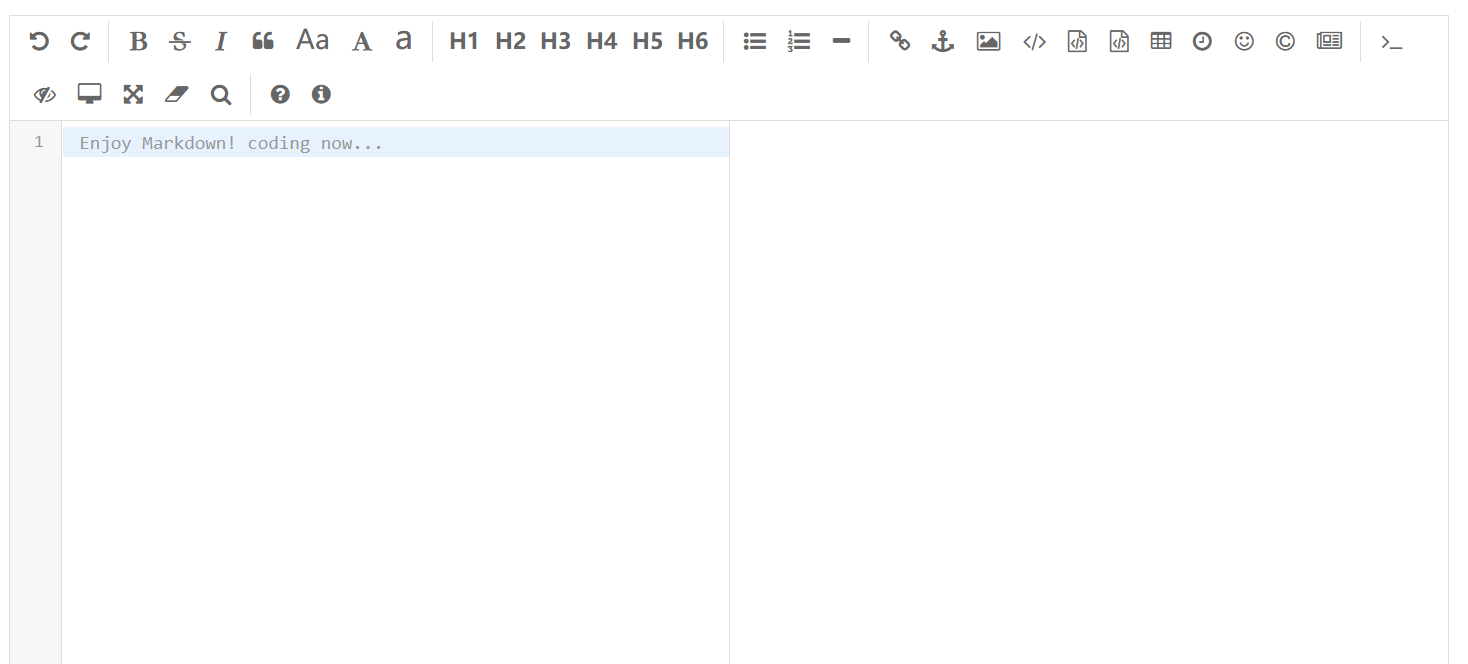
到官网 https://pandao.github.io/editor.md/ 下载 edmtor.md
-
部署到 static 静态资源中。
-
注意
- 将路径改为自己的路径。
- 有一些包点不进去,使用全局搜索,查找后修改路径。确保所有的 link标签和 script标签 都能点进去。
<!DOCTYPE html>
<html lang="zh" xmlns:th="http://www.thymeleaf.org">
<head>
    <meta charset="utf-8" />
    <title>Simple example - Editor.md examples</title>
    <link rel="stylesheet" th:href="@{editormd/examples/css/style.css}" />
    <link rel="stylesheet" th:href="@{editormd/css/editormd.css}" />
    <link rel="shortcut icon" href="https://pandao.github.io/editor.md/favicon.ico" type="image/x-icon" />
</head>
<body>
<div id="layout">
    <header>
        <h1>Simple example</h1>
    </header>
    <div id="test-editormd">
        <!-- 存放源文件用于编辑 -->
        <textarea style="display:none;" id="textContent" name="textContent"></textarea>
        <!-- 第二个隐藏文本域,用来构造生成的HTML代码,方便表单POST提交,这里的name可以任意取,后台接受时以这个name键为准 -->
        <textarea id="text" class="editormd-html-textarea" name="text"></textarea>
    </div>
</div>
<script th:src="@{editormd/examples/js/jquery.min.js}"></script>
<script th:src="@{editormd/editormd.min.js}"></script>
<script type="text/javascript">
    var testEditor;
    $(function() {
        testEditor = editormd("test-editormd", {
            width   : "90%",
            height  : 640,
            syncScrolling : "single",
            path    : "../editormd/lib/",
            imageUpload: true,
            imageFormats: ["jpg", "jpeg", "gif", "png", "bmp", "webp"],
            imageUploadURL: "/file",
            //这个配置在simple.html中并没有,但是为了能够提交表单,使用这个配置可以让构造出来的HTML代码直接在第二个隐藏的textarea域中,方便post提交表单。
            saveHTMLToTextarea: true
        });
    });
</script>
</body>
</html>- 展示界面
- 注意事项和 3 一样。
<!DOCTYPE html>
<html lang="en" xmlns:th="http://www.thymeleaf.org">
<head>
    <meta charset="UTF-8">
    <meta name="viewport" content="width=device-width, initial-scale=1, maximum-scale=1">
    <title th:text="${article.title}"></title>
</head>
<body>

<div>
    <!--文章主体内容-->
    <div id="doc-content" style="width: 80%">
        <textarea style="display:none;" placeholder="markdown" th:text="${article.content}"></textarea>
    </div>
</div>

<link rel="stylesheet" th:href="@{/editormd/css/editormd.preview.css}" />
<script th:src="@{/editormd/examples/js/jquery.min.js}"></script>
<script th:src="@{/editormd/lib/marked.min.js}"></script>
<script th:src="@{/editormd/lib/prettify.min.js}"></script>
<script th:src="@{/editormd/lib/raphael.min.js}"></script>
<script th:src="@{/editormd/lib/underscore.min.js}"></script>
<script th:src="@{/editormd/lib/sequence-diagram.min.js}"></script>
<script th:src="@{/editormd/lib/flowchart.min.js}"></script>
<script th:src="@{/editormd/lib/jquery.flowchart.min.js}"></script>
<script th:src="@{/editormd/editormd.min.js}"></script>

<script type="text/javascript">
    var testEditor;
    $(function () {
        testEditor = editormd.markdownToHTML("doc-content", {//注意:这里是上面DIV的id
            htmlDecode: "style,script,iframe",
            emoji: true,
            taskList: true,
            tocm: true,
            tex: true, // 默认不解析
            flowChart: true, // 默认不解析
            sequenceDiagram: true, // 默认不解析
            codeFold: true
        });
    });
</script>
</body>
</html>
效果如下图所示
- 在mybatisplusConfig中进行分页配置
@Configuration
@EnableTransactionManagement
@MapperScan("com.dz.springboottravel.mapper")
public class MybatisPlusConfig {
    //分页插件
    @Bean
    public PaginationInterceptor paginationInterceptor() {
        return new PaginationInterceptor();
    }
}- 编写Controller
//num 指当前页
@RequestMapping("/page{num}")
public String page(@PathVariable("num")int num,Model model){
    List<Program> lists = programService.list();
    //查出一共有多少页
    int size = programs.size();
    int pageNum=size%8==0 ? size/8: size/8+1;
    //每页展示8条数据
    Page<Program> page = new Page<>(num,8);
    programService.page(page);
    List<Program> records = page.getRecords();

    model.addAttribute("pageNum",pageNum);
    model.addAttribute("num",num);
    model.addAttribute("programs",records);
    return "index";
}- 前端展示
- 对数字进行遍历 ==th:each=" i : ${#numbers.sequence(1,pageNum)}"==
<div id="pages" class="pb-50 mtb-25">
  <div class="common">
    <ul>
      <ul class="clearfix page-center">
       <li><a class="prev" th:href="(${num}-1)==0?'javascript:void(0)':@{'/page'+(${num}-1)}">上一页</a></li>
            <li  th:each=" i : ${#numbers.sequence(1,pageNum)}">
                  <a class="num" th:href="@{/page}+${i}" th:text="${i}"></a>
            </li>
            <li>
                <a class="next" th:href="((${num}+1)>=${pageNum})?'javascript:void(0)':@{'/page'+(${num}+1)}">下一页</a></li>
       </ul>
     </ul>
    <div class="clear"></div>
  </div>
</div>- 前端页面css样式
<style>
    /* 分页 */
    #pages .page-center{
        float: left;
        transform: translateX(100%);
    }
    #pages ul li{
        display:block;
        float:left;
        height:36px;
        text-align:center;
        line-height:36px;
        margin-right:5px;
        color:#a9a9a9;
    }
    #pages ul li a , #pages ul li span{
        display:block;
        float:left;
        background:#fff;
        padding:0 15px;
        height:36px;
        text-align:center;
        line-height:36px;
        color:#a9a9a9;
    }
    #pages ul li span{
        background: #0068b7;
        color:#fff;
    }
    #pages ul li a:hover{
        background-color:#969696;
        color:#fff;
    }
    /*#pages ul .prev a{*/
    /*    background:#fff url(../images/icons.png) no-repeat -52px -217px;*/
    /*}*/
    /*#pages ul .next a{*/
    /*    background:#fff url(../images/icons.png) no-repeat -75px -247px;*/
    /*}*/
    #pages ul .prev a:hover{
        background-position:-76px -217px;
    }
    #pages ul .next a:hover{
        background-position:-50px -247px;
    }
</style>-
想详细了解的可以去mybatisplus官网 https://baomidou.com/guide/wrapper.html#abstractwrapper
-
日期格式可以直接比较大小
-
==key 必须和数据库中的字段名相一致。==
-
前端如果是 date 类型, 后端也必须用 String 来接收 。 否则会报下边的错。
Failed to convert value of type 'java.lang.String' to required type 'java.util.Date'
@RequestMapping("/search")
    public String Search(String keyword, String date, String budget, Model model) throws ParseException {
        /**链式编程
         eq  =    地名相等
         ge  >=   开始日期大于搜索日期
         le  <=   预算小于等于搜索预算 **/
        SimpleDateFormat sdf = new SimpleDateFormat("yyyy-MM-dd");
        Date time = sdf.parse(date);
        List<Program> lists = programService.query().eq("place", keyword).ge("start_time",time).le("budget", Integer.parseInt(budget)).list();
        model.addAttribute("lists",lists);
        return "tour/search";
}@SpringBootApplication(exclude= {DataSourceAutoConfiguration.class})