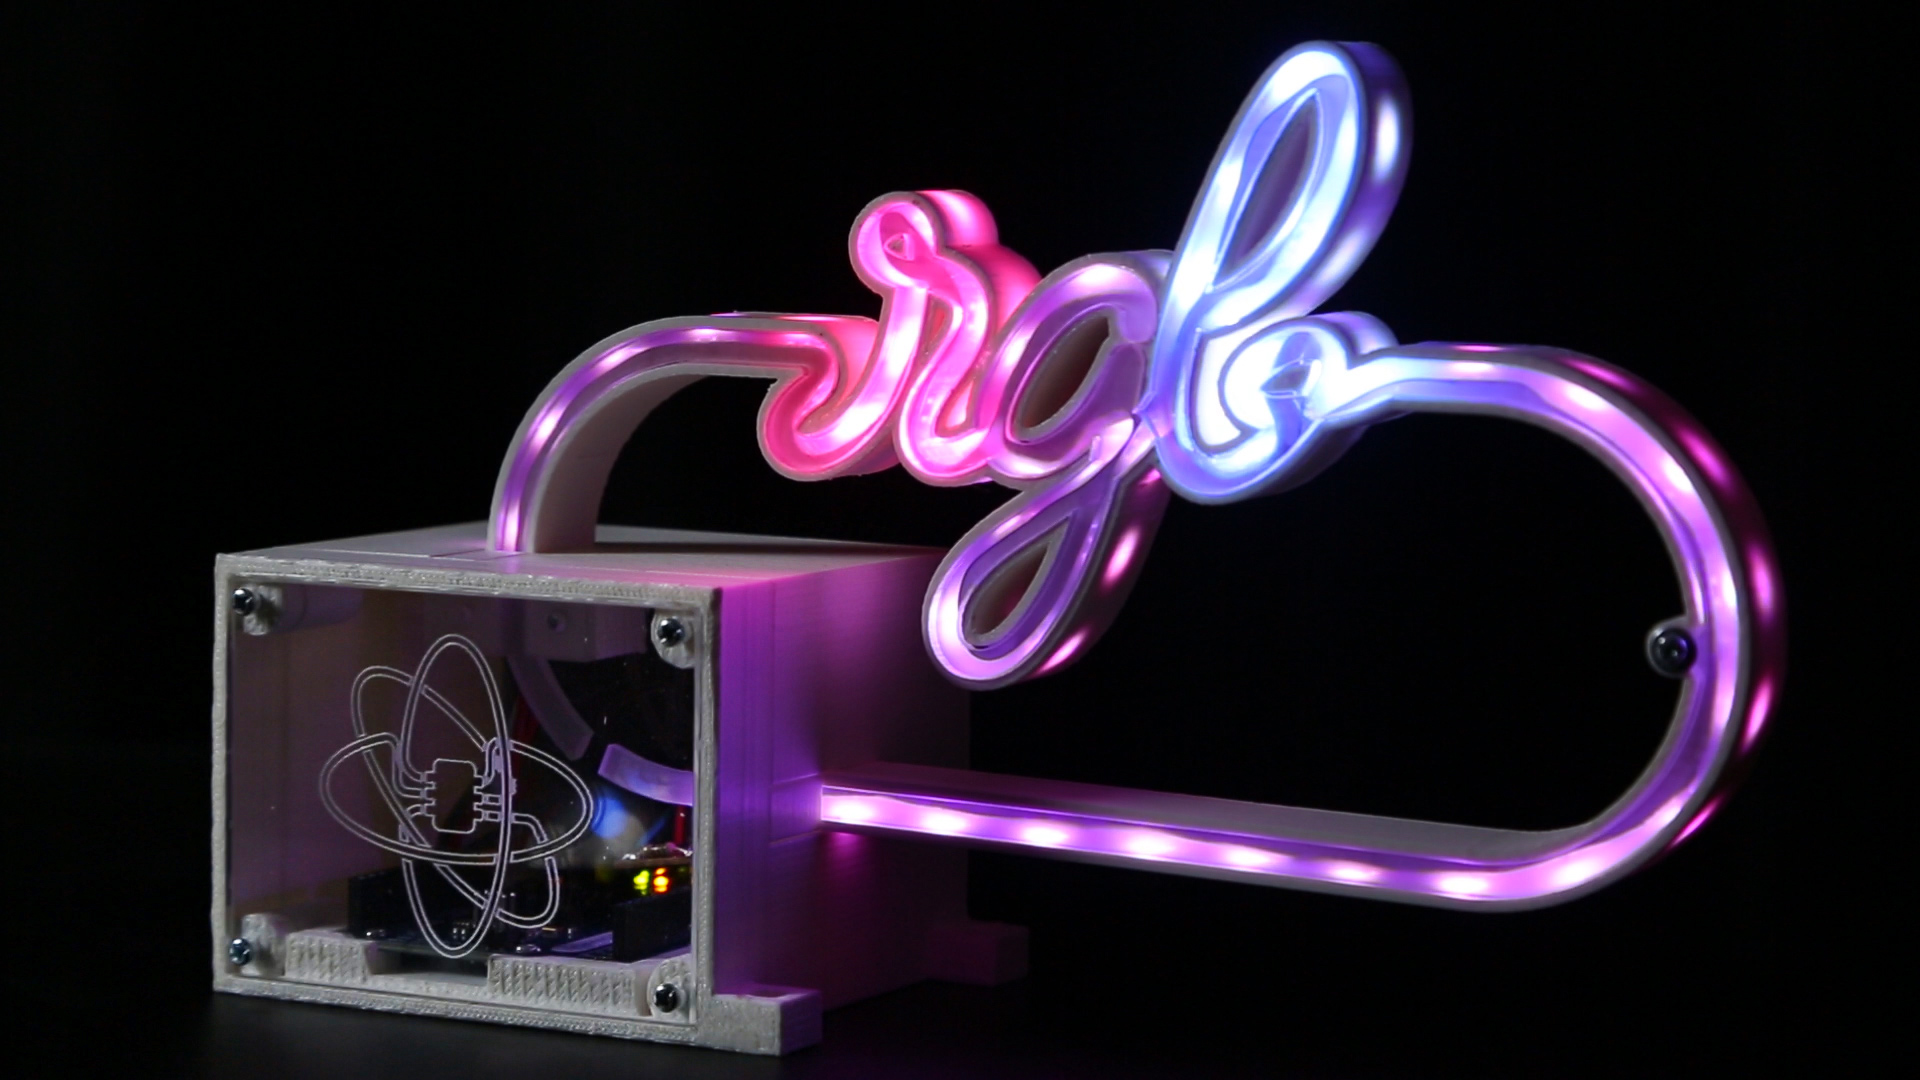
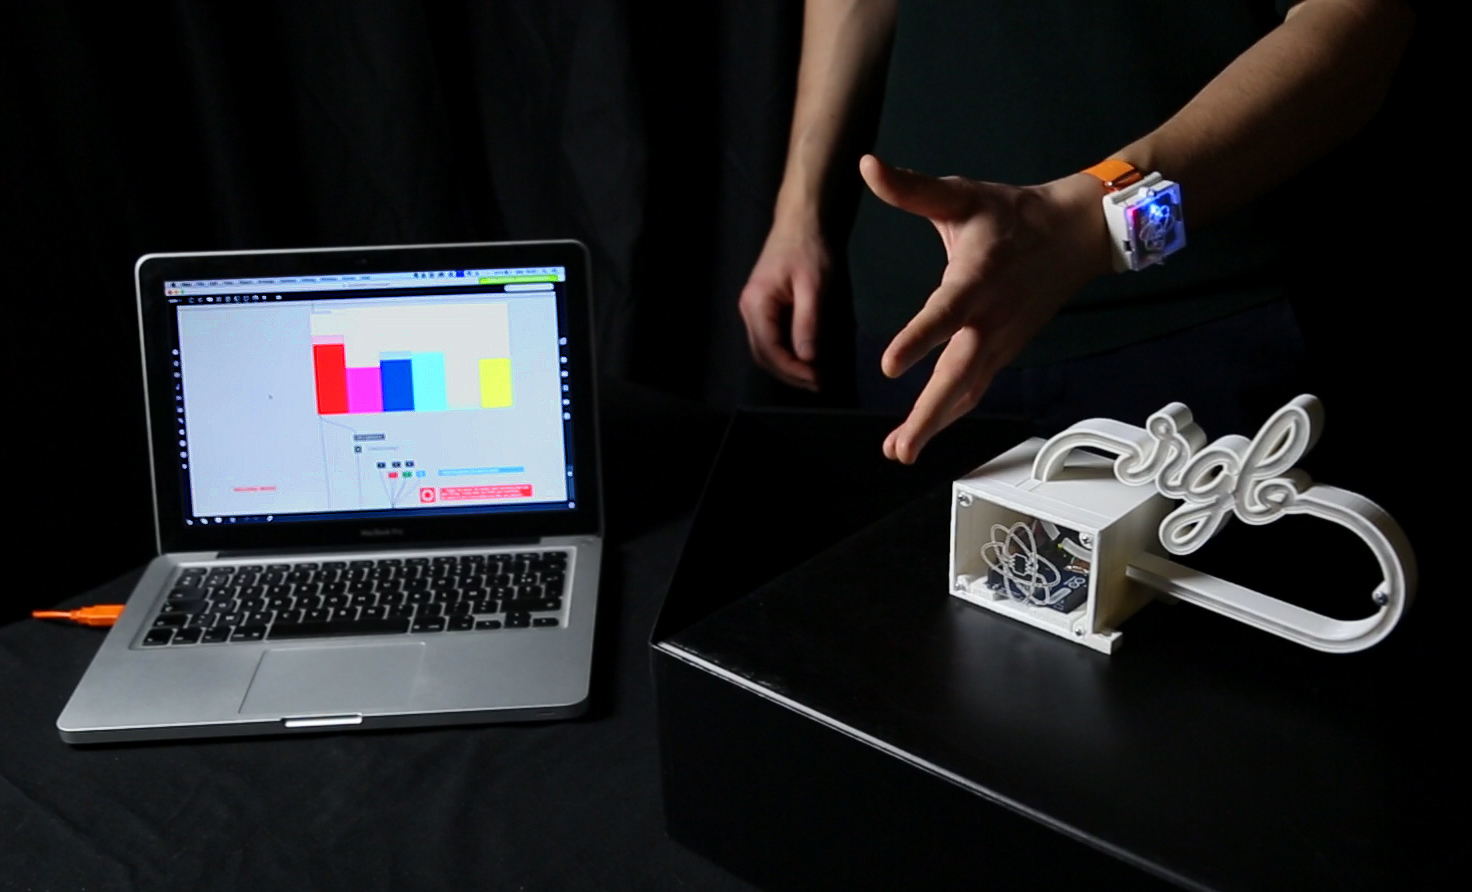
This lamp project is a demonstrator dedicated to highlight Mobile-Lab technological resources. It allows to interact with its colors by moving the hand. How does it work ?
- the user records 3 gestures, each one corresponding to a color component of the light (red, green or blue);
- then he moves his hand reproducing those gestures, this way he can regulate the proportion of RGB colors in the light and create any kind of colors;
- the user can record any kind of gesture, let's try different patterns!
Full presentation video on Vimeo: https://vimeo.com/197767041
The purpose of this project is to highlight usages around those technologies and enhance collaboration with potential development partners.
This demonstrator was developed using Movuino gesture sensor and IRCAM algorithm libraries for real time gesture recognition. This library is include into their MuBu package for Max/MSP. It gives Max objects to easily store and manage data flows and includes their XMM libraries.
- Presentation: https://www.julesfrancoise.com/mubu-probabilistic-models/
- Download link: http://forumnet.ircam.fr/fr/produit/mubu/
Here you will find:
- 1_Movuino_FirmwareOSC/Arduino this folder contains the firmware for the Movuino. You can edit and use it with the Arduino software;
- 2_CybRGB_ArduinoFirmware this folder contains the firmware of the lamp. You can also edit it using the Arduino software;
- CybRGB.maxpat this file is used as interface to control the lamp.
- Download and install the Arduino software: https://www.arduino.cc/en/Main/Software
- Download and install the CP2014 driver: http://www.silabs.com/products/mcu/Pages/USBtoUARTBridgeVCPDrivers.aspx
- Inside Arduino
- Install the card ESP8266 following those instructions: https://learn.sparkfun.com/tutorials/esp8266-thing-hookup-guide/installing-the-esp8266-arduino-addon
- Go to Tools/Board, select "Adafruit HUZZAH ESP8266" with:
- CPU Frequency: 80 MHz
- Flash Size: 4M (3M SPIFFS)
- Upload Speed: 115200
- Port: the one corresponding to the Movuino
- Copy the content of the Arduino folder into your own Arduino folder (Macintosh and Windows: Documents/Arduino). It includes the libraries you need, but you can also install them by yourself. In the Arduino software go to "Sketch/Include Library/Manage Libraries...", here seek and install:
- I2Cdev
- OSC
- MPU6050
- for this one you need to make a correction in the library file. Go to Arduino/libraries/MPU6050/ and edit the file "MPU6050.h" (open it in NotePad, SublimeText, NotePad++ or anykind of text editor).
- line 58, replace the line:
#define MPU6050_DEFAULT_ADDRESS MPU6050_ADDRESS_AD0_LOW - by:
#define MPU6050_DEFAULT_ADDRESS MPU6050_ADDRESS_AD0_HIGH
- line 58, replace the line:
- for this one you need to make a correction in the library file. Go to Arduino/libraries/MPU6050/ and edit the file "MPU6050.h" (open it in NotePad, SublimeText, NotePad++ or anykind of text editor).
- Restart Arduino and follow instructions inside the code (ip, rooter, password, port...)
const char * ssid = "my_box_name";set the name of your wifi networkconst char * pass = "my_password";type the password of the networkconst char * hostIP = "192.168.1.35";set the ip address of YOUR COMPUTER which is also connected to the same Wifi network and on which you will use the Max fileconst unsigned int port = 7400;(optional) here you can set the port on which the data are sent. If you don't use other ports or if you have no idea of what I'm talking about you can let 7400.const unsigned int localPort = 3011;(optional) here you can set the port on which Movuino can receive OSC message. Idem, better to let it at 3011.
- Upload firmware and check on the Arduino monitor window if everything is good!
- You can shut down (partially) and turn on the Movuino by pressing the button during 1 second.
- You can also send message to the Movuino, also using OSC.
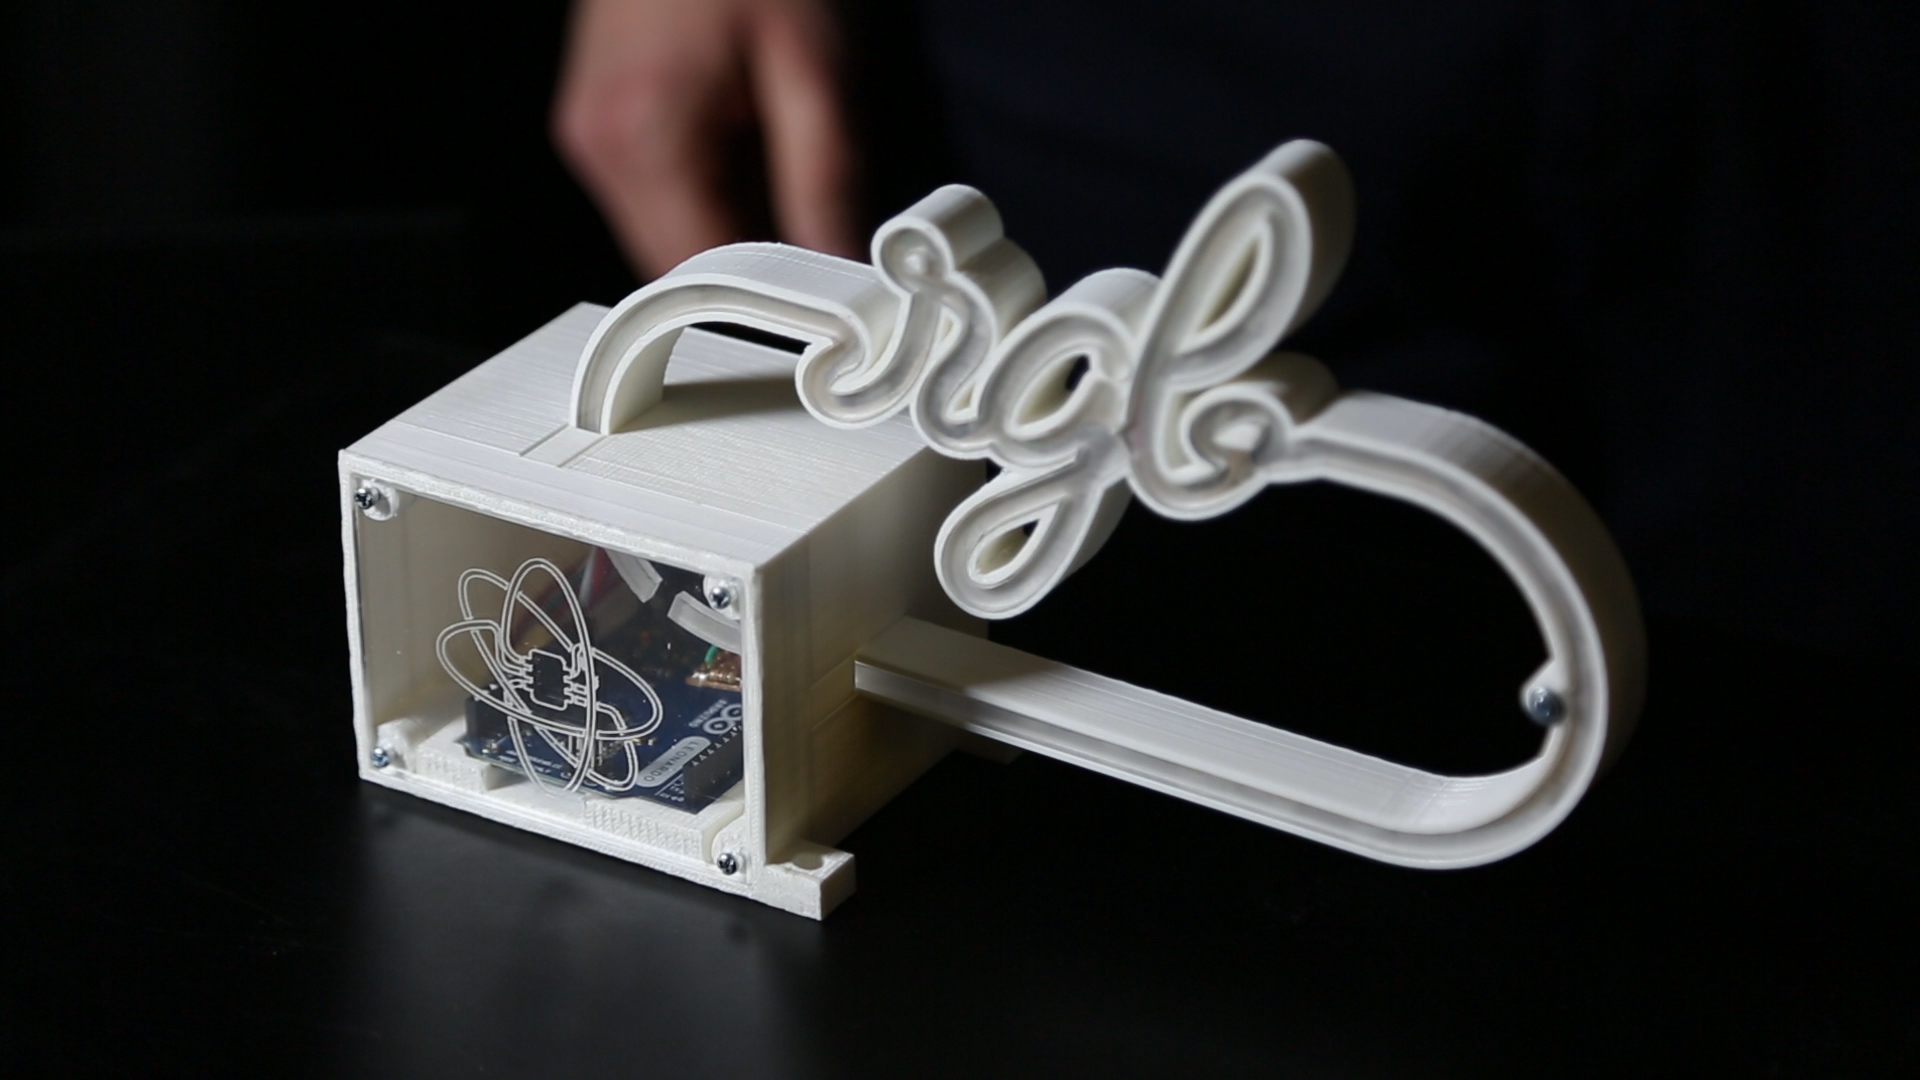
The lamp has been developped with an Arduino Leonardo and NeoPixel Led Strip from Adafruit. Here you will find some information concerning the Led Strip:
- How to use it: https://learn.adafruit.com/adafruit-neopixel-uberguide/basic-connections
- Concerning the batteries: https://learn.adafruit.com/adafruit-neopixel-uberguide/basic-connections
To use it you only need to plug the USB port to your computer, to plug the power supply and to directly go next step with the Max/MSP patch.
To modify the firmware, download the content of the folder and paste it into your Arduino folder (Macintosh and Windows: Documents/Arduino). The folder include the NeoPixel library but I recommend you to download it yourself: in the Arduino software go to "Sketch/Include Library/Manage Libraries...", here seek and install "Adafruit NeoPixel".
Now you can play with the code and update the firmware. Be sure to choose "Arduino Leonardo" (Tools/Board/) before to upload the code.
To run the Max file, you'll need to install the MuBu package. It's very simple!
- download the package on the MuBu page: http://forumnet.ircam.fr/fr/produit/mubu/
- unzip the folder "MuBuForMax" and simply past it into the proper folder:
- On Macintosh
- go to Applications folder, right click on the Max icon and choose "Show Package Contents"
- paste the MuBuForMax folder into Contents/Resources/C74/packages
- launch or restart Max and that's it.
- On Windows
- paste the MuBuForMax folder into /Documents/Max 7/Packages
- launch or restart Max and that's it.
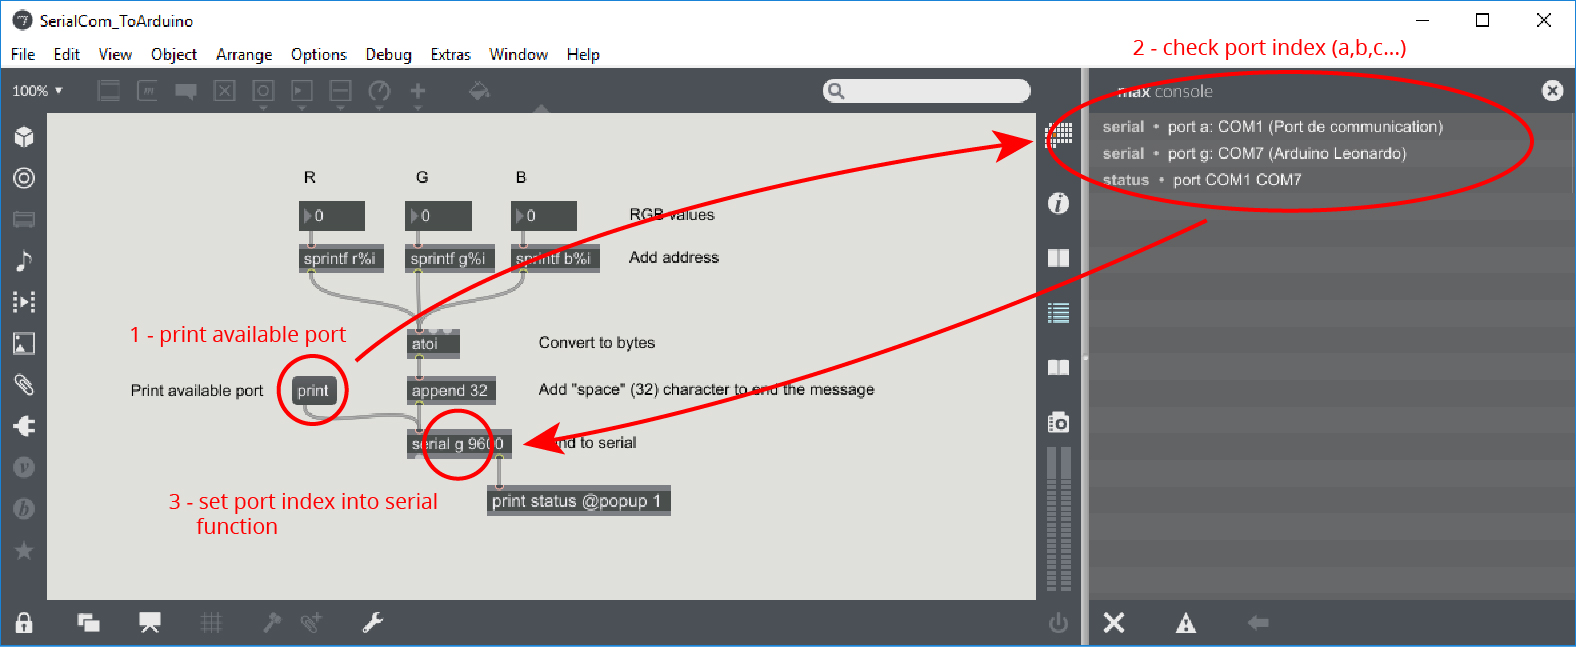
Before to use the script you will also need to make the lamp recognized by the Max patch. Once again it's very simple, you simply need plug the lamp to your computer, then print the available USB port of your computer, check which one correspond to the lamp and finally set this port into the Max patch. Here the principle (not the same patch but exactly the same workflow):