Codeforces is an unofficial Android version of Codeforces web. This app is made to integrate all the available Codeforces API into this app. This way the users can have a mobile version of their handle and can get key information on the go.
On the Codeforces official web page, they provide various API which we access to get data in machine-readable JSON format. Then by using HttpURLConnection values of each column are parsed and set into the model to display the data.
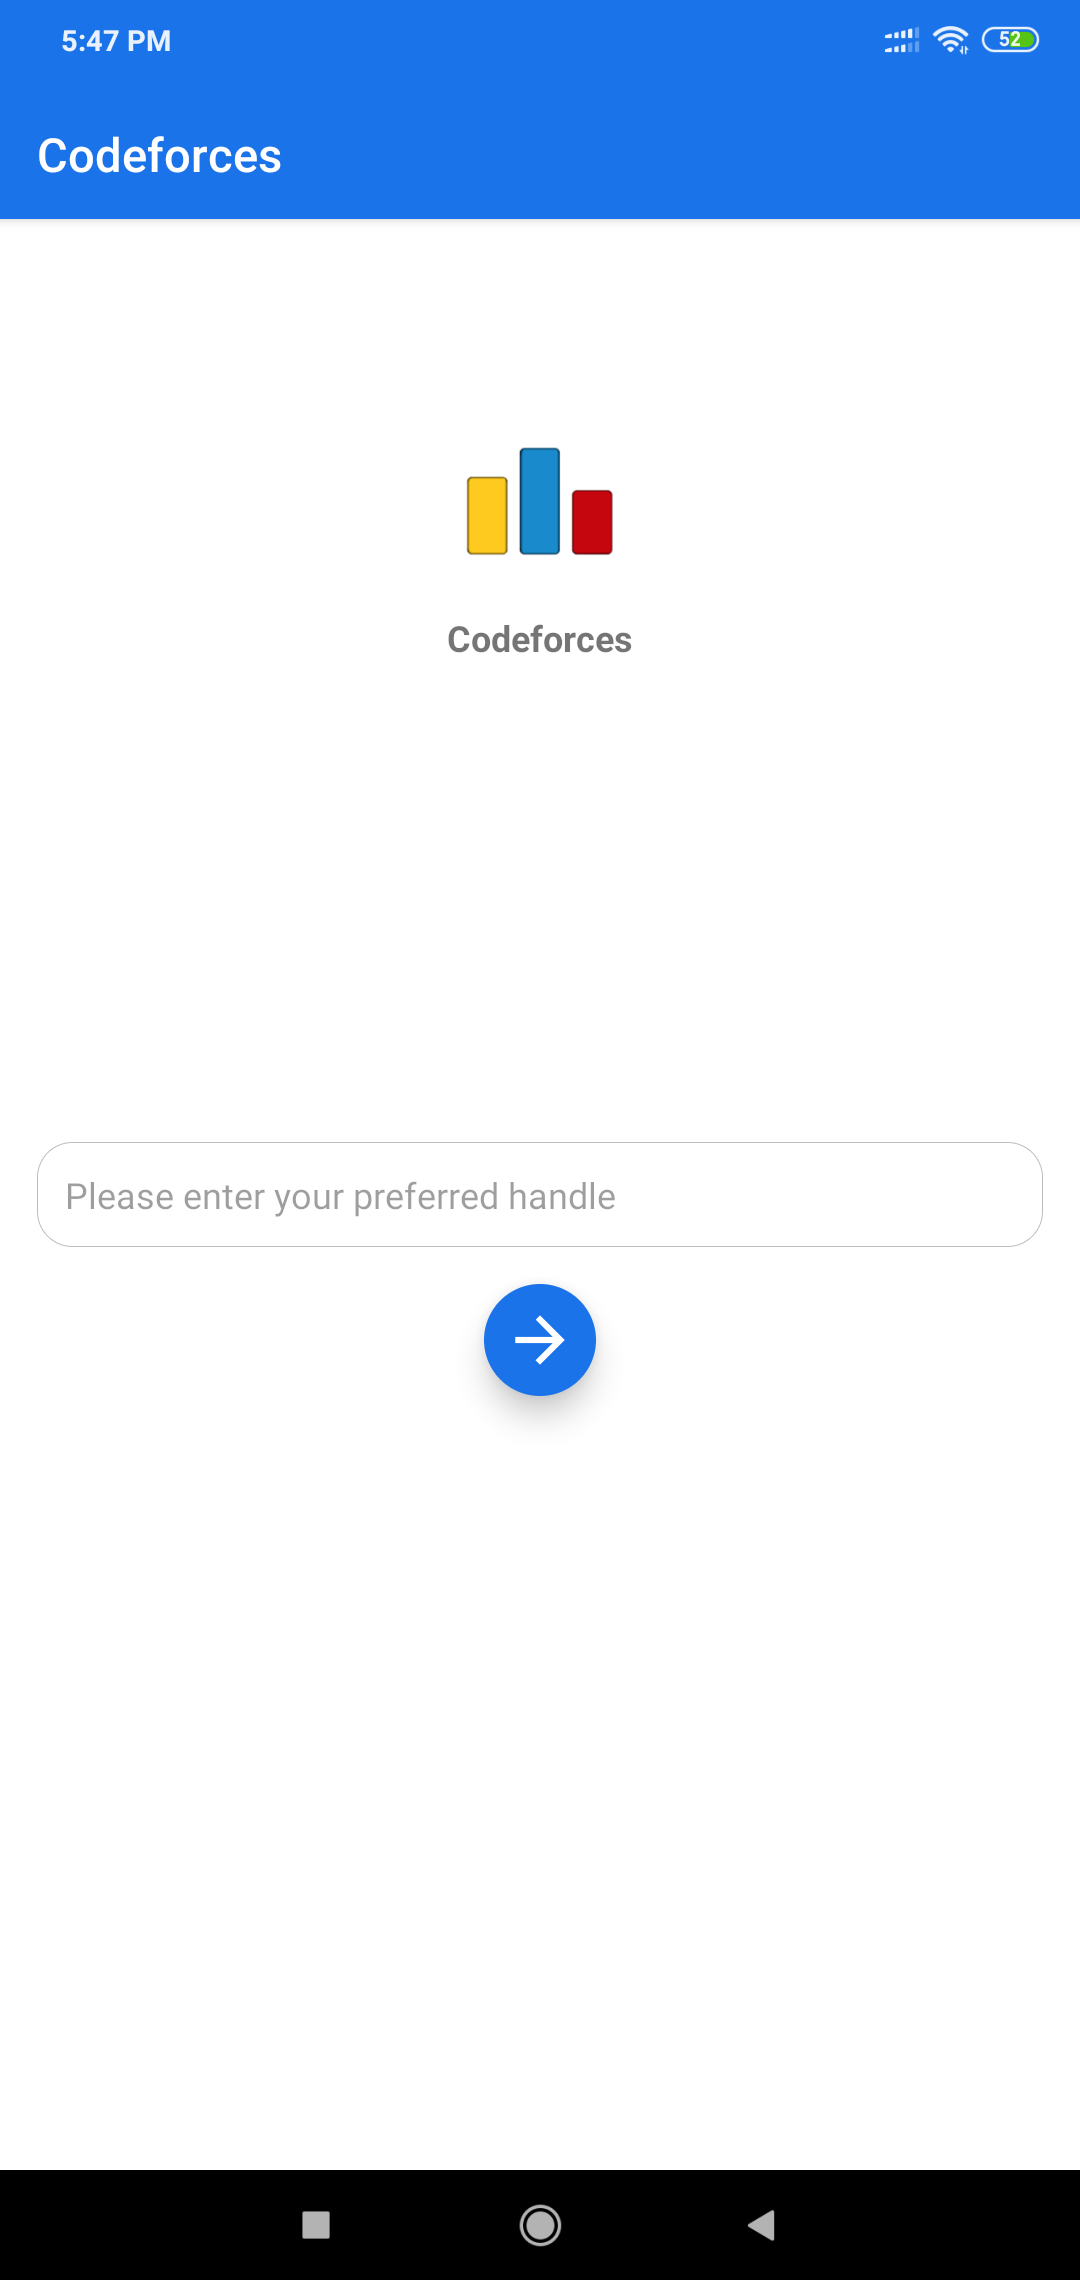
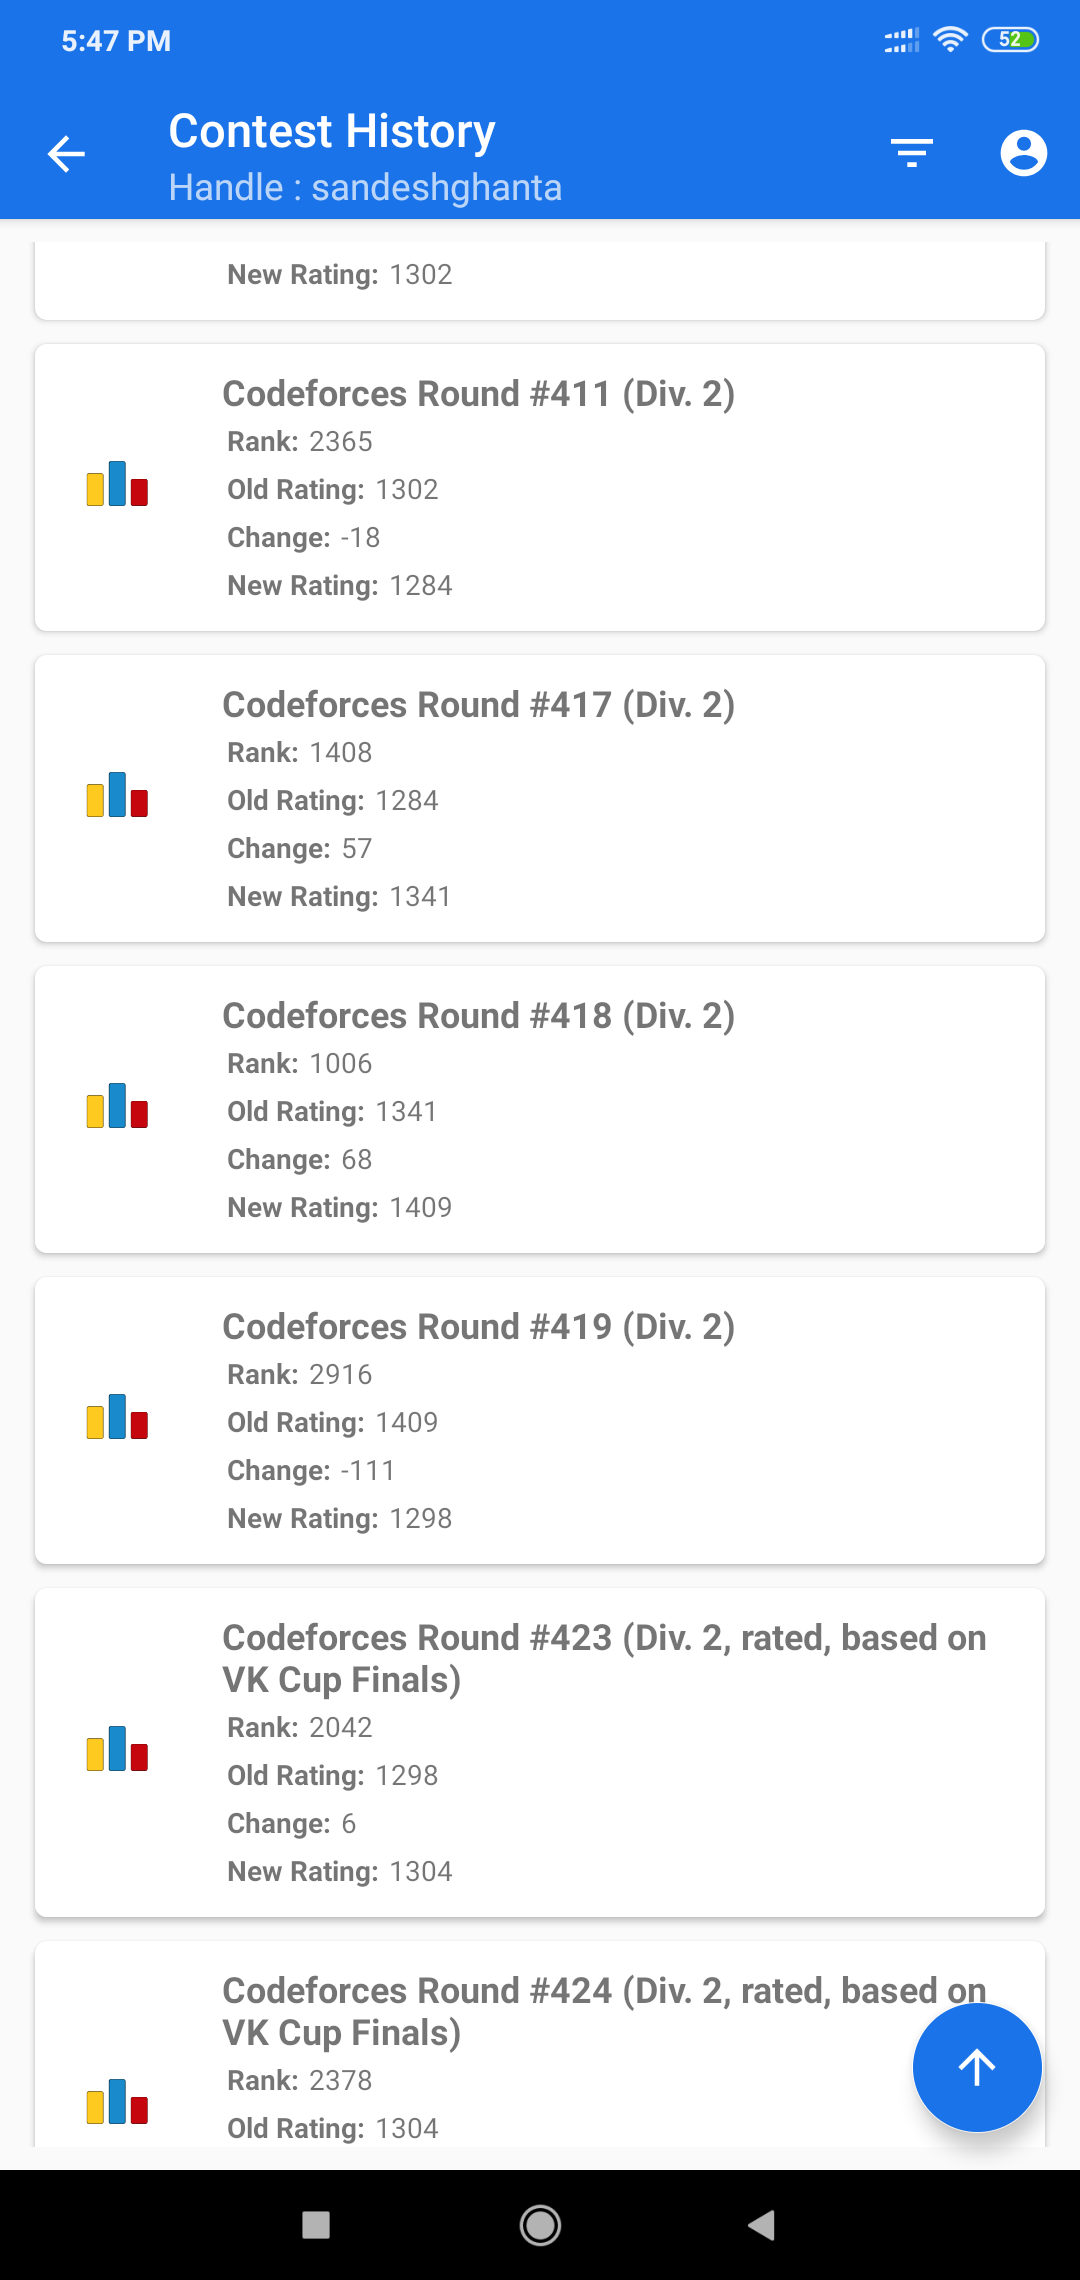
When the app is opened, the user is required to enter his preferred handle (Username). After submitting the handle, all the contest that the Handel is associated it is displayed. Upon opening, this screen user can perform the following operation -
- On clicking on the contest, it will redirect the user to the official contest page on the Codeforces.com
- User can filter the contest based on the positive and negative.
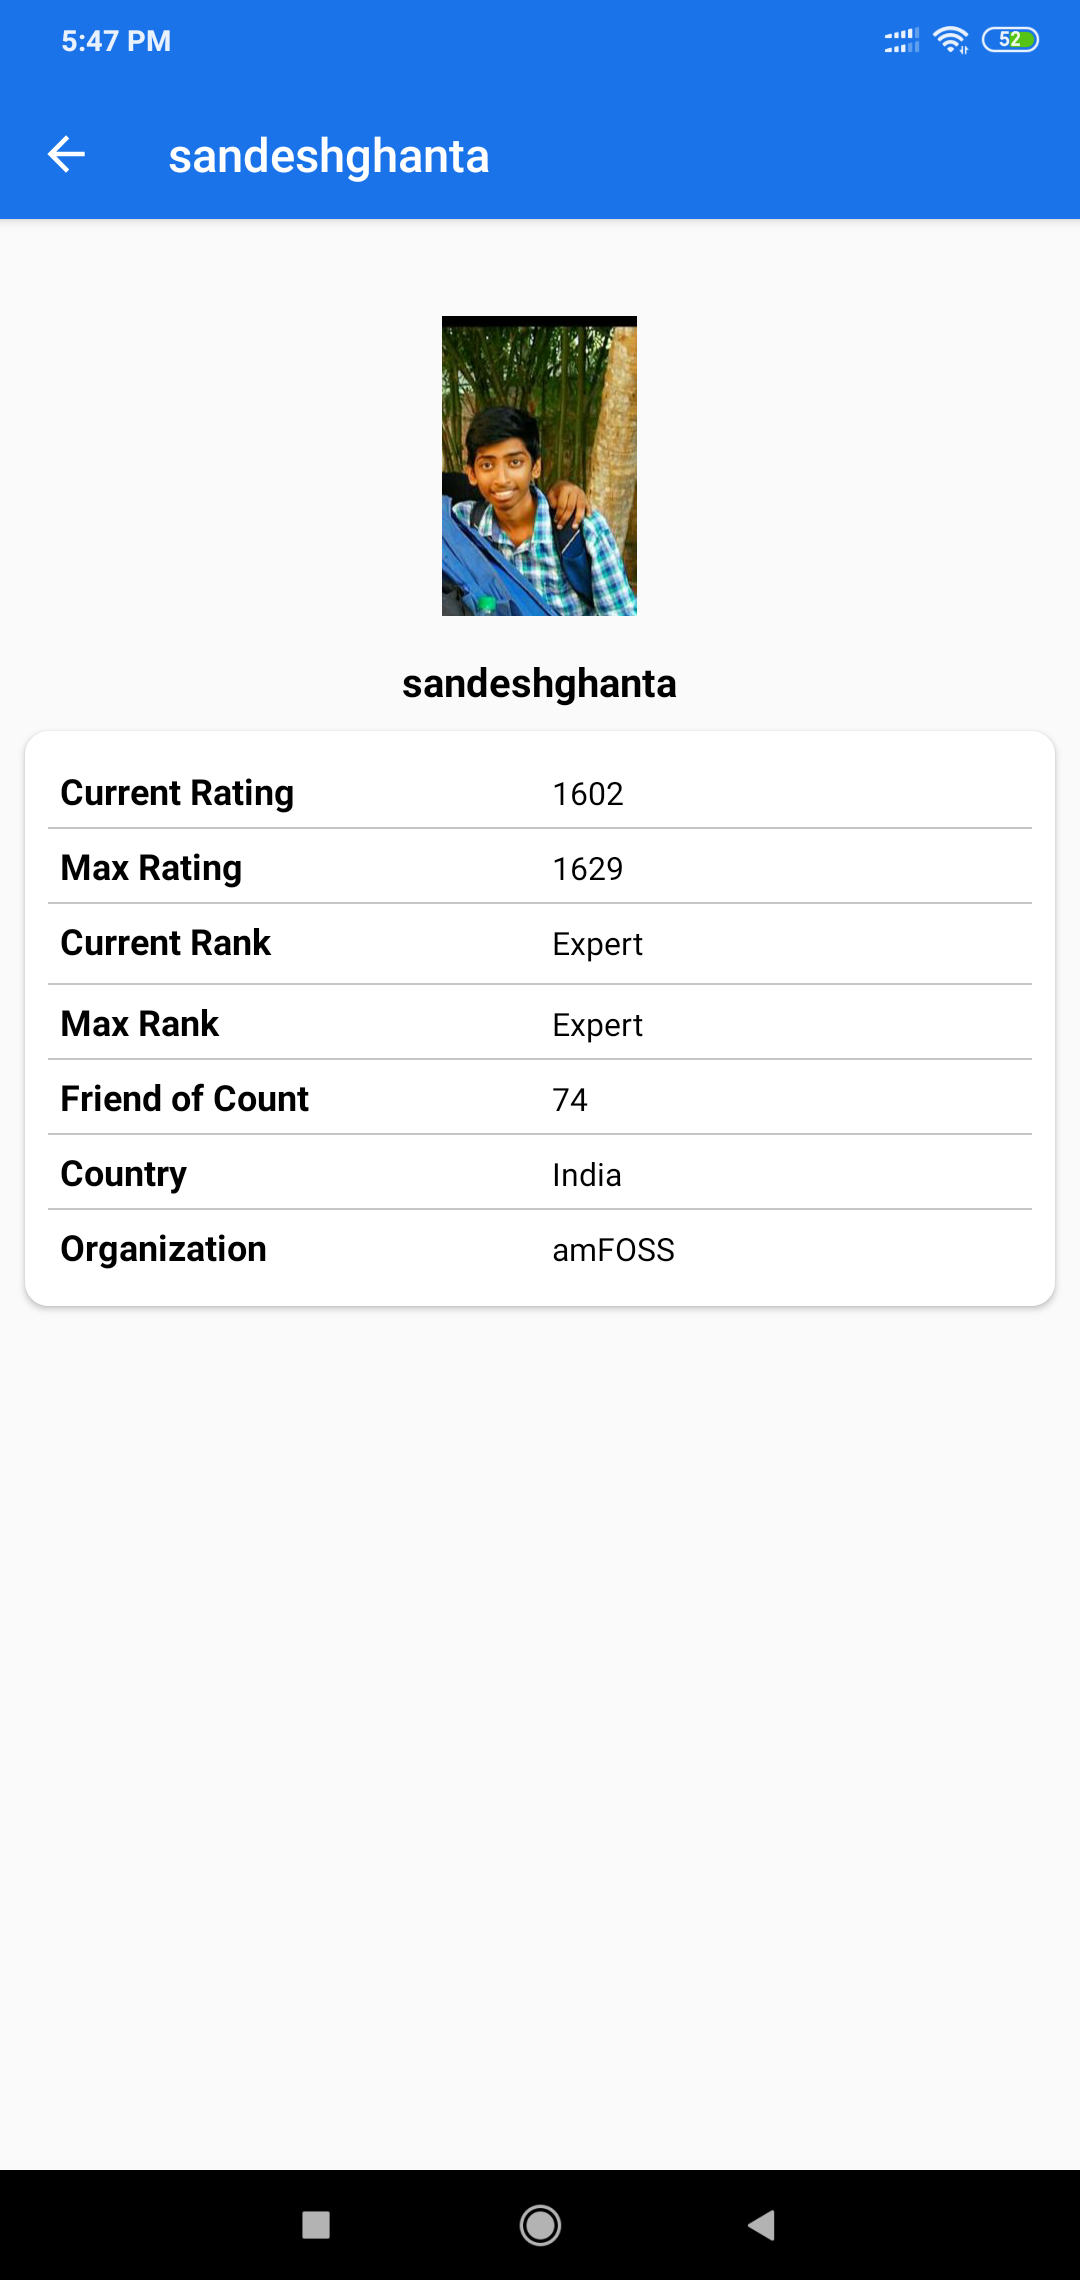
- User can view its profile.
 Home Screen |
 Contest History Screen |
 User Info |
.......
codeforces
 ┣ Activities
 ┃ ┣ HomeFeedActivity.java
 ┃ ┣ MainActivity.java
 ┃ ┣ ProfileActivity.java
 ┃ ┗ WebViewActivity.java
 ┣ Adapter
 ┃ ┗ ContestsAppearedAdapter.java
 ┣ BottomSheet
 ┃ ┗ SortBottomSheetView.java
 ┣ Listeners
 ┃ ┣ ContestItemClickListener.java
 ┃ ┗ SortClickListener.java
 ┣ Model
 ┃ ┗ Contest.java
 ┣ Utils
 ┃ ┣ RatingAsync.java
 ┃ ┣ RatingLoader.java
 ┃ ┗ StringUtils.java
 ┗ Constants.java
These instructions will get you a copy of the project up and be running on your local machine for development and testing purposes.
Android Studio, with a recent version of the Android SDK.
-
Download and install Git.
-
Fork the Codeforces project
-
Clone your fork of the project locally. At the command line:
$ git clone https://github.com/YOUR-GITHUB-USERNAME/Codeforces.git
If you prefer not to use the command line, you can use Android Studio to create a new project from version control using
https://github.com/YOUR-GITHUB-USERNAME/Codeforces.git
Open the project in the folder of your clone from Android Studio and build the project. If there are any missing dependencies, install them first by clicking on the links provided by the Android studio. Once the project is built successfully, run the project by clicking on the green arrow at the top of the screen.
This project uses Travis CI for checking pull requests. So before committing your changes, open Terminal via android studio and run the following commands:
For Windows:
gradlew cleanthengradlew assembleDebug assembleReleasethengradlew checkthengradlew buildfinallygradlew spotlessCheck
NOTE: Currently sever is not working but update the features in the app Currently I am updating the resources for CSE and ECE departments only and that too for semester 3 only. Once I get all the resources, I will update in all departments. You can freely contribute to the project on the note that 'contributing guidelines' of the project are followed. New ideas and suggestions are welcomed. Happy Coding :)


