This project is a guide to install charles and use it(crack it).
- Download charles 4.2.5. Double click charles-proxy-xx.dmg and install it.
- Open the application and close it.
- Open Terminal.
- Switch to top level directory and run
cd /Applications/Charles.app/Contents/Java/. - run
open .. - replace the charles.jar in by charles.jar from this repo.
- Open charles again.
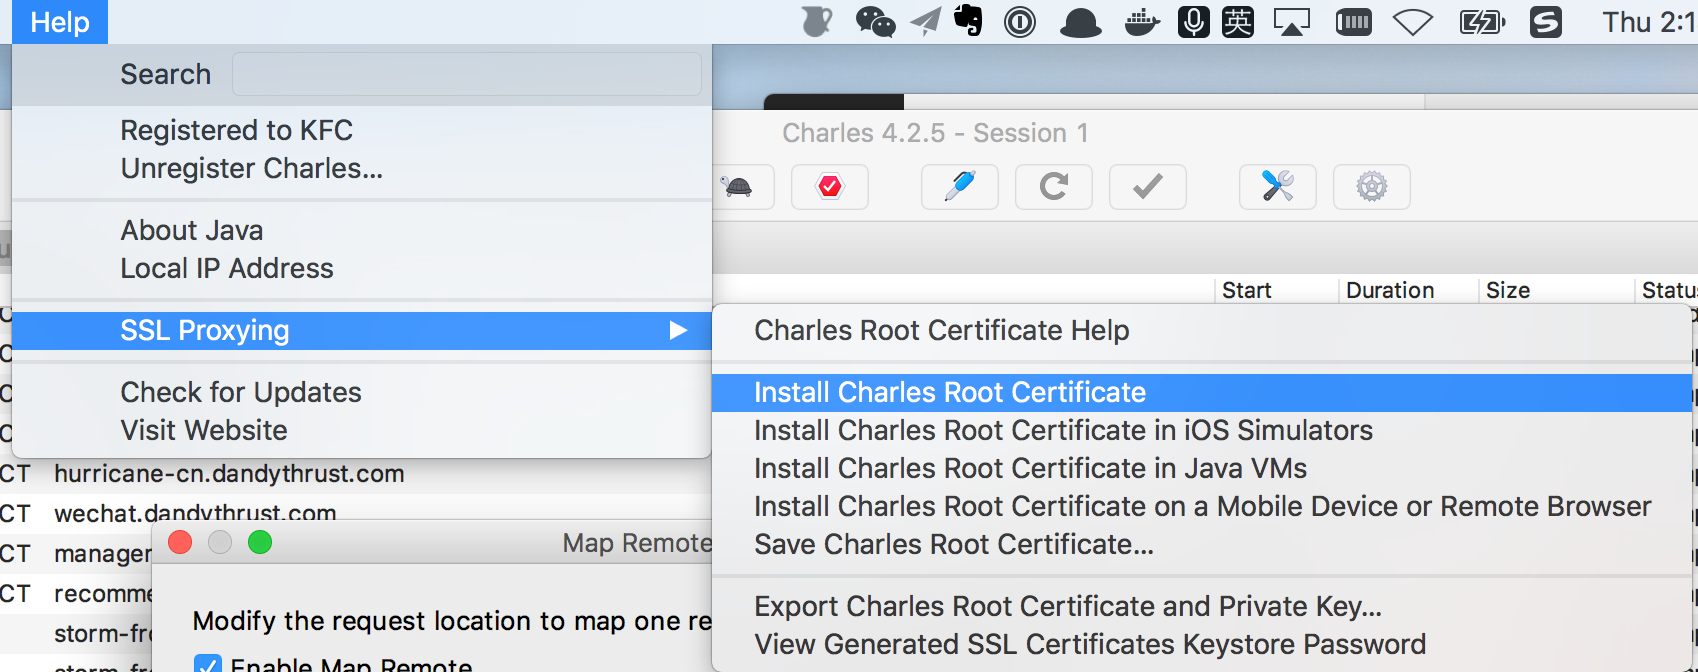
- Install https crt.
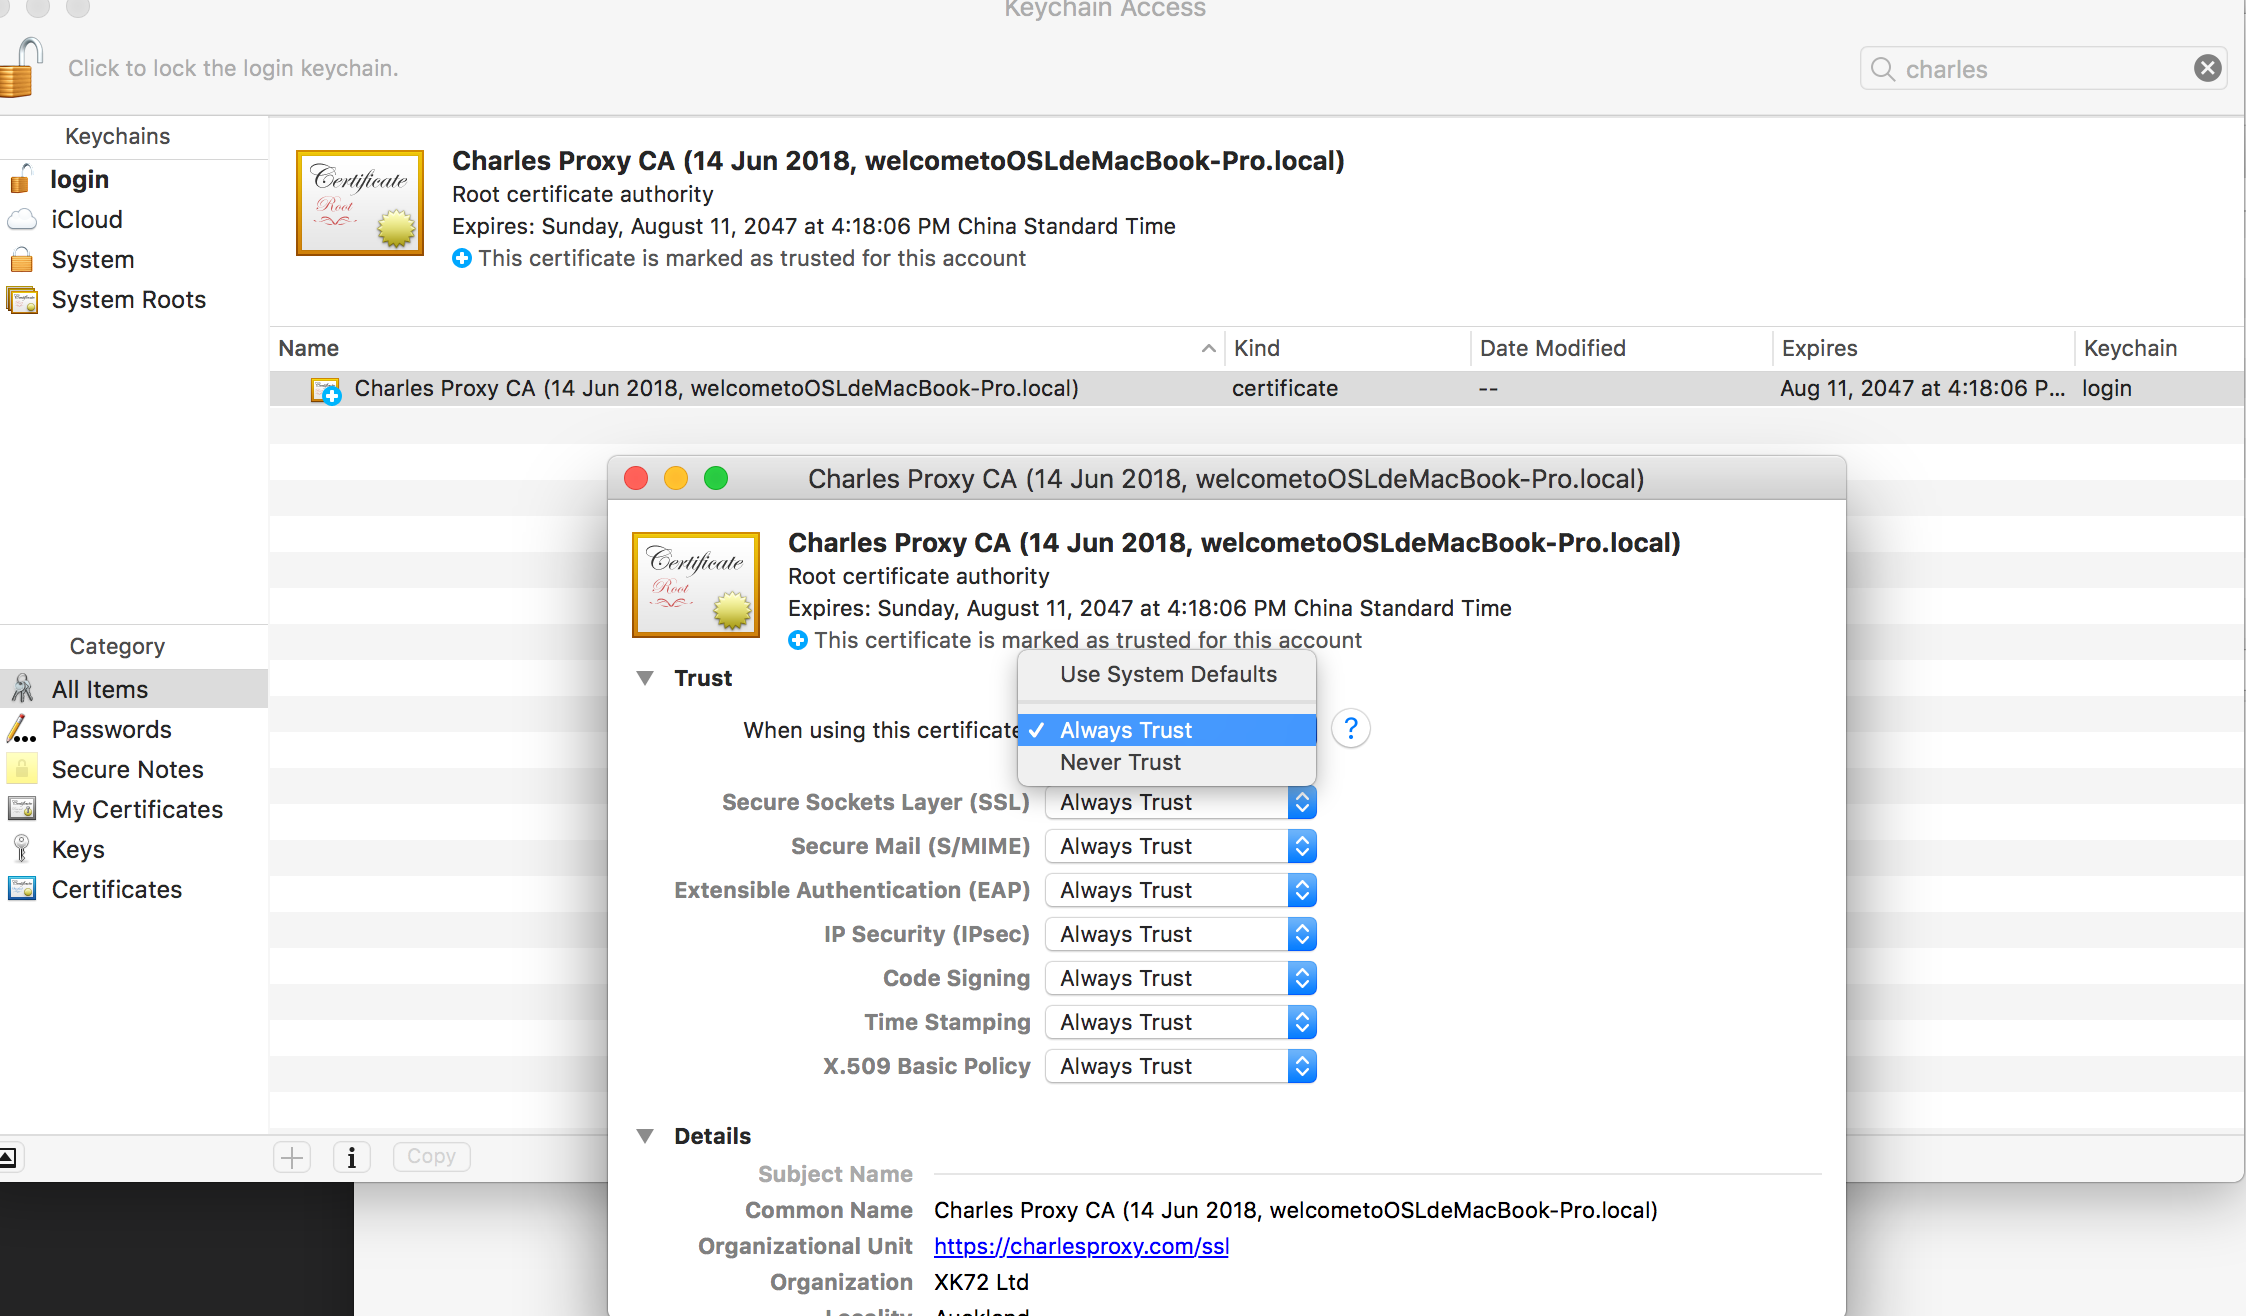
- Enable charles crt.
-
Enable charles ssl proxy Click the topbar of charles: Proxy => SSL PROXYING => Enable SSL. Add a list, eg: HOST: xxxx.com PORT: 443
-
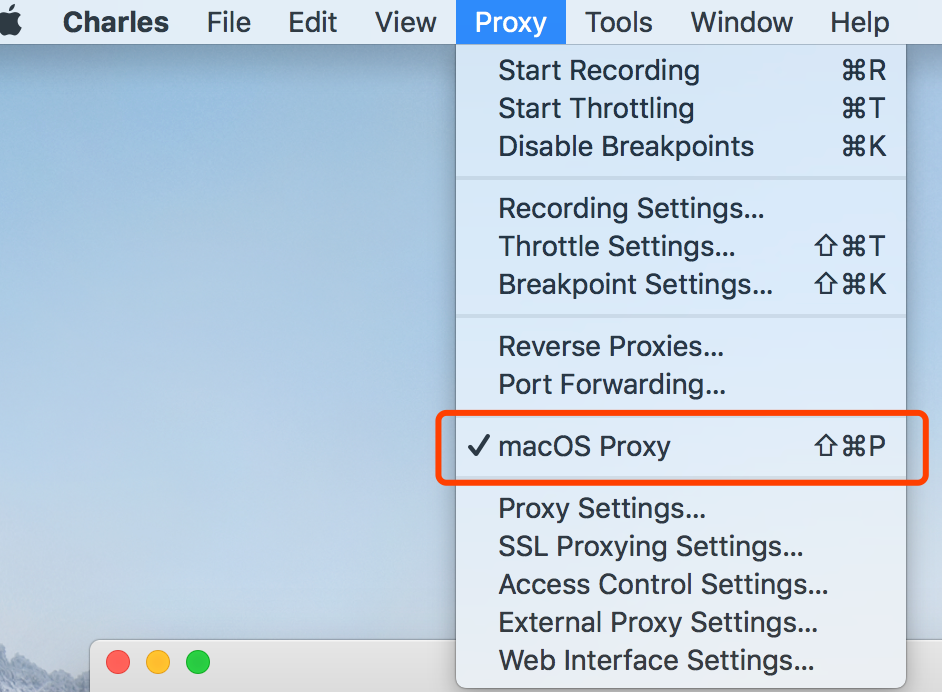
Activate charles for macos
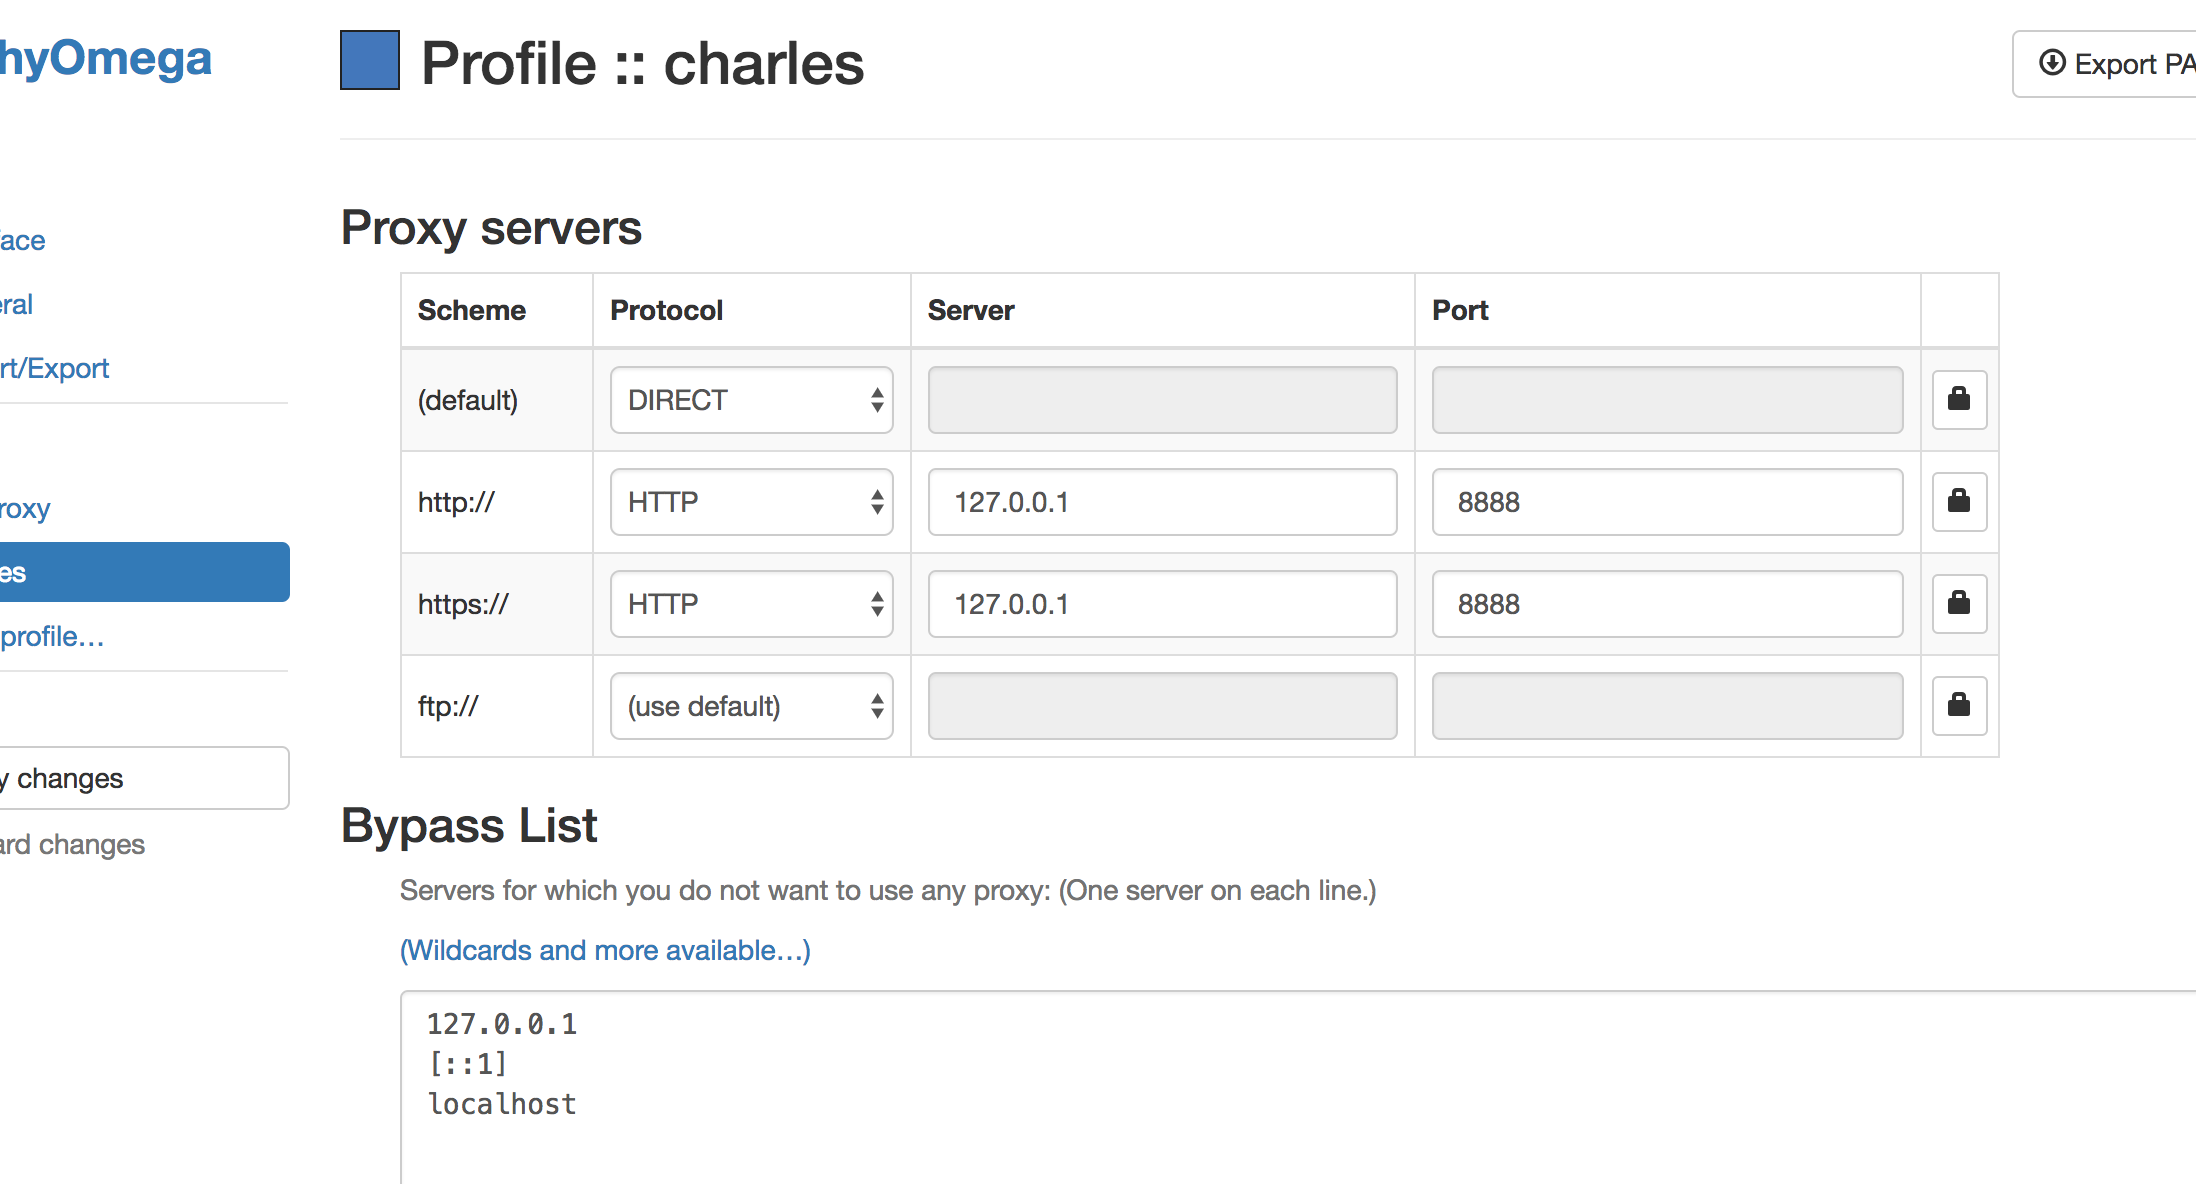
Install chrome plugin SwitchyOmega and config it as the following picture. Open this config.
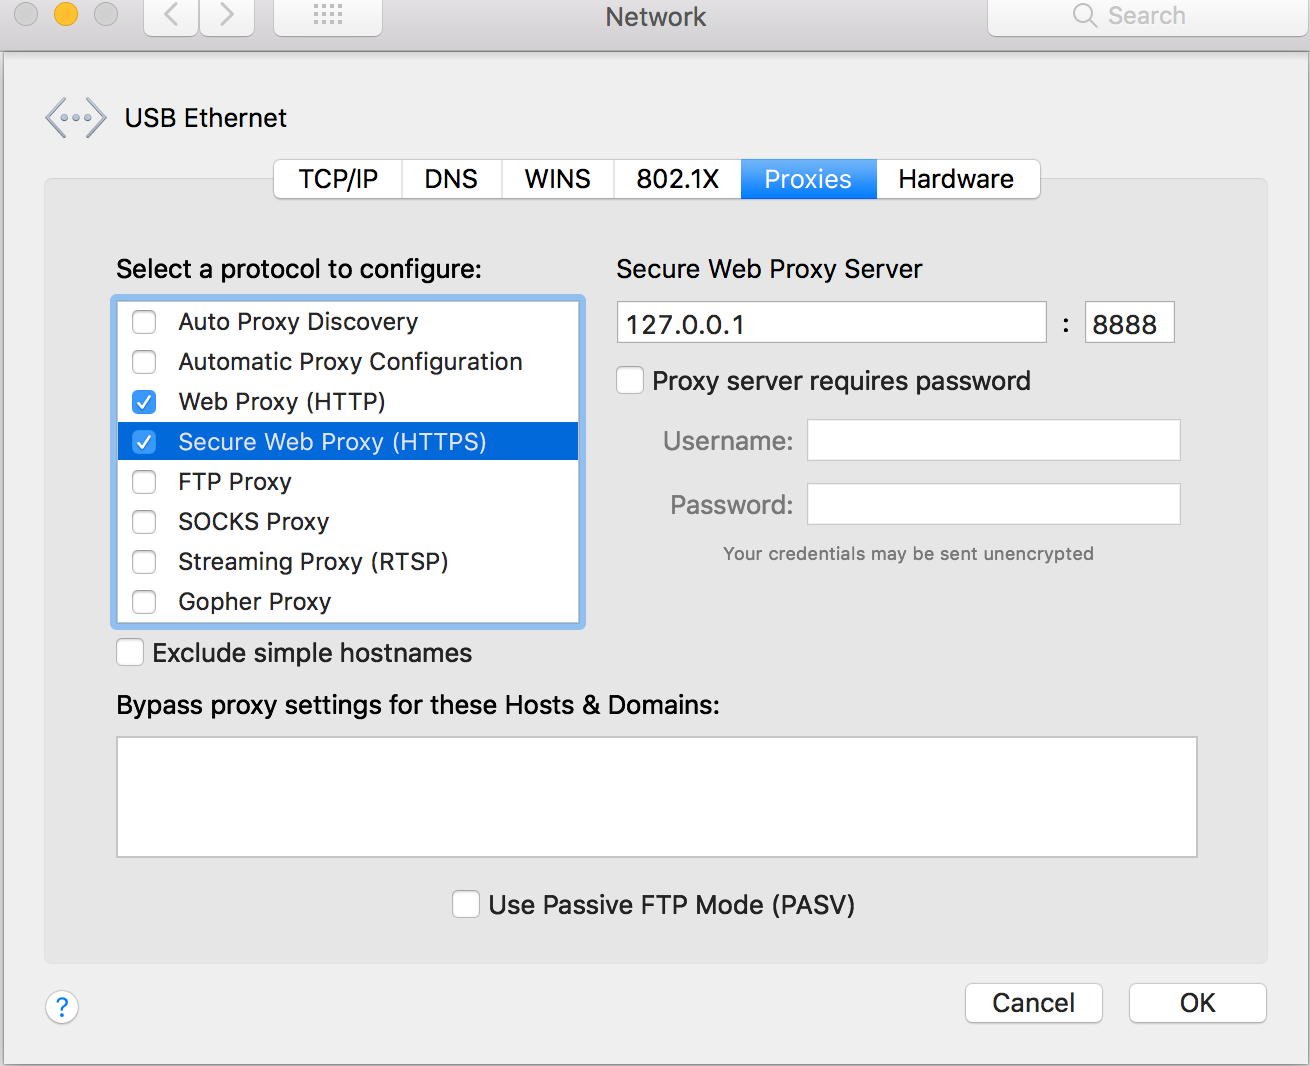
- Go into Setting => Network => Advanced => Proxy
- Both change web proxy and secure web proxy as 127.0.0.1 : 8888
- In charles > Helper > SSL Proxying > Install certificate in mobile device.
- Set your iOS device to use Charles as its HTTP proxy in the Settings app > Wifi settings.
- Open Safari and browse to https://chls.pro/ssl. Safari will prompt you to install the SSL certificate.
- If you are on iOS 10.3 or later, open the Settings.app and navigate to General > About > Certificate Trust Settings, and find the Charles Proxy certificate, and switch it on to enable full trust for it (More information about this change in iOS 10).
- Now you should be able to access SSL websites with Charles using SSL Proxying. Charles supports App Transport Security (ATS) as of the 3.11.4 release.
