PCB designs based on the Attiny85 microcontroller for standalone development.
These devices have been designed for the final development of BadUSB-Cable:
https://github.com/joelsernamoreno/BadUSB-Cable
Idea: Joel Serna & Ernesto Sánchez
Development and implementation: Joel Serna & Ernesto Sánchez
PCB design: Ignacio Díaz Álvarez
PCBs design: Ignacio Díaz & ForensicSecurity
* Ignacio Díaz: @Ignacio Díaz Álvarez

* Forensic & Security: @ForensicSec

* https://forensic-security.com
SMD-USB Connector:
THT Version:
There is a custom built library footprints for this project, remember to import it.
You can order the necessary components with the gerber files in the gerber directory and de BOM (Bill Of Materials).
To burn the bootloader you can use diferent techniques, for the one we use you will need:
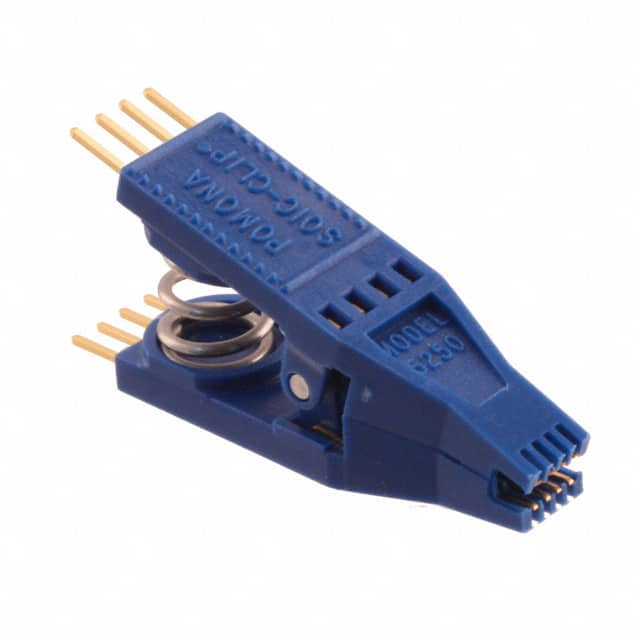
- TEST CLIP SOIC 8 (2 X 4)
- TINY AVR PROGRAMMER
-
Download Micronucleus bootloader for ATTINY85: https://github.com/micronucleus
-
You can find the bootloader file at micronucleus-t85\firmware\releases folder
-
Use "t85_default.hex" for the bootloader
You must use the correct fuses bit for the bootloader:
- Extended: 0xFE
- High: 0xDD
- Low: 0xE1
AVRISP MKll In System Programmer and AVR Studio software for burning bootloader
-
Download Arduino for Digispark which come with USB driver: http://sourceforge.net/projects/digistump/files/
-
Extract the file (DigisparkArduino-Win32-1.0.4-March29.zip) to any folder
-
Execute DigisparkArduino-Win32\DigisparkWindowsDriver\InstallDriver.exe to start installing the USB driver
You can get payloads in the following repository:
https://github.com/joelsernamoreno/badusb_examples/tree/master/attiny85_digispark


