-
Notifications
You must be signed in to change notification settings - Fork 2
Azure Active Directory
Every tenant that you want to have a dashboard for needs to be configured with your application getting access to the Power BI Service. This is done through the Azure Portal. Pre requisite of this is that the tenant already has an Azure subscription and an active directory set up and also that Power BI has been set up for the organization. This document does not describe this process.
Start by navigating to the Active Directory feature in the Azure Portal: 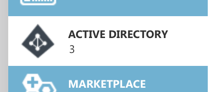
Navigate to the Applications setting tab: 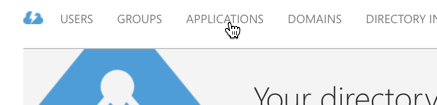
In the bottom toolbar, Add an application: 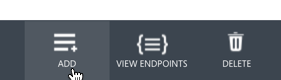
Select that you are adding an application your organization is developing: 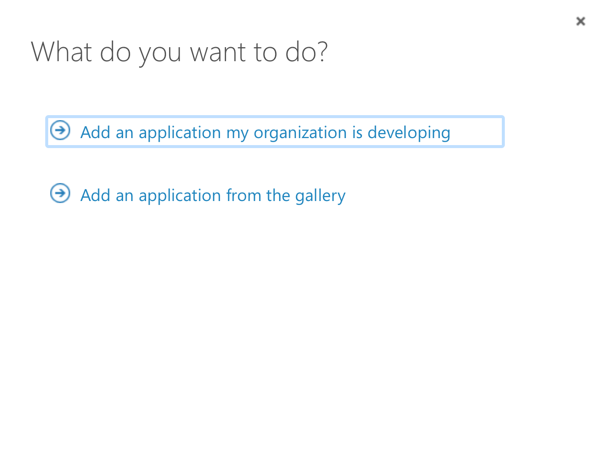
Name the application: 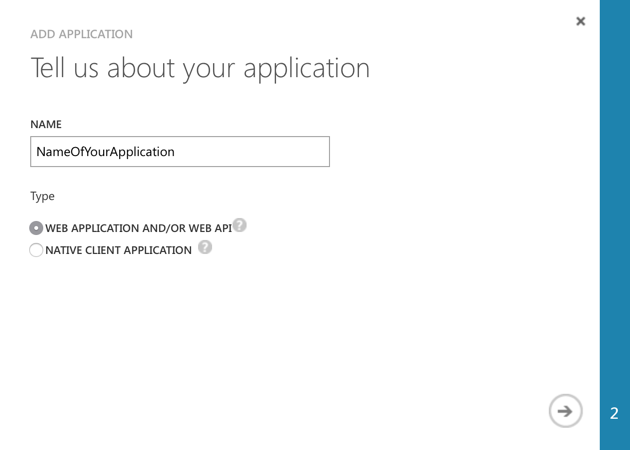
Set up the URLs - the sign-on URL is the URL that will be redirected to for the OAUTH process when you're authorizing the app. The App ID URI is related to the domain in Active Directory. Both these URLs can be changed later. In addition, you can add more than one sign-on (Reply) URL later, which you might want to do with regards to when you're developing it. This URL must be the same being used when authenticating - if this is wrong and you use a URL when authenticating that is not registered, authentication will fail. 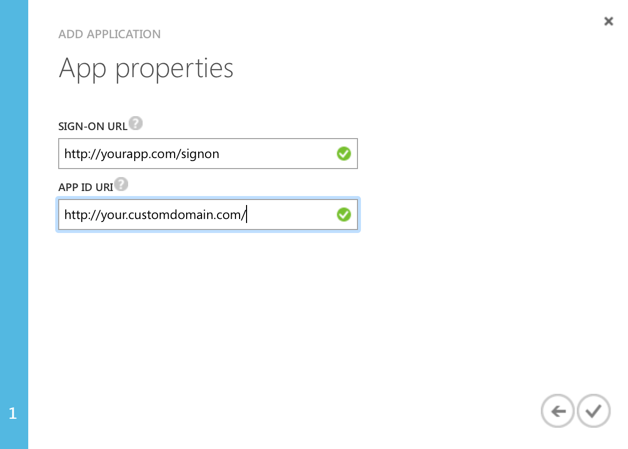
After you've created the application, navigate to the Configure tab: 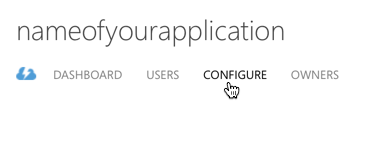
Scroll down to the Client ID part - this is important and will be needed for authentication. 
Add a Client Secret key under Keys, for instance set it to 2 years expiration: 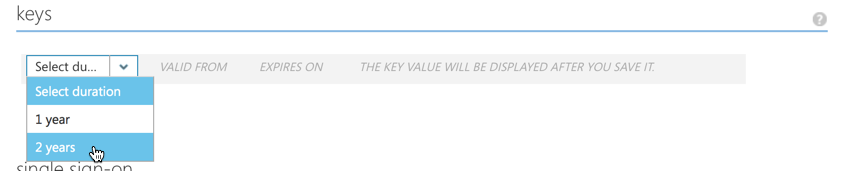
The Client Key gets visible after you save the application: 
As mentioned, you can add a second or more URLs for valid Reply URLs: 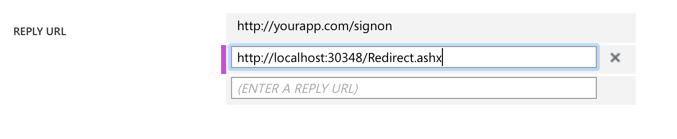
Under permissions to other applications, we want this application to have access to Power BI: 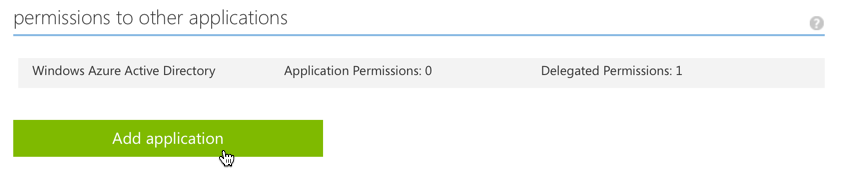
Find Power BI Service in the list and add it: 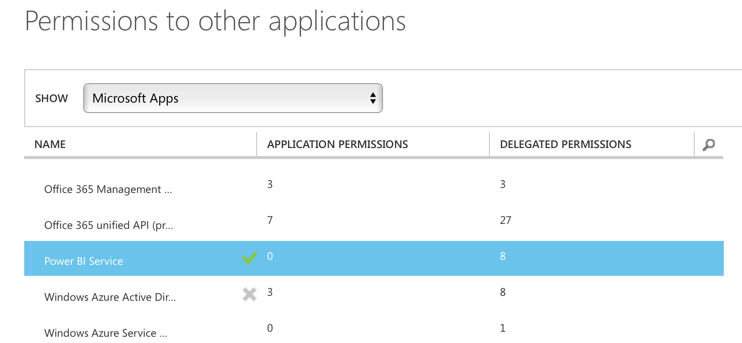
In the delegated permissions dropdown, select all the permissions: 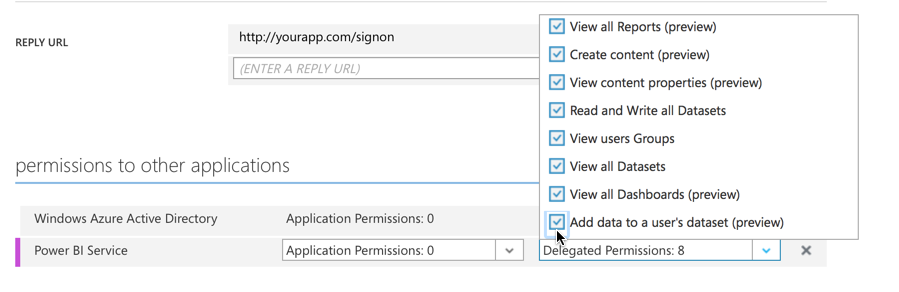
You now have your tenant set up. Save it and use the Client ID and Client Secret in your application to try to authenticate.