Appendix G: Official Ploopy Headphones Fully Assembled Version Instructions, Revision A
Do not flash new firmware until you've verified that the electronics are all working.
That means, finish building the headphones, plug them in, use the stock firmware for about five minutes. Verify that everything is working.
Once you've verified that it all works, you're good to go flashing new firmware.
Although the Ploopy Headphones that you purchased are "fully assembled", they require about five minutes of assembly work to put together. You can manage it, though. Have faith. It's easy.
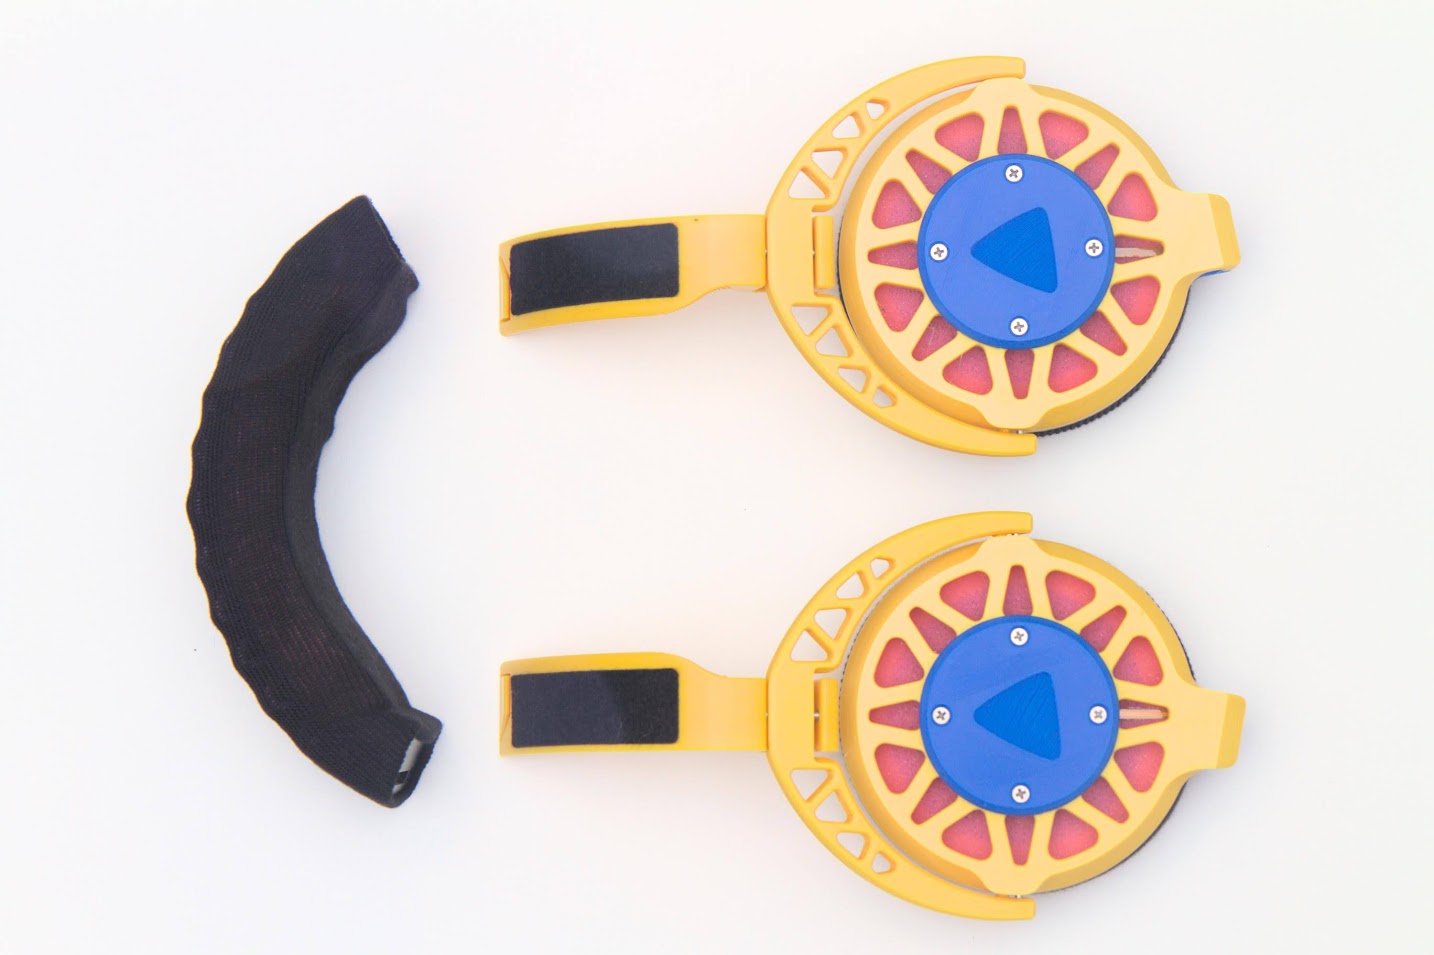
- Headband
- Left Driver
- Right Driver

- There should be quite a bit of resistance as you push the Headband Slider into the Headband. There should also be a "click" as you slide it that you can feel and hear.


- Cable Y-Splitter
- 2 TRS Cables
- Wire Wrapper

- It doesn't matter which TRS Cable goes into which jack of the Cable Y-Splitter.
- Braid the two TRS Cables into a braid. This is good practice to reduce the effects of electromagnetic interference, and it helps keep the wires tidy.
- Use the Wire Wrapper to hold the wires in place. The location of the Wire Wrapper can be adjusted later.
Congrats, you finished building the Ploopy Headphones!
It's done! Love them, use them, but don't you dare abuse them!