![]()


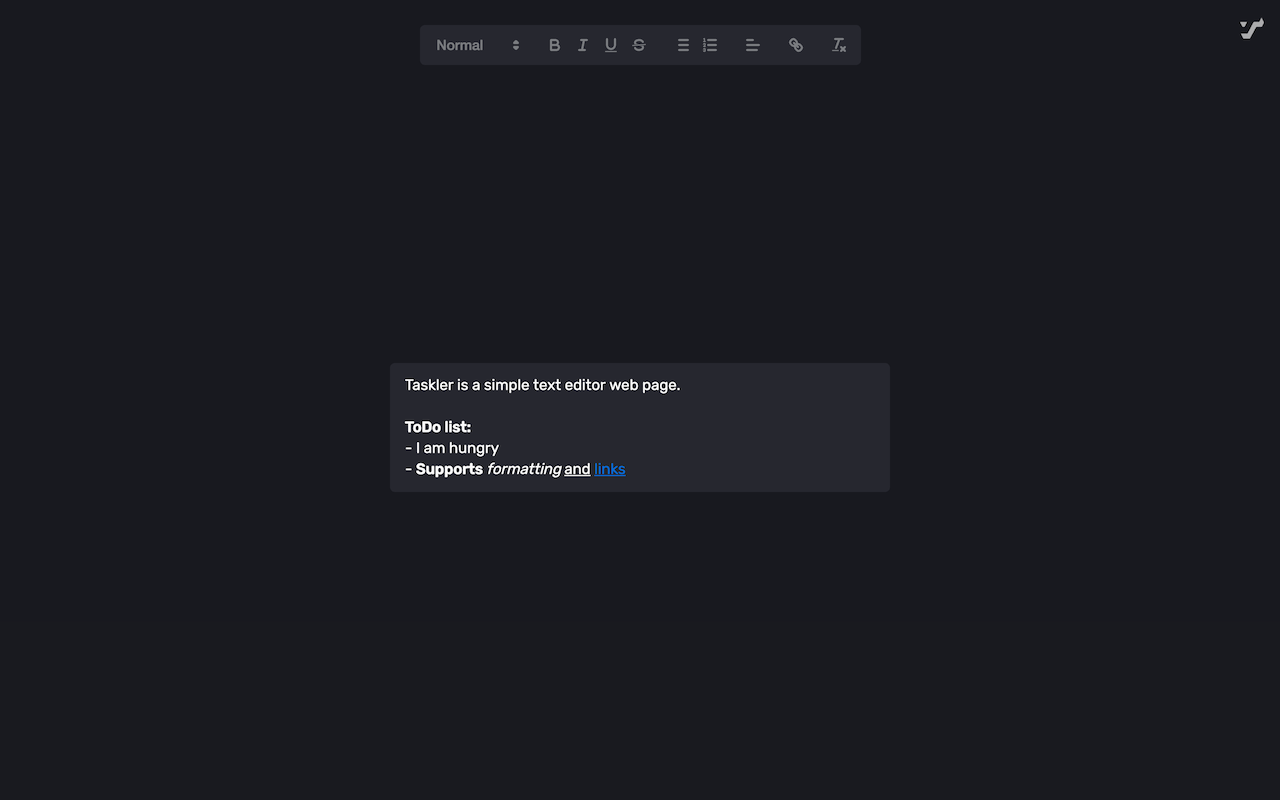
You can use shortcuts like cmd+B for bold, cmd+I for italics, cmd+U for underline and cmd+K for links.
For some reason, Brave deleted all my localStorage data, including Taskler's. This does not seem to be a problem with Taskler. If you have a backup, Taskler's data can be restored. Brave stores localStorage at in the following folder in my case:
~/Library/Application Support/BraveSoftware/Brave-Browser/Default/Local Storage/leveldb
For Chrome, it's this folder in my case:
~/Library/Application Support/Google/Chrome/Profile 1/Local Storage/leveldb
You should be able to simply restore this folder. Keep in mind that this folder doesn't just contain Taskler's data.
What I did to restore my Taskler data was this:
- Restore the aforementioned folder into
~/Downloads - Install golang
- Install leveldb-tools by running
go get github.com/rchunping/leveldb-tools - Export the database into plaintext format by running
leveldb-tools -dbpath ~/Downloads/leveldb -action export -file ~/Downloads/dumpfile.txt - Open
~/Downloads/dumpfile.txtand search forquill-state. If there are multiple instances of that, you might be able to tell which one is correct by the text after it. - Select and copy the object that is after
quill-state, starting with{and ending with}. Unfortunately you'll have to figure out where that is. In my case, this text came after the object:KL:=_chrome-extension://jnibmbpjkpfgaefgbnaneldfbfecpjih. - In Taskler, open the developer tools and go to the
Applicationtab. In the sidebar, open the item found insideLocal Storage. - You'll see a table with
KeyandValuecolumns. Double-click the value of thequill-statekey and pase in the object.
- Install Node.js
- Run
npm installto install dependencies
npm run dev:website: Start website dev servernpm run dev:extension: Build extension and watch for changesnpm run build:website: Build websitenpm run build:extension: Build extension and create a zip in/dist, ready for distribution to storesnpm run format: Format code and apply code suggestionsnpm run check: Check code
- Run
npm run check - Update
CHANGELOG.md - Update version in
manifest.json - Run
npm run build:extension - Commit with a tag in format "v#.#.#"
- Create GitHub release with the extension zip and release notes
- Merge
devintoprodto deploy website - Publish to Chrome and Firefox stores