Example of 3 microservices and a database working in a Kubernetes cluster.
The objetive of this project is to show a real example of our library PyMS, the template and the scaffold.
The tutorial of "how to create a cluster" is based of this bitnami tutorial
- chat_front: Is a simple webpage that sends and receives messages from chat_svc through socket io
- chat_svc: Receives messages from chat_front and sends these messages to chat_db to store this information
- chat_db: Receives data from chat_svc and stores this information in a SQLite DB.

The first step for working with Kubernetes clusters is to have Minikube installed if you have selected to work locally.
Install Minikube in your local system, either by using a virtualization software such as VirtualBox or a local terminal.
-
Browse to the Minikube latest releases page.
-
Select the distribution you wish to download depending on your Operating System.
NOTE: This tutorial assumes that you are using Mac OSX or Linux OS. The Minikube installer for Windows is under development. To get an experimental release of Minikube for Windows, check the Minikube releases page.
-
Open a new console window on the local system or open your VirtualBox.
-
To obtain the latest Minikube release, execute the following command depending on your OS. Remember to replace the X.Y.Z and OS_DISTRIBUTION placeholders with the latest version and software distribution of Minikube respectively. Check the Minikube latest releases page for more information on this.
curl -Lo minikube https://storage.googleapis.com/minikube/releases/vX.Y.Z/minikube-OS_DISTRIBUTION-amd64 && chmod +x minikube && sudo mv minikube /usr/local/bin/
TIP: If you use homebrew you can install it with the brew install command:
brew install minikube.
By starting Minikube, a single-node cluster is created. Run the following command in your terminal to complete the creation of the cluster:
minikube startInstall ingress:
minikube addons enable ingress
Set the environment of docker. This will make you shell use minikube's docker, so any image you build, you'll build it in the minikube machine. With this, you won't need a docker registry:
eval $(minikube docker-env)To run your commands against Kubernetes clusters, the kubectl CLI is needed. Check step 3 to complete the installation of kubectl.
In order to start working on a Kubernetes cluster, it is necessary to install the Kubernetes command line (kubectl). Follow these steps to install the kubectl CLI:
-
Execute the following commands to install the kubectl CLI. OS_DISTRIBUTION is a placeholder for the binary distribution of kubectl, remember to replace it with the corresponding distribution for your Operating System (OS).
curl -LO https://storage.googleapis.com/kubernetes-release/release/$(curl -s https://storage.googleapis.com/kubernetes-release/release/stable.txt)/bin/OS_DISTRIBUTION/amd64/kubectl
chmod +x ./kubectl
sudo mv ./kubectl /usr/local/bin/kubectl
TIP: Once the kubectl CLI is installed, you can obtain information about the current version with the kubectl version command.
NOTE: You can also install kubectl by using the
sudo apt-get install kubectlcommand. If you use homebrew you can install it with the brew install command:brew install kubectl. -
Check that kubectl is correctly installed and configured by running the kubectl cluster-info command:
kubectl cluster-info
NOTE: The kubectl cluster-info command shows the IP addresses of the Kubernetes node master and its services.
-
You can also verify the cluster by checking the nodes. Use the following command to list the connected nodes:
kubectl get nodes
-
To get complete information on each node, run the following:
kubectl describe node


Learn more about the kubectl CLI.
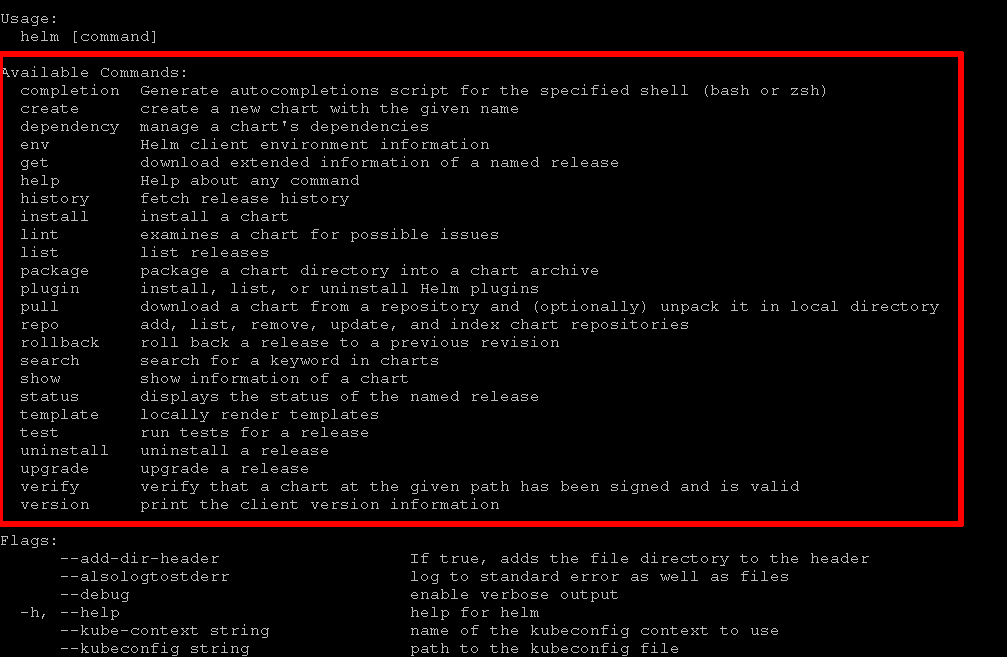
The easiest way to run and manage applications in a Kubernetes cluster is using Helm. Helm allows you to perform key operations for managing applications such as install, upgrade or delete.
-
To install Helm, run the following commands:
curl https://raw.githubusercontent.com/kubernetes/helm/master/scripts/get > get_helm.sh
chmod 700 get_helm.sh
./get_helm.sh
TIP: If you use homebrew you can install it with the brew install command:
brew install kubernetes-helm.
Once you have installed Helm, a set of useful commands to perform common actions is shown below:
Create the docker images:
docker build -t chat_db:v1 -f chat_db/Dockerfile chat_db/
docker build -t chat_svc:v1 -f chat_svc/Dockerfile chat_svc/
docker build -t chat_front:v1 -f chat_front/Dockerfile chat_front/
Check your helm charts:
helm upgrade --dry-run --install chat-front ./chat_front/chat_front/ \
  --set ingress.enabled=true --set "ingress.hosts[0]=$(minikube ip).nip.io"
helm upgrade --dry-run --install chat-svc ./chat_svc/chat_svc/ --set \
  --set ingress.enabled=true --set "ingress.hosts[0]=svc.$(minikube ip).nip.io"
helm upgrade --dry-run --install chat-db ./chat_db/chat_db/
Install helm charts:
helm upgrade --install chat-front ./chat_front/chat_front/ \
  --set ingress.enabled=true --set "ingress.hosts[0]=$(minikube ip).nip.io"
helm upgrade --install chat-svc ./chat_svc/chat_svc/ --set \
  --set ingress.enabled=true --set "ingress.hosts[0]=svc.$(minikube ip).nip.io"
helm upgrade --install chat-db ./chat_db/chat_db/Verify that all pods are Ok:
kubectl get pods
Open the IP that the command minikube ip returns and see the magic! ;)
