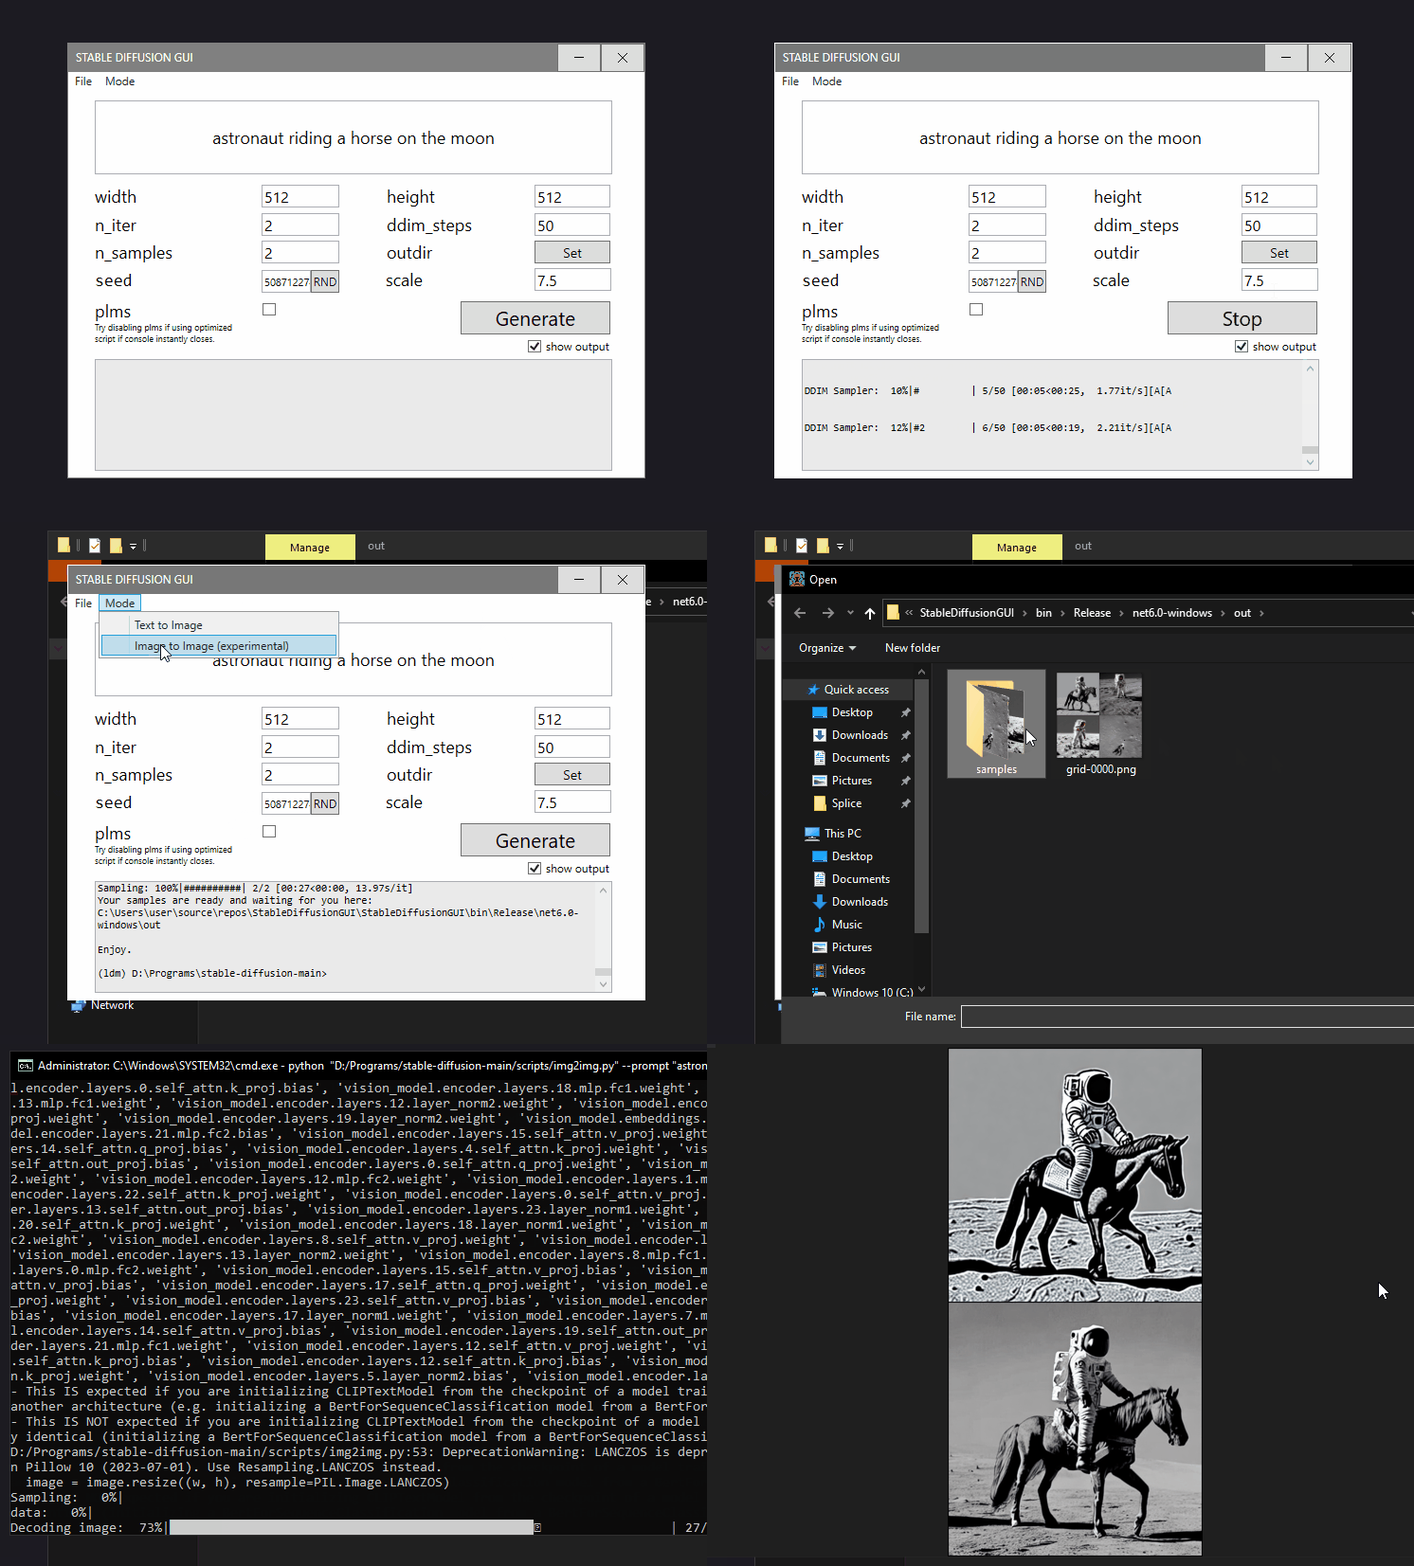
Windows UI for Stable Diffusion
As there are much more advanced stable-diffusion UIs working also without a localhost server, I am archiving this project. In latest changes I have introduced regex reading of SD outputs and progress bar in UI showing actual iteration. The next thing would be to preload the model so it won't take that long to run the generation. If you are interested in how the python was called and how anaconda env was switched, refer to ExternalProcessRunner.cs
- StableDiffusion and model weights locally (follow steps on official github)
- Anaconda installation or miniconda/conda - needed to activate conda environment using Anaconda prompt. Please, make sure you can run "python txt2img.py --help" from the Anaconda prompt and that you have ldm environment available (following the official guide in previous point).
- When using optimized script, put it into /scripts/ folder of archive downloaded from official Stable Diffusion repository.
- It is possible that optimized script does not support PLMS, disable it if Anaconda prompt closes immediately.
- img2img is now supported, but is an experimental feature.
- Download the pre-release package from github releases
- Open StableDiffusionGUI.exe
- (install NET Framework for desktop applications if prompted)
- Open File->Preferences and assign Anaconda+Txt2img.py file (Anaconda installation should point to "Anaconda" directory which contains bin,DLLs,condabin etc; txt2img file should be assigned from stable-diffusion-main/scripts)
- Run some prompts, tweak the values
To add new funcionalities or edit existing, only thing you need is Visual Studio with WPF (C#). Open the solution and everything should work out of the box. Nuget packages used:
