
QuizBot is a lightweight application that uses Twilio’s SMS features. It does one thing – it engages users with quizzes. The inspiration for this is marketing. Picture yourself sitting in a waiting room or in an exam room at your doctor’s office. Printed on a poster stuck to the wall, you read “Find out more about your risks of heart disease. Text HEART to xxx-xxx-xxxx to test your knowledge about heart disease.”
In addition to entertaining patients at the point of service, it gives you the opportunity to combine these opted-in users into other campaigns further down the road.
Before you can do anything, you will need to open an account with Twilio. The trial version is free. Here is a small demo on signing up, choosing a number and a brief description on SMS inbound and outbound.
Keep in mind that while you are setting up, configuring and testing this application all of your text messages from this trial account to users will be prepended by: “Sent from your Twilio trail account – “. After you test the application, then you can update the payment information in your Twilio account and the demo "Twilio Trial Account" message will disappear.
- First thing you need to do is clone the repository.
- Run
bundle installto bring in all the gems.
Side note: this application uses Postgres as the database and it can be tricky to install, locally. I found this article quite helpful if you get into a jam: https://www.codementor.io/engineerapart/getting-started-with-postgresql-on-mac-osx-are8jcopb
-
Finally if you managed to get everything installed, spin up Sinatra by running the application from the command line
ruby app.rband the webserver should start and let you know it is listening on port 4567. -
Next, open a browser and go to
http://localhost:4567and you should see the message: QuizBot is on center stage with Sinatra. If you see this message, then you are half way home!
You are going to need environment variables to configure Twilio and allow access the database. In the config folder of your application create a file named:
env.yml
This file works with the envyable gem that was installed when you ran bundle install. Make sure you include this file in your .gitignore file.
Inside your env.yml file, put the following information (I have delibertly put x's where the information should be). All the Twilio information can be obtained from your Twilio account. The database information will be the info for your local machine.
  development:
    TWILIO_ACCOUNT_SID: 'xxxxxxxxxxxxxxxxxxxxxxxxxxxxxxxxxxx'
    TWILIO_AUTH_TOKEN: 'xxxxxxxxxxxxxxxxxxxxxxxxxxxxx'
    TWILIO_PHONE_NUMBER: '+1xxxxxxxxxx'
    PG_USER: [whatever your local username is]
    PG_PASS:
In the console type:
rake db:create
rake db:migrate
These two commands will create the database and it will also create the tables to keep track of the questions, the scores and any other information that is important to the quiz.
Finally, let's load the demo quiz into the database to help you get started. The quiz information and structure are created in a seed file that is located in the db folder. The structure of this file is described further down.
To load the demo quiz, in the console type:
rake db:seed
If everything passes, then the quiz has fully loaded and you are almost there!
So, how do we actually get our machine to respond to a text?
The video, in the first step of this documentation, does a good job of quickly explaining how someone sending a text to our number reaches our application. Essentially, anyone sending a text to our Twilio number will generate a POST to the /sms route in our Sinatra application. Our application will then capture the information in the POST parameters and respond accordingly.
Since you are probably working on your local machine to test and configure the application, you will need something like: ngrok
This lightweight application will generate a URL that, once your Sinatra application is up and running, ngrok will create an external URL that will allow public access. You'll need that if you want to test your application. Of course, once you move into production and use a webserver like Heroku, all you'll need is the web address of the server.
Once you have downloaded ngrok at the command line, type:
ngrok http 4567
This command will create a tunnel your application running on port 4567 to the outside world. The example below is taken from Twilio's video.
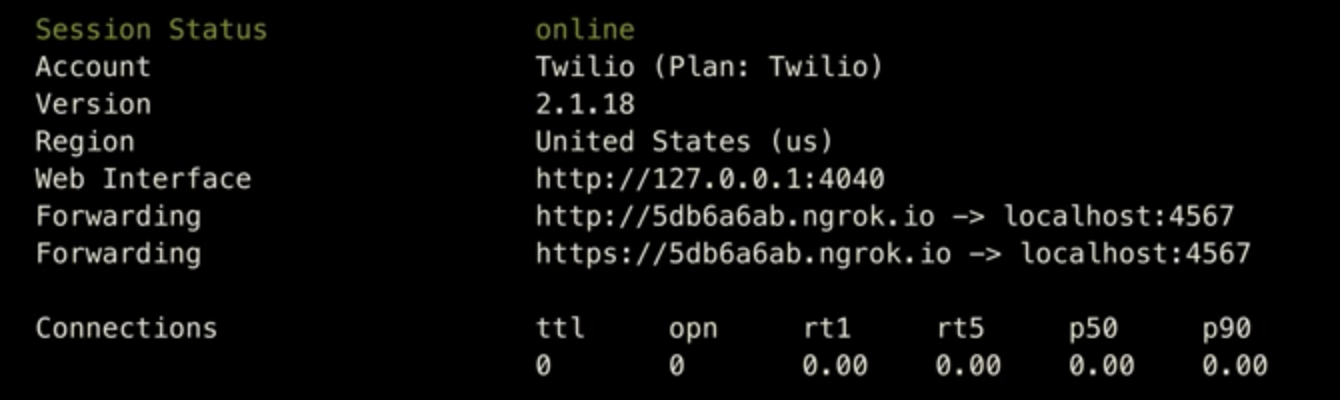
What you are looking for is the address that is marked forwarding (AGAIN THIS IS JUST AN EXAMPLE, your URL will be different).
Using the example above, and with Sinatra running, open a browser and type:
http://5db6a6ab.ngrok.io
You should see Sinatra's welcome message. This will verify that you can reach your local webserver from outside your local environment.
This URL will be important. Now, we need to wire Twilio and our web server together
Log back into your Twilio account and navigate to management of the phone number you selected previously. We are looking for configuration settings for Messaging. More specifically a place to tell Twilio what to do when it receives a text. If you remember when Twilio gets a text we need the webhook to POST to the /sms route. Take a look at the image below to better understand what we need.
From your TWILIO account:

Remember the URL will be different based on your ngrok settings or the webserver in your production environment.
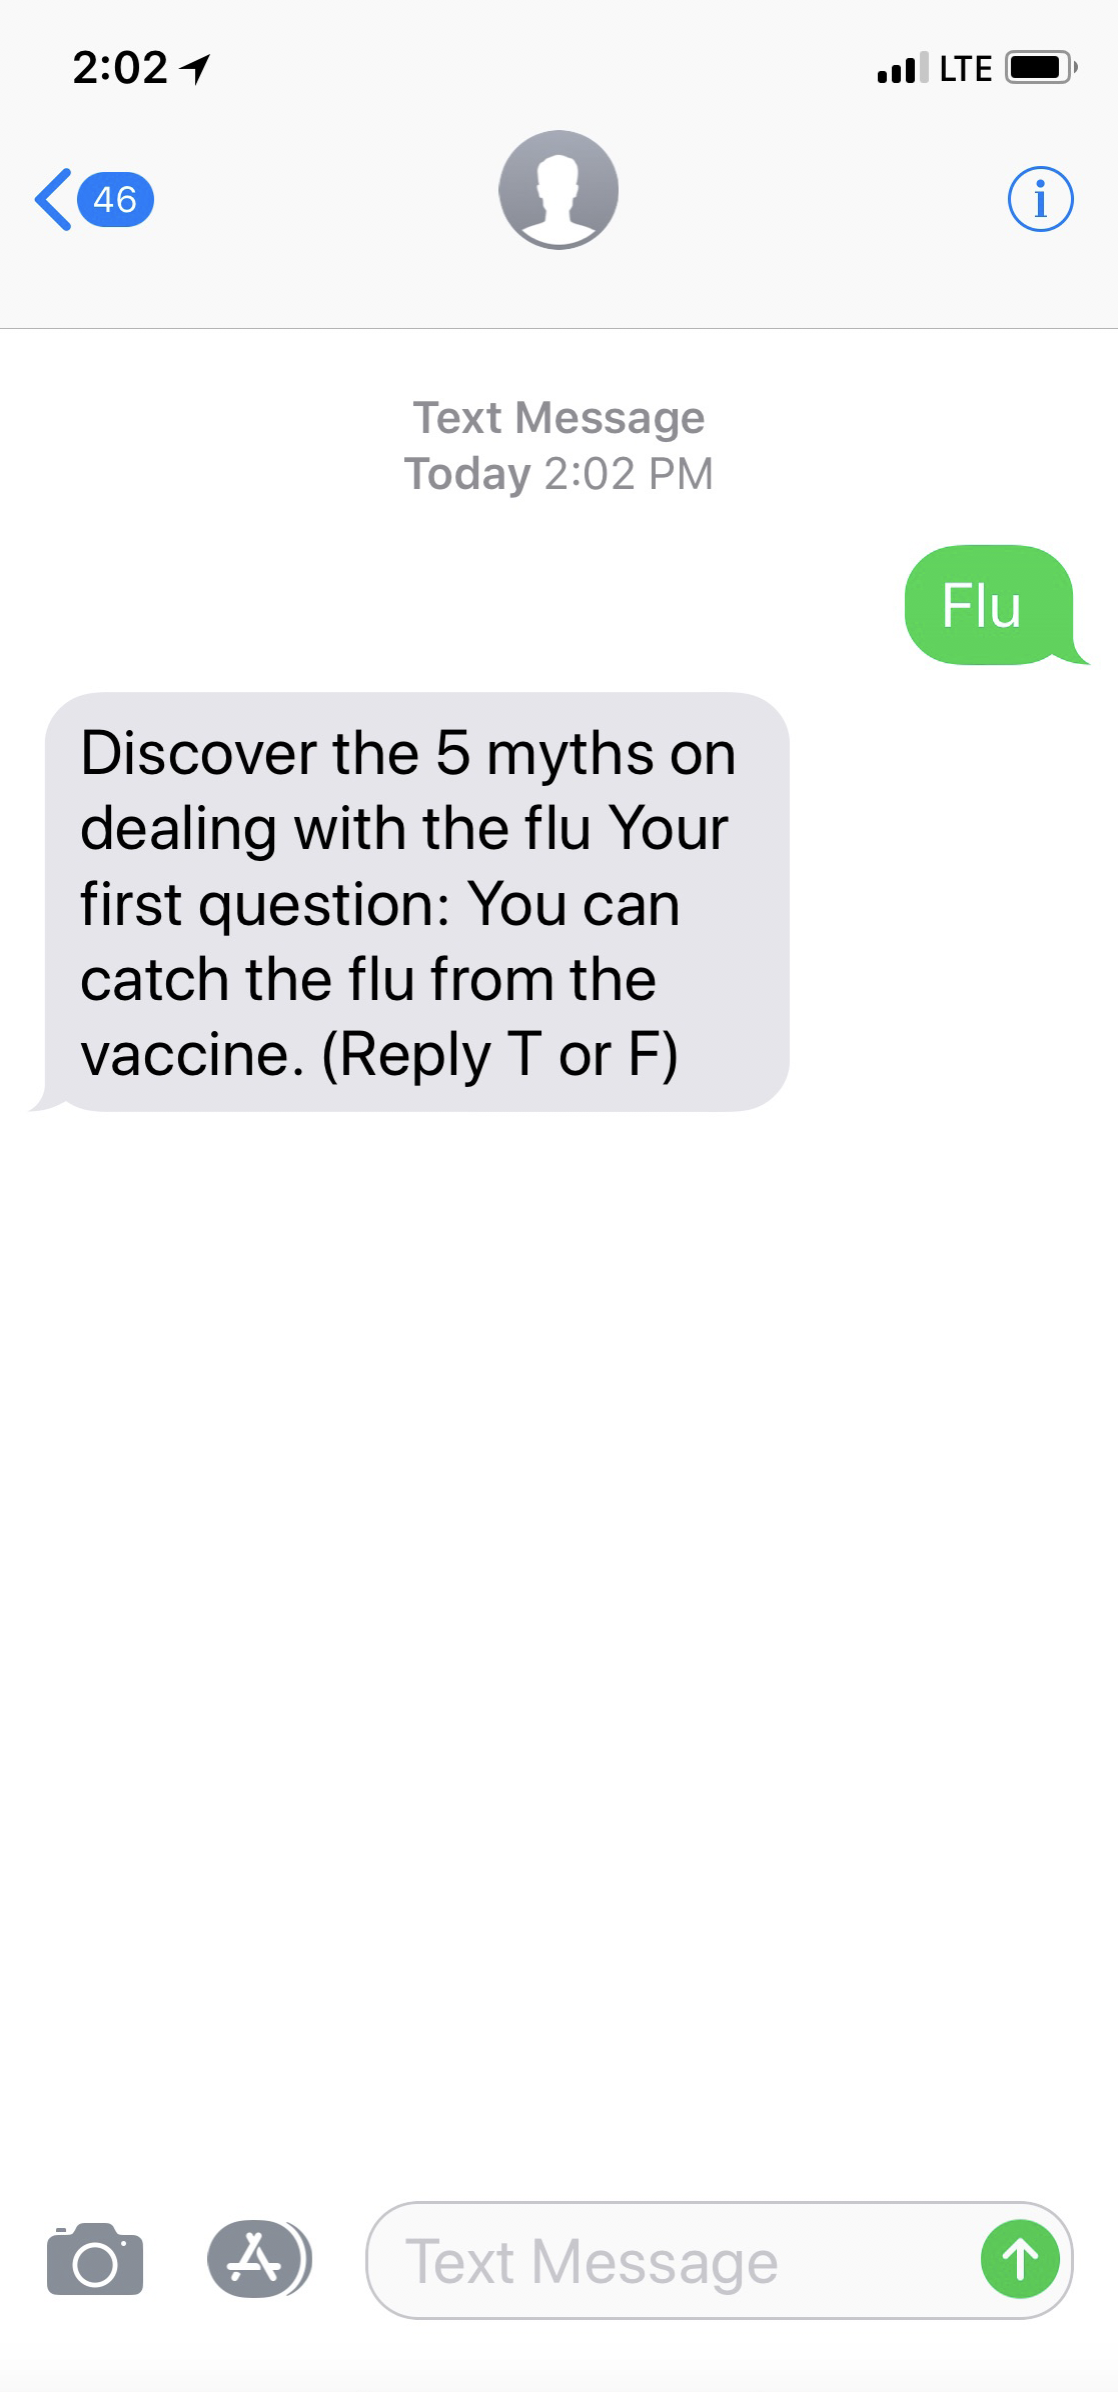
Now with ngrok and your application running, send keyword Flu to your Twilio phone number and you should get a response like the one below.
It's pretty easy to make some basic changes to this application and give it a more personal feel. All of the responses and actions are contained in the constants.rb file.
WELCOME = This is the first message subscribers see when you text them if they are new.
NEW_USER_HELP = If the bot didn't recognize the first text keyword, it will try to help you out.
WELCOME_BACK = This message will great a subscriber if they stopped and rejoined the quizbot.
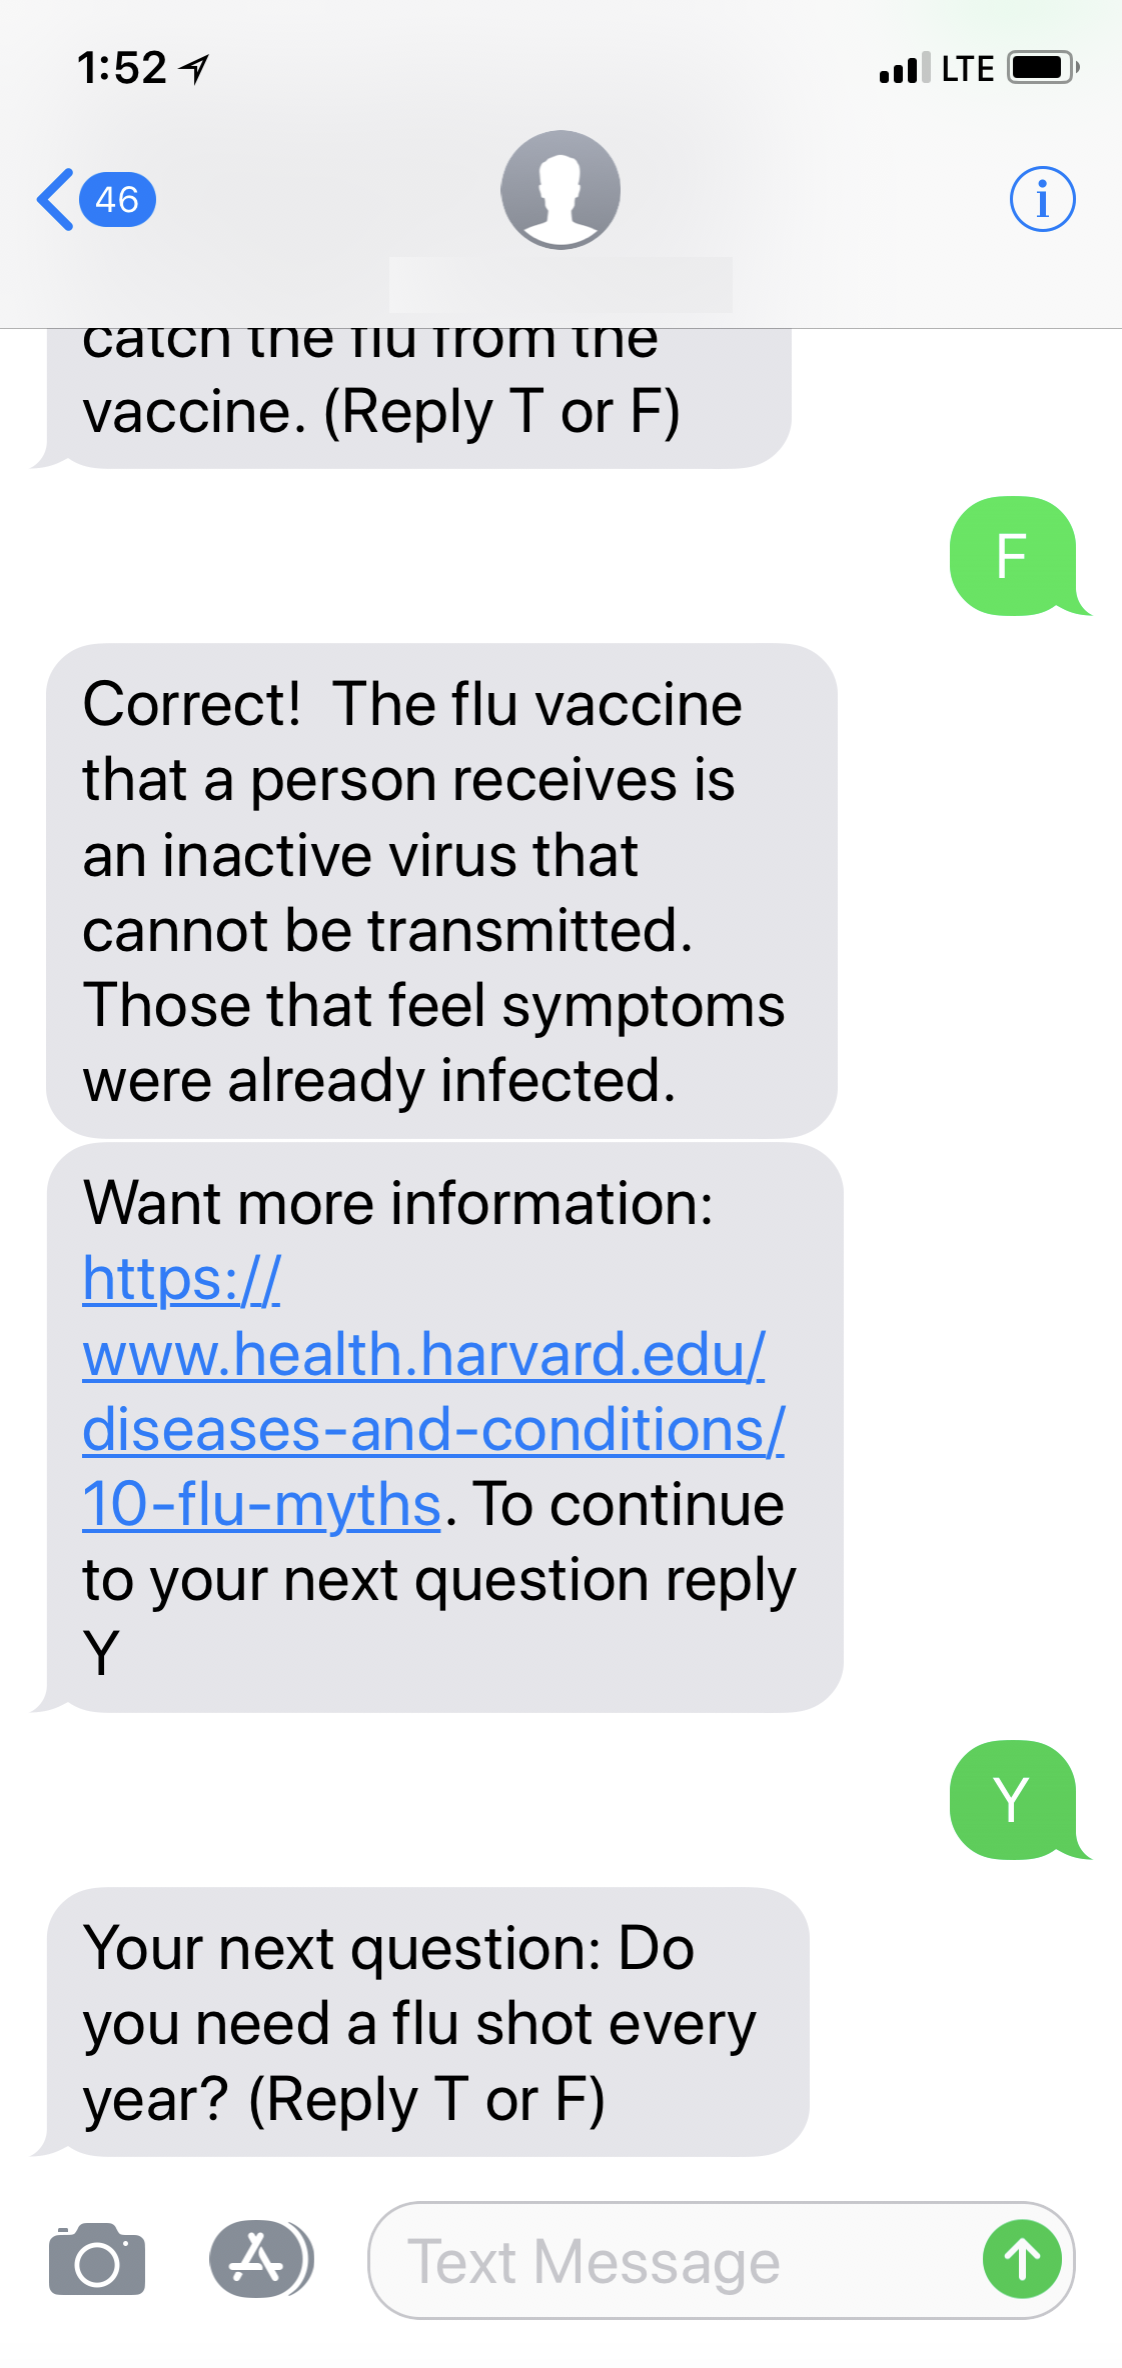
NEXT_QUESTION = This phrase will be appended to every question to prompt them to go to the next question.
SCORE = This message will be the pre-text before the score is calculated.
ERROR_RESPONSE = The message that gets sent back if it didn't recognize the text as a keyword or action.
ERROR_TOO_MANY_WORDS = This error will display if the user texts more than one word.
ACTION_KEYS = This is an array of the actions the bot recognizes.
ANSWER_KEYS = This is an array of words or characters that the application recognizes as an answer.
CORRECT_ANSWER = This is a message that is prepended to the answer is correct.
WRONG_ANSWER = This is a message that is prepended to the answer when the response is incorrect.
All of the quiz information is contained in the seeds.db file located in the db folder. There are two essential elements:
- The topic - this creates the keyword and the description the user will receive when texting the keyword.
    @topic1 = Topic.create(
          keyword: "flu", #keywords in lowercase
          description: "Discover the 5 myths on dealing with the flu."
        )
- The question - this will create the question detail.
detail:refers to the actual question.answer:will be the actual answer to the true or false question.answer_description:is the answer that the user will receive after answering the question.more_info:is not required but it will provide the user with a link to supporting information. And finally, it must be associated with a topic (or keyword) usingtopic_id:.
Question.create(
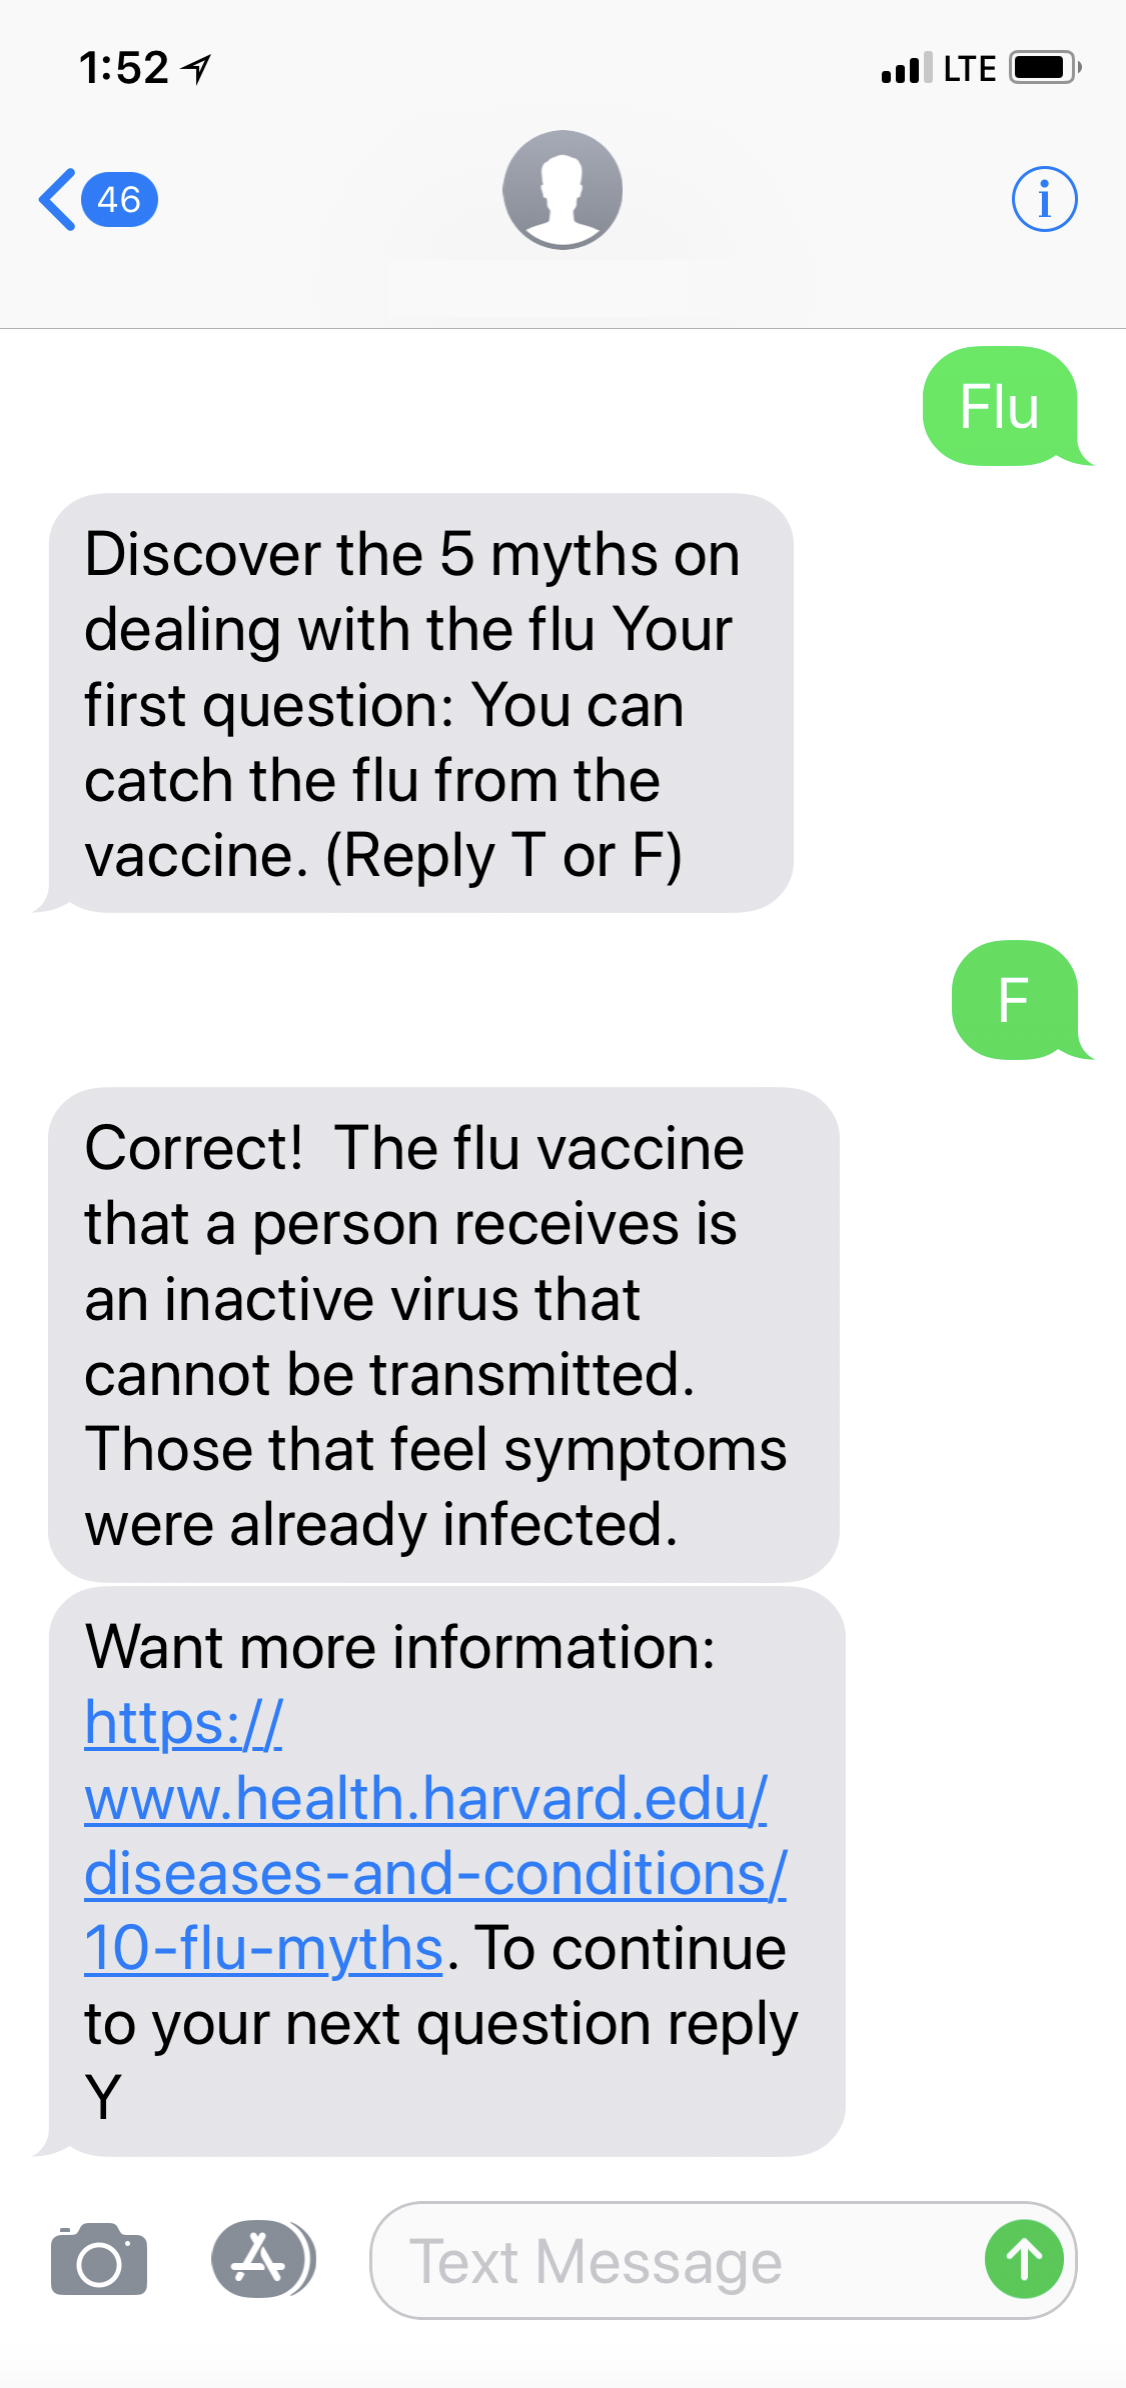
detail: "You can catch the flu from the vaccine. (Reply T or F)",
answer: "F",
answer_description: "The flu vaccine that a person receives is an inactive virus that cannot be transmitted. Those that feel symptoms were already infected.",
more_info: "https://www.health.harvard.edu/diseases-and-conditions/10-flu-myths",
topic_id: @topic1.id
)
That is it! Feel free to add as many questions per topic as you wish. Or as many topics as you want.