Timeline Window
The Timeline Window shows all recorded Messages within all currently loaded files and is designed to mimic a video editor timeline (without the editing part..). You can quickly change files by simply click on the different rows of files, and during playback you can jump to different points within files. Each message is represented as a line, and multiple lines may appear in the same place. It can be visually customised to meet your requirements through the usage of a Color file.
You can control all playback parameters from this window, including playback speed, meaning you don't need to access the playback manager once you've loaded all your files.
The visuals of the timeline can be adjusted to match your files. By default, all messages are reported as solid black, creating a Timeline Colors asset allows you to adjust this.
- First create a
Timeline Colorsasset by going to your project assets andRight click -> Create -> PlayRecorder -> Timeline Color Asset. - Add the messages (which are found from the Playback Manager cache) you want to color.
- You can simply click the missing messages buttons at the bottom of the inspector to add them.
- Adjust their colors as you wish.
- Additionally adjust any of the overall timeline settings to better suit your tastes.
- Go back to the Timeline window and select the color file you wish from the top right.

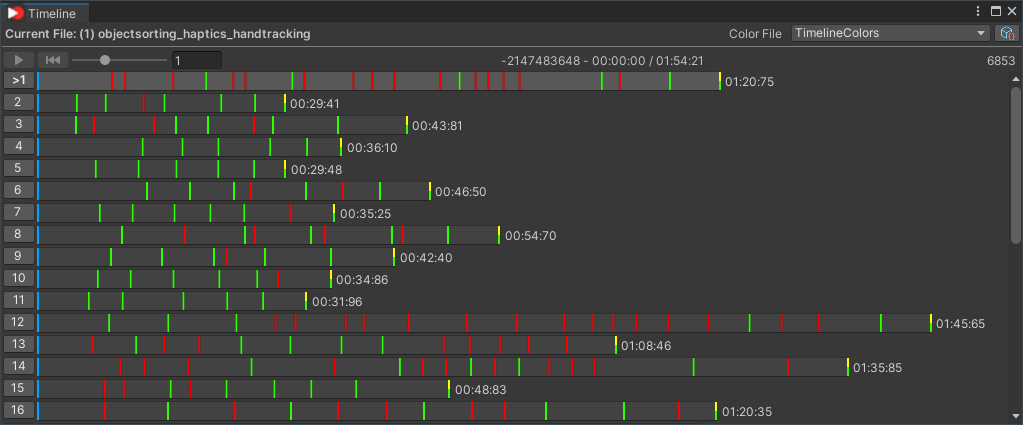
The above settings would produce the timeline below (graphics designers eat your heart out).
