📥 Build custom UI flow using stack order 📤
🔗 Enforce sequential user interaction 🔗
🗂 Focus user attention on one flow step at a time 🗂


StackFlowView is a high-level view capable of hosting a collection of custom UIViews. Which is, well, not unique behaviour.. The special thing about it though, is that it enforces stack flow behaviour (as the name suggests), which means:
-
Only the last view in stack allows user interaction. There is no way to affect past or future state of the UI flow;
-
No view properties can be pre-determined until the moment before putting one into stack (push action). This way, every next stack item considers previous state and can be adjusted to reflect particular flow step;
-
It is not possible to go N items back without dismissing/destroying those items (pop action). This way, going back in time and changing state enforces subsequent flow steps to be revisited.
During development, various state-dependent UX cases were kept in mind. For example, this solution perfectly works for all kinds of dynamic input forms where every next set of options depends on previous choices made by user.
- Add
pod 'StackFlowView'to yourPodfile; - Run
pod installorpod updatein Terminal; - Re-open your project using
.xcworkspace, putimport StackFlowViewin the swift files you plan to use stack flow in (or use bridging in Obj-C projects); - Rebuild and enjoy.
Drop folder with .swift source files to your project and you're done.
Creating StackFlowView takes a few lines of code. Basically, you need to:
- Initialize it with any frame (not necessery);
- Add it to superview;
- Set delegate;
- Optionally set up constraints if you want to enjoy autolayout-ready behaviour;
let stackView = StackFlowView() // StackFlowView(frame: ...)
stackView.delegate = self

view.addSubview(stackView)

/* — Optional constraints — */

([
	NSLayoutConstraint(item: stackView, attribute: .top, relatedBy: .equal, toItem: view, attribute: .top, multiplier: 1.0, constant: 0),
	NSLayoutConstraint(item: stackView, attribute: .bottom, relatedBy: .equal, toItem: view, attribute: .bottom, multiplier: 1.0, constant: 0),
	NSLayoutConstraint(item: stackView, attribute: .leading, relatedBy: .equal, toItem: view, attribute: .leading, multiplier: 1.0, constant: 0),
	NSLayoutConstraint(item: stackView, attribute: .trailing, relatedBy: .equal, toItem: view, attribute: .trailing, multiplier: 1.0, constant: 0)
]).forEach { $0.isActive = true }

view.setNeedsLayout()
view.layoutIfNeeded()There are some nice options to define desired behaviour of your stack flow, including its direction of growth, the way it separates items, gestures user can use to move back and forth, and more. Please see the comments below, as well as property references in Xcode.
// How big should padding next to the stack's last item be?
stackView.headPadding = 0

// Which direction should new items be pushed in?
stackView.growthDirection = .down

// Separate by lines, padding or nothing at all?
stackView.separationStyle = .line(thikness: 2.0, color: .black)
						 // .padding(size: 20.0)
						 // .none

// If you want your stack gradually fade away, you can pick any of the styles, or combine them!
stackView.fadingStyle = .combined(styles:
	[
		.tint(color: .white, preLastAlpha: 0.9, alphaDecrement: 0.1),
		.gradientMask(effectDistance: stackView.bounds.height * 0.7)
	]
) // Or just .none

// You can swipe up-down or left-right to control your flow, and/or also tap inactive stack area to pop any number of items (depends on where you tap)
stackView.userNavigationOptions = [.swipe, .tap]

// Fast hops or sloooooow animation?
stackView.transitionDuration = 0.25

// Set to false if you don't need automatic safe area detection/adoption
stackView.isSeekingSafeArea = true

// Set to false to turn off stretch-out behaviour for your content items during autolayout updates
stackView.isAutoresizingItems = trueNOTE: There is no views reusability mechanism in current version, so whatever you push to
StackFlowViewincrements memory usage until you pop it. Therefore, the weak place of this library is a large number of flow steps. It's in TODO list to address this feature.
There is only one straight-forward to use method to push your view into Stack Flow, but it lets you customize things to the extent you want.
You can stick to using the same style for all items, or use custom approach for each one.
Send the view to stack without showing anything else.
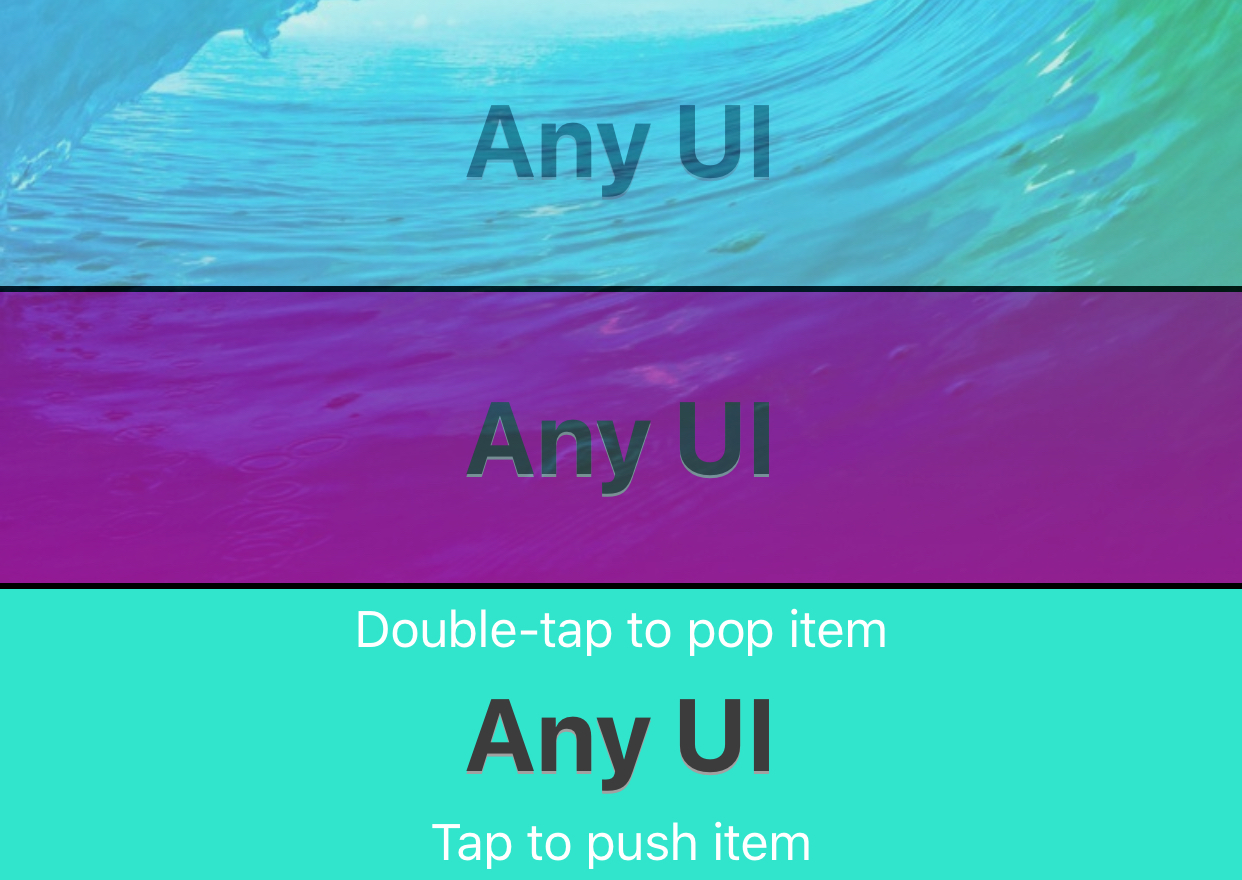
stackView.push(myCustomView)Display item's title along with standard-looking buttons navigation, which is a good alternative to gestures in case you need it (for example, as an Accessibility option for users).
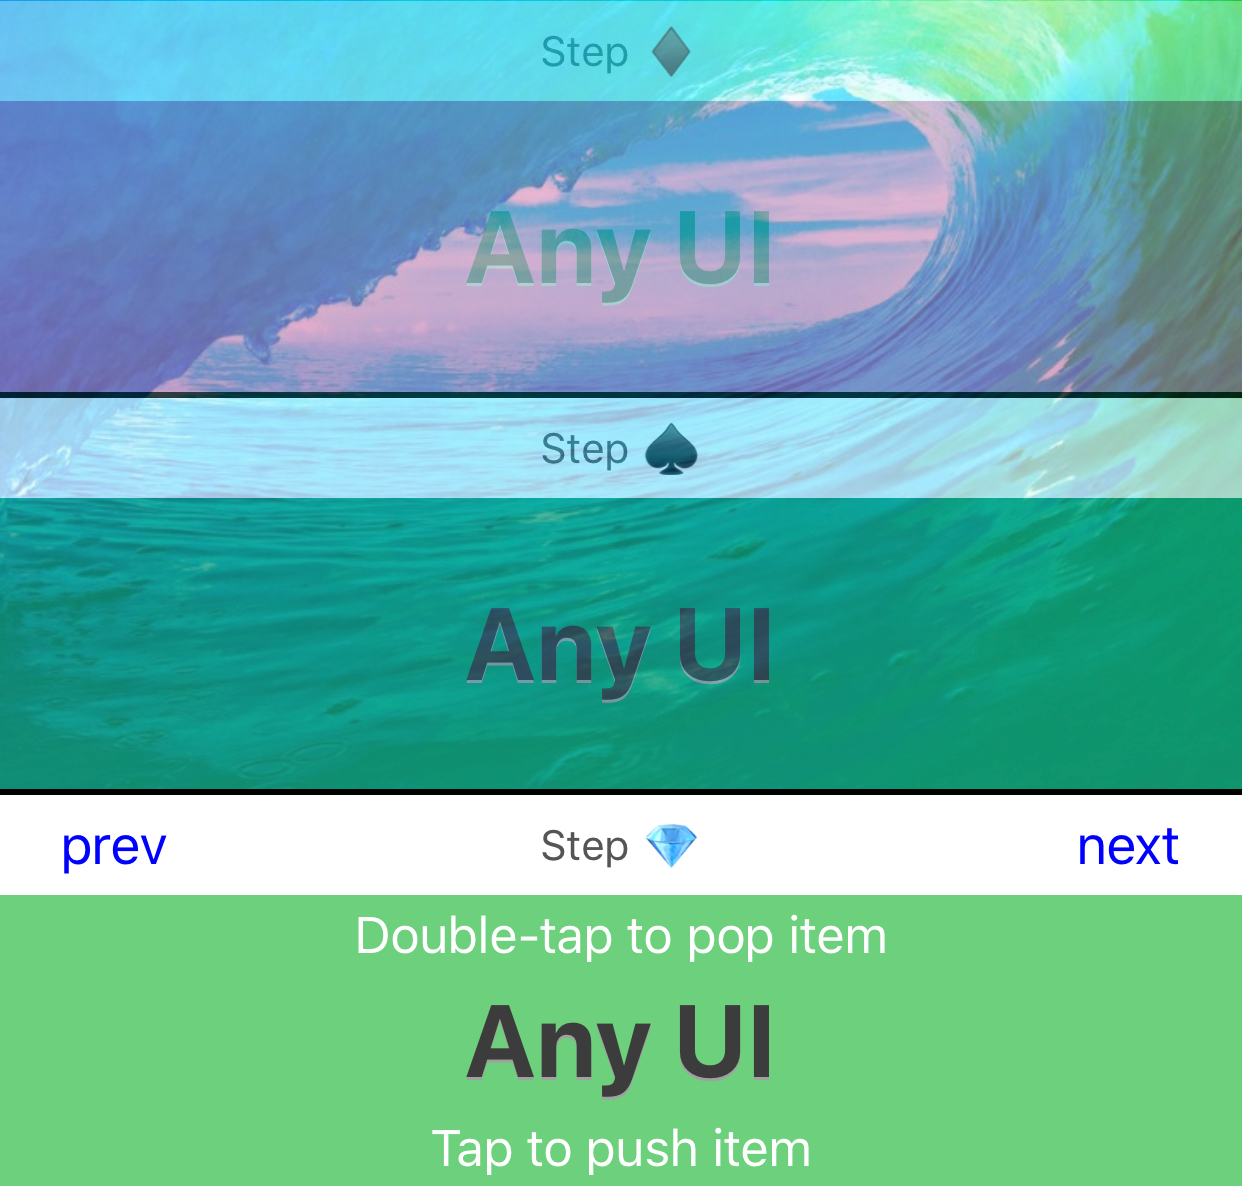
stackView.push(myCustomView, title: "Step ♦️")Define custom appearance for the item's container, including its header bar background color, title font and color, and navigation buttons appearance.
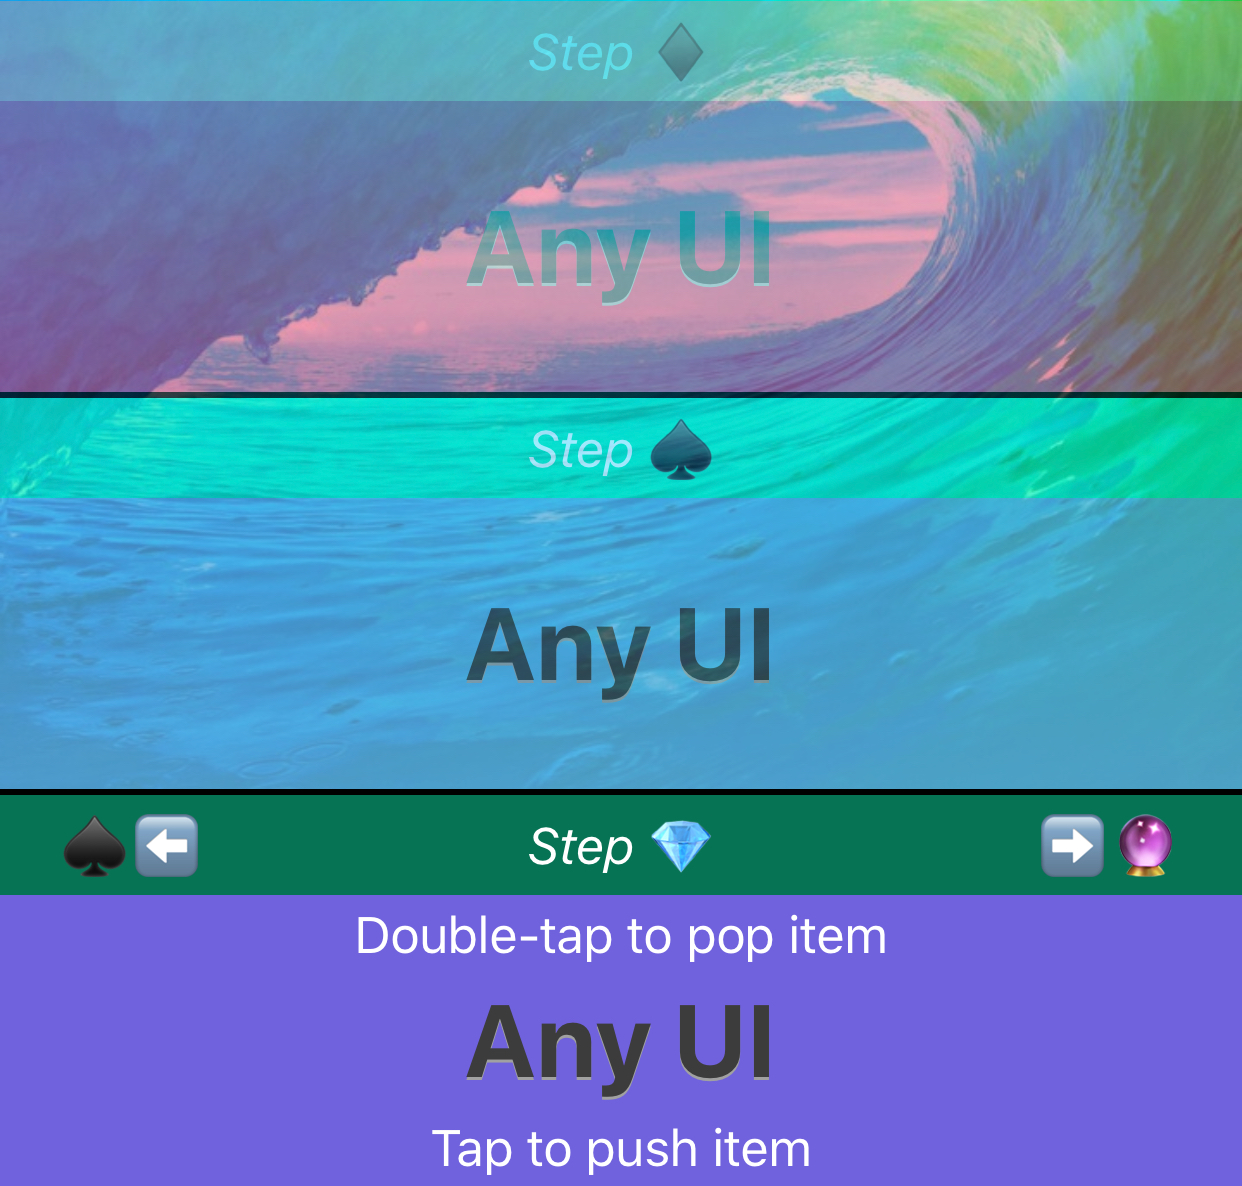
// Define custom top bar appearance

let topBarAppearance: StackItemAppearance.TopBar = {
	let popButtonAppearance: StackItemAppearance.TopBar.Button
	let pushButtonAppearance: StackItemAppearance.TopBar.Button

	// You can use images or attributed text for navigation buttons

	let preferIconsOverText = false

	if preferIconsOverText { // Use icons
		popButtonAppearance = StackItemAppearance.TopBar.Button(icon: UIImage(named: "back")!)
		pushButtonAppearance = StackItemAppearance.TopBar.Button(icon: UIImage(named: "forth")!)
	} else { // Use text
		let popButtonTitle = NSAttributedString(string: "♦️⬅️", attributes: [.foregroundColor : UIColor.blue])
		popButtonAppearance = StackItemAppearance.TopBar.Button(title: popButtonTitle)

		let pushButtonTitle = NSAttributedString(string: "➡️💎", attributes: [.foregroundColor : UIColor.blue])
		pushButtonAppearance = StackItemAppearance.TopBar.Button(title: pushButtonTitle)
	}

	let customBarAppearance = StackItemAppearance.TopBar(backgroundColor: Utils.randomPastelColor(), titleFont: .italicSystemFont(ofSize: 17.0), titleTextColor: .white, popButtonIdentity: popButtonAppearance, pushButtonIdentity: pushButtonAppearance)

	return customBarAppearance
}()

// Set appearence for the whole item, including previously created top bar appearance

let customAppearance = StackItemAppearance(backgroundColor: Utils.randomPastelColor(), topBarAppearance: topBarAppearance)

// Push it all to the stack!

stackView.push(myCustomView, title: "Step ♦️", customAppearance: customAppearance)
Pop N items from stack by calling one of the pop(_:) method variations.
stackView.pop()stackView.pop(numberOfItems)StackFlowDelegate protocol enables control over stack flow by the object implementing it. For example, it delivers push and pop intention events triggered by user gestures, and lets you decide if StackFlowView should proceed or ignore this action. It also reports about the corresponding actions that are upcoming or just passed.
func stackFlowViewDidRequestPop(_ stackView: StackFlowView, numberOfItems: Int) {
	log(message: "Requested to go \(numberOfItems) steps back", from: self)
	stackView.pop(numberOfItems)
}

func stackFlowViewDidRequestPush(_ stackView: StackFlowView) {
	log(message: "Requested next item", from: self)
	goToNextStep()
}

func stackFlowViewWillPop(_ stackView: StackFlowView) {
	log(message: "About to go one item back", from: self)
}

func stackFlowViewDidPop(_ stackView: StackFlowView) {
	log(message: "Went one item back", from: self)
}

func stackFlowView(_ stackView: StackFlowView, willPush view: UIView) {
	log(message: "About to to go to the next step", from: self)
}

func stackFlowView(_ stackView: StackFlowView, didPush view: UIView) {
	log(message: "Went to next step with view: \(view)", from: self)
}class MyFlowController: UIViewController {
// MARK: - Flow definition -
enum MyFlowStep: Int {
case none = -1
case one = 0, two, three, four
static var count: Int { return 4 }
var title: String {
switch self {
default:
return "Step \(shortSymbol)"
}
}
var shortSymbol: String {
switch self {
case .one:
return "♦️"
case .two:
return "♠️"
case .three:
return "💎"
case .four:
return "🔮"
case .none:
return "❌"
}
}
var prevStep: FlowStep? {
let prevValue = rawValue - 1
return prevValue >= 0 ? FlowStep(rawValue: prevValue) : nil
}
var nextStep: FlowStep? {
let nextValue = rawValue + 1
return nextValue < FlowStep.count ? FlowStep(rawValue: nextValue) : nil
}
}
// MARK: - Properties -
private let stackView = StackFlowView()
/* — Whenever this property is set, you can prepare the next view to push — */
private var currentStep: MyFlowStep = .none {
didSet {
// Get identity of the current step
let itemTitle = currentStep.title
// You can optionall use bounding steps' identity for something like setting custom navigation buttons
let prevItemSymbol = currentStep.prevStep?.shortSymbol
let nextItemSymbol = currentStep.nextStep?.shortSymbol
// Here you should construct your custom UIView considering purposes of this particular step
let itemView = stepView(for: currentStep)
// Now you can push your custom view using superclass `push()` method!
stackView.push(itemView, title: itemTitle)
}
}
// MARK: - View constructor -
private func stepView(for step: MyFlowStep) -> UIView {
let stepView: UIView
// Note this `safeSize` property of StackFlowView. You should use it to get info about its available content area, not blocked by any views outside of safe area
let safeStackFlowViewWidth = stackView.safeSize.width
// Build custom view for any given step
switch step {
case .one:
stepView = UIView(frame: CGRect(x: 0, y: 0, width: safeStackFlowViewWidth, height: 100.0))
case .two:
stepView = UIView(frame: CGRect(x: 0, y: 0, width: safeStackFlowViewWidth, height: 200.0))
default:
stepView = UIView(frame: CGRect(x: 0, y: 0, width: safeStackFlowViewWidth, height: 300.0))
}
return stepView
}
}- Think about views reusability mechanism
StackFlowView is released under an MIT license. See the LICENSE file.