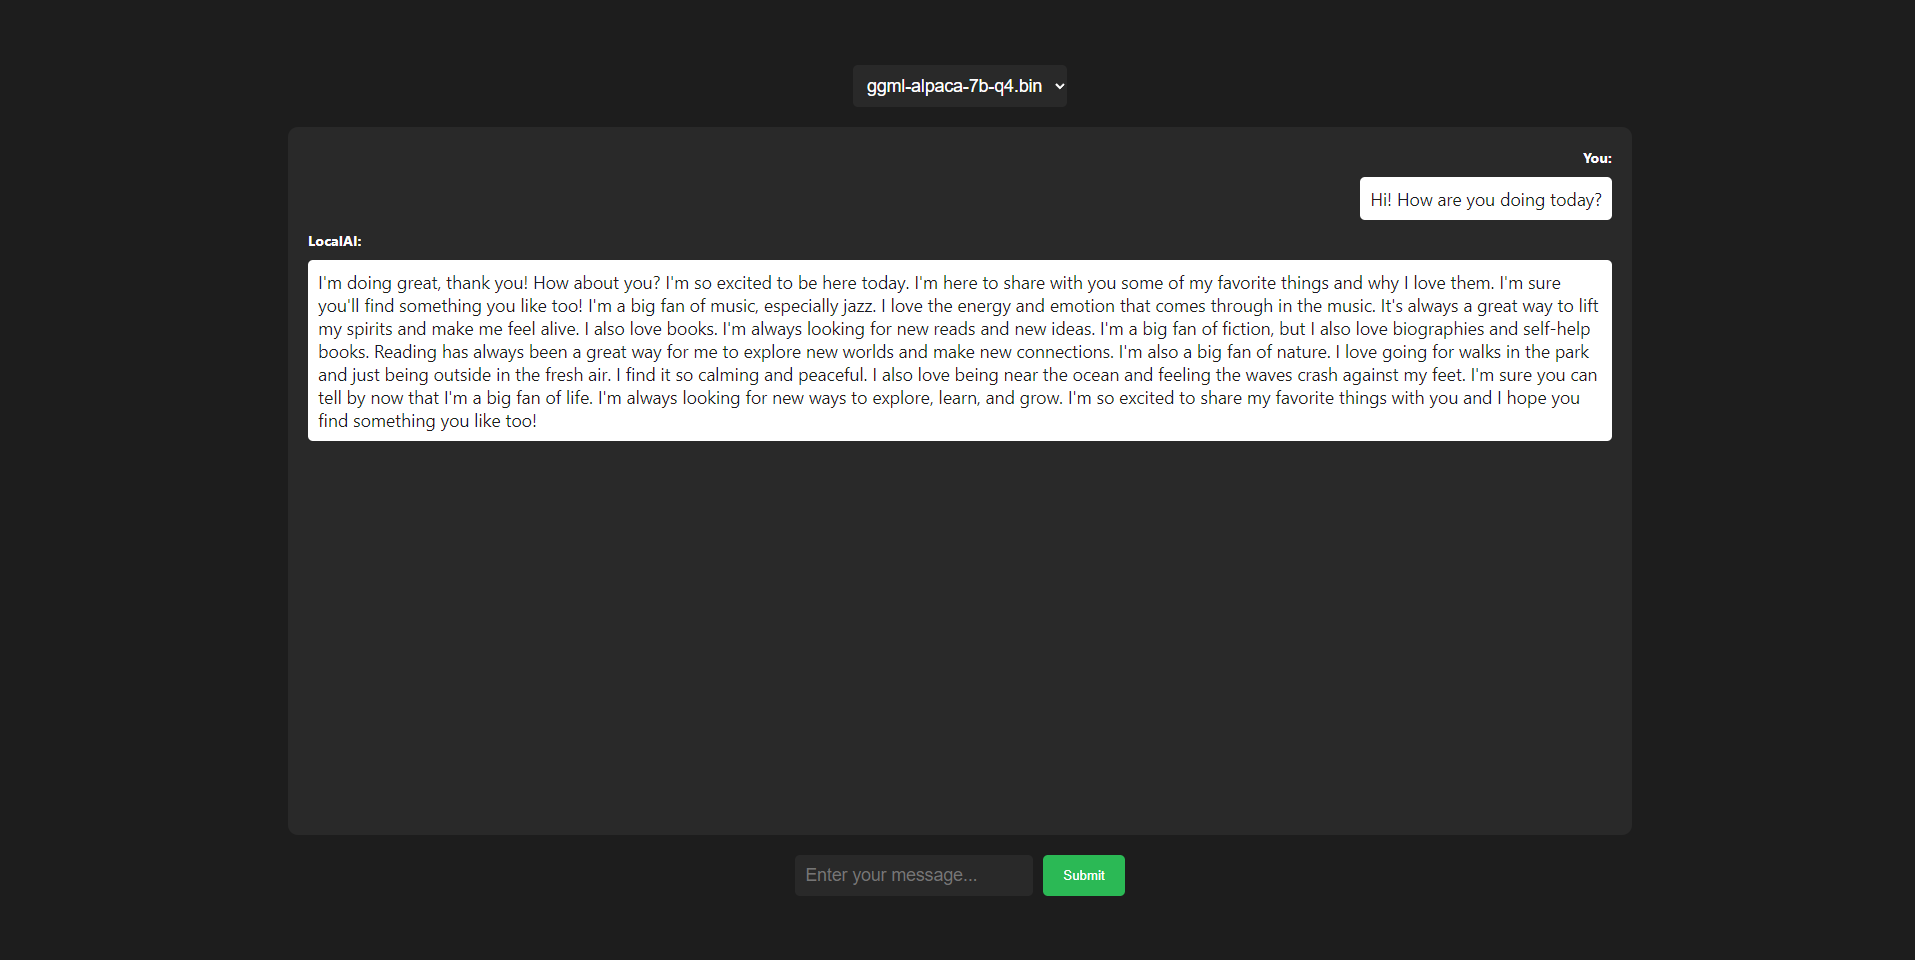
This is a frontend web user interface (WebUI) that allows you to interact with AI models through a LocalAI backend API built with ReactJS. It provides a simple and intuitive way to select and interact with different AI models that are stored in the /models directory of the LocalAI folder
To use the frontend WebUI, follow the steps below:
Move the sample-docker-compose.yaml to docker-compose.yaml in the LocalAI directory ( Assuming you have already set it up) , and run:
docker-compose up -d --buildThat should take care of it, you can use a reverse proxy like Apache to access it from wherever you want! Currently, both arm64 and x86 systems are supported
If you don't know how to do this, you shouldn't probably be here?
Navigate to the cloned repository directory and install the dependencies by running npm install or yarn install, depending on your package manager of choice
Update the API endpoint link in the ChatGptInterface.js file to point to your LocalAI backend API
Place your AI models in the /models directory of the LocalAI folder. Make sure that the models are compatible with the backend API and follow the required file format and naming conventions and start your docker container
Start the development server by running npm start or yarn start, depending on your package manager of choice. This will launch the WebUI in your default web browser
In the WebUI, you can now select the AI models from the model selection menu and interact with them using the chat interface
The WebUI allows you to select from a list of AI models that are stored in the /models directory of the application. You can easily switch between different models and interact with them in real-time
The WebUI connects with the LocalAI backend API to send requests and receive responses from the AI models. It uses API calls as specified in the LocalAI project and just works with it
The WebUI provides a chat-like interface for interacting with the AI models. You can input text and receive responses from the models in a conversational manner
The WebUI is designed to be hosted any where you want, just use docker or edit the URL of your API endpoint and it should work!
