Repository navigation
PDAI Setup your machine
This page explains how to install Python and an editor for 'jupyter notebooks'
- Where a notebook is a collection of code and presentation material
You have two options:
- Do not install anything, and use Google colab (the google doc for python) [DEPRECATED]
- Install the open source free and standalone desktop application by Microsoft: Visual Studio Code [SUGGESTED]
We remark that we discourage the use of Google colab. However, we mention it as it could be convenient in case of initial configuration problems.
You don't need any installation if you only use Colab
Used Jupyter notebooks will be made available with suitable links

- Visit the download page of Python, and install a recent one (we suggest 3.14)
- Visit the download page of Visual Studio Code https://code.visualstudio.com/Download
- Download and install the right distribution
- Open Visual Studio Code,
- Click on Extensions (the for squares in the picture), write
@recommended:languages(with no spaces before and after) - Install both Python and Jupyter
- These are extensions (plugins) of Visual Studio to handle python
- You should now be good to go
- You may also want to install
- GitHub Copilot
- GitHub Copilot chat
- This will make your editor integrated with Microsoft Copilot to
- Generate code based on comments
- Explain code
- Debug and clean code, etc
- Read here for further details
- If you are a chatgpt user, you may also want to install Codex
- It is like the copilot above, but more powerful and based on chatgpt
- Click on Extensions (the for squares in the picture), write

Note for IT staff helping configuring to complex/remote configurations:
- During the course, we will install additional libraries using
pip, and we will create virtual environments- In previous editions, there have been problems with these features when 'connecting' the visual studio client of students with remote servers. For the sake of this course, we recommend standard installations on laptops
- Open Visual Studio Code,
- In the top menu, click on File -> Open Folder
- Pick (or create) a folder that will contain all files for the current project (do not use desktop or other 'special' folders)
- You should see something like this
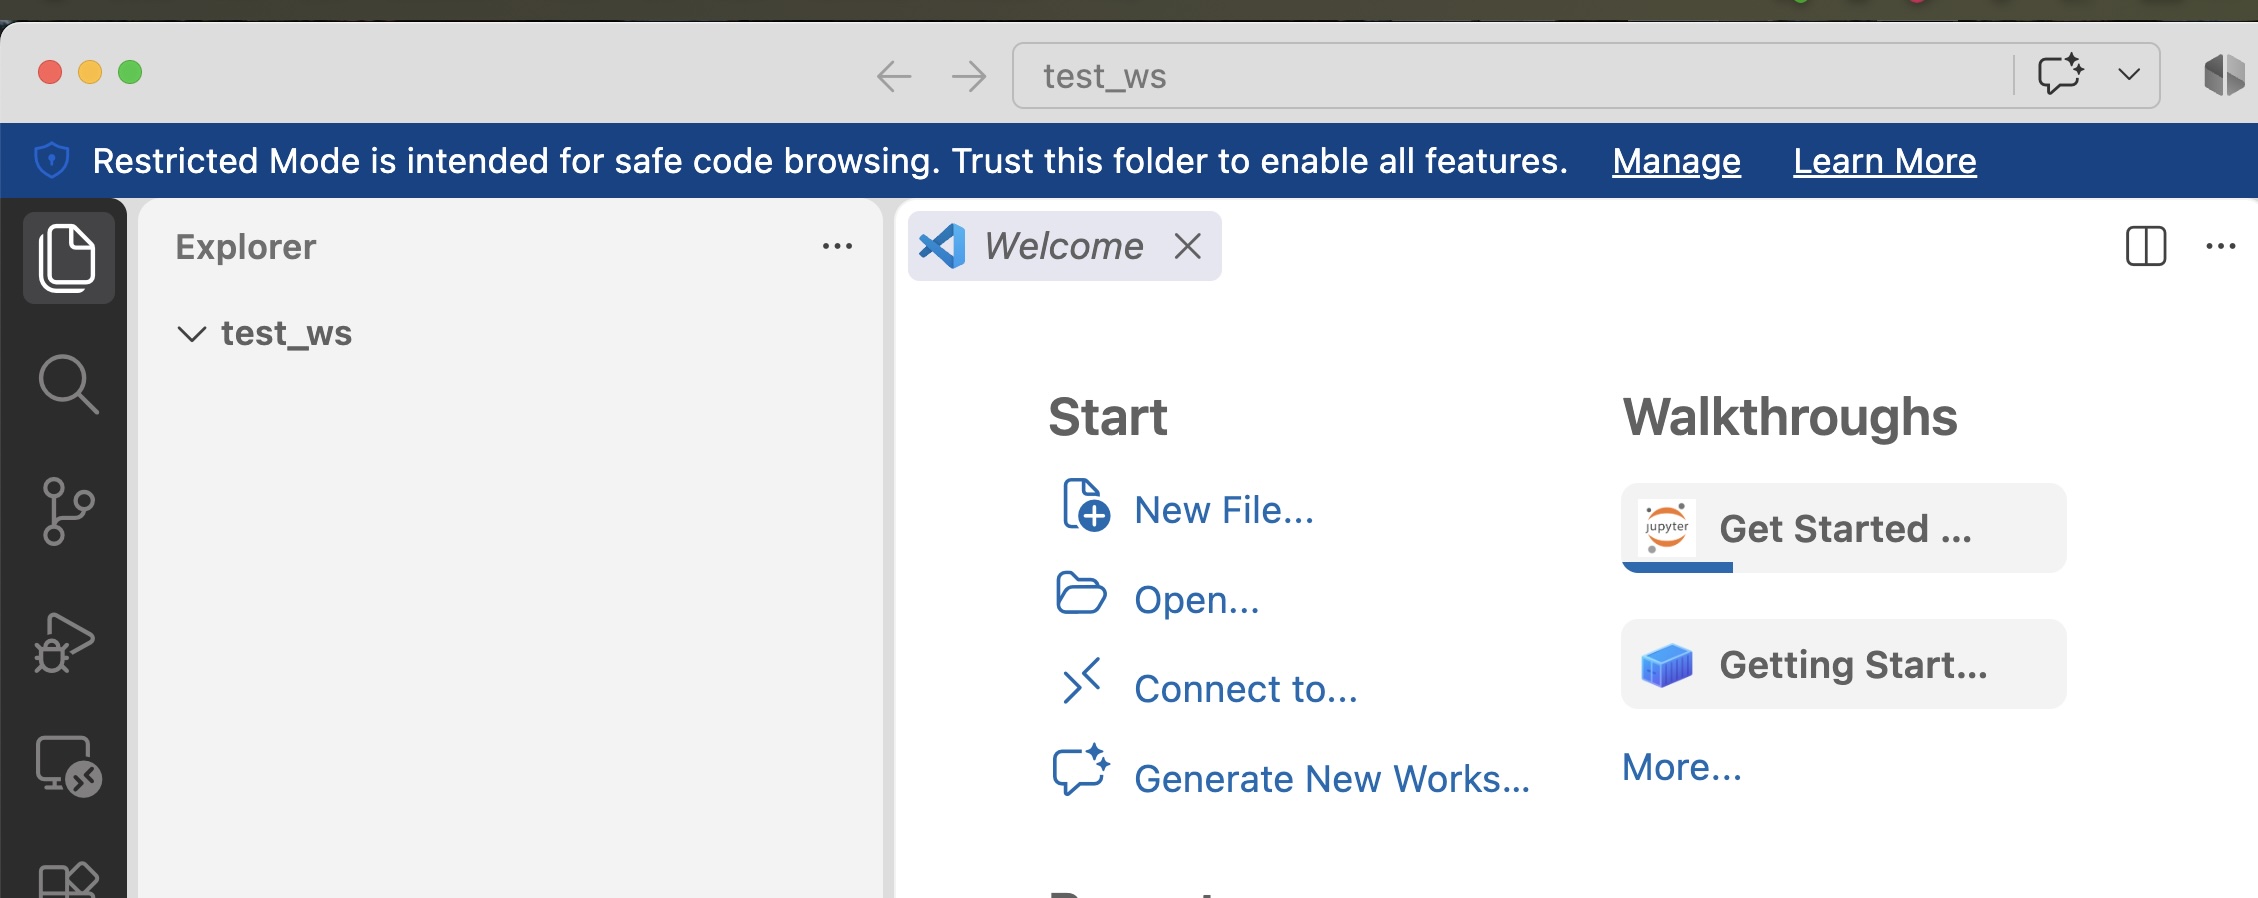
- Note that, on the left, it can be read the name of the picked folder (in this example,
test_ws) - Also note that the screenshot has a message 'Restricted mode'. Click on Manage and then Trust
- Note that, on the left, it can be read the name of the picked folder (in this example,
- Click on
New File, and selectJupyter Notebook. This will create a new file.ipynb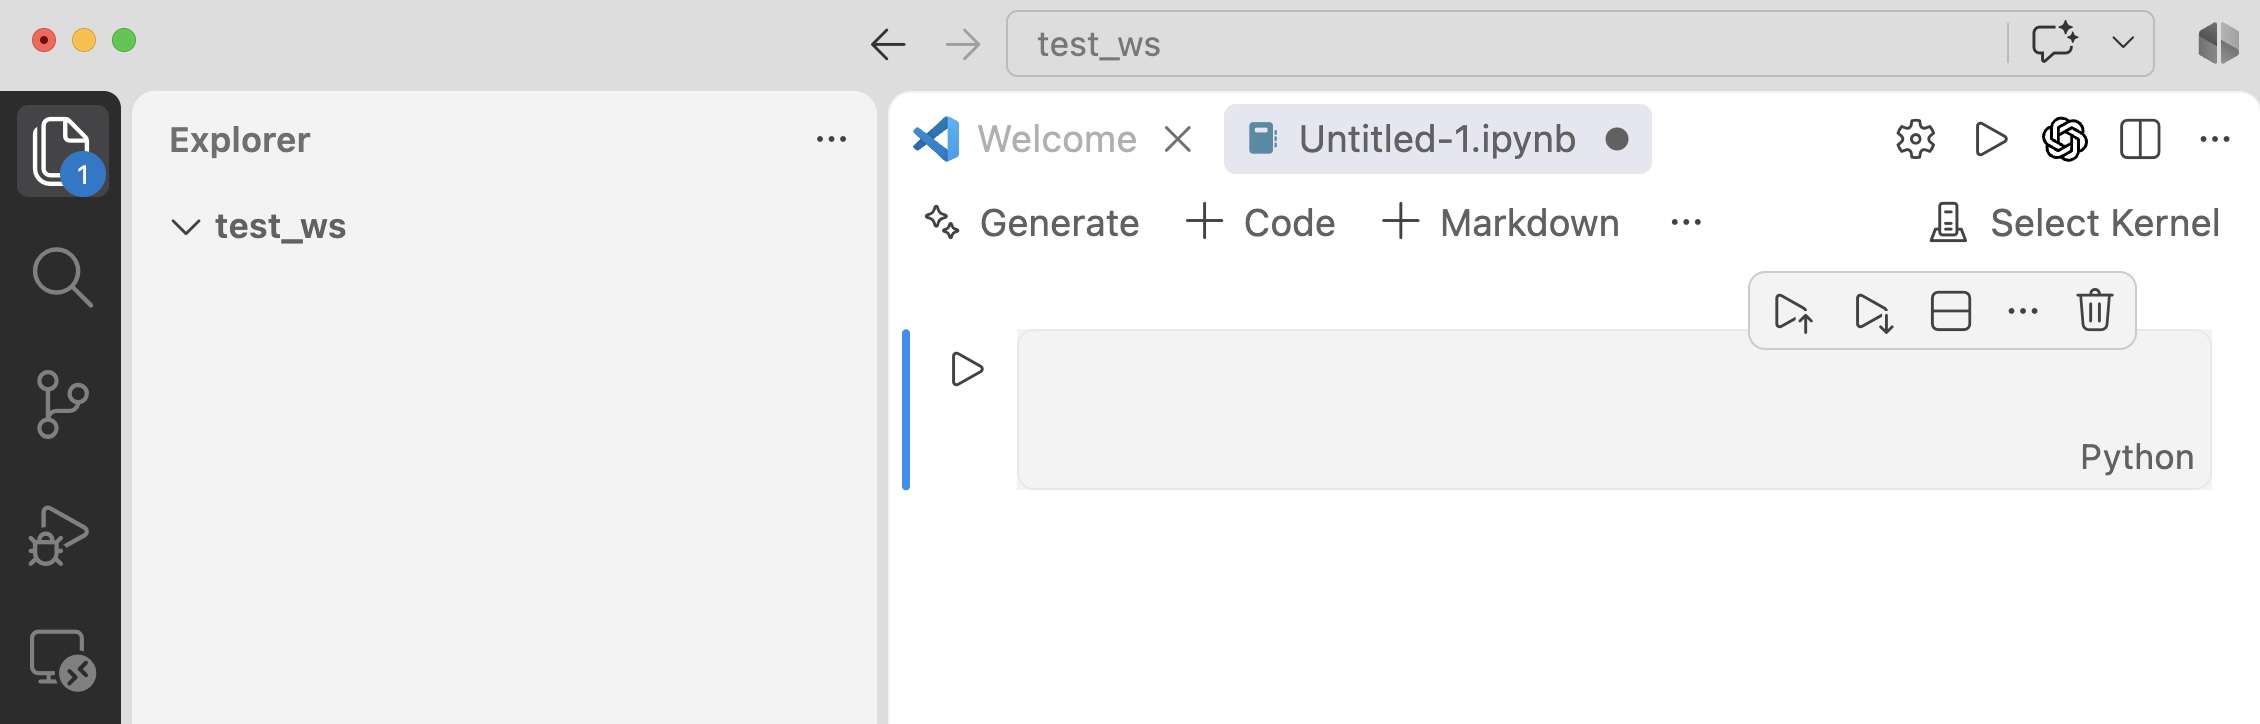
- In the dark gray cell (a Code cell), write
print('Hello, World!').- This is a python instruction. In the following points, we will execute it.
- Create a virtual environment (more info found at the bottom of this page - in brief, a copy of the python installation will be done in the current folder):
- On the top-right of the notebook, click on Select Kernel -> Python Environments -> Create Python Environment -> venv.
- Then pick the python installation to use
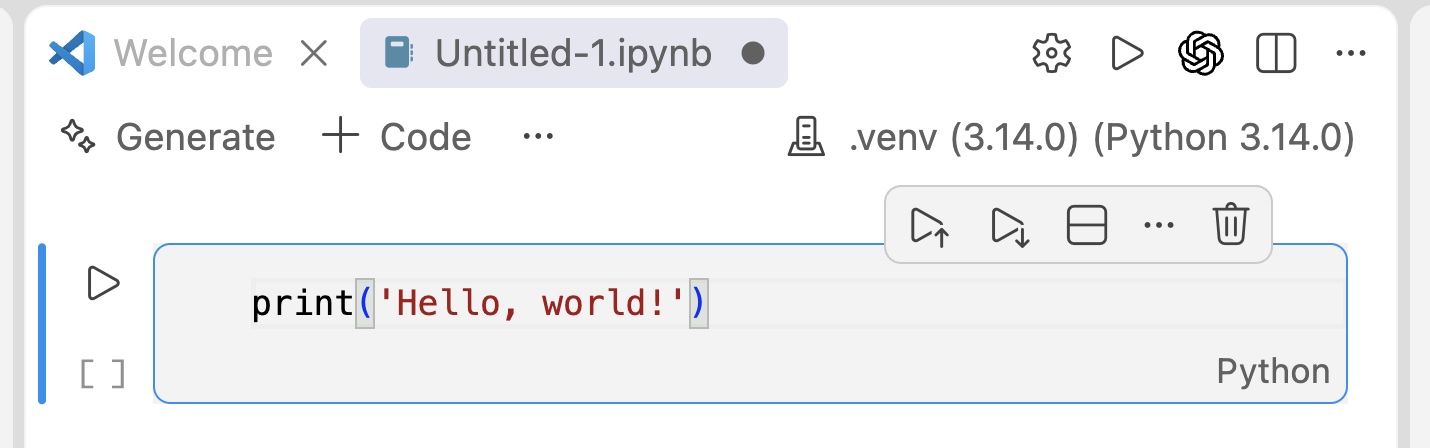
- In the cell containing
print('Hello, World!'), click on the play triangle.- As shown in the screenshot below, the python command will be executed printing
Hello, Worldafter the cell 
- As shown in the screenshot below, the python command will be executed printing
In class, we will see how to create virtual environments. This will involve installing ipykernel and to add a new kernel for this course. This will help you maintaining a clean Python installation.
- First of all, open Visual Studio Code, and do open folder. This is going to be a folder containing python/jupyter files
- You can repeat this procedure for any folder you like
- I recommend using a different folder per different project, following this procedure.
- Click on Select Kernel in the top right of Visual Studio Code. Pick Select Another Kernel, Python Environments, Create Python Environment, Venv ....
- Now pick the suggested Python installation.
This will have the effect of installing a new virtual environment .venv in the folder. This is nothing more than a copy of the main python installation contained in your computer. Any python library or setting will be added to this folder, without altering the original python installation. This also has the benefit of having different python installations/configurations per project, guaranteeing that old projects will keep working also in the future. Now you can select it by clicking again in Select Another Kernel, Select a Python Environment, and pick .venv