Repository navigation
6.Virtual Implementation
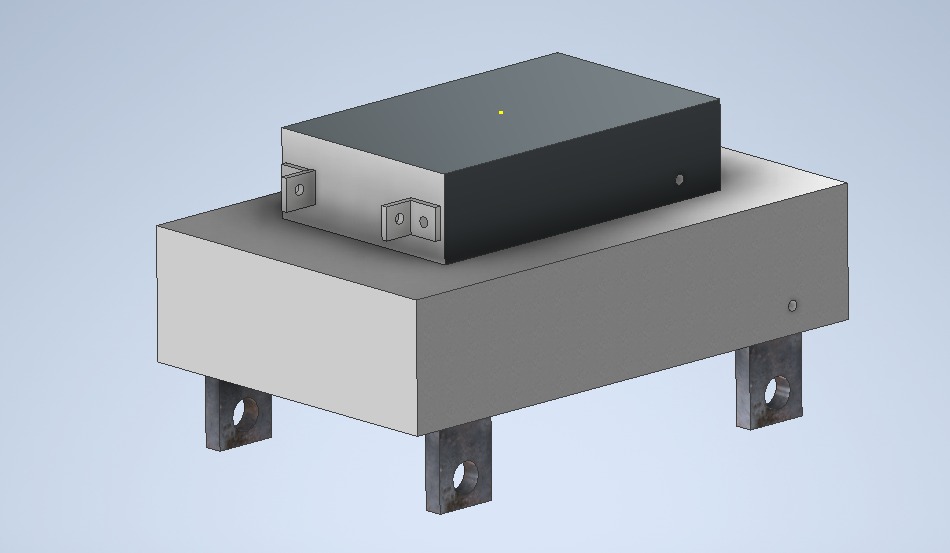
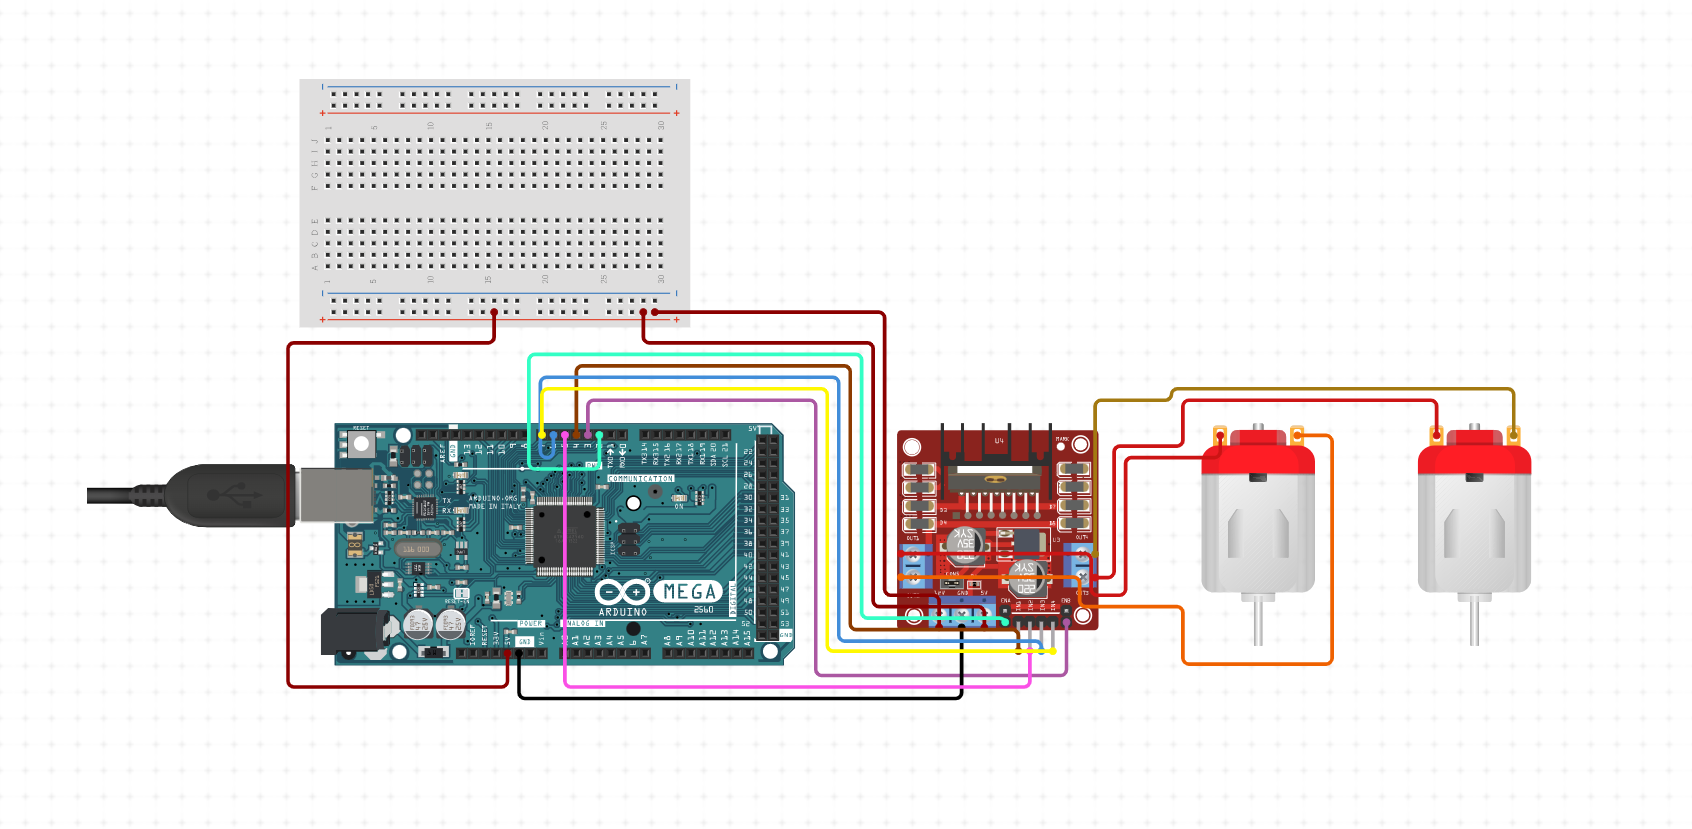
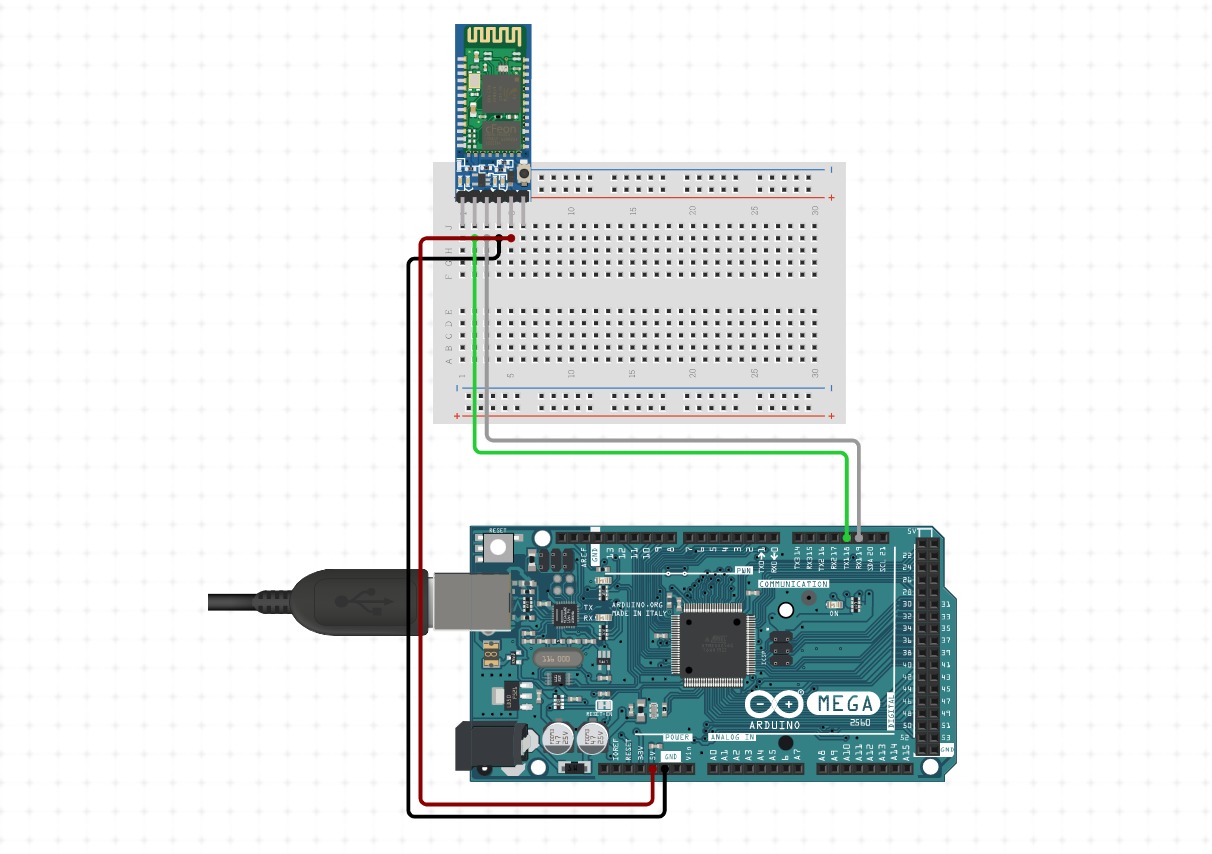
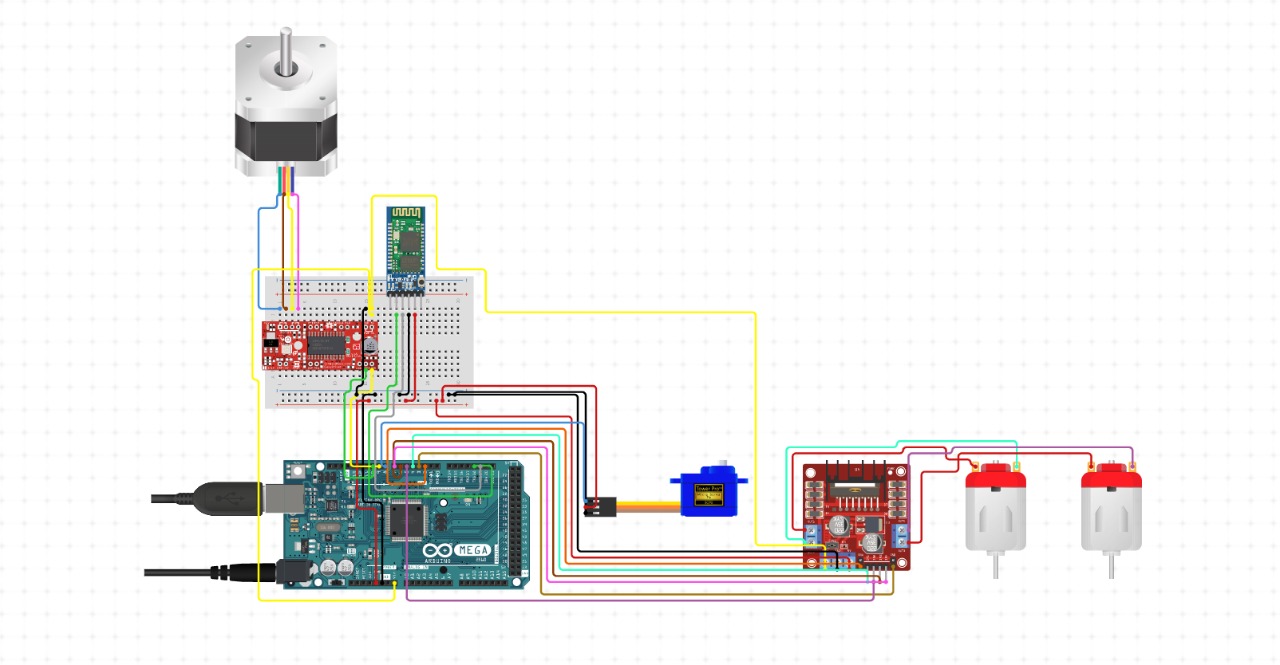
Step 1: Start of DC Motor wheels
Step 2: Receive commands from the user
Step 3: Execute and Move according to commands
Step 4: Stop
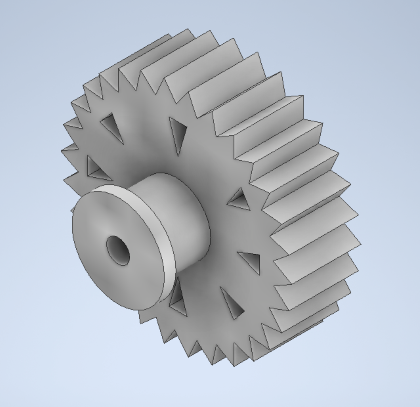
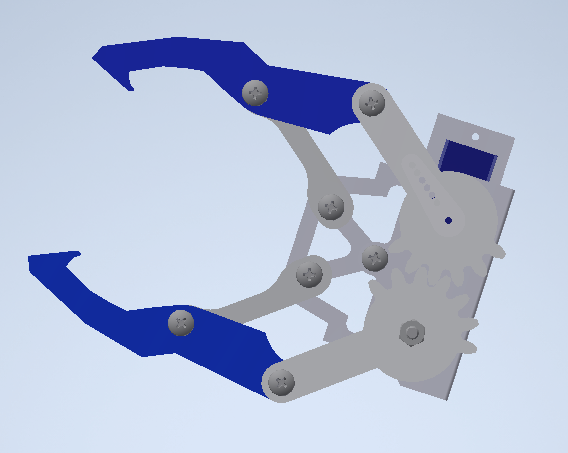
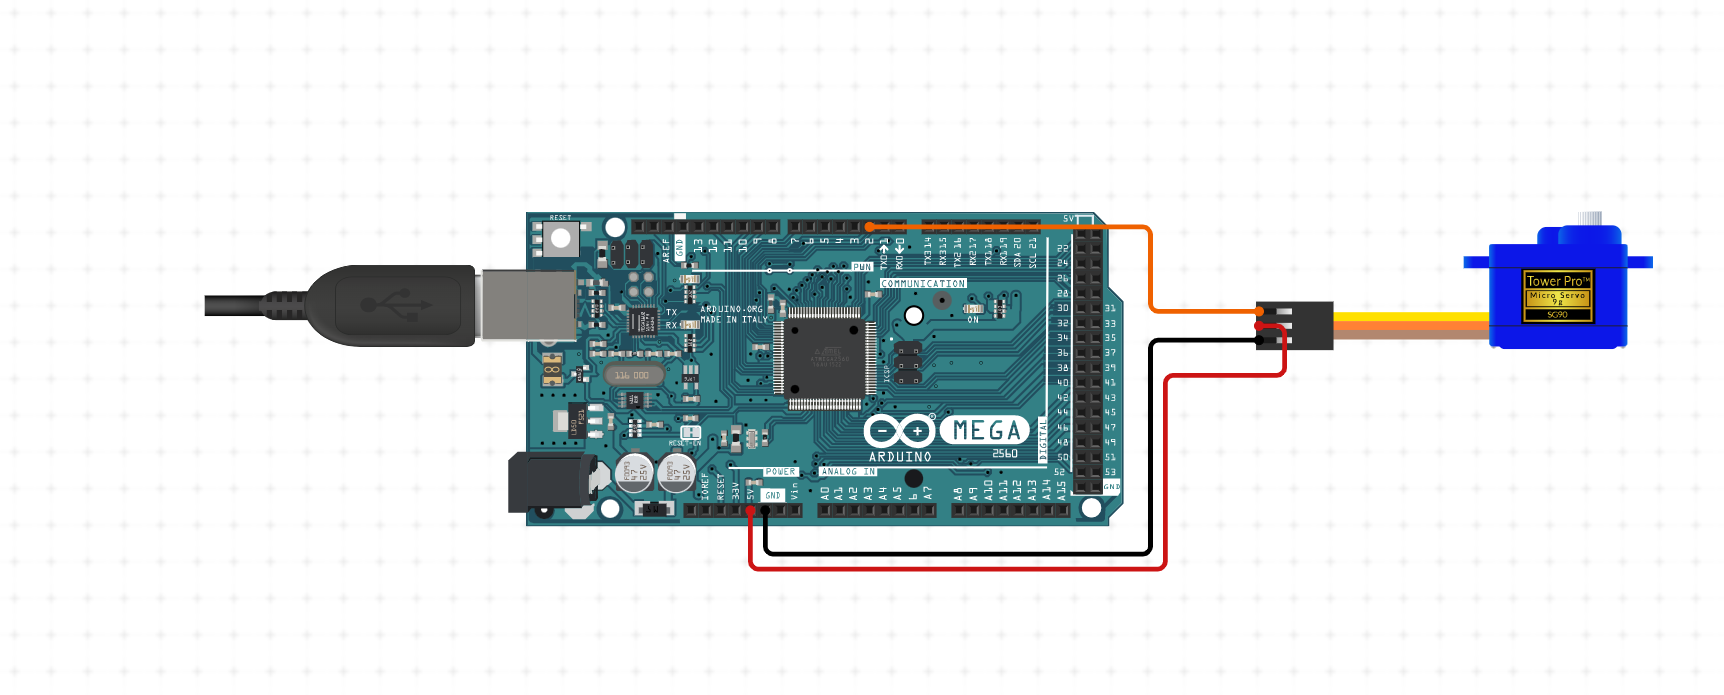
Step 1: Start of servo motor
Step 2: Adjust gripper according to object size
Step 3: Lift the object
Step 6: Stop
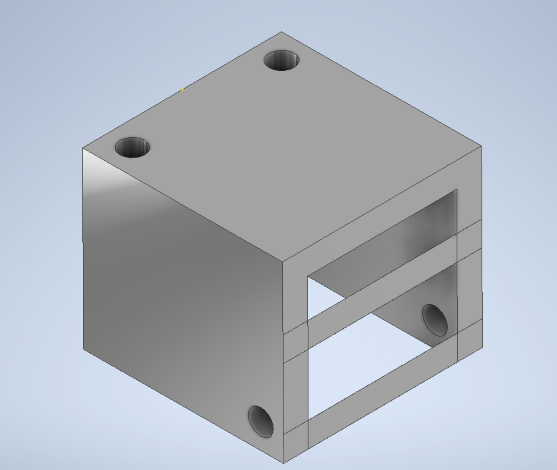
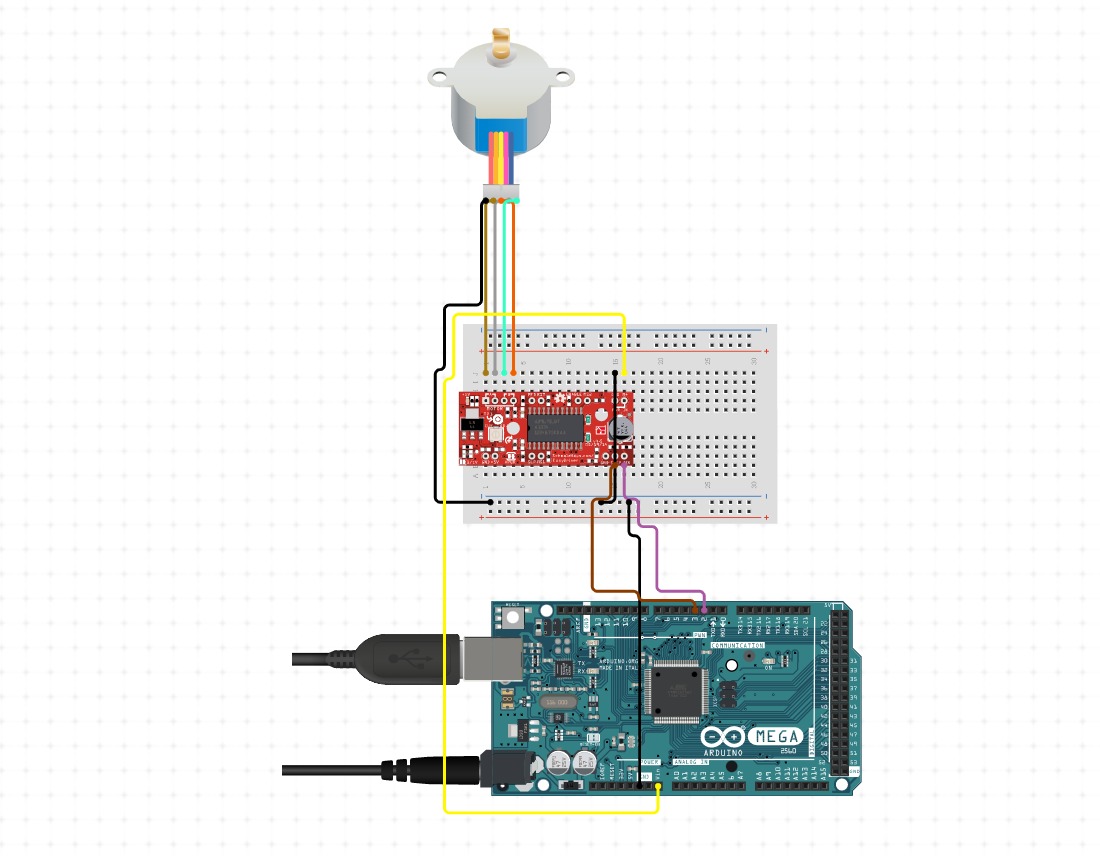
Step 1: Start of stepper motor
Step 2: Receive commands
Step 3: Execute the commands
Step 4: Stop
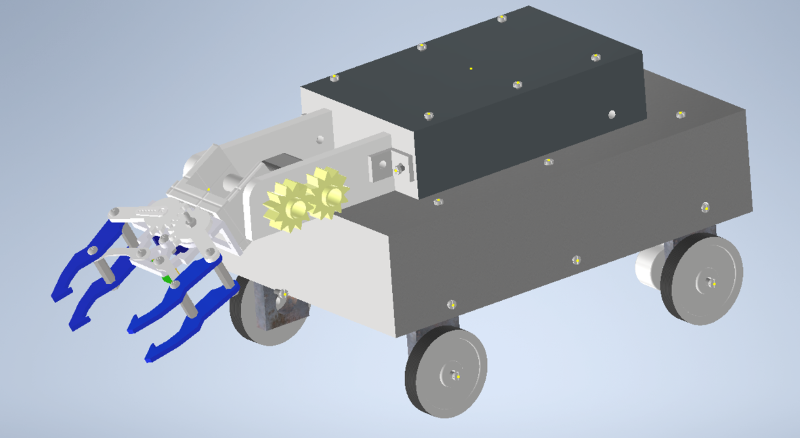
Step 1: Start of DC Motor wheels
Step 2: Receive commands from the user
Step 3: Execute and Move according to commands
Step 4: Receive Commands
Step 5: Start of Stepper Motor
Step 6: Receive Commands and Lower the arm
Step 7: Start of servo motor
Step 8: Adjust gripper according to object size
Step 9: Lift the object
Step 10: Start of stepper motor
Step 11: Receive commands
Step 12: Execute the commands and place the object
Step 13: Stop
| Sl. No | Material | Specifications | Quantity |
|---|---|---|---|
| 1 | Micro-Controller Arduino board | Arduino Mega-2560 | 1 |
| 2 | DC Motor | 30rpm-60mA | 2 |
| 3 | Servo Motor | Tower Pro SG-90 | 1 |
| 4 | Stepper Motor | - | 1 |
| 5 | 2-channel relay module | - | 2 |
| 6 | Connecting Jumper Wires | - | 20 M-M, M-F |
| 7 | Bluetooth | 5V | 1 |
| 8 | Single Strand Wires | - | 2m each |
| 9 | Power Adapter | 12V-2A | |
| 10 | L-Clamps | - | 16 |
| 11 | Nuts | - | 32 |
| 12 | Bolts | - | 32 |
| 13 | Acrylic Sheet | - |
| Sl. No | Material | Specification | Quantity |
|---|---|---|---|
| 1 | DC Motor | 30rpm-60mA | 2 |
| 2 | Wheels | - | 4 |
| 3 | L-Clamps | - | 4 |
| 4 | Nuts | - | 8 |
| 5 | Bolts | - | 8 |
| 6 | Acrylic Sheet |
| Sl. No | Material | Specification | Quantity |
|---|---|---|---|
| 1 | Acrylic Sheet | - | |
| 2 | L-Clamps | - | 12 |
| 3 | Nuts | - | 8 |
| 4 | Bolts | - | 8 |
| 5 | Stepper Motor | 4V 1.2A | 1 |
| Sl. No | Material | Specification | Quantity |
|---|---|---|---|
| 1 | Acrylic Sheet | - | |
| 2 | Nuts | - | 16 |
| 3 | Bolts | - | 16 |
| 4 | Servo Motor | Tower Pro SG -90 650mA | 1 |