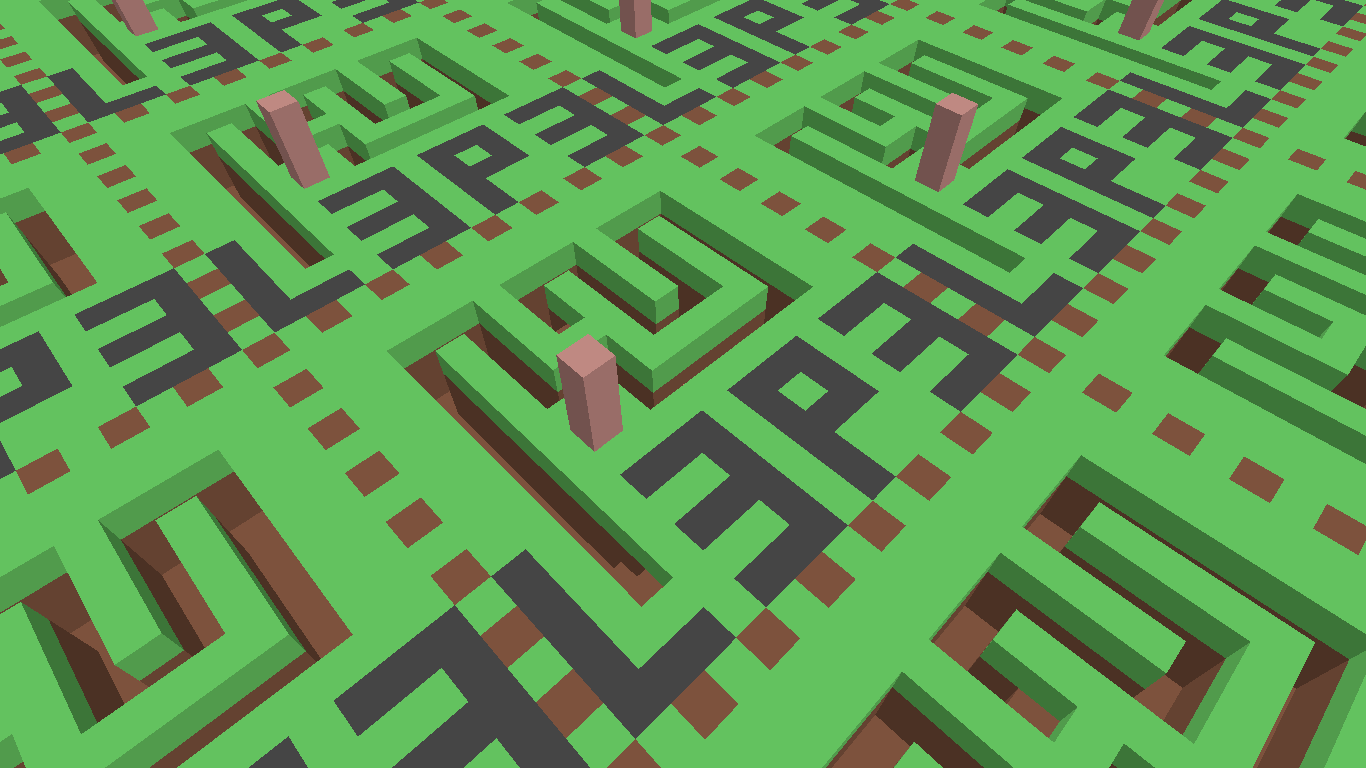
Minecraft, but based on ray tracing and written in JavaScript, following my own rules.
Heavily inspired by and somewhat based on the work of @xNotch.
- study computer science and math
- steal idea from @xNotch
- proof of concept
- tell everybody about this project
- get rich
- annoy everybody with this project
- new file structure
- basic component tree
- basic models
- basic rasterization
- key handling
- settings menu
- comprehensive readme
- solve wrong-fps issue
- world/chunk/player model
- actual raytracing
- correct raytracing
- production build
- build/destroy
- persistent user configuration
- texturing
- multiple chunks
- load/save chunks
- basic mobile view
- chat/terminal
- more blocks
- higher world
- inventory
- gamemode
- multiple worlds
- download/upload worlds
- world edit
- multiplayer
- sound
- entity models
- collision
- good styled ui
- good mobile view
- migrate to typescript?
- support older browsers
- time of day
- sky elements
- non-cubic blocks
- visible entities
- particles
- multi-threading?
- use gpu?
- get a lawyer?
I highly recommend using Visual Studio Code and the extension "Live Server". Start it via "Go Live" and open "http://localhost:5500/app-dev.html" to see the result.
If you use another IDE that does not have a similar feature, you may once do sudo apt install esbuild, then run npm start and click the link and open app-dev.html. But I do not recommend this approach.
Tip
An http server is only needed when using app-dev.html, since import statements are not supported in file:// protocol.
Important
Building is not needed unless my server is down and you want to mirror https://l3p3.de/minicraft!
After cloning, you need to run npm install once to install the build tools. The build script is designed to run under Linux, see the GitHub actions file and the build script itself to learn more about the build environment.
To bundle the app, run npm run build. The result will be put into the /dist directory and can be tested at "http://localhost:5500/app-prod.html".
- Browser + DevTools for testing and debugging
- code-server for development on any device
- Live Server for developer preview
- lui for GUI
- Closure Compiler for packing JS
- cssnano for packing CSS
- GitHub Actions for automatic building
- jsDelivr for distribution
- GitHub for everything else
I am really happy to answer any questions or getting any kind of feedback. Feel free to open issues or suggest changes by opening a pull request!
Just ZLib license, I do not care too much about it.
This game uses slightly modified textures from Minecraft, which is of course owned by Microsoft. Since this is a purely educational project, I deem this fair use.
