MySQL is a powerful, open-source Relational Database Management System (RDBMS) trusted by millions worldwide.
MySQL is the go-to choice for developers, startups, and large enterprises. It's versatile and scales seamlessly.
- Widely Used: MySQL is a battle-tested RDBMS that has withstood the test of time.
- Open Source: It's not just powerful; it's free and open-source, making it accessible to all.
- Versatile: Whether you're crafting a small application or a sprawling, complex system, MySQL is your reliable companion.
A primary key is a single field or combination of fields that contain a unique record. It must be filled. None of the fields of the primary key can contain a null value. A table can have only one primary key.
Now, let's roll up our sleeves and commence our journey!
🚀 Download MySQL 🚀
Your MySQL adventure begins here! Click the link above to initiate the MySQL download.
But hold on, there's more! We'll be your guides throughout the installation process, ensuring a seamless setup. Dive in and let's embark on this exciting voyage of mastering MySQL with Python!
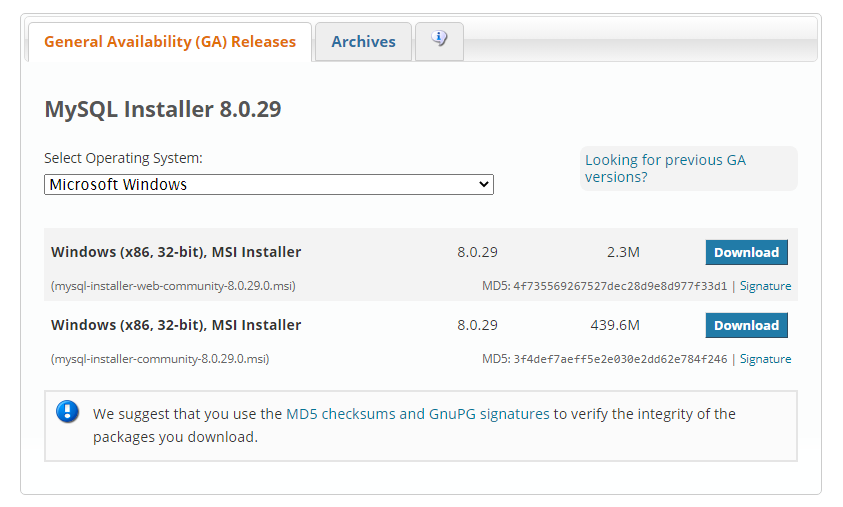
Visit the official MySQL website and download the Community Server Edition tailored to your operating system, such as Windows.
You have two options for downloading the setup:
- mysql-installer-web-community (if you have a good internet connection)
- mysql-installer-community (for slower connections)
Choose the one that suits your needs.

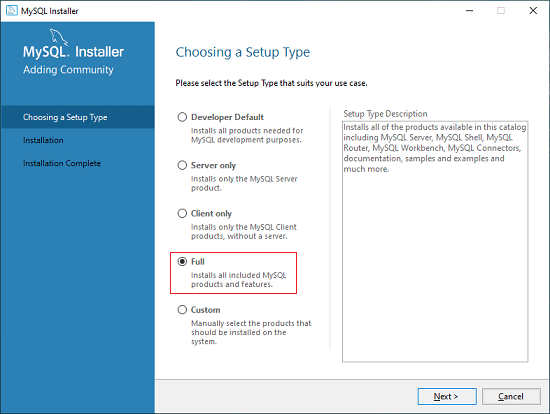
Once the setup is downloaded, unzip it and run the MSI installer (.exe file). It will open up the installer wizard.
Select the Full installation option in the wizard. This choice installs a comprehensive set of MySQL components, including MySQL Server, MySQL Shell, MySQL Router, MySQL Workbench, MySQL Connectors, documentation, samples, examples, and more.
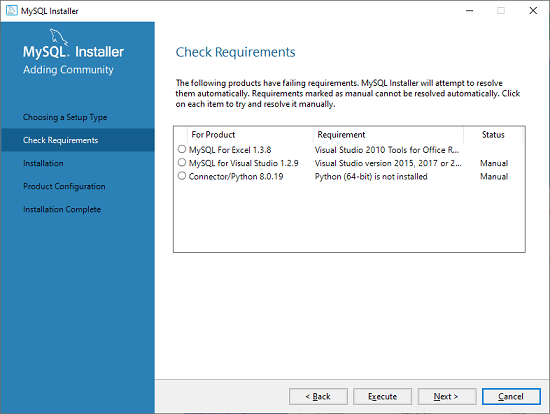
The wizard may detect some missing requirements. You can resolve this by clicking Execute, which will install all necessary dependencies automatically. Alternatively, you can choose to skip them and proceed. Click Next when ready.
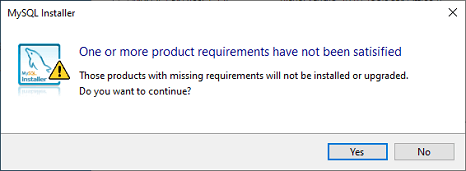
You'll be prompted to confirm your choices for installation. Click Yes to proceed.
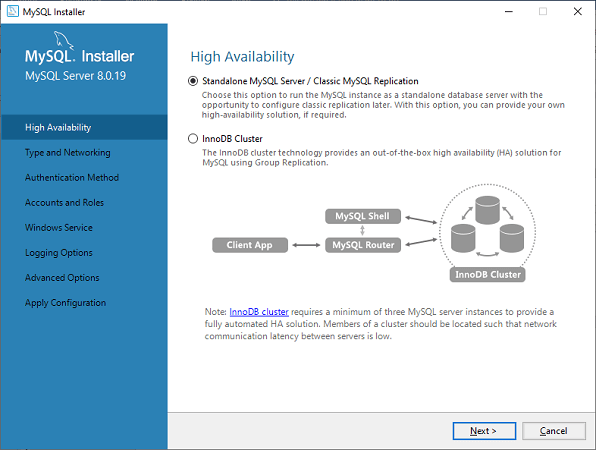
Now, it's time to configure the MySQL Server. Choose Standalone MySQL Server/Classic MySQL Replication and click Next. You can also opt for InnoDB Cluster if it suits your needs.
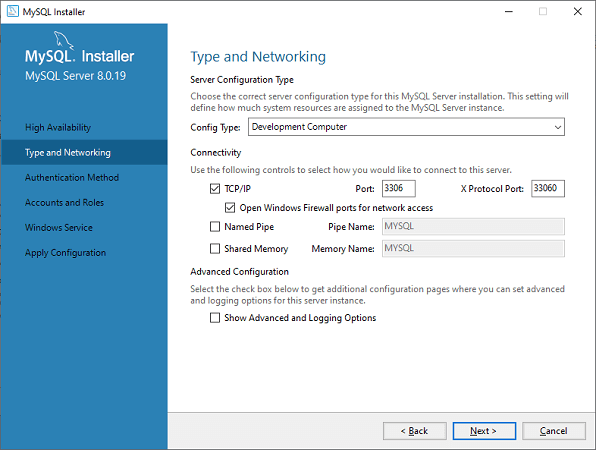
Select Development Machine as the Config Type and choose TCP/IP for connectivity. Set the Port Number to 3306. Then, click Next.
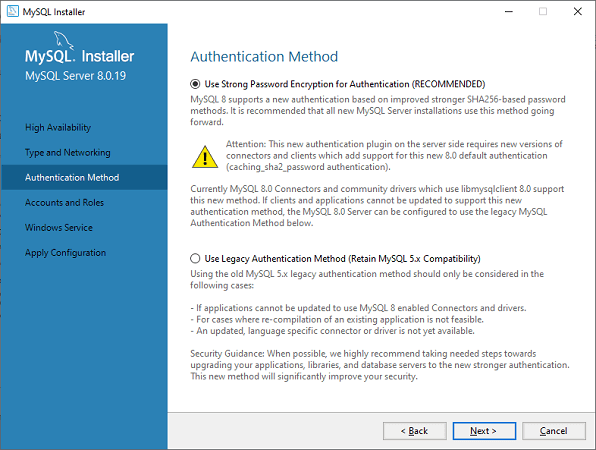
Choose your preferred authentication method and click Next. The first option is a common choice.
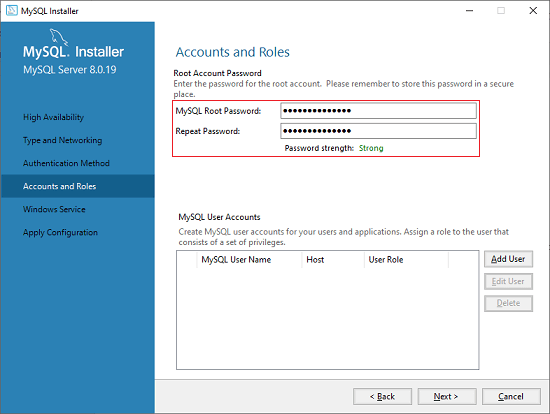
Enter and confirm your MySQL Root Password, then click Next.
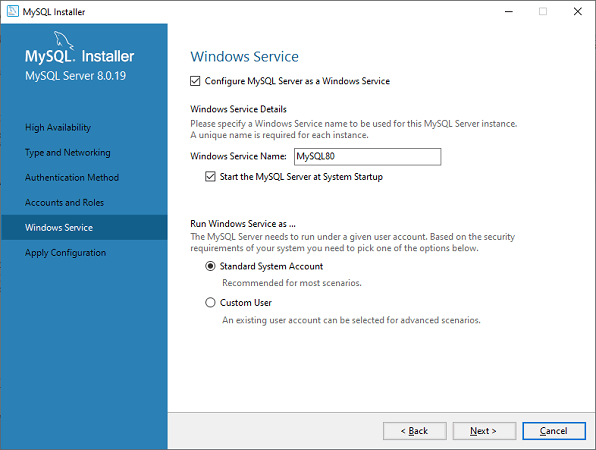
Keep the default settings for configuring the Windows Service. Click Next.
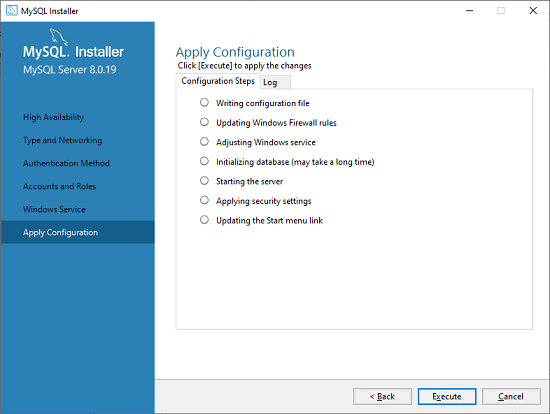
If you're satisfied with the server configuration, click Execute to proceed.
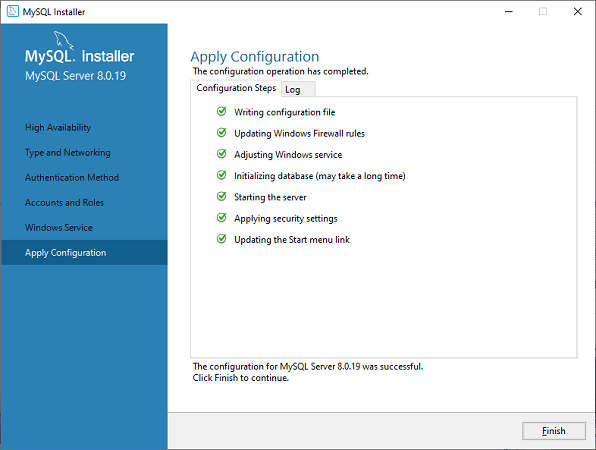
Once the configuration is complete, you'll see the following screen. Click Finish.
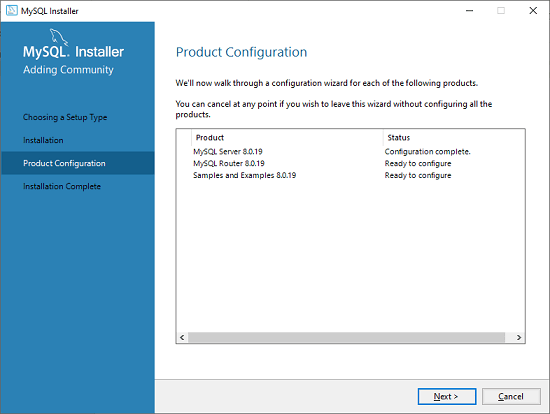
In the next screen, you'll find that the Product Configuration is complete. Stick with the default settings and click Next ➔ Finish to finalize the MySQL package installation.
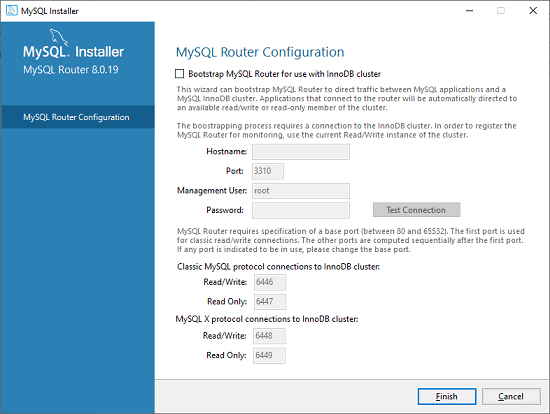
If you wish to configure the Router, click Next ➔ Finish and then hit Next.
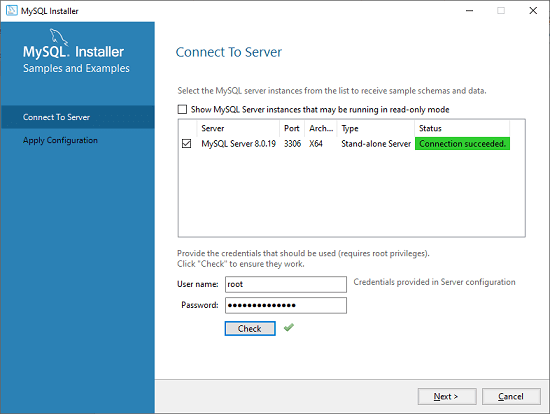
In the next wizard, we will see the Connect to Server option. Here, we have to mention the root password, which we set in the previous steps. In this screen, it is also required to check whether the connection is successful or not by clicking on the Check button. If the connection is successful, click on the Execute button. Now, that the configuration is complete, click on Next.
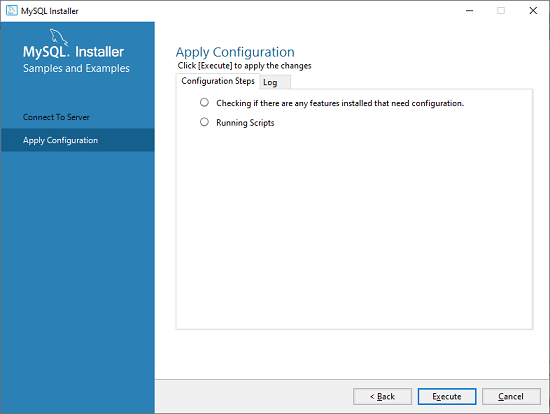
In the next wizard, select the applied configurations and click on the Execute button.
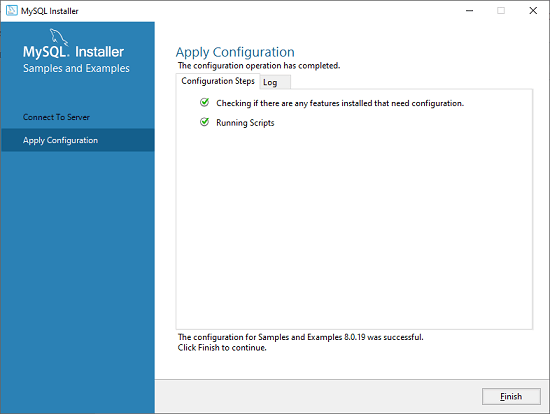
After completing the above step, we will get the following screen. Here, click on the Finish button.
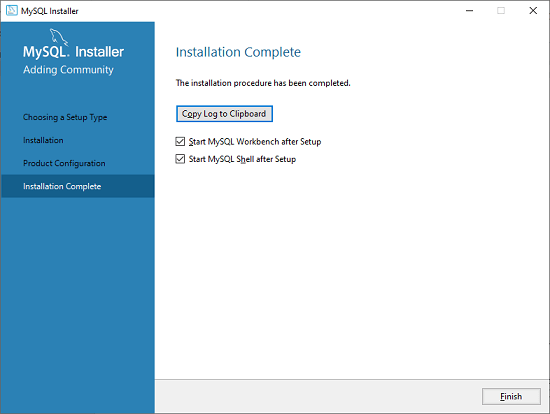
Now, the MySQL installation is complete. Click on the Finish button.
Once MySQL has been successfully installed, the base tables have been initialized, and the server has been started, you can verify its working via some simple tests.
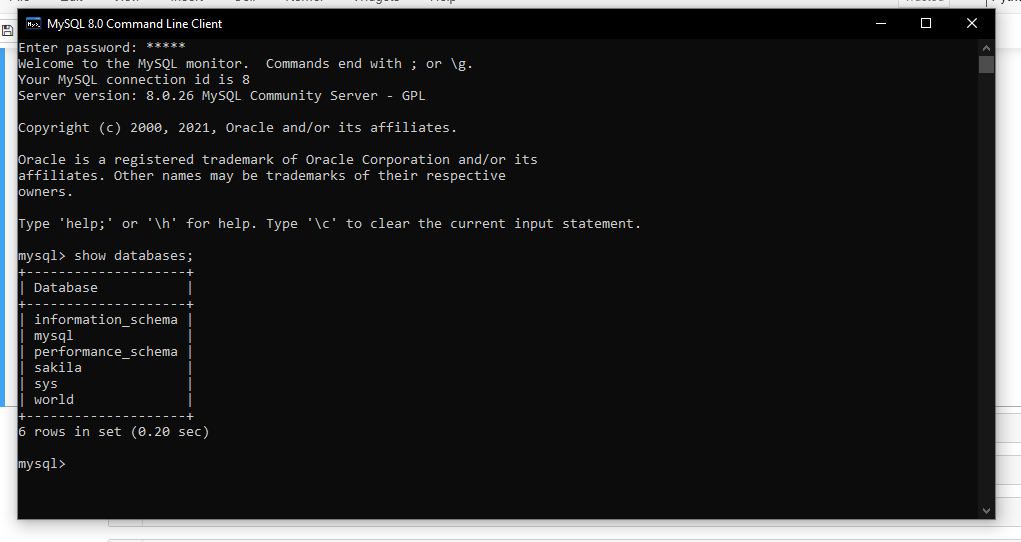
Open your MySQL Command Line Client; it should have appeared with a mysql> prompt. If you have set any password, write your password here. Now, you are connected to the MySQL server, and you can execute all the SQL command at mysql> prompt as follows.
For example: Check the already created databases with the show databases command:
To interact with MySQL in Python, you'll need to install the necessary libraries:
pip install mysqlpip install mysql.connectorpip install mysql-connector-python
Enjoy your MySQL journey!