This is a sample project to demonstrate how to run a Go applicaiton on AWS using coldbrew-cli. The sample application in this tutorial is simply return the HTTP request body data in the HTTP response.
Install Docker in your system. Make sure you can run docker from your command line.
Install coldbrew-cli.
You will need AWS access keys to configure coldbrew-cli. Either set the environment variables or use CLI Global Flags.
git clone https://github.com/coldbrewcloud/tutorial-echo.git
cd tutorial-echo
This project contains
- echo: compiled application binary (Linux 64bit)
- Dockerfile: sample Dockerfile
- coldbrew.conf: sample coldbrew-cli app configuration file
- Makefile: application build Makefile
*Compiled binary echo is included, but, if you want,, you can modify its source main.go and recompile it by running make build.
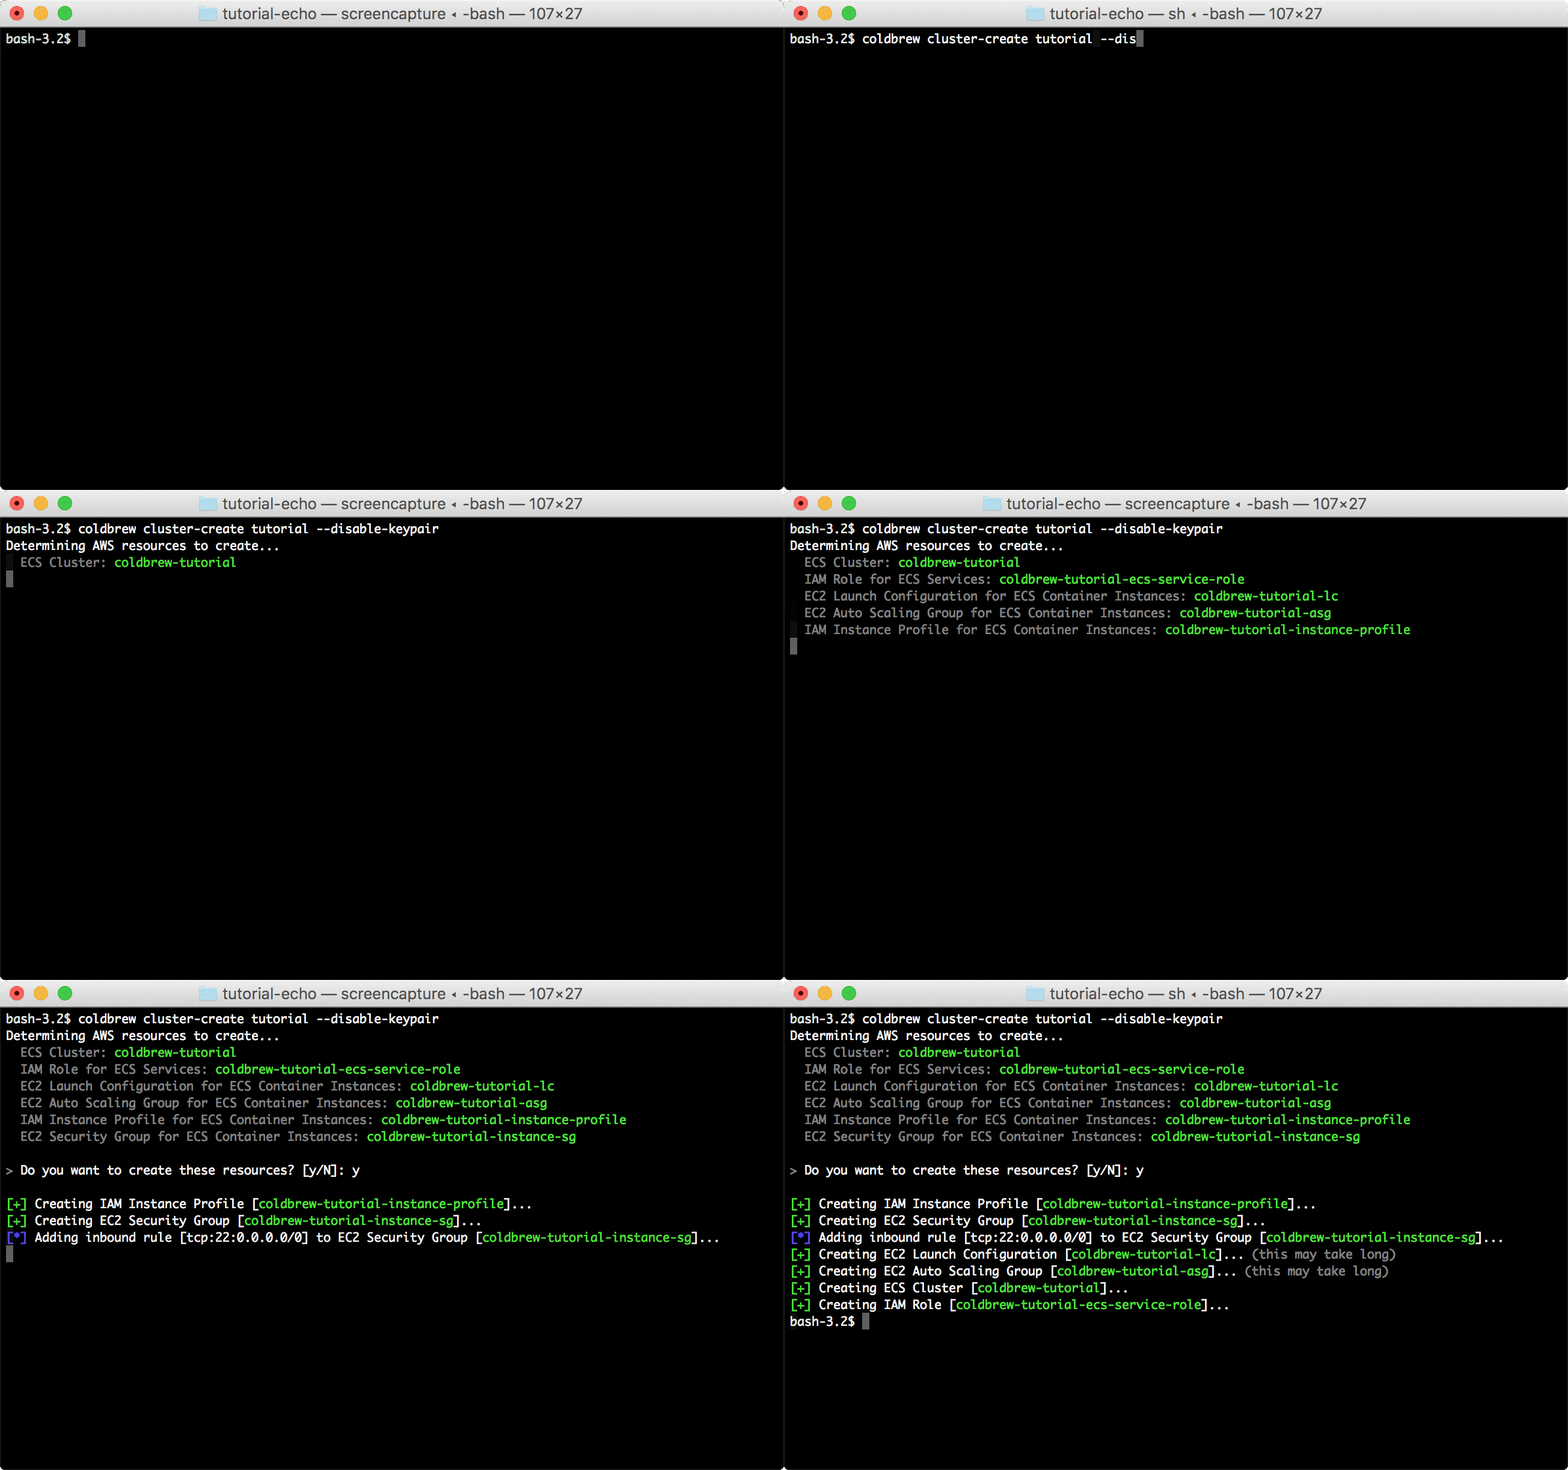
Before you can deploy the application, you need to create your first cluster. You can create the cluster using cluster-create command.
coldbrew cluster-create tutorial --disable-keypair*In this tutorial, --disable-keypair flag was used to skip assigning EC2 key pairs to ECS Container Instances, but, that's not recommended if you need to access the instances directly (e.g. via SSH).
*It will take a couple of minutes until all EC2 Instances (ECS Container Instances) finish initialization and register to ECS Cluster. But you can proceed to deploy your app.
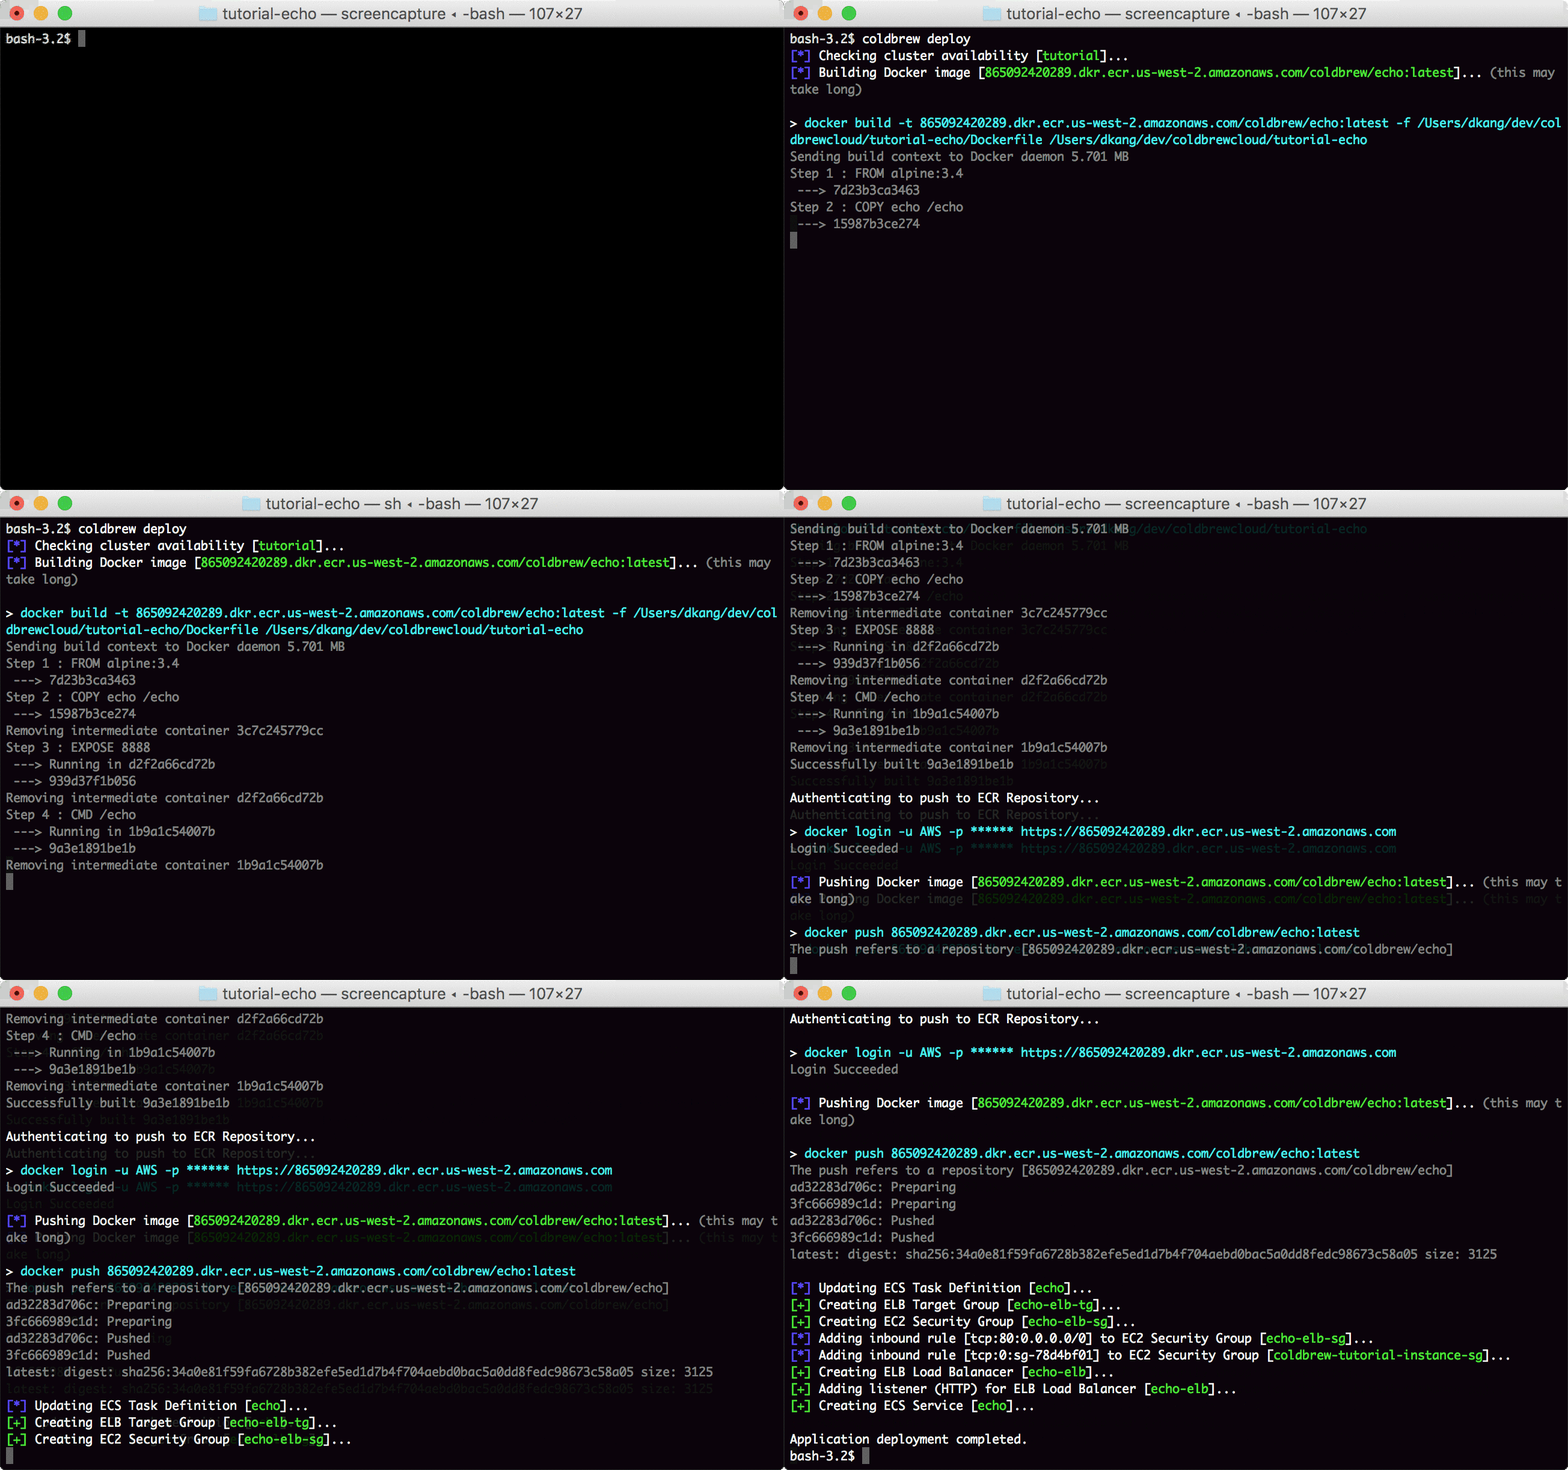
Now you use deploy command to build the Docker container image and deploy it to AWS ECS.
coldbrew deployNow you just need to wait a couple more minutes (or even less if it's not the first deploy) until all AWS resources get fully configured.
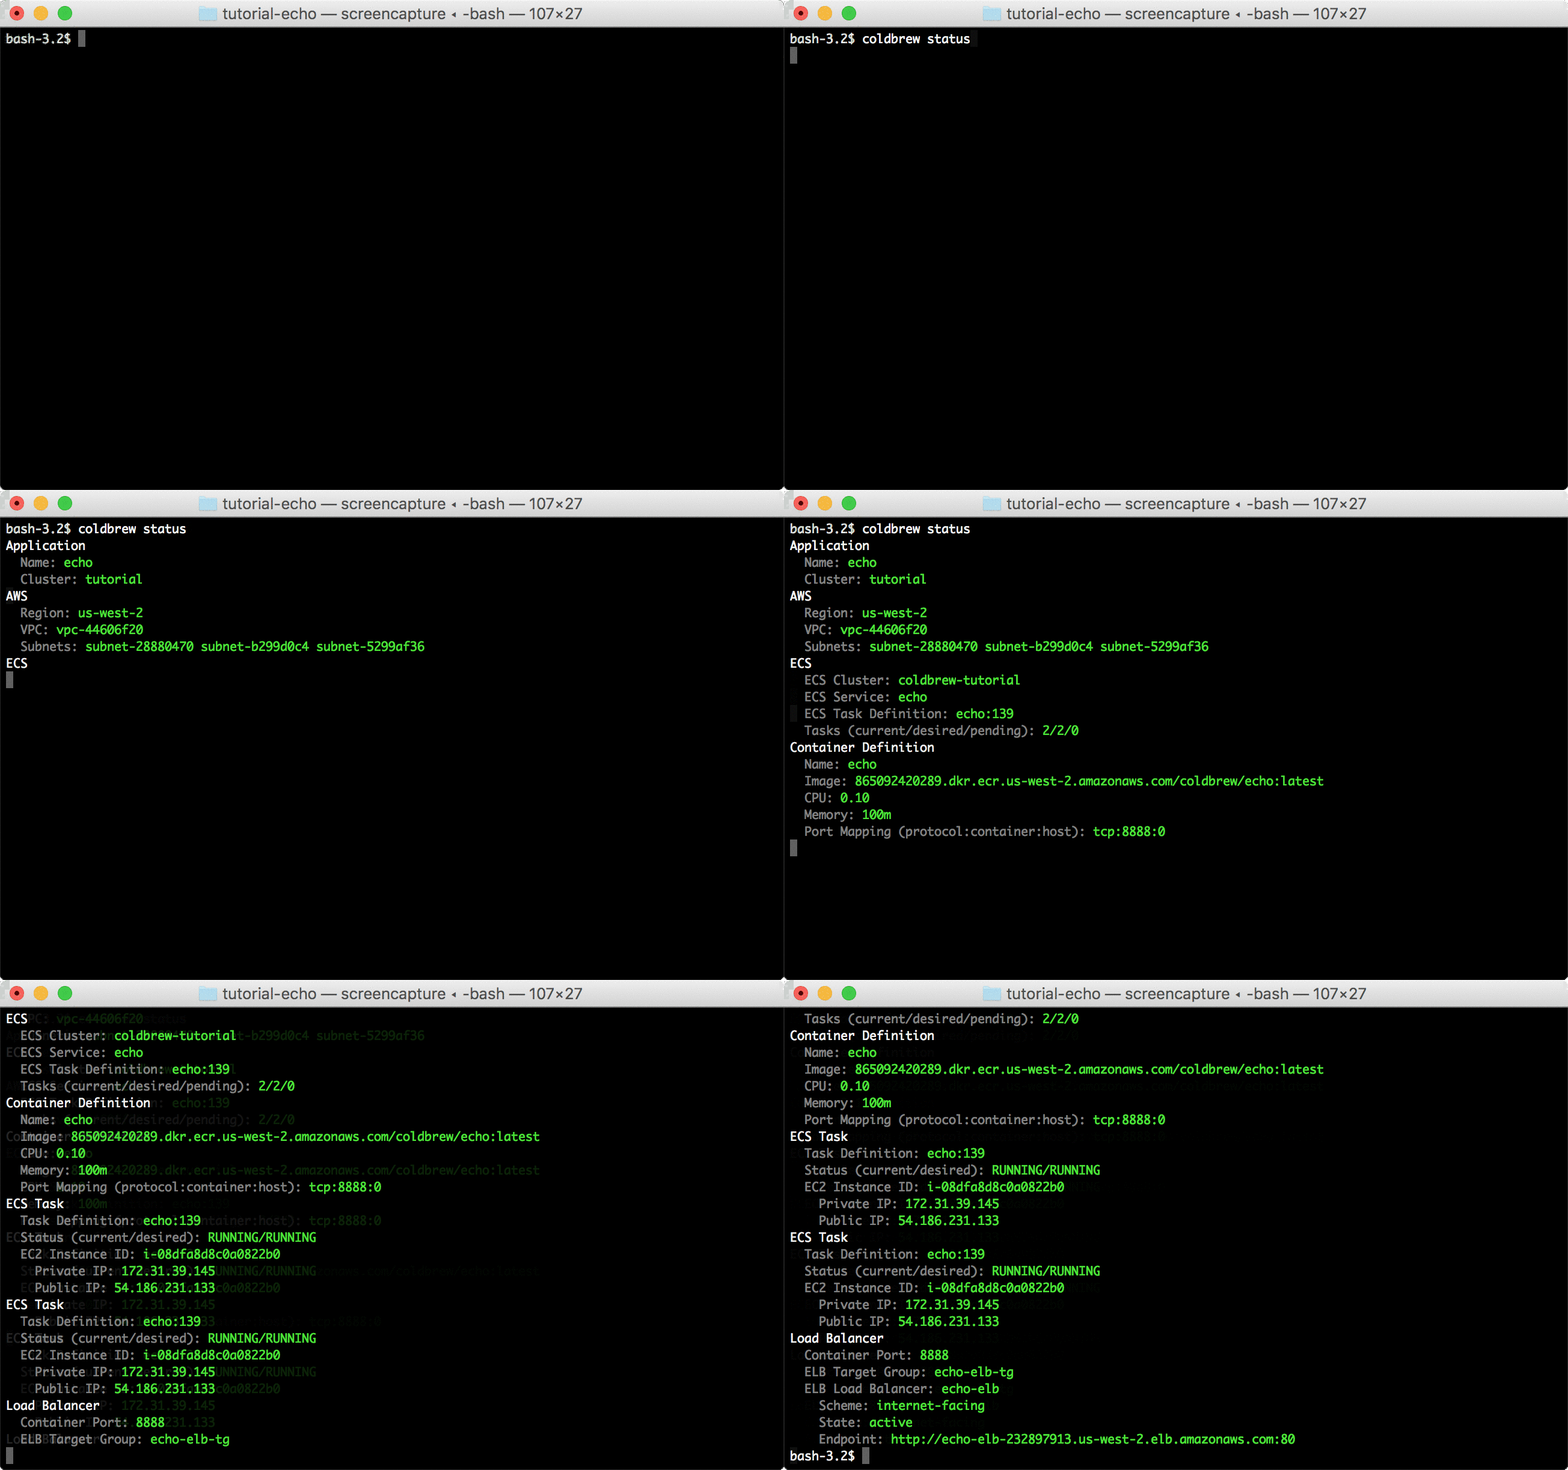
Use status command to see the current running status of your app.
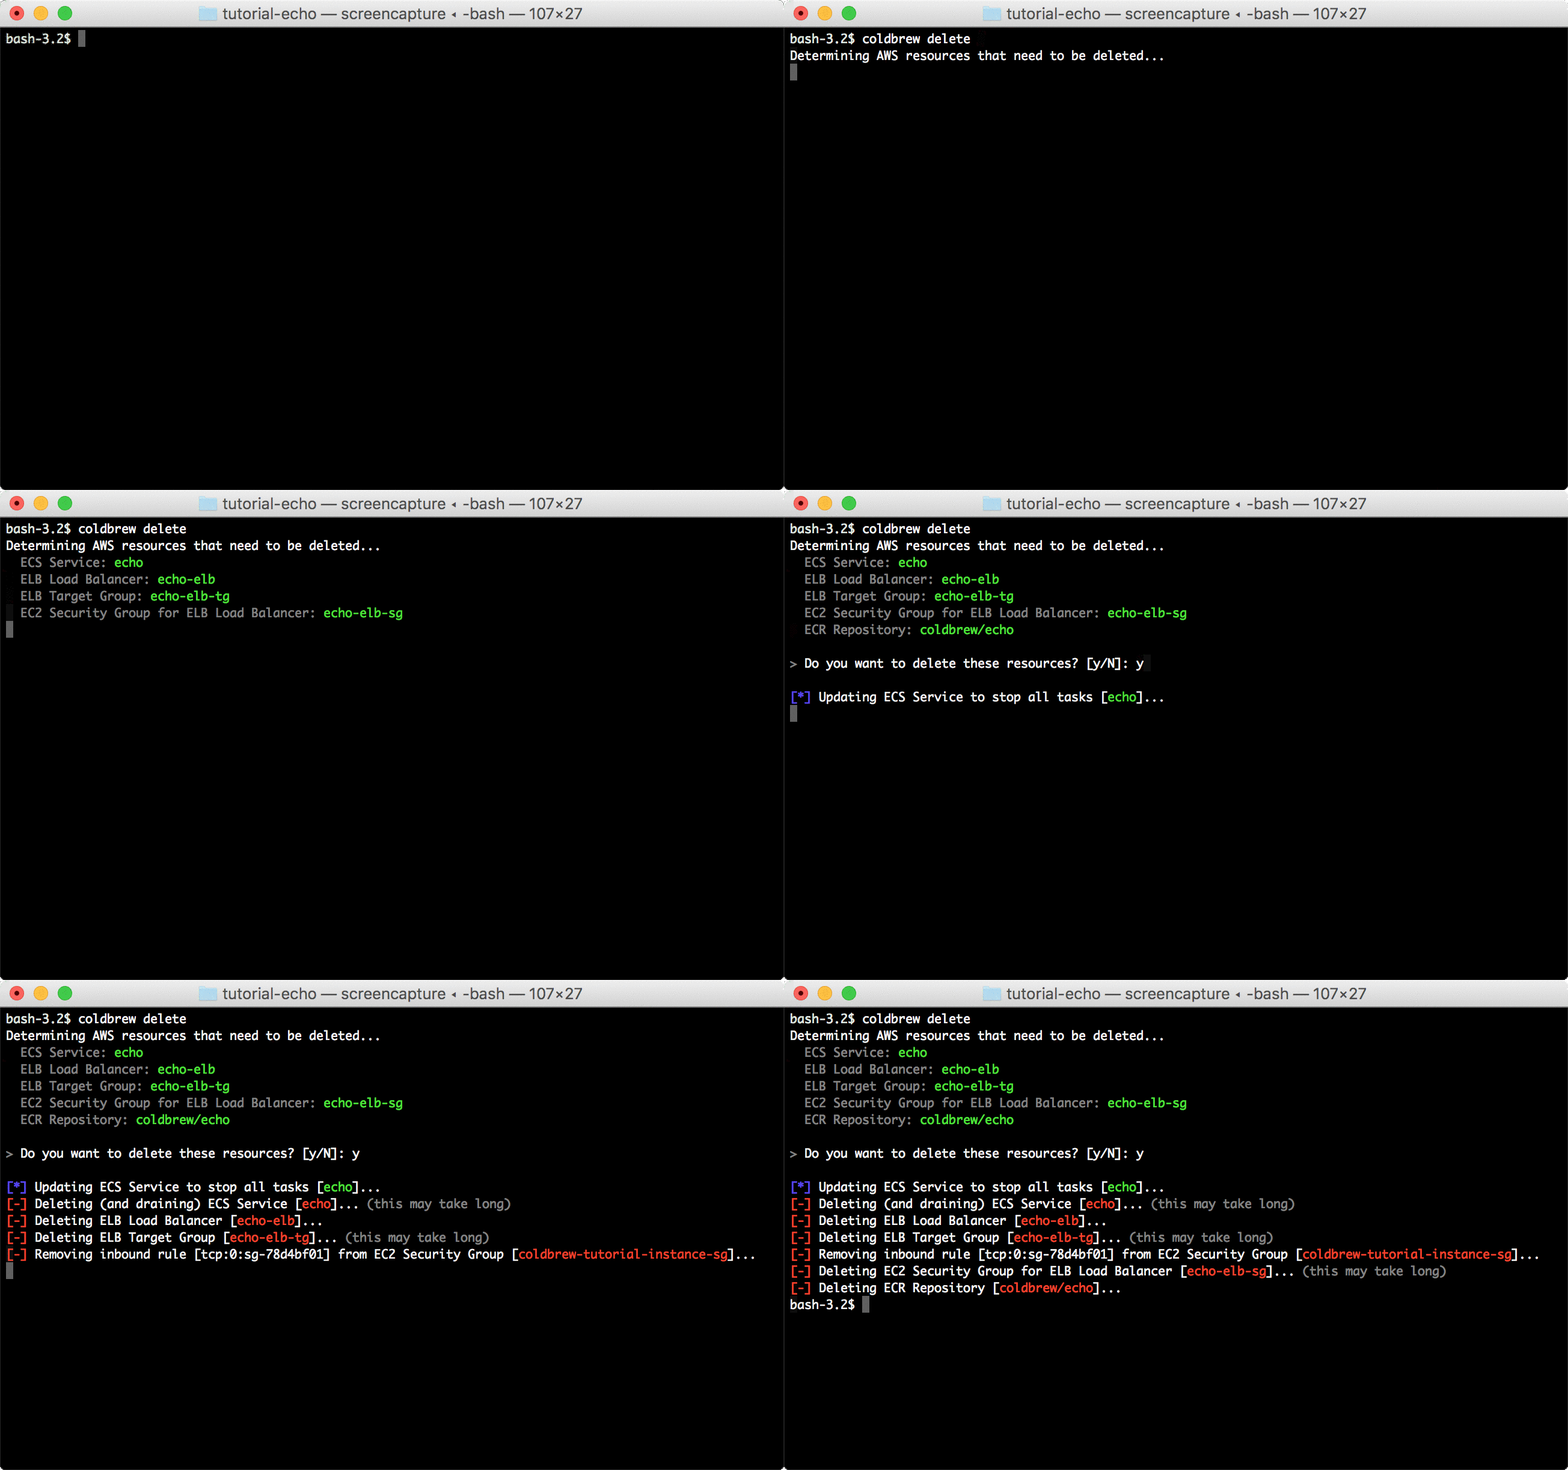
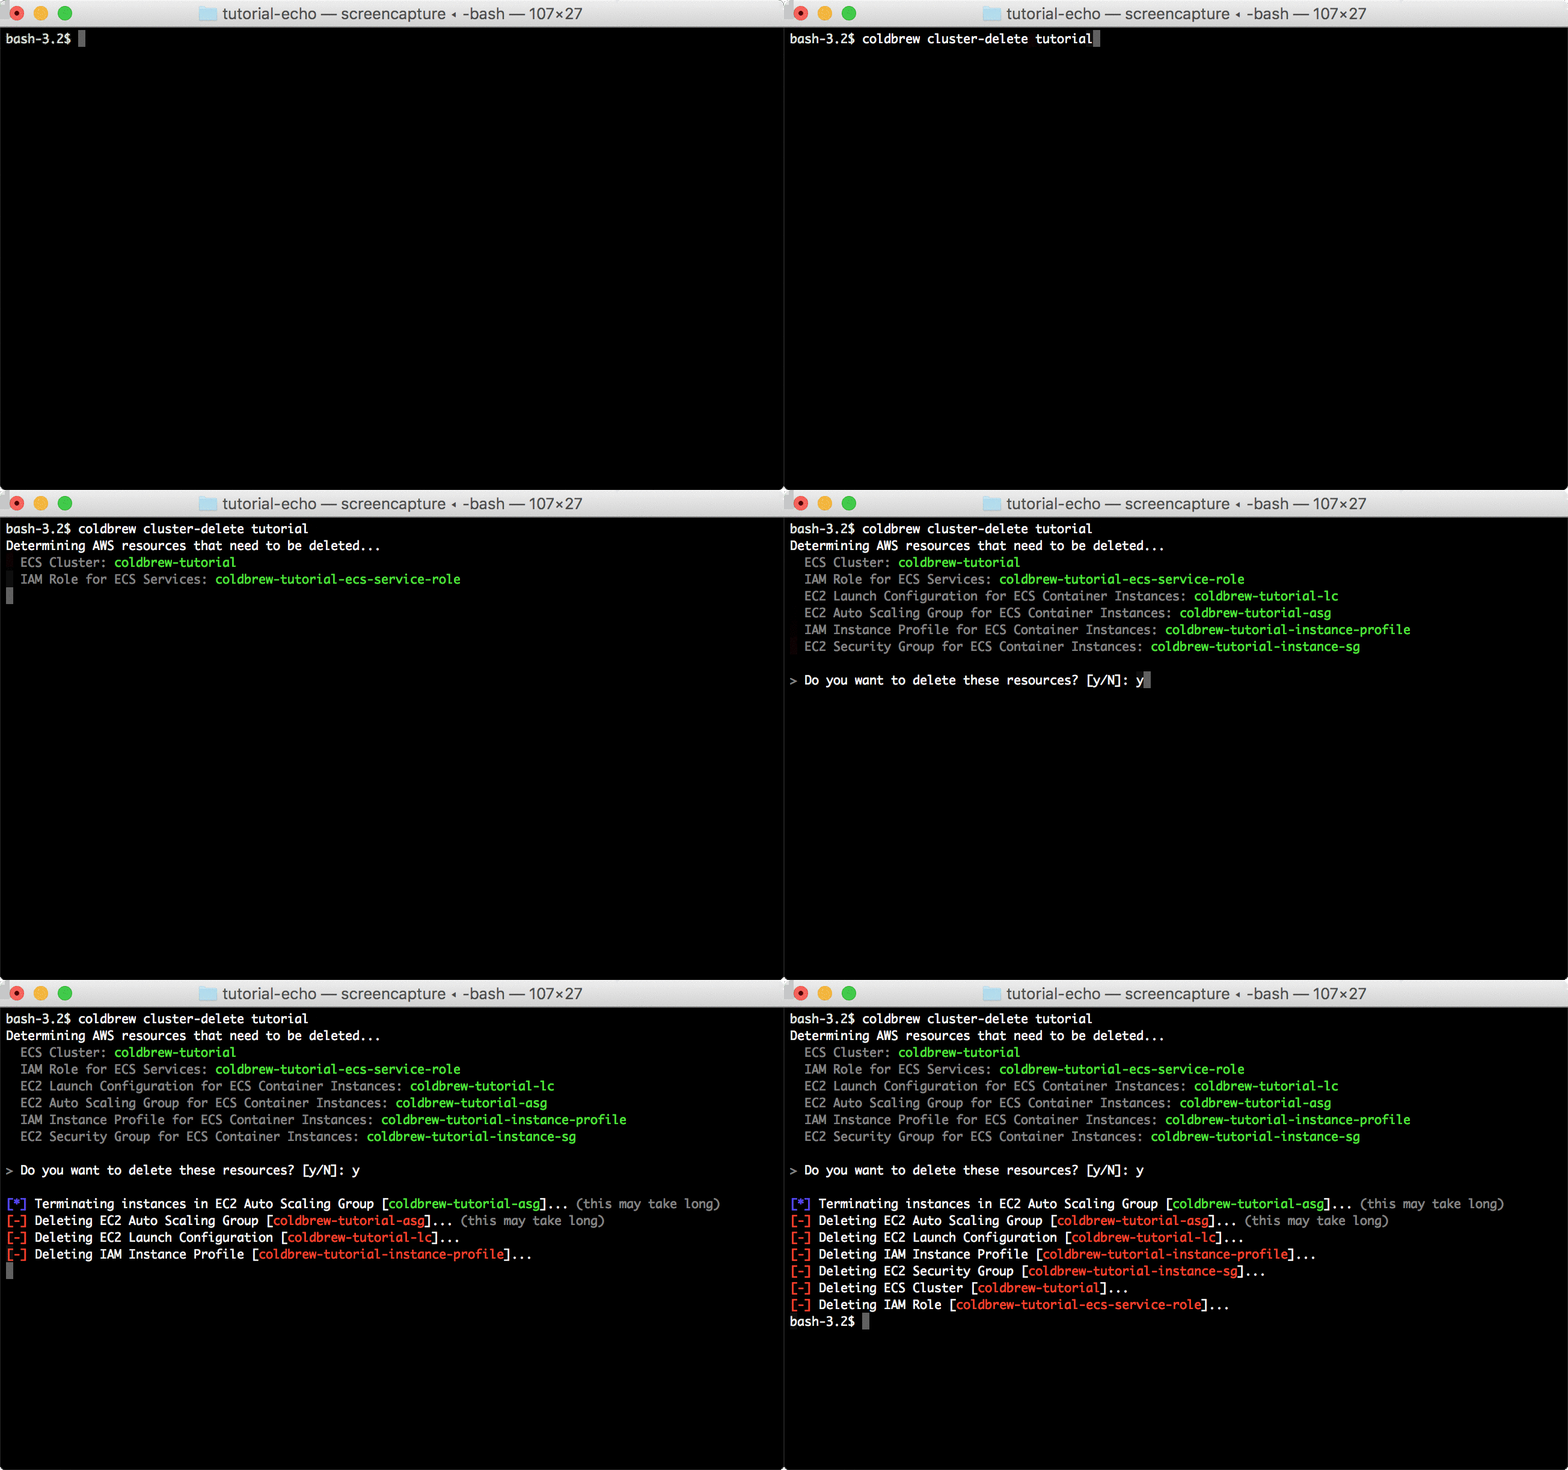
coldbrew statusYou can delete all resources for the app and cluster using deploy and cluster-delete respectively.
coldbrew deletecoldbrew cluster-delete tutorial