This is a very simple extension that illustrates how to build a custom viewer that can be opened by selecting items in a view on the Explorer.
Note: I learned a lot of this from the Arduino extension for VS Code.
https://github.com/Microsoft/vscode-arduino
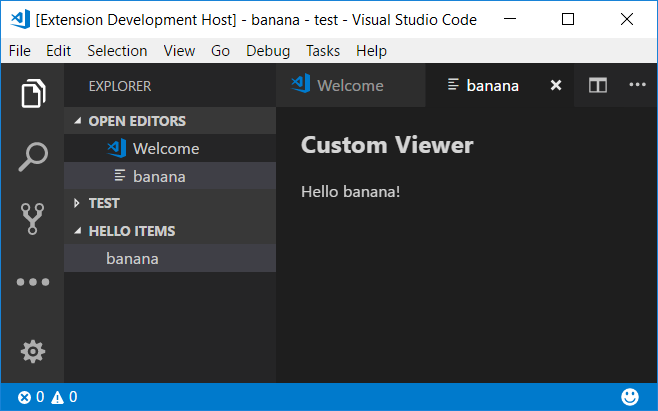
And this is the end result.
To build run
yarn
yarn build
To launch it, open up in VS Code and run the Extension launch.
The main components of this extension include:
- The extension. Includes definitions in the package.json file for commands, the view, and menu items in the view. And includes the activate method in the extensions.ts file which registers the tree data and text document providers.
- The server. This is the HelloServer class which is a text document provider for the hello: scheme to provide our index.html page for the viewer. It also implements an Express server for API calls from the viewer.
- The client. This is a typical React TypeScript front end which implements the Hello component to send a request to the server and display the result.
- The viewer, which is really just the client and server working together.
- The view. This is in the HelloItemTree class which is a tree data provider which provides a list of strings for our view. It also implements add and delete commands and the open command that triggers opening the viewer.
The key workflow starts with the open method on the HelloItemTree. It is registered as the default command for items in the tree. It is invoked when you select the item.
    public open(node: string) {
        commands.executeCommand(
            'vscode.previewHtml',
            Uri.parse(`hello://${node}`),
            ViewColumn.One,
            node
        );
    }
The Uri is key. It uses the hello: scheme to which we have
registered our text document provider. We pass the selected node
in the authority of the Uri though there's probably better places for it.
VS Code opens up the editor tab and creates a webview. To populate
the webview, it calls the provideTextDocumentContent method
on our text document provider/server.
    provideTextDocumentContent(uri: Uri, cancelToken: CancellationToken): ProviderResult<string> {
        const _hello: HelloArgs = {
            server: `http://localhost:${this.port}`,
            item: uri.authority
        };

        return `
        <html>
            <head>
                <script>
                    window._hello = ${JSON.stringify(_hello)}
                </script>
            </head>
            <body>
                <div id="app"></div>
                <script src="file:///${this.context.asAbsolutePath('out/client/app.js')}"></script>
            </body>
        </html>
        `;
    }
We first create an object for the arguments we want to pass to the client, in this case the
URL for the server as well as the selected item string we passed in through the Uri.
We then return the HTML text which assigns that object to a property we place on the window
object, _hello. We then have our body for the React script which declares the div
we will render in then loads the client.
The Hello React component sends a request to the server passing in the item, updates the state with the result which triggers the render to show it.
export interface HelloState {
    msg: HelloMsg;
}

export class Hello extends React.Component<{}, HelloState> {
    constructor(props) {
        super(props);

        this.state = {
            msg: { msg: "Loading..." }
        };

        this.hi().then(msg => {
            this.setState({ msg: msg });
        })
    }

    private request(url: string): Promise<any> {
        return fetch(new Request(window._hello.server + url)).then(res => res.json());
    }

    private hi(): Promise<HelloMsg> {
        return this.request(`/hi?item=${window._hello.item}`);
    }

    render() {
        return (
            <div>
                <h2>Custom Viewer</h2>
                <p>{this.state.msg.msg}</p>
            </div>
        );
    }
}
On the server side, we set up Express and implement the route to get the HelloMsg.
    constructor(private context: ExtensionContext) {
        context.subscriptions.push(workspace.registerTextDocumentContentProvider('hello', this));

        const app = express();

        app.get('/hi', async (req, res) => {
            res.json(await this.hi(req.query['item']));
        })

        this.server = http.createServer(app);
        this._port = this.server.listen(0).address().port;
    }

    private async hi(item: string): Promise<HelloMsg> {
        return new Promise<HelloMsg>((resolve, reject) => {
            resolve({
                msg: `Hello ${item}!`
            });
        });
    }
We grab the item string and simply return it back with a hello.
The build is split into two parts, a simple call to the TypeScript compiler for the extension/server, and a call to webpack to process the client. The client is a React Typescript app compiled with the webpack ts-loader.