Repository navigation
surface texture suggestion #1347

Replies: 5 comments 7 replies

|
Thanks, and glad you like it! That's a good suggestion. The gold filling of the cracks is a part of its own, but the other patterns are one mesh with the body, as you noticed. @marcus040473 made the surface textures, could you please have a look at this? And if you'd like to chip in to support layerling, here is how. 🙂 |

|
@badrimusgaming @henmedia thanks for the idea. The pattern as a part of its own now works in my demo: https://marcus040473.github.io/?editor=1 Select a body, open Surface texture and tick Pattern as its own part - it is there for every pattern. Below it, Colour of the pattern sets the second colour; it starts with one that stands out against the body, and the next time with the one you chose last.
Both are kept together as a bundle: they move together, each keeps its colour, and a 3MF has them as two parts for your slicer. Changing the texture again and Remove texture work as before and take the pattern part along. With several layers, they all have to go the same way. The cracks' gold option stays as it was.
A pull request to layerling follows. |

Fantastic! I tested it in your demo, I have noticed that when I choose pattern "into the body" the pattern stay on the surface and doesn't groove into the body when "pattern as its own part" is selected and ones I deselect it it groove into the body. Regarding out of the body it's working well in general but some pattern textures merges with the body. |

|
@badrimusgaming thanks for testing it so closely! Pattern as its own part is now out in layerling 1.146.1. With Into the body the flat look is meant to be: the body gets the pattern cut in, and the pattern part fills the cut up to the surface, so you get a flat surface in two colours, like an inlay. Untick the option for a plain groove. The groove that merges with the body under Out of the body looks like a real bug; @marcus040473 built the textures, could you have a look? If the image upload keeps failing here, dragging the screenshot straight into the comment box usually works. |
|
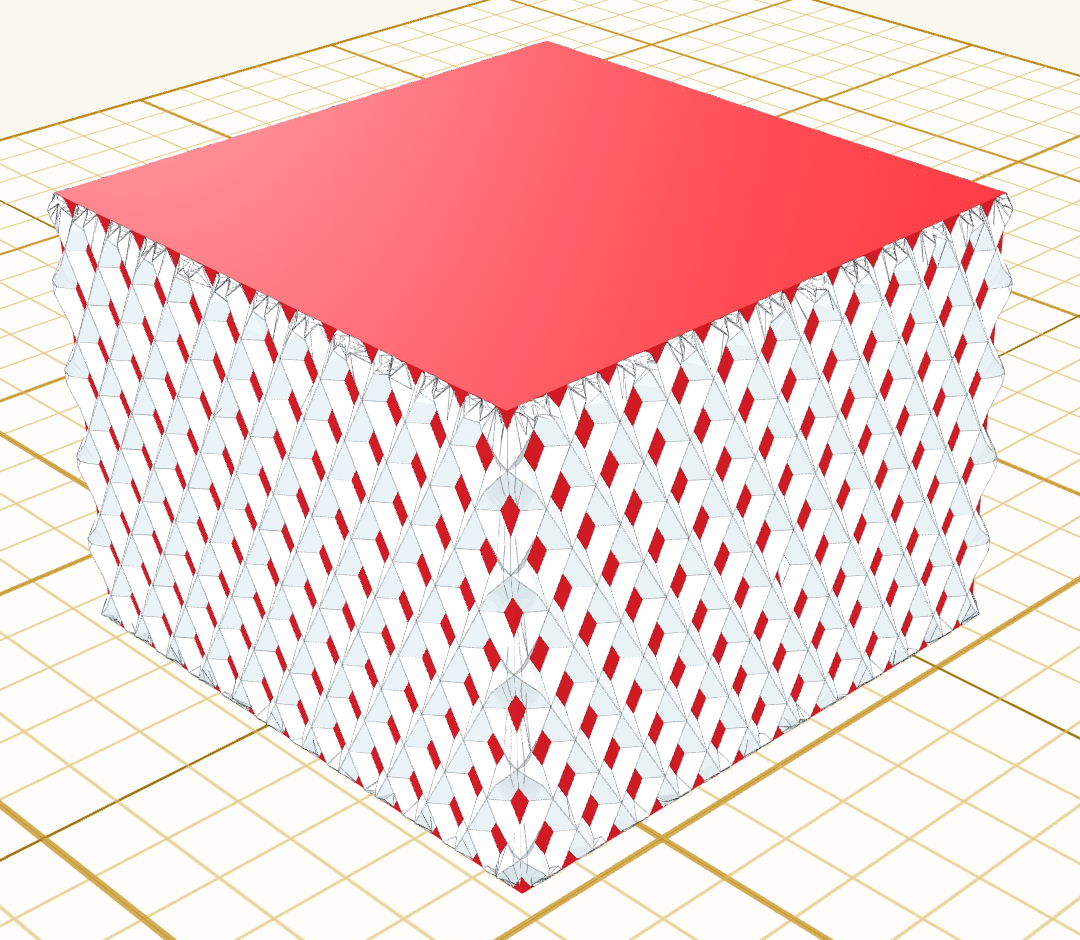
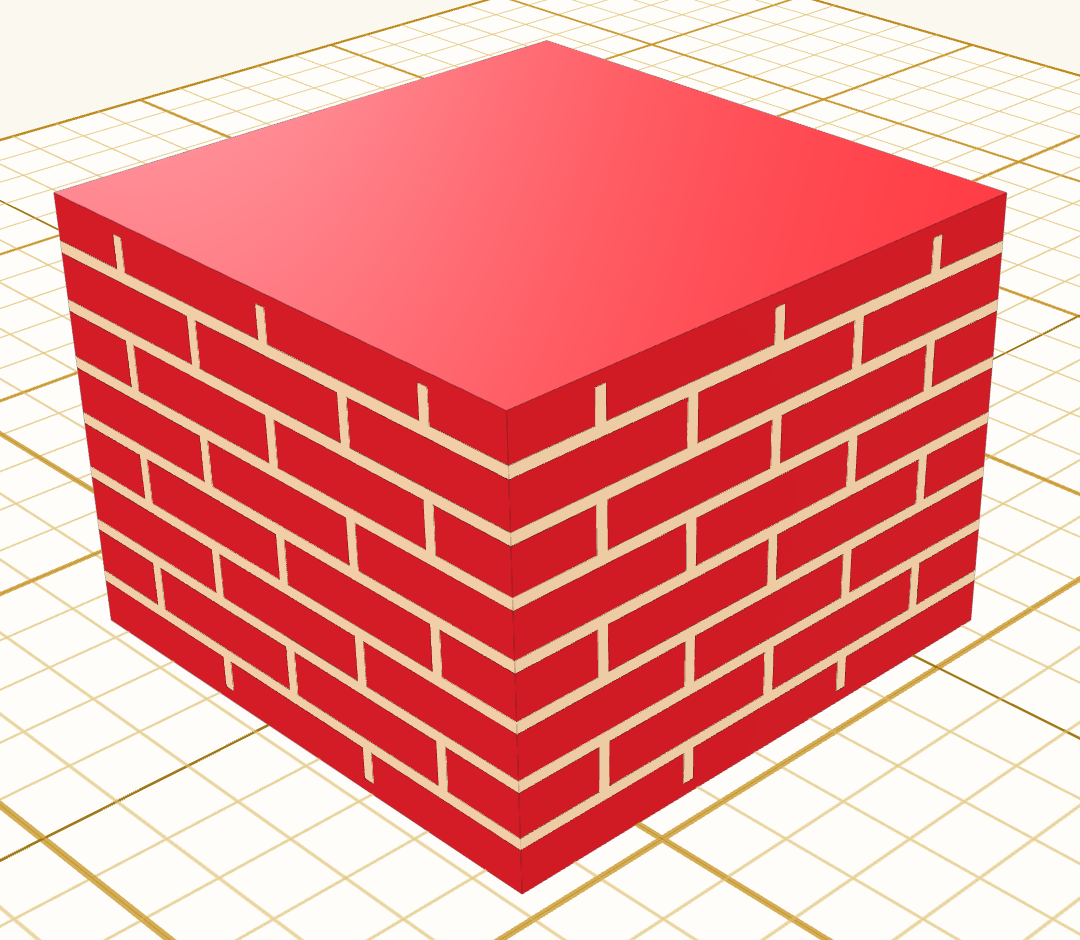
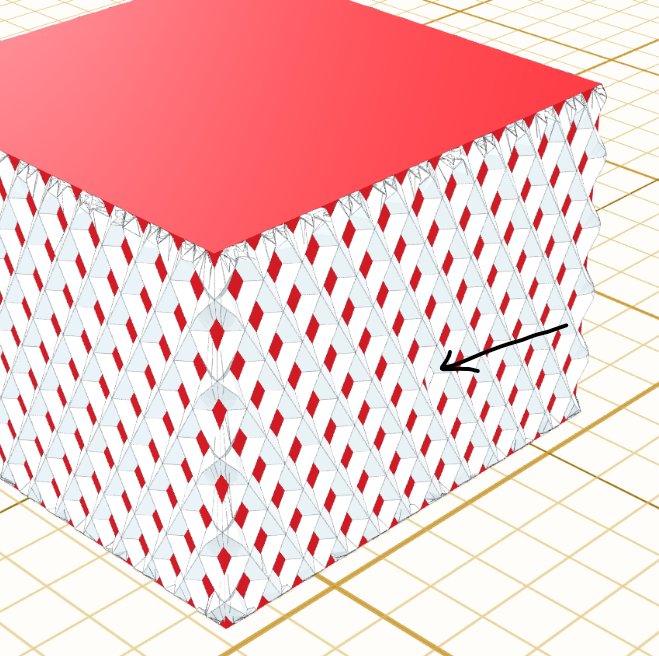
@badrimusgaming @henmedia Thank you for testing it so closely! I looked at that corner in detail. The pattern part is not missing there: what you see is the knurling's own diamond holes. Knurling goes round the box starting at a corner, so a column of its holes lands on the corner (on this 40 mm box, on all four). In a hole nothing stands out of the body, so the body's colour shows; the one-colour texture has the very same holes. On the flat sides you look at the holes at a slant and the ridges hide most of them, so they look like thin slivers. On the corner the hole wraps round the edge and faces you, so it looks like a column of bigger red diamonds. The same corner, one colour (left) and with "Pattern as its own part" (right):
I measured it: the holes on the corner are exactly as wide as those on the sides, and the part covers everything that stands out, along the corners and the top edge too. Here is the part alone (right): it is open only at the holes, the corner ones included.
The flat look under "Into the body" is the two-colour inlay, as Stefan said. Untick "Pattern as its own part" if you want a plain groove. |

|
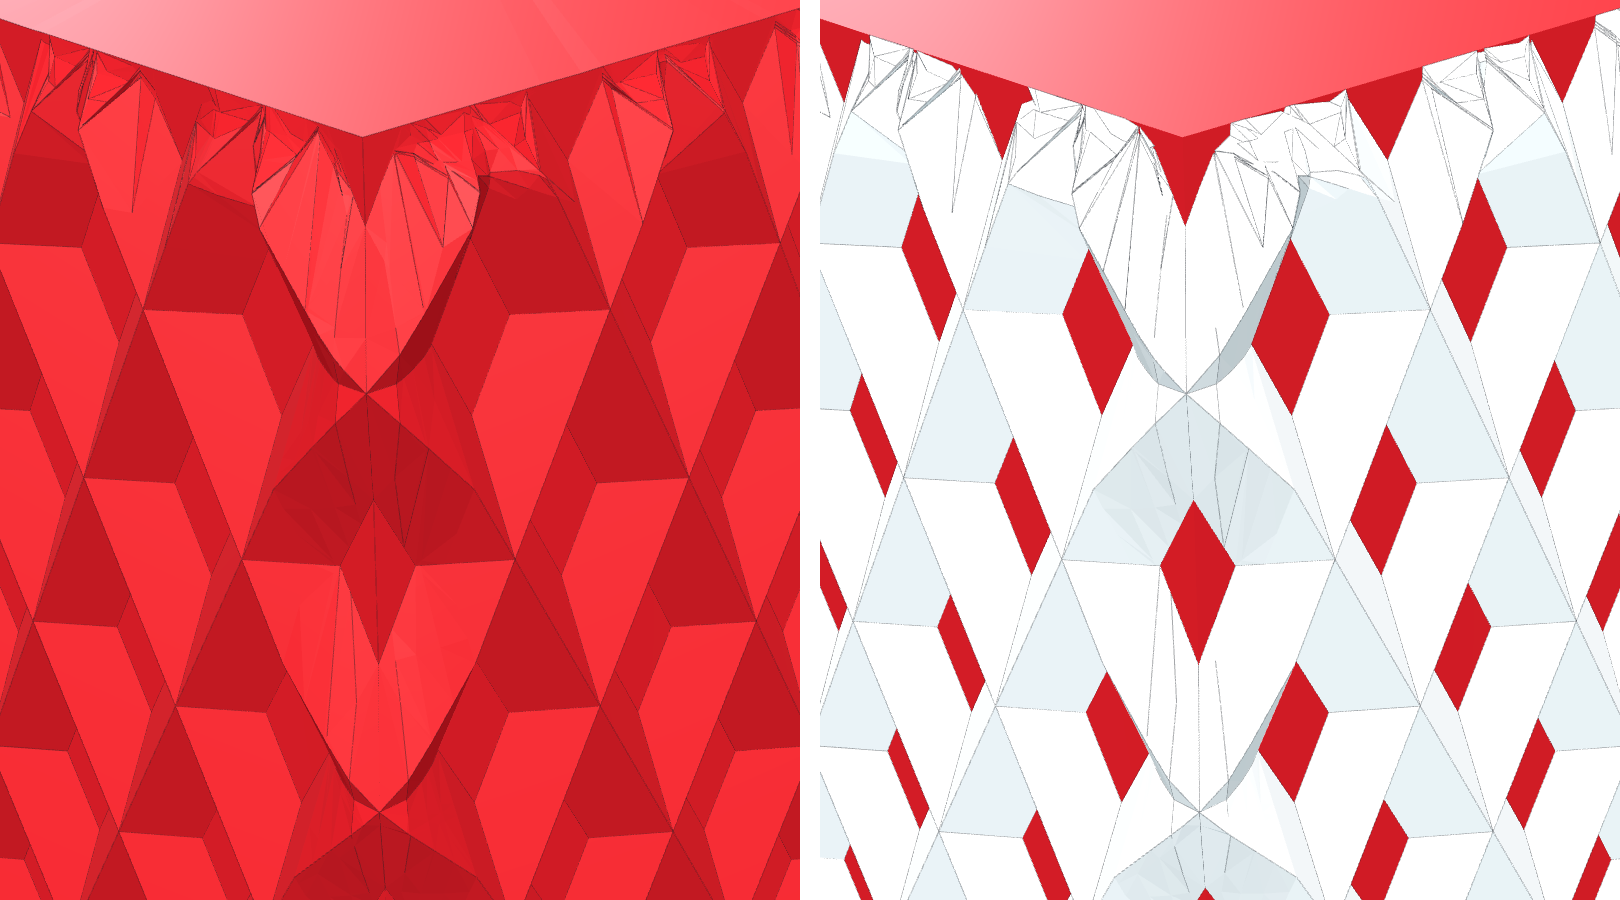
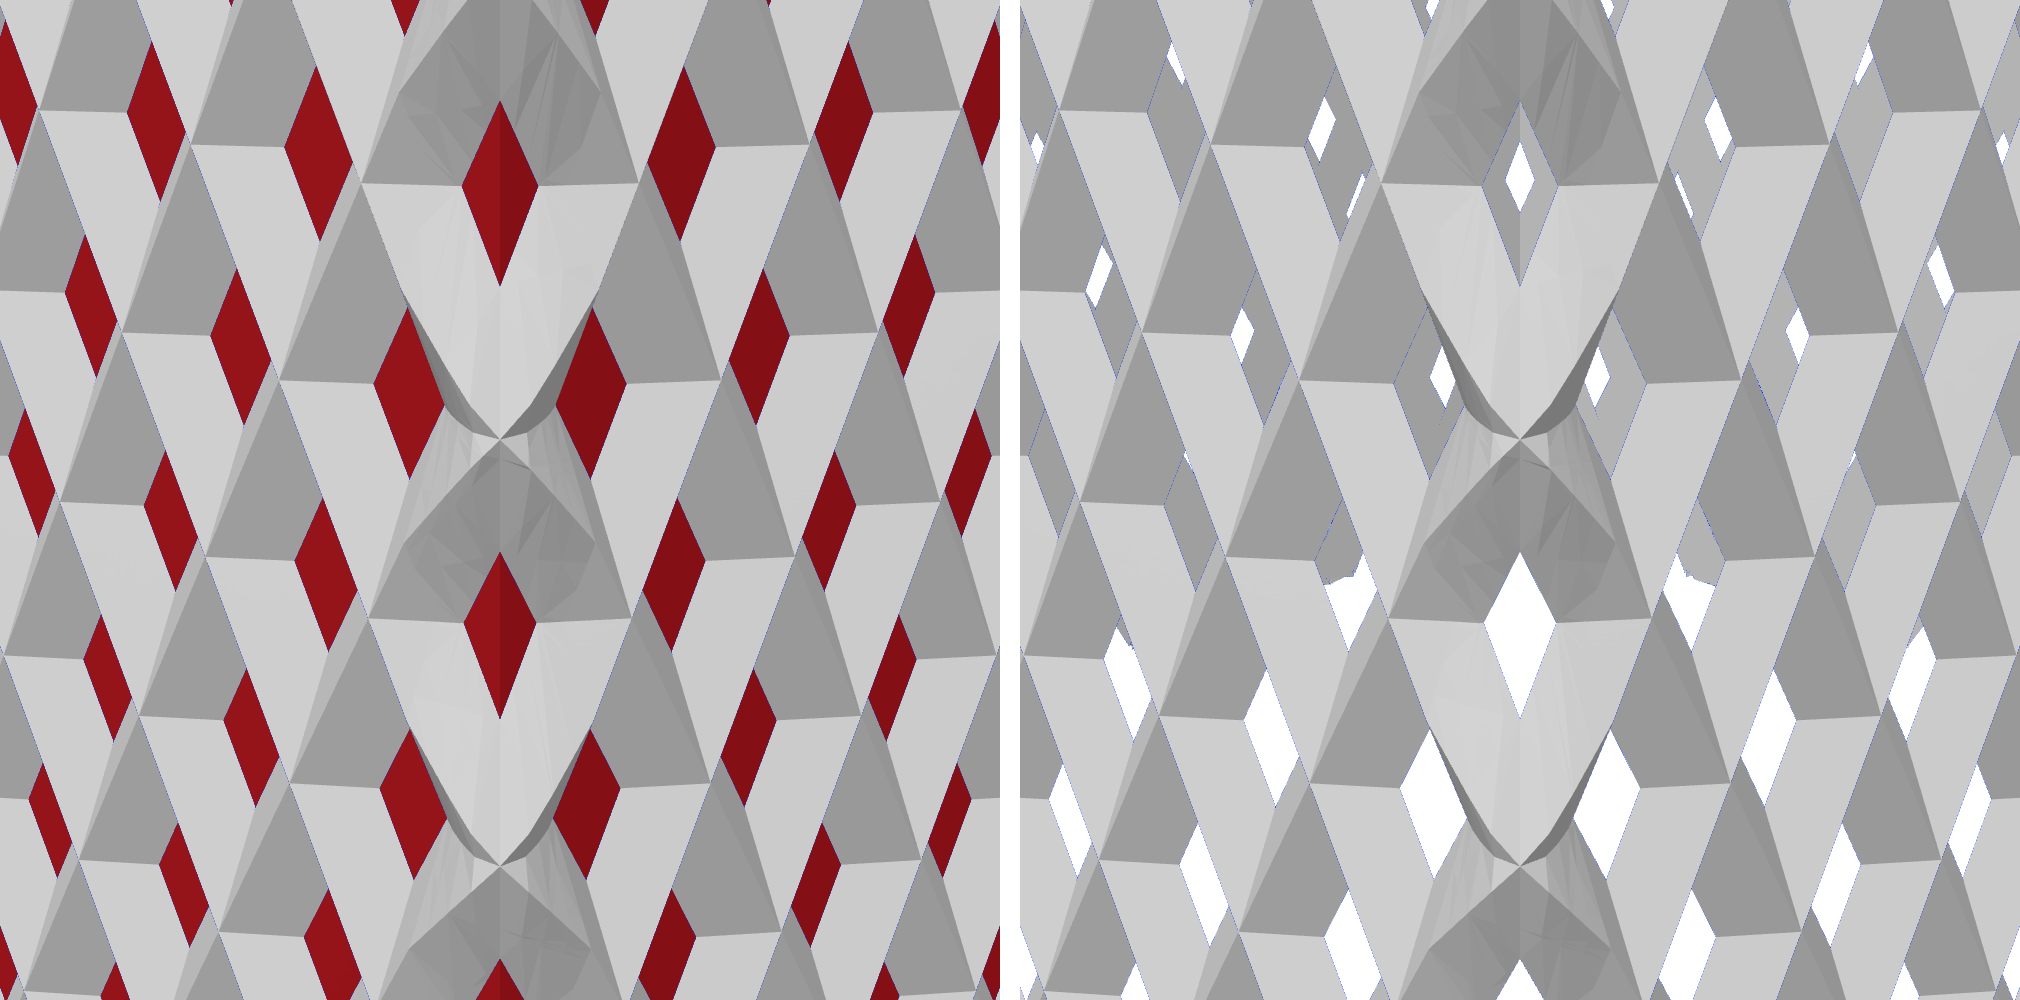
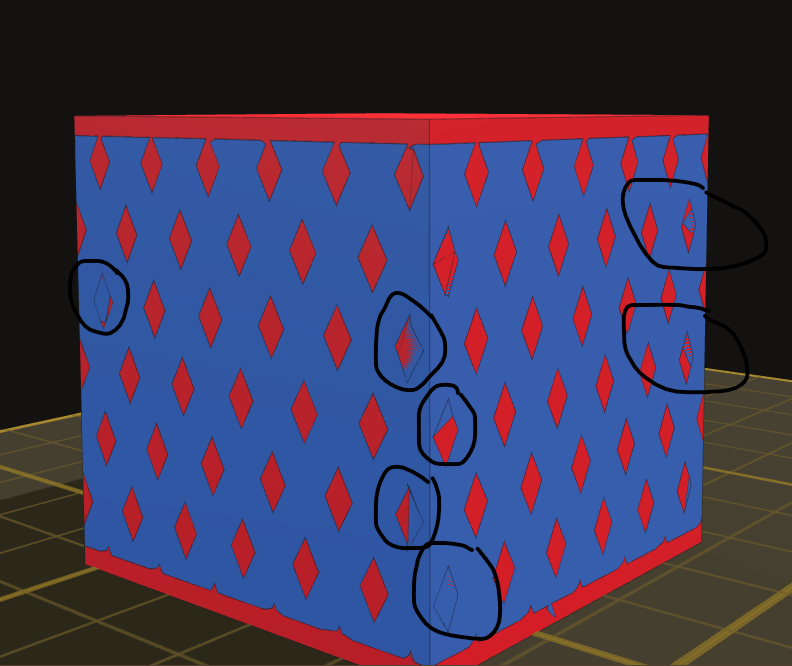
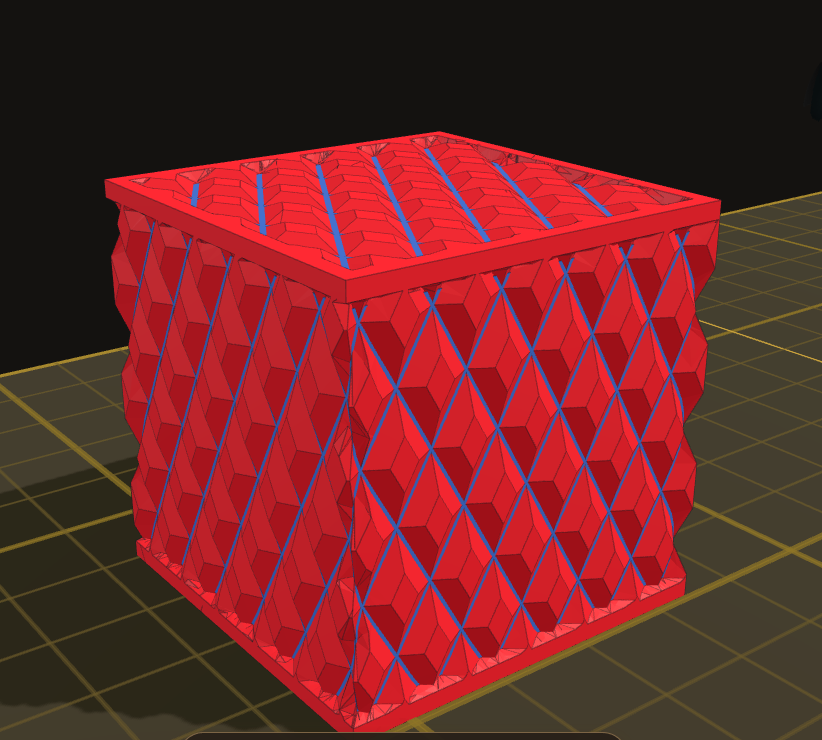
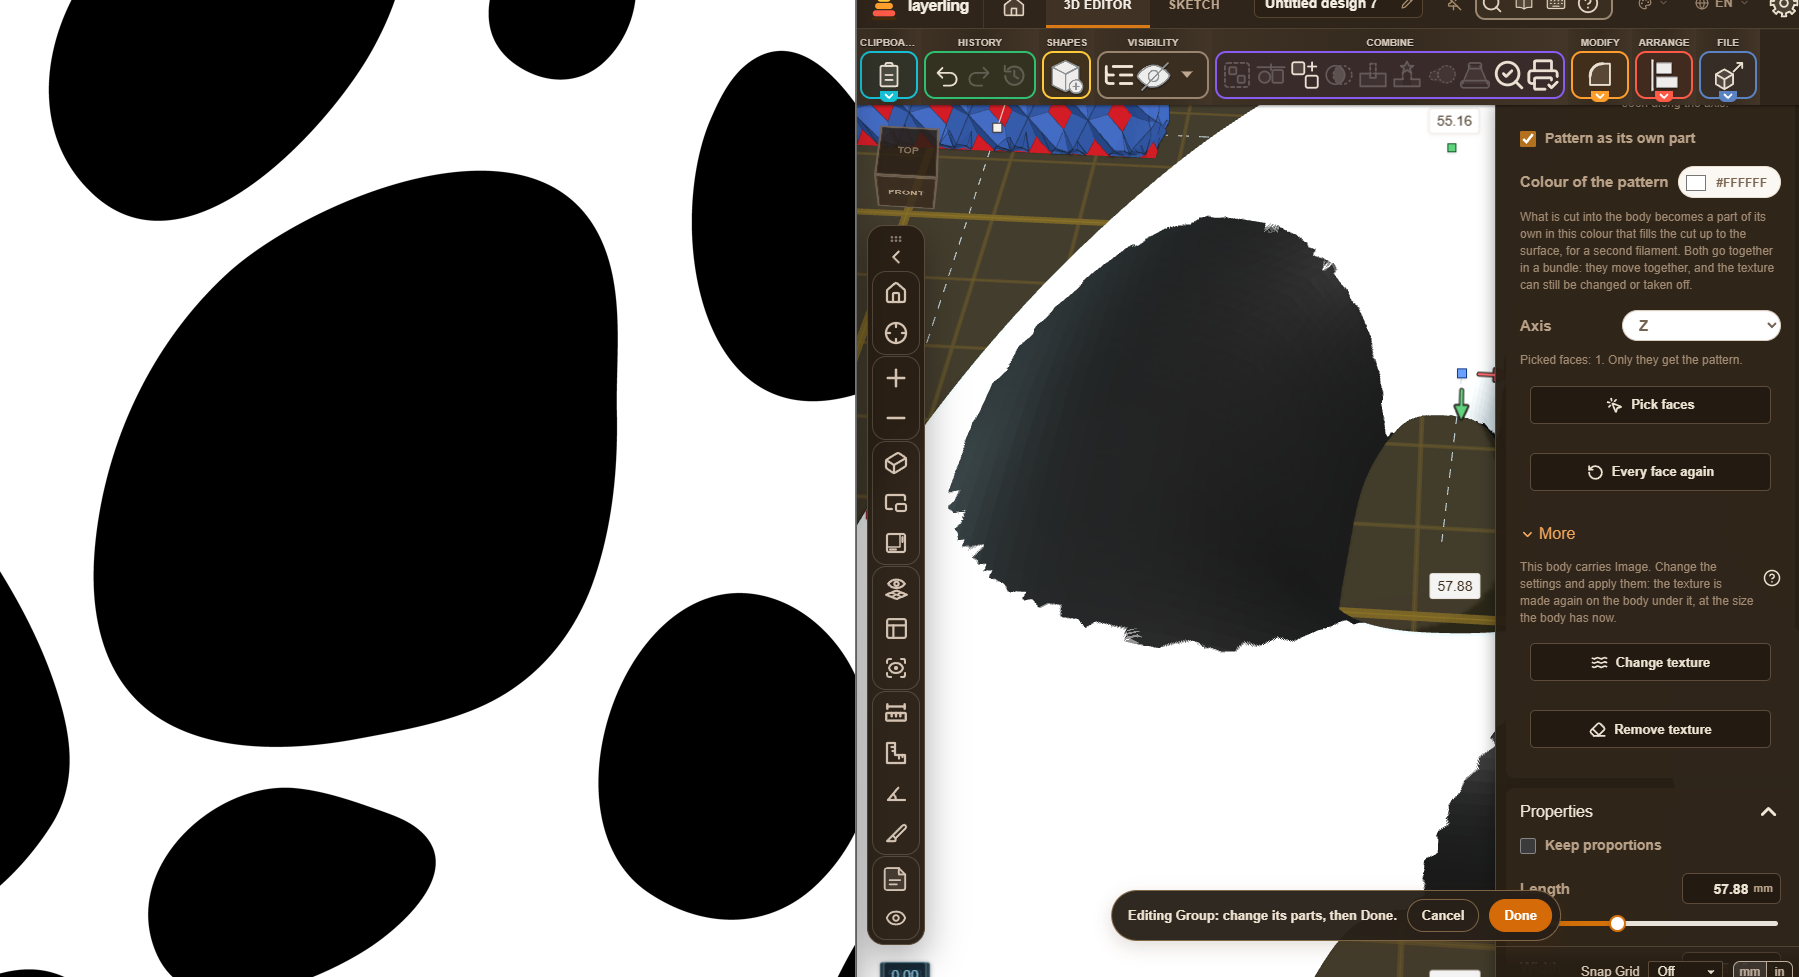
with the mobile app i wasn´t able to share screenshots, now I'm using my PC so i will share the screenshots. below is the pattern from your first image i was reffering to. below is the bugs i get when applying pattern as it's own with direction into the body what i would like to achieve is this result below, where i try to adjust manually the depth of the body to get the effect this example is when i apply pattern from uploaded image (left side of the screen), when i apply it to this bubbely object with direction into the body i get the result pixelised and not clean same when i apply it with direction out of the body in this case the result i would like to achieve is is the one below, where i manually adjust the height and the outter sides of the body and trimming the inner sides Hopefully i managed the explain the issue in this post. THANKS |
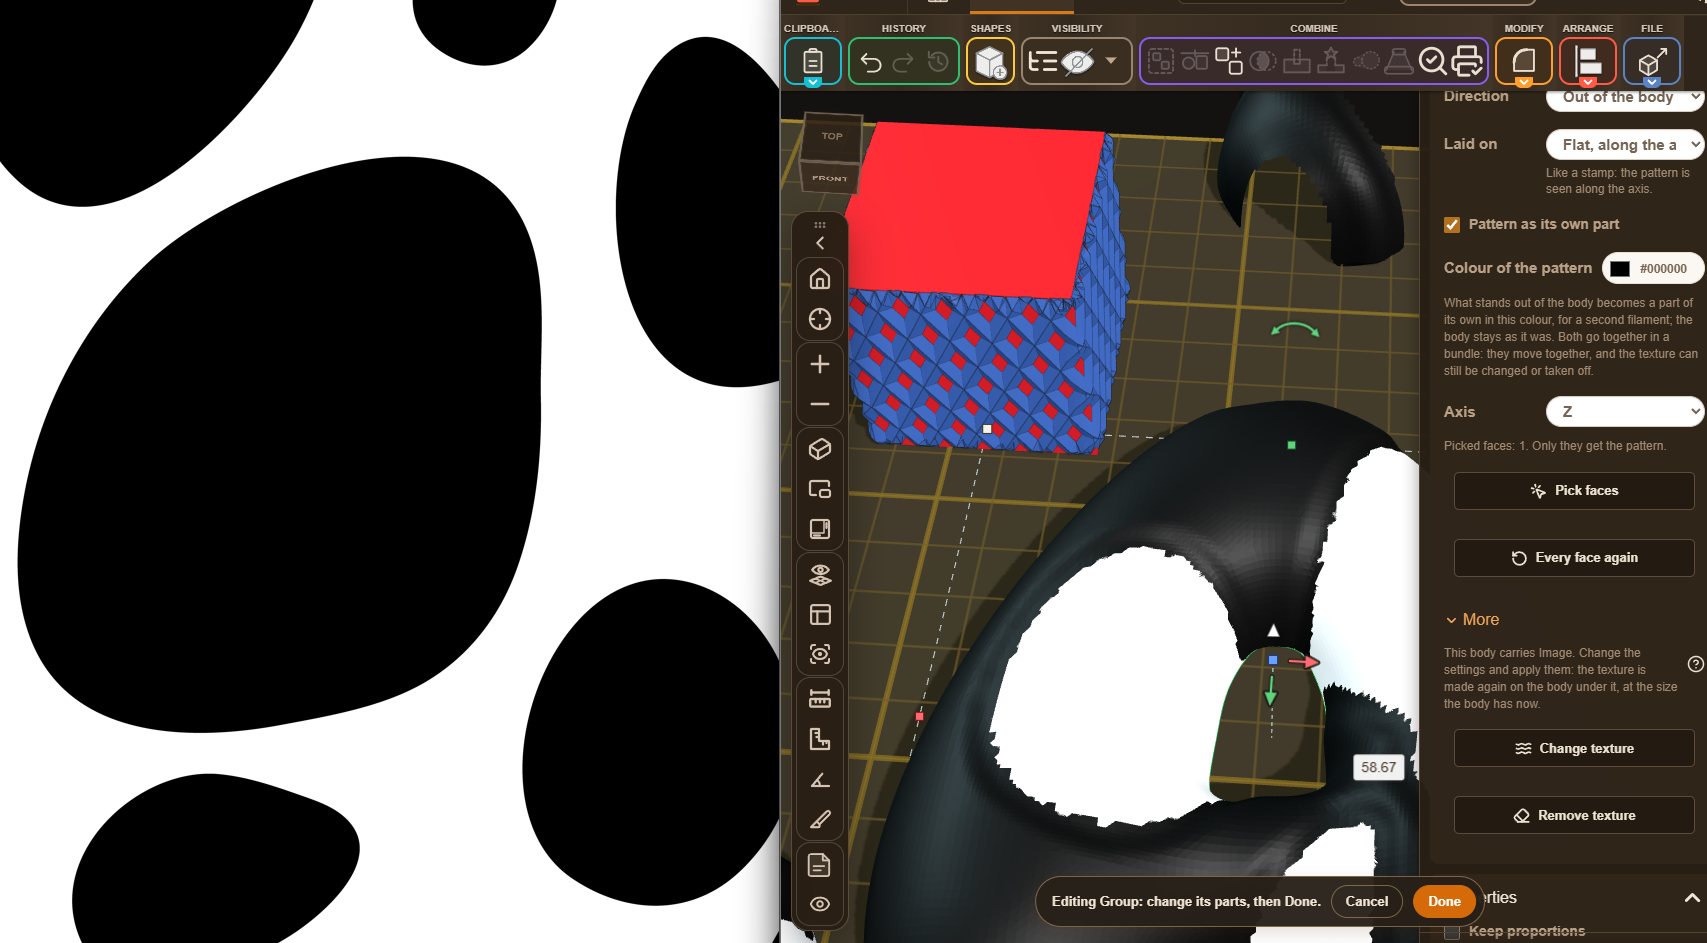
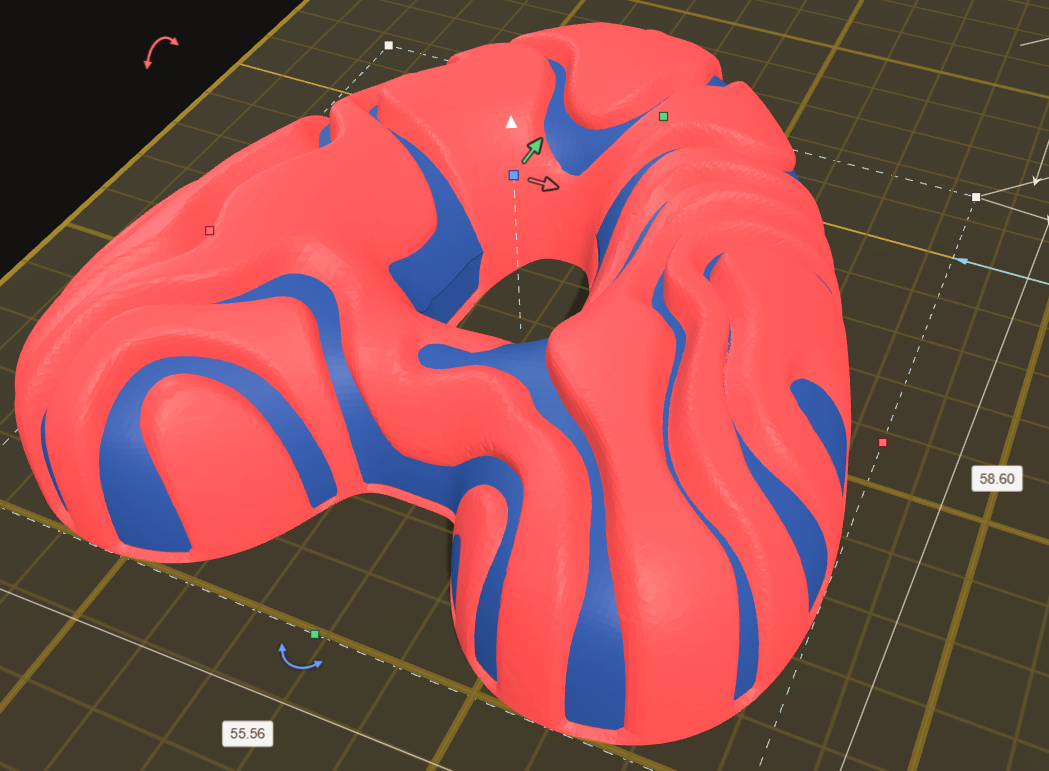
|
@badrimusgaming thanks a lot for the screenshots, that makes it much clearer! @marcus040473 could you have a look at these? The half-filled diamonds with "Pattern as its own part" going into the body, and the image pattern that comes out pixelated on the wavy body. |
|
@badrimusgaming the smoother image textures on large and round bodies are in layerling 1.151.0. Fine is now really finer than Medium. |
|
Thanks for the screenshots, and thanks @henmedia for passing them on! I looked into both. The picture coming out pixelated – that was a real fault, two of them in fact. The picture is softened a little so its outlines slope over the triangles instead of jumping from one to the next. It was softened for the mesh the Detail setting asks for – but on a large or curved body the triangle limit makes the mesh coarser, sometimes much coarser, and then the outlines came out in steps. Now it's softened for the mesh that is really made. And round a cylinder the long strips it is made of wasted the triangles, so its mesh came out twice as coarse as needed; that's fixed too.
On a big vase it gets smoother, but not razor sharp: a texture has at most 600,000 triangles, so on a vase that size they are about 0.5–1 mm, and Fine can't go below that. A tip for a wavy vase: set Laid on to Around an axis – Automatic picks All round there, which lays the picture on from three sides and doubles it on the waves. And your own picture is kept at 256 pixels, so on a very wide tile its pixels show more. The diamonds only half filled – here I couldn't find a fault: the part fills every groove right up to the surface, and body and part together are exactly the untextured body, also in the 3MF. I think it's how knurling looks: its grooves are V-shaped, and what you see as a diamond is its flat top plus the slopes of the grooves around it. The part fills the grooves, so the slopes take the pattern's colour and only the flat top keeps the body's – each diamond looks about half as big. For bigger diamonds, make Groove width (%) smaller. If your result looks different from that, could you share the settings or the file? It's in my test version: https://marcus040473.github.io/?editor=1 – a pull request is on its way. |
|
@marcus040473 thanks for tracking both down, I've merged the fix. @badrimusgaming the pixelated picture is fixed and will be in the next layerling release; until then you can try it in Marcus's test version linked above. On your wavy vase, also try Laid on → Around an axis. For the diamonds, a smaller Groove width (%) makes them bigger; if yours still look different, please share the file or your settings. |
|
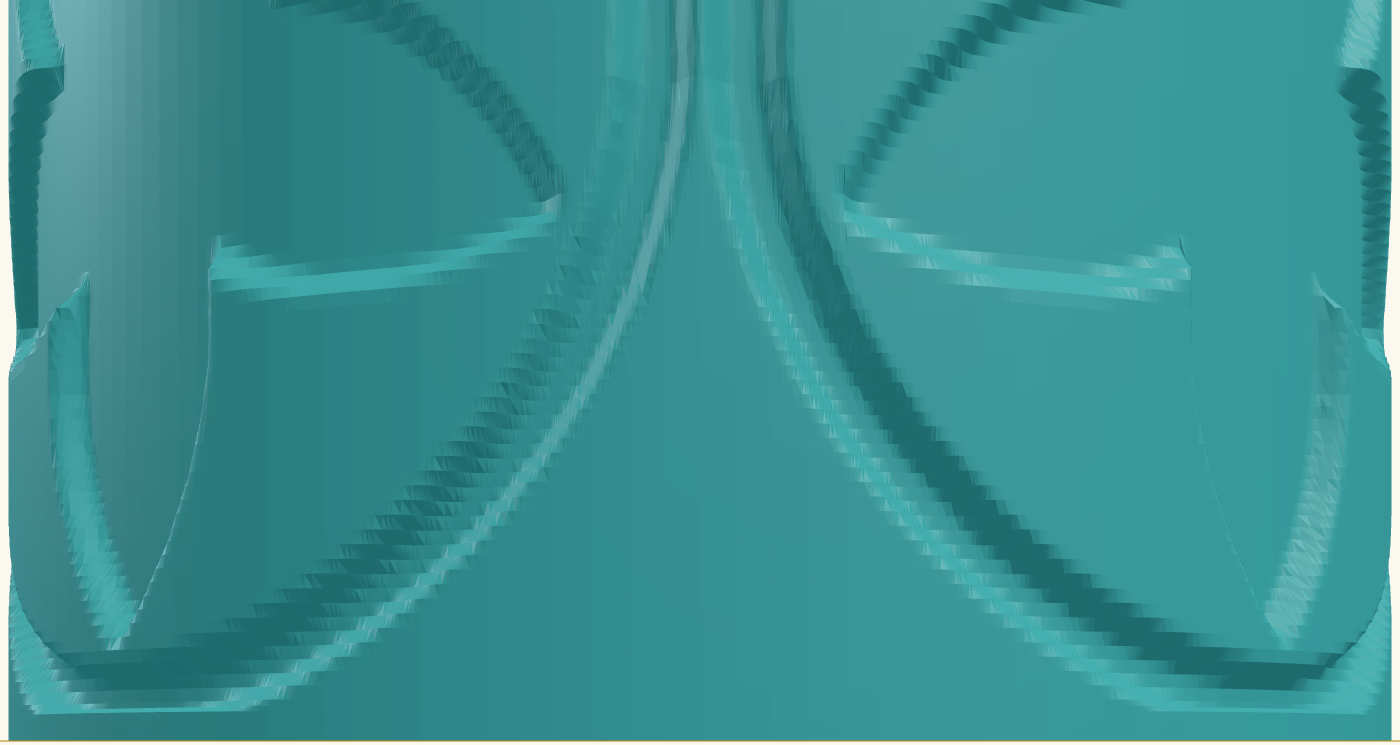
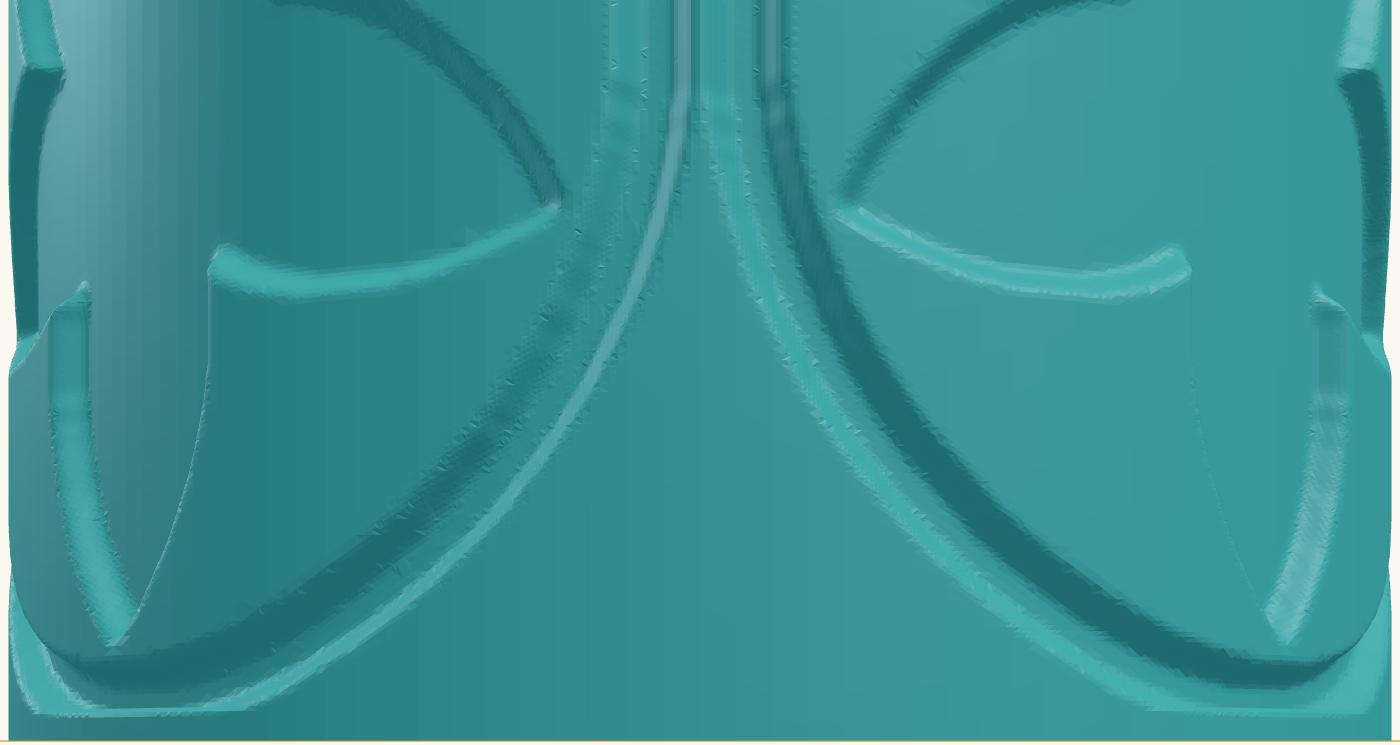
i did test it in @marcus040473 test version and below you can find the results with the settings in the form of screenshots. The image size and resolution are: 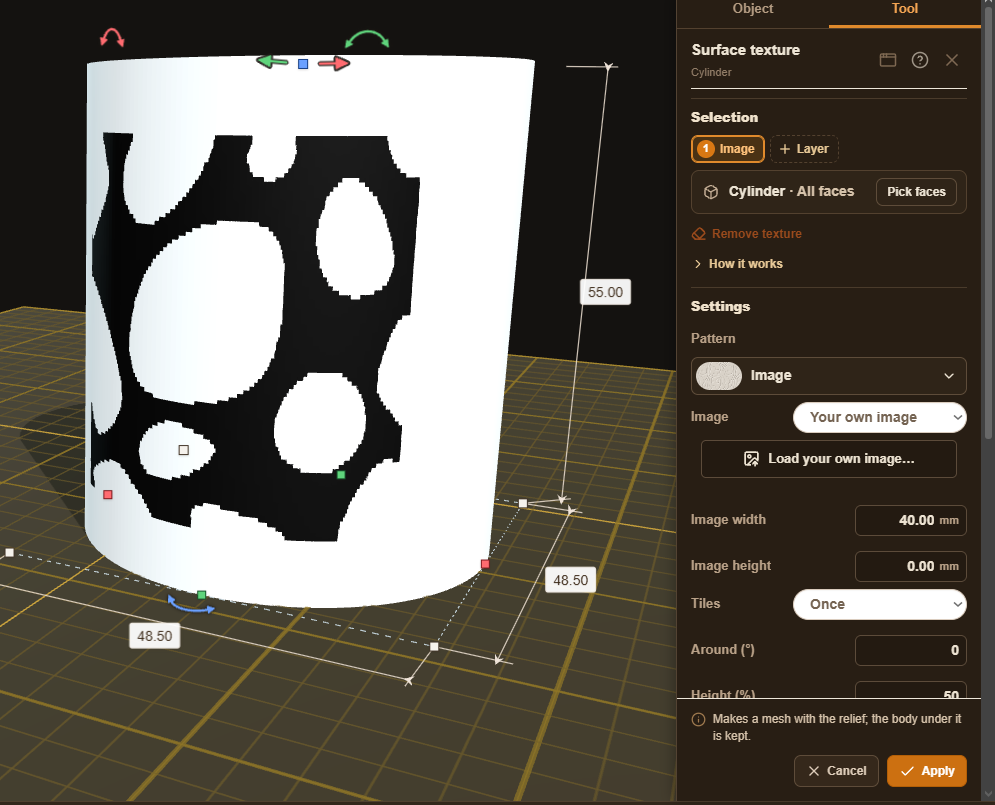
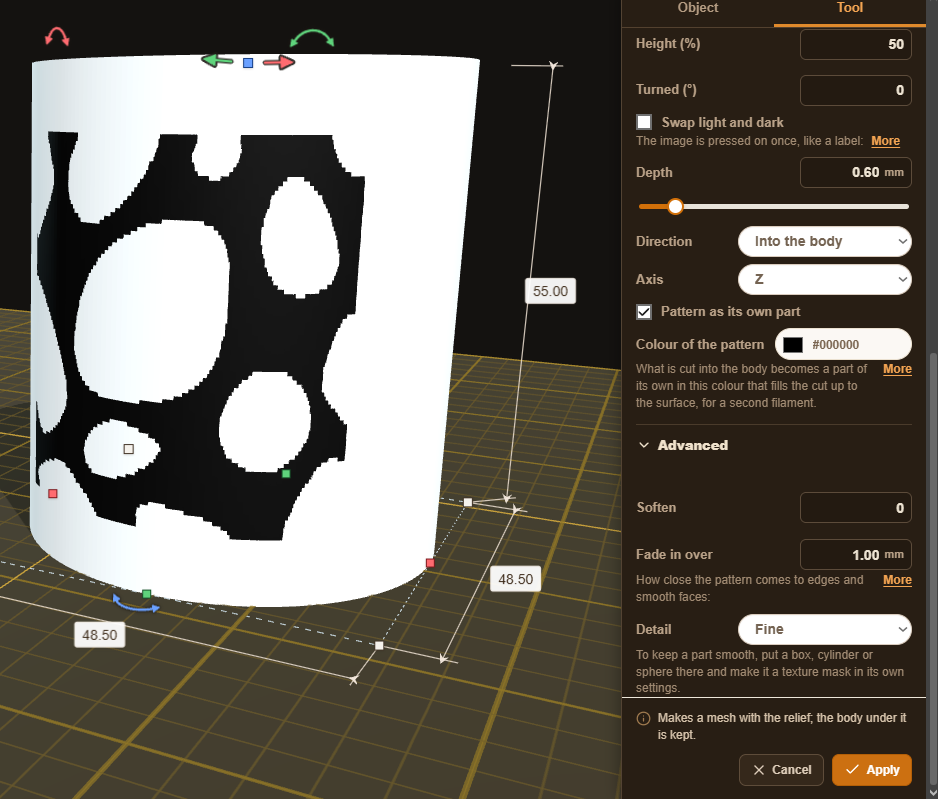
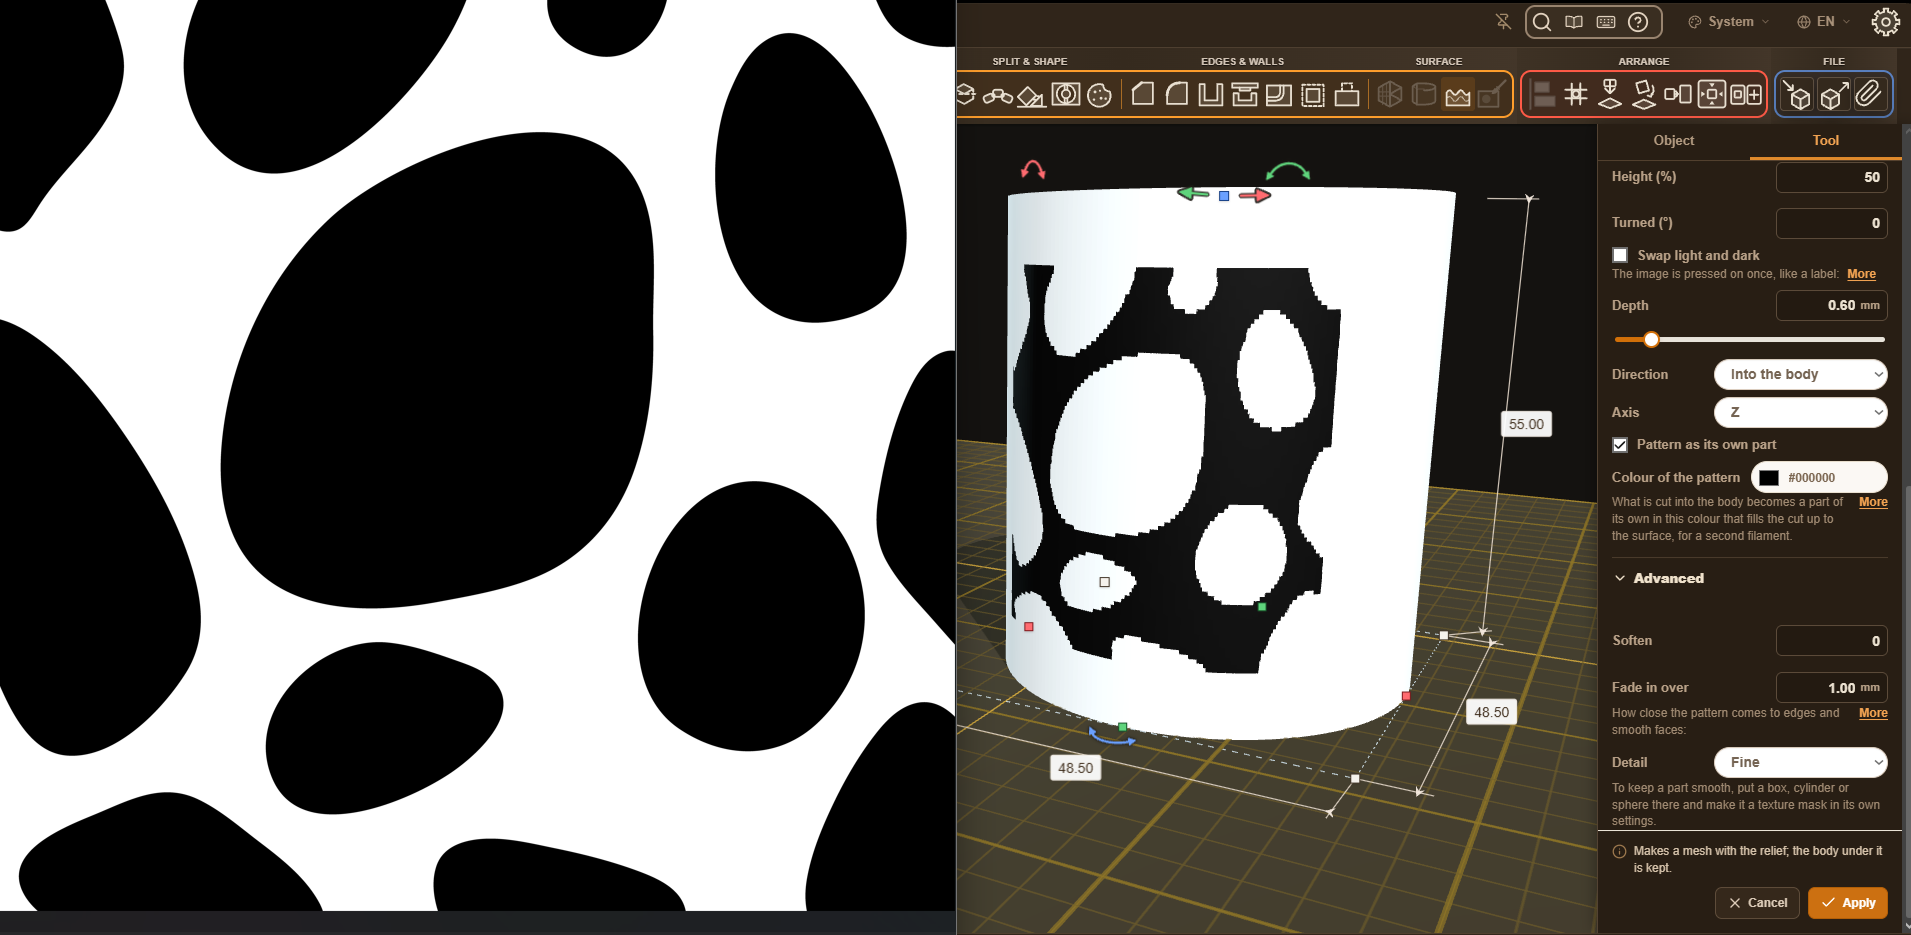
i selected tile "once" and around the axis to have a clear result, i did test it with the other options too and the result is similar the lines are still pixelised. if you need anymore details, settings or if you want me to do more tests with specific instractions please let me know. Thanks |
|
@badrimusgaming thanks for testing it again and for the screenshots with all the settings, that helps a lot! @marcus040473 could you please have a look at this? |


Uh oh!
There was an error while loading. Please reload this page.
Uh oh!
There was an error while loading. Please reload this page.
Hi, first of all I want to thank you for sharing this amazing tool.
When applying the pattern to the surface I understand that the new pattern and the original object get grouped to one body, will it be possible to have them as a bundle so that we can edit the color of just the body or the new pattern applied when choosing the direction into the body or out of the body? I noticed that the pattern cracks (kintsugi) has an option "Gold filling as a part of its own" when the direction is into the body which is basically a step towards the suggestion I'm making. I hope that I explained it well.
Cheers
All reactions