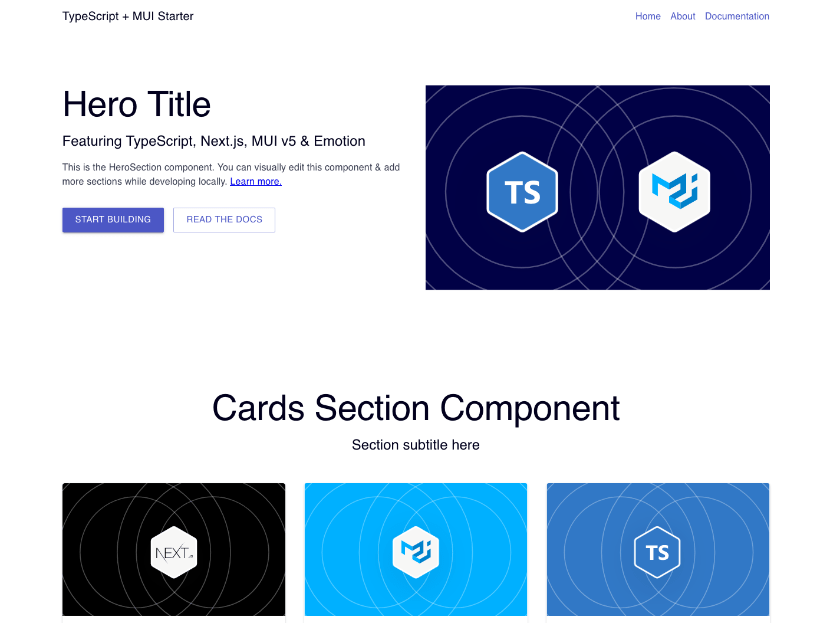
This is a minimal starting point for new Netlify Create projects. It is built with Next.js, TypeScript, and MUI, and is equipped with visual editing capabilities using Stackbit. It uses markdown files as the content source. See below for other Netlify Create example projects.
⚡ Demo: stackbit-ts-mui-nextjs-starter.netlify.app
This is meant to be a simple starting point that demonstrates the use of bringing your own component library, such as MUI.
In addition to MUI support, this project contains the following:
- Flexible Pages: Simple and flexible page model that lets editors add new pages.
- Basic Components: A few basic components to add to new pages.
- Layout Elements: Header and footer elements automatically added to pages.
- Component & Template Presets: Predefined arrangements of content and components for faster editing. Learn more.
- TypeScript Support: Components and content are type-safe. (See
typesdirectory for definitions.)
The typical development process is to begin by working locally.
Create local Stackbit project from this repo:
npx create-stackbit-app@latest --starter ts-nextjsRun the Next.js development server:
cd my-stackbit-site
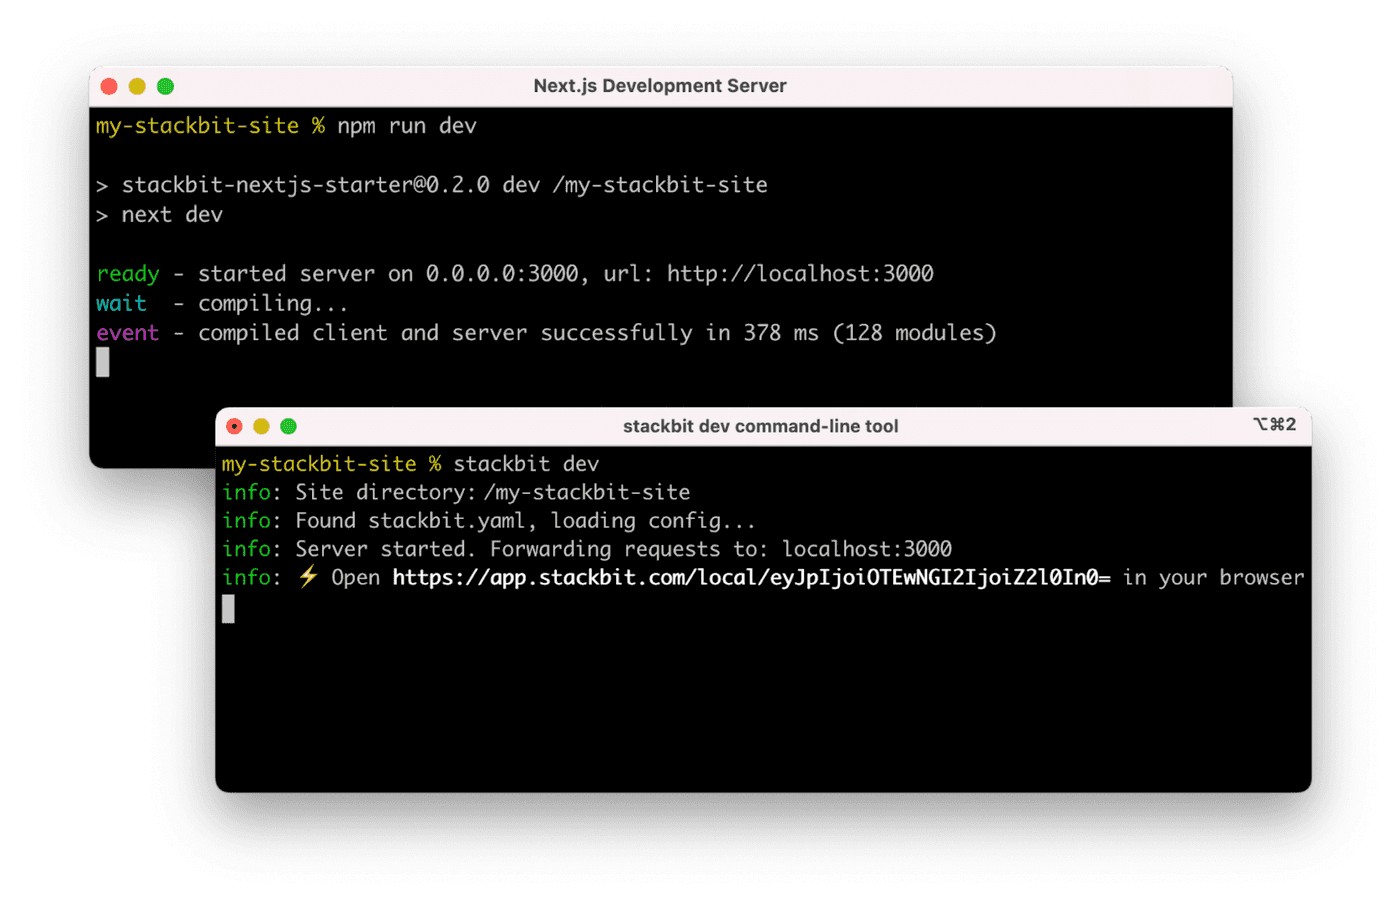
npm run dev
Install the Stackbit CLI. Then open a new terminal window in the same project directory and run the Stackbit Dev server:
npm install -g @stackbit/cli
stackbit dev
This outputs your own Stackbit URL. Open this, register or sign in, and you will be directed to Stackbit's visual editor for your new project.
Here are a few suggestions on what to do next if you're new to Stackbit:
- Learn how Stackbit works
- Follow the Getting Started tutorial
- Explore the how-to guides for help while developing your site
Stackbit has a number of examples that you can use to create a new project or evaluate Stackbit. Run the following command to see a list of available examples:
npx create-stackbit-app@latest --helpYou can also visit our stackbit-themes GitHub organization
Join us on Netlify answers for community support and to showcase what you build with this starter.

