Section 4.5 Gluing the Endstop Magnets
|
-
Double check the electrical connections
-
If you are sure that everything is right you can connect the power to the printer
-
Some LED’s should start blinking and probably your axes will start moving.
-
The moving axes are a bit in the way for what we are going to do, so disconnect all the motors for the moment.
-
-
Check if all the endstops light green.
-
You have to look well, because we’ve hidden the bright light underneath the acrylic cover.
-
-
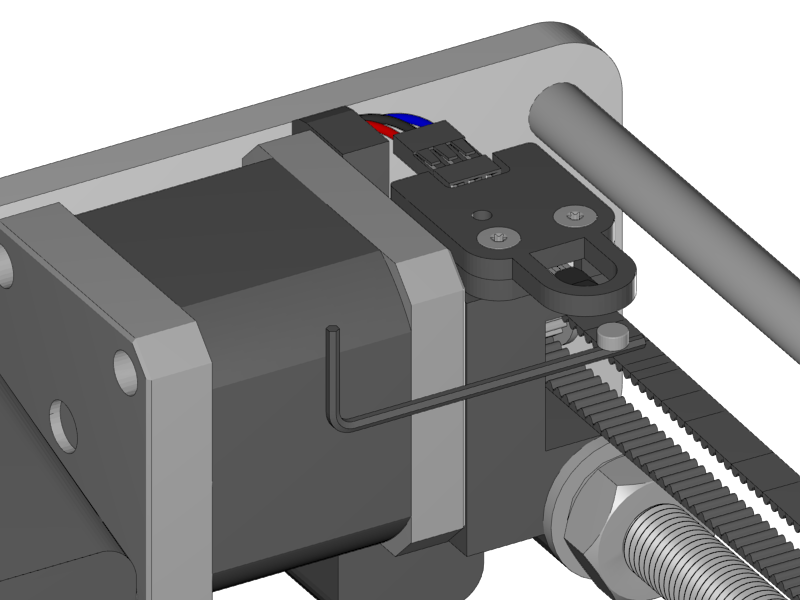
Look for the little magnets that came with the endstops.
-
Put one magnet on a little allen key, and move it under the endstop sensor.
-
If the light turns off the orientation is correct
-
If nothing happens, turn around the magnet and try again.
-
-
Mark the orientation.
|
-
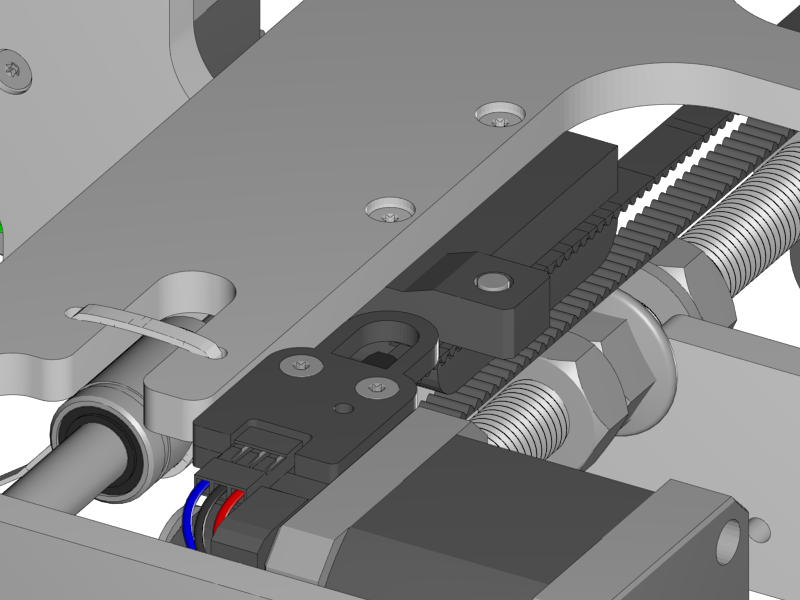
Put a drop of 1 second super glue into the magnet slot of the Y-Teeth
-
Put the magnet into the slot in the correct orientation.
-
Tip: you can easily get the magnet from the allen key with aid of the blue white ceramic screwdriver that came with your RUMBA.
-
-
Test if the green light turns off if you move the Y-Carriage underneath the end stop.
|

-
Flip over the printer so you can easily reach the X magnet slot.
-
Just as with the Y magnet, find the right orientation of the magnet
-
Glue it with a drop of 1 second super glue and test if it works correctly.
|

-
Leave the printer up side down and glue the Z-EndStop.
-
Put back the printer on its feet again
-
Turn down the X-Bridge manually by turning the Z-Motors with your hands. Try to keep the X-Bridge somewhat straight.
-
Check if the endstop works correctly.