Section 5.1 Testing Functionality
You have almost finished building your printer. Now we will test if all the connections are correct.
Testing Temperature
-
Turn on the printer. Check if the fans on the side of the hotends are working.
-
In the display menu push the button once and navigate to: >Prepare >Preheat PLA >Preheat PLA All or if you have a single extruder >Preheat PLA 1
-
Wait until the menu jumps back to the info screen and check if the temperatures of the nozzles and the heatbed are rising.
-
You don’t have to wait until the temperature reaches it’s goal value.
-
-
In the mean time navigate to: >Control >Temperature >Fan Speed and turn it up to 255 and confirm with a push on the button. The active fan on the back of the extruder should turn on now.
-
Load some filament by navigating to >Utilities >Load Extruder0
-
The left extruder will heat up automatically now, once it’s hot the filament pulley will start turning.
-
Put in some filament until some is extruded.
-
Push the button to stop.
-
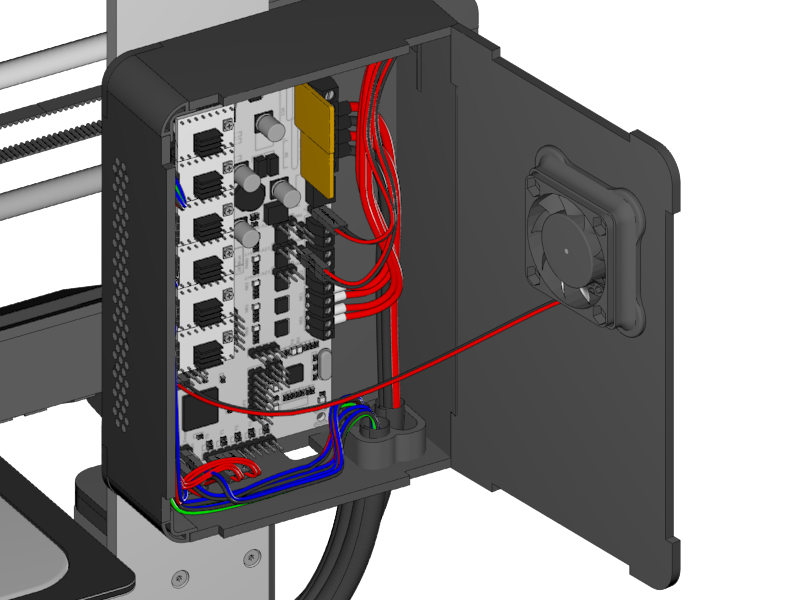
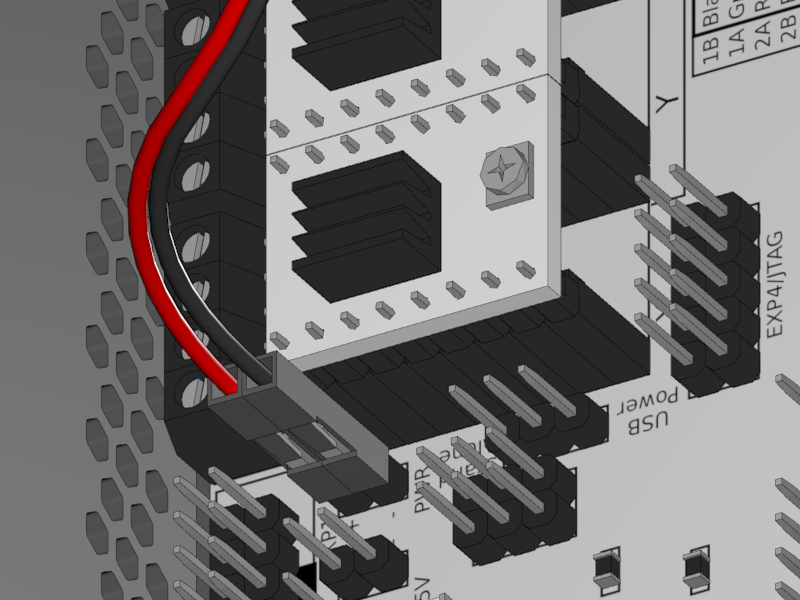
If the filament pulley turns the wrong direction turn around the connector on the RUMBA board.
-
-
Do the same for the right extruder with >Utilities >Load Ext. 1
Testing Motion
-
Turn on the printer. In the display menu navigate to: >Prepare >Move Axis >Move 10 mm >Move X and turn the knob some steps in clockwise direction. The printhead should now move to the right.
-
If the printhead moves to the left you should turn the connector by 180° on the RUMBA.
-
-
Do the same for the Y-Axis. The print platform should move to the front.
-
The same for the Z-Axis. Choose >Move 1mm instead of >Move 10mm in the Move Axis menu. The X-Bridge should move up.
-
Note the printer will refuse to move in a negative direction as long as it hasn’t detected the endstops.
-
-
Test the endstops again by manually moving the axis to it.
-
To move the axis by hand navigate to >Prepare >Disable Steppers. This will set the motors free.
-
-
If you are sure that all the endstops work navigate to >Prepare >Auto Home the printer will now home all axes.
-
Keep your finger at the power switch when you do this for the first time. If the Z-Axis fails to detect the endstop the motors can potentially destroy some parts of the printer.
-
-
If everything worked correctly your printer works. Next install the missing parts from the electronics case.
|
|
|

|
|
|
|
|