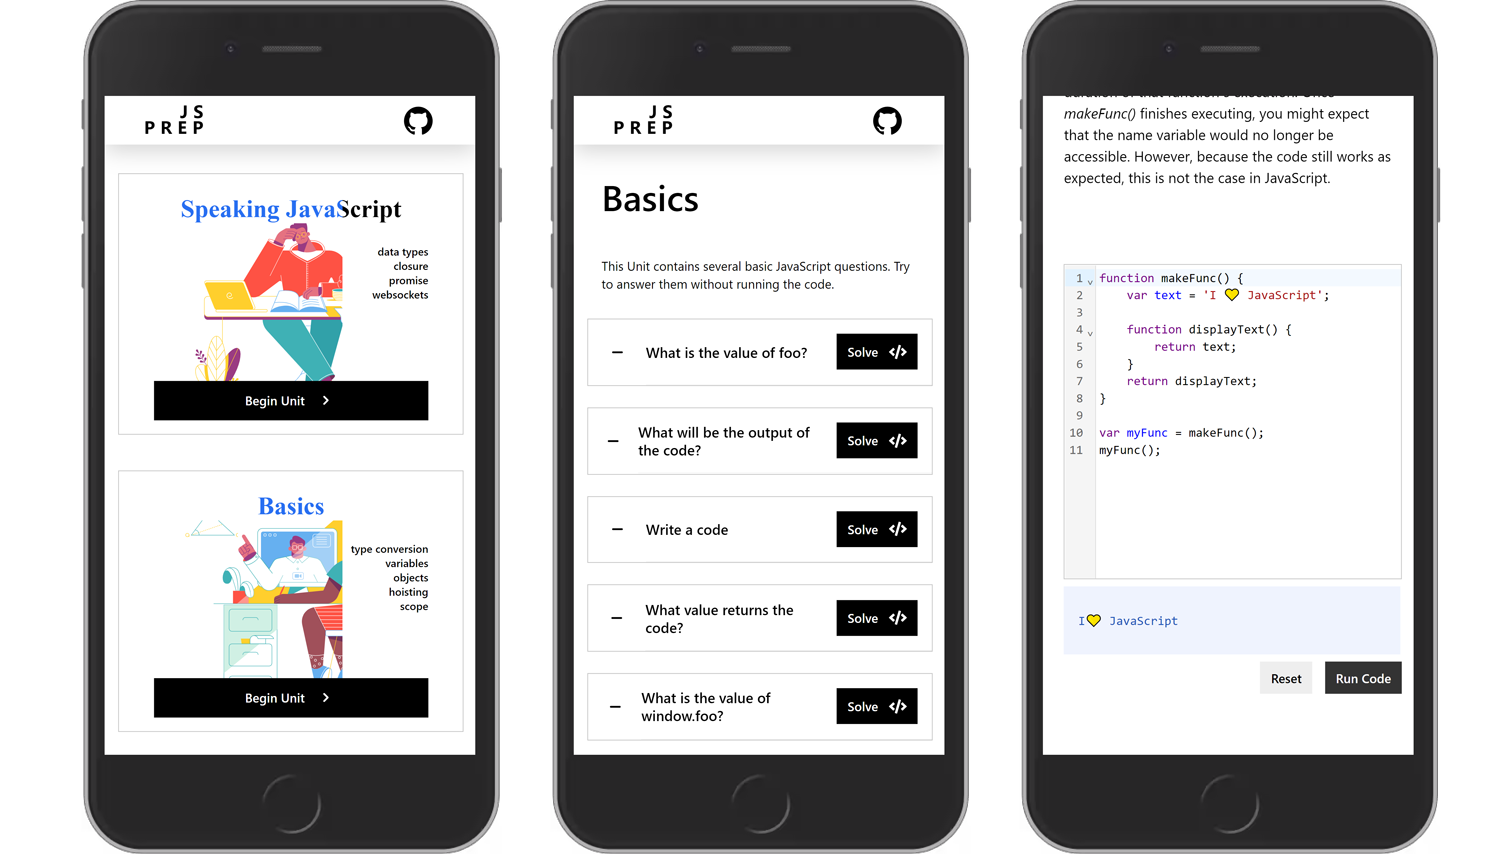
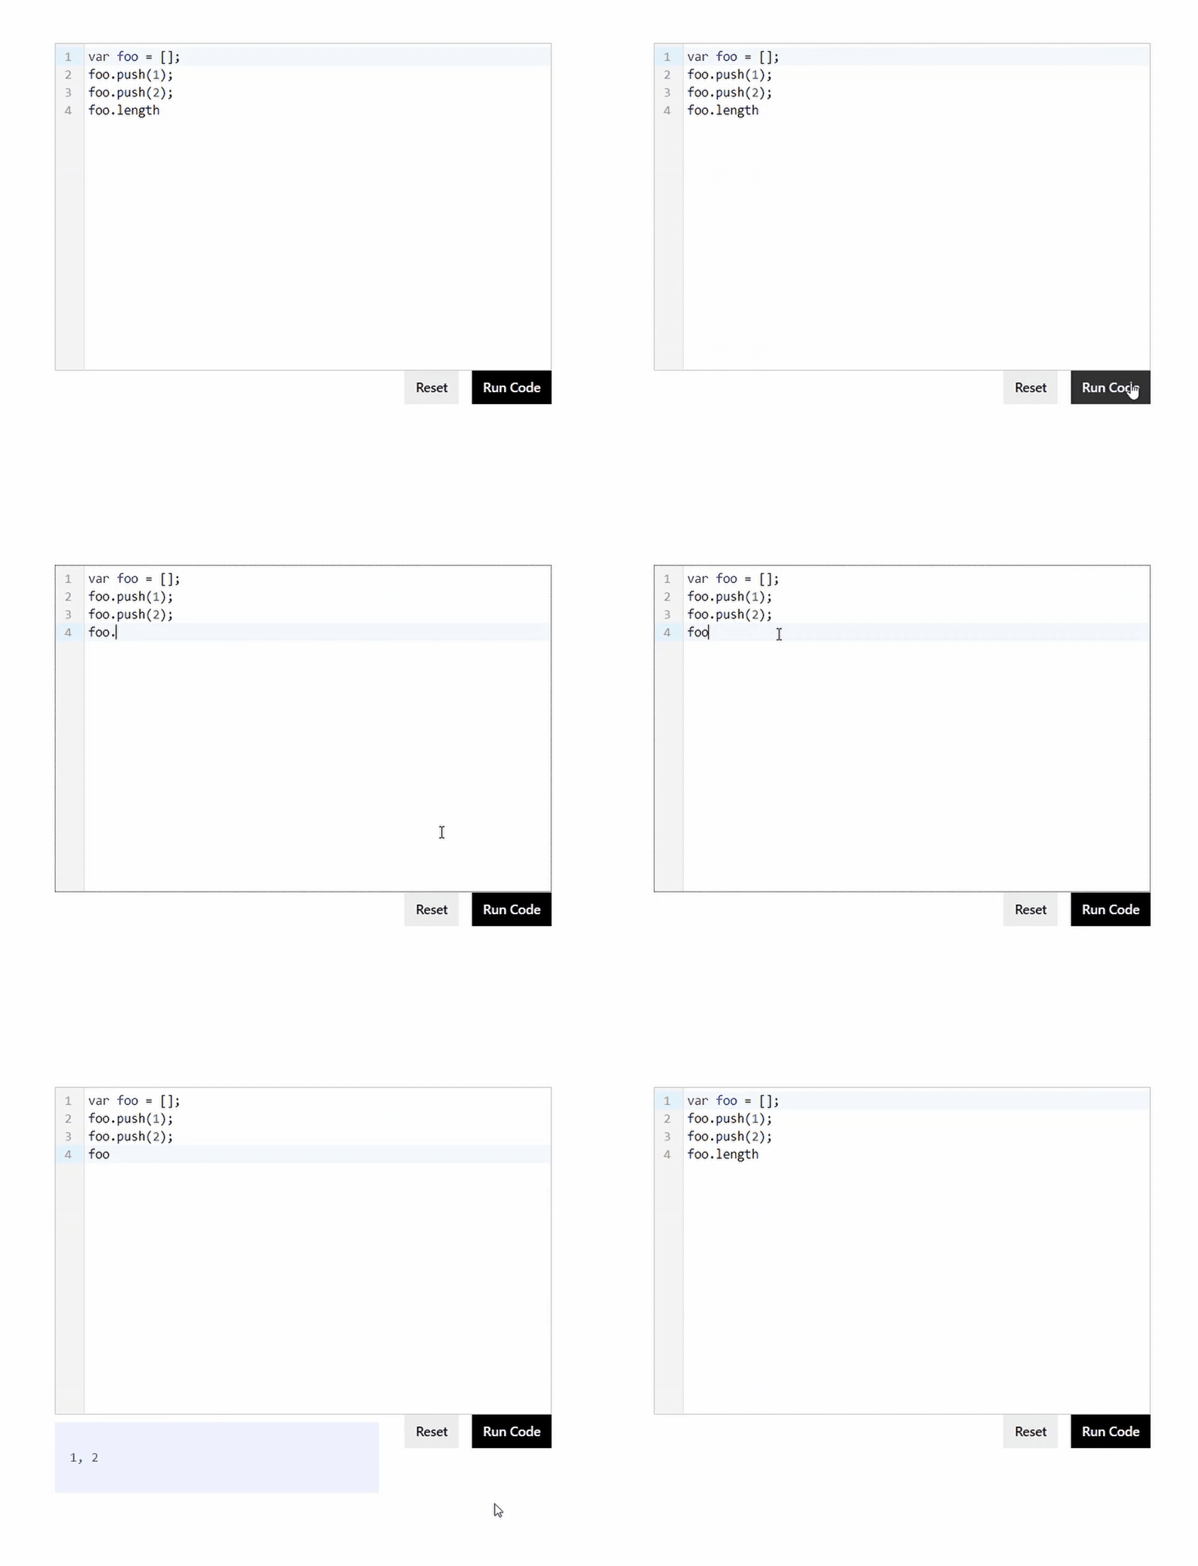
You can use this project with your JavaScript code tutorials and challenges. The repository includes sandboxed code editor for running your JavaScript code directly in the web application.
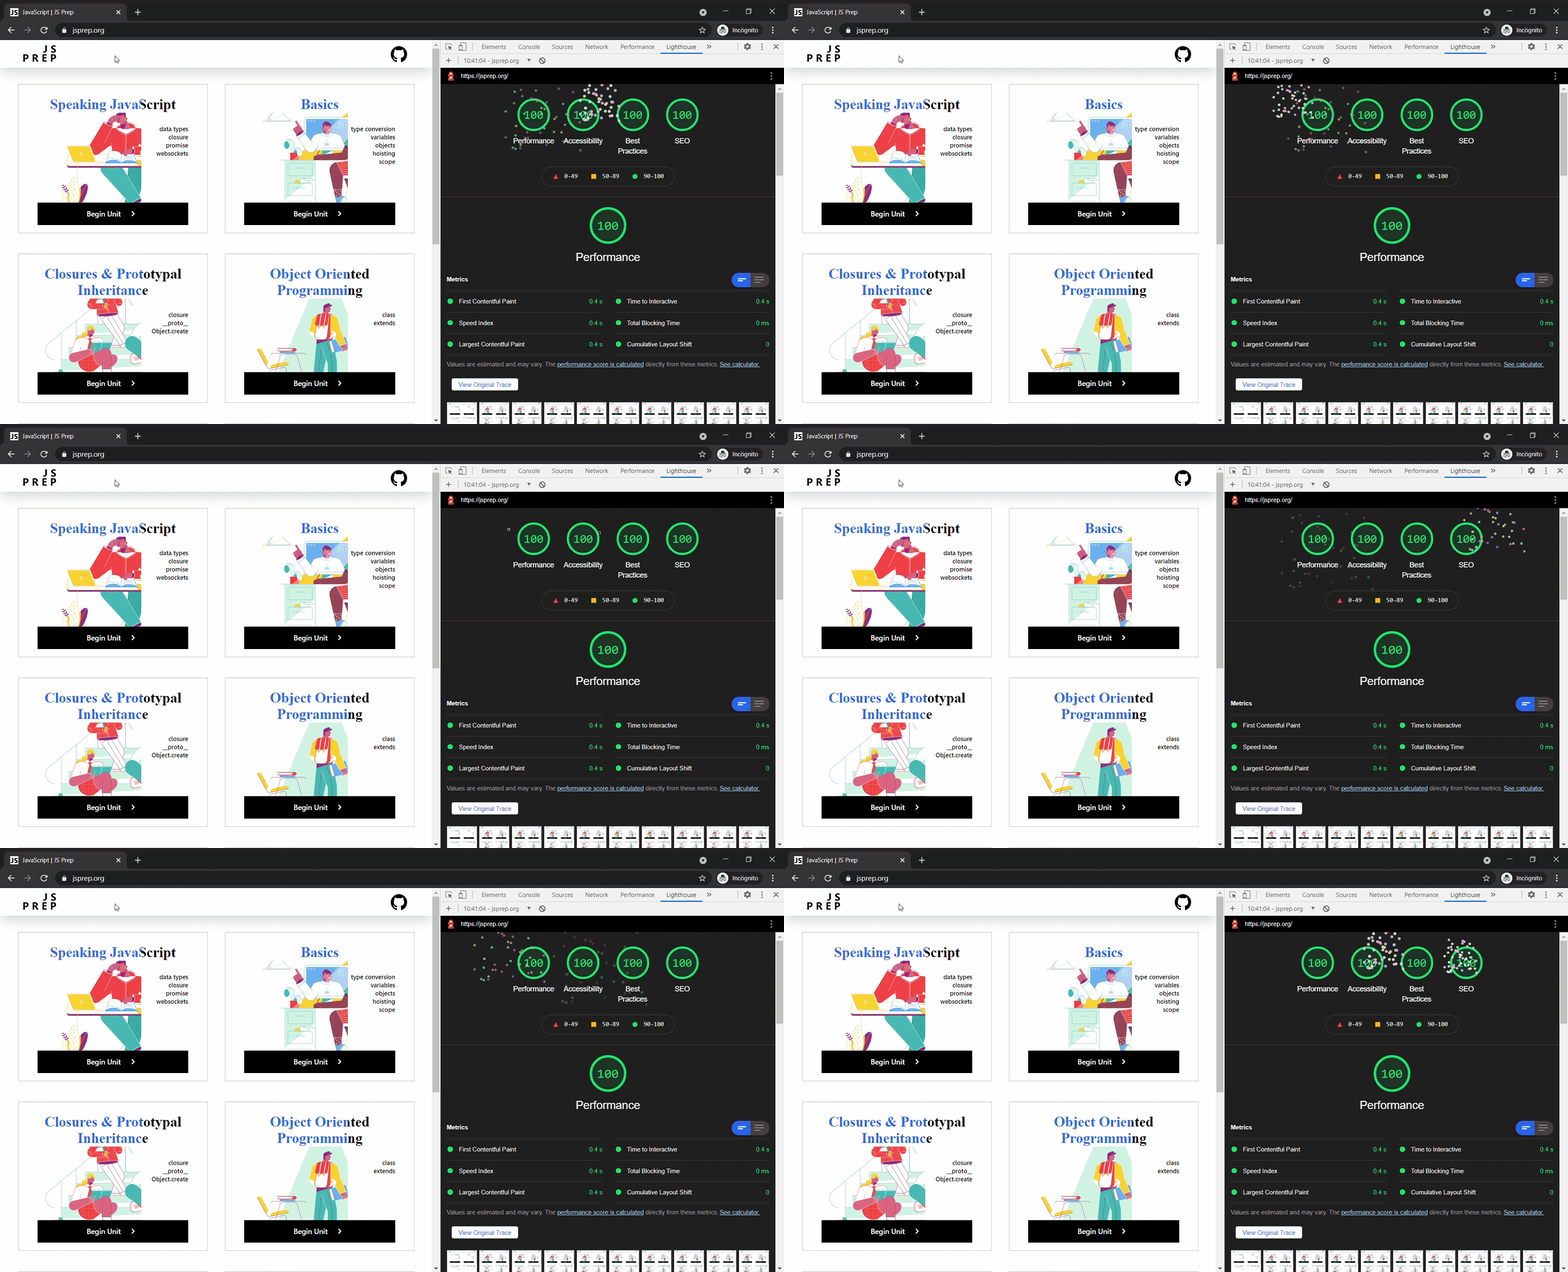
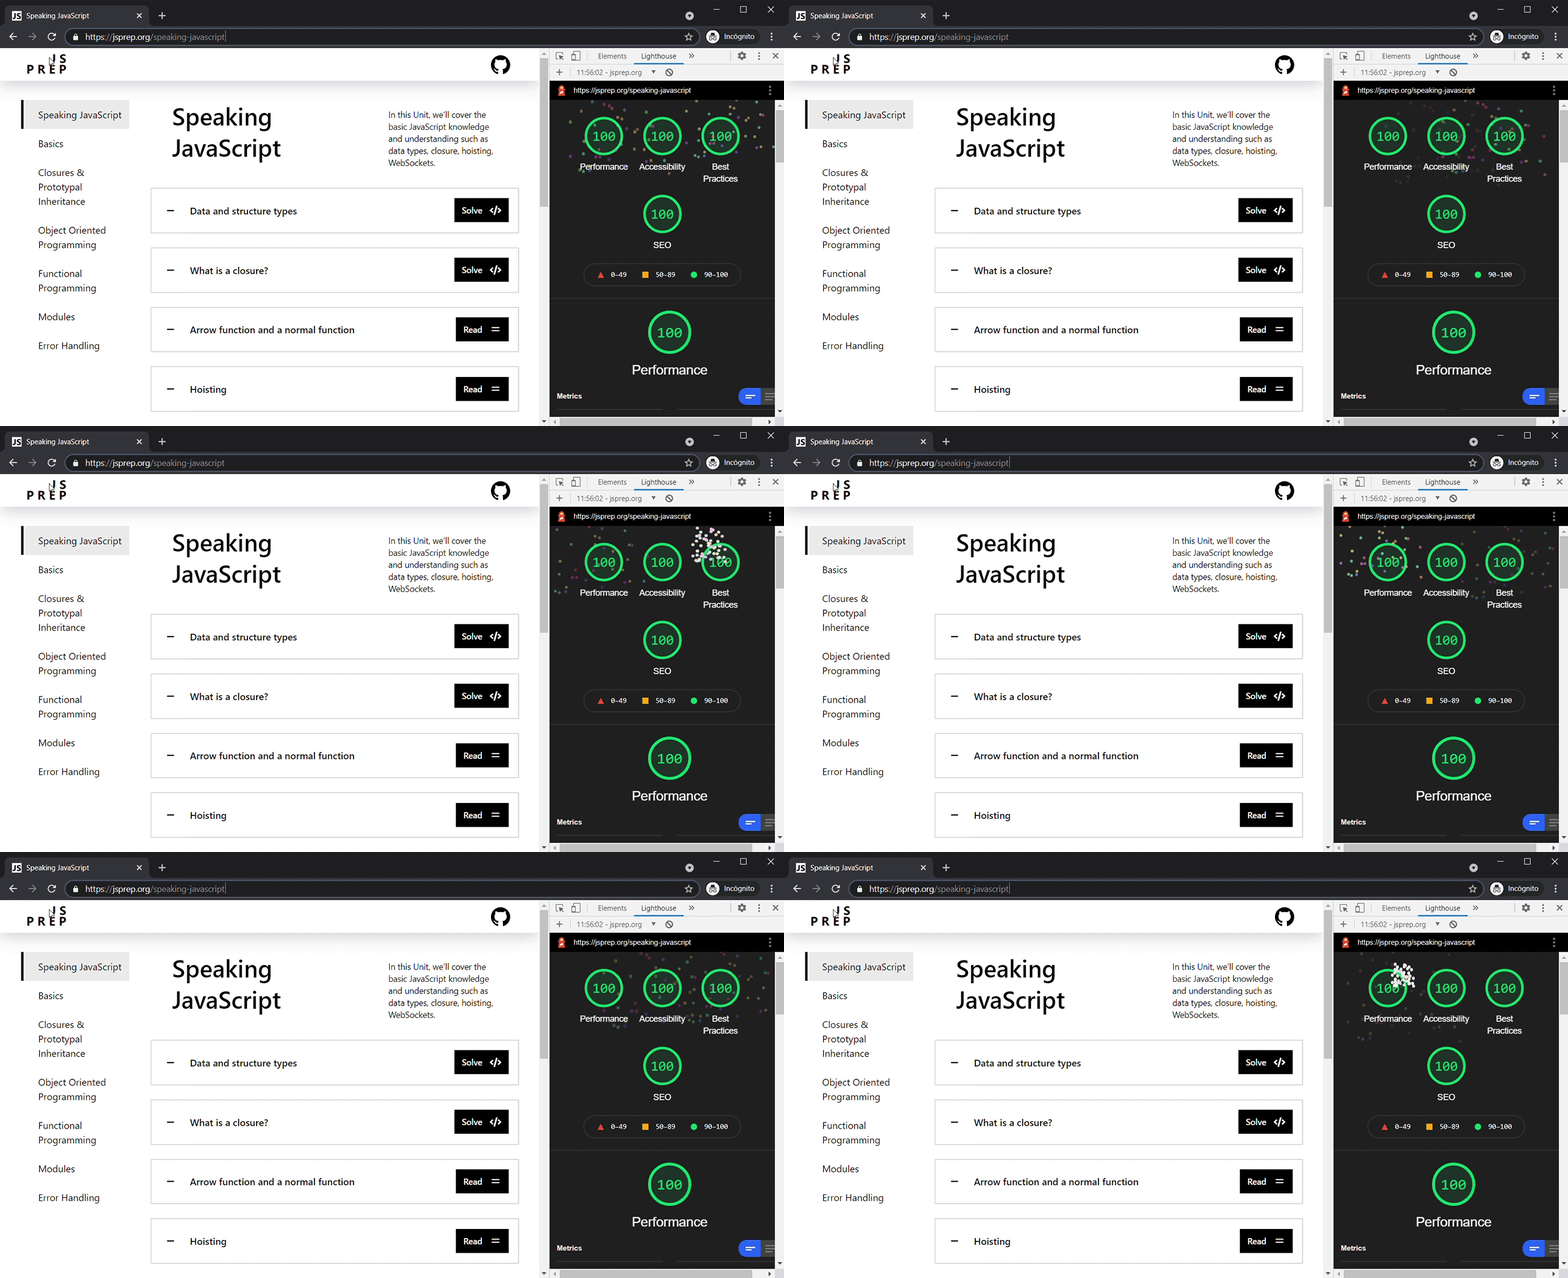
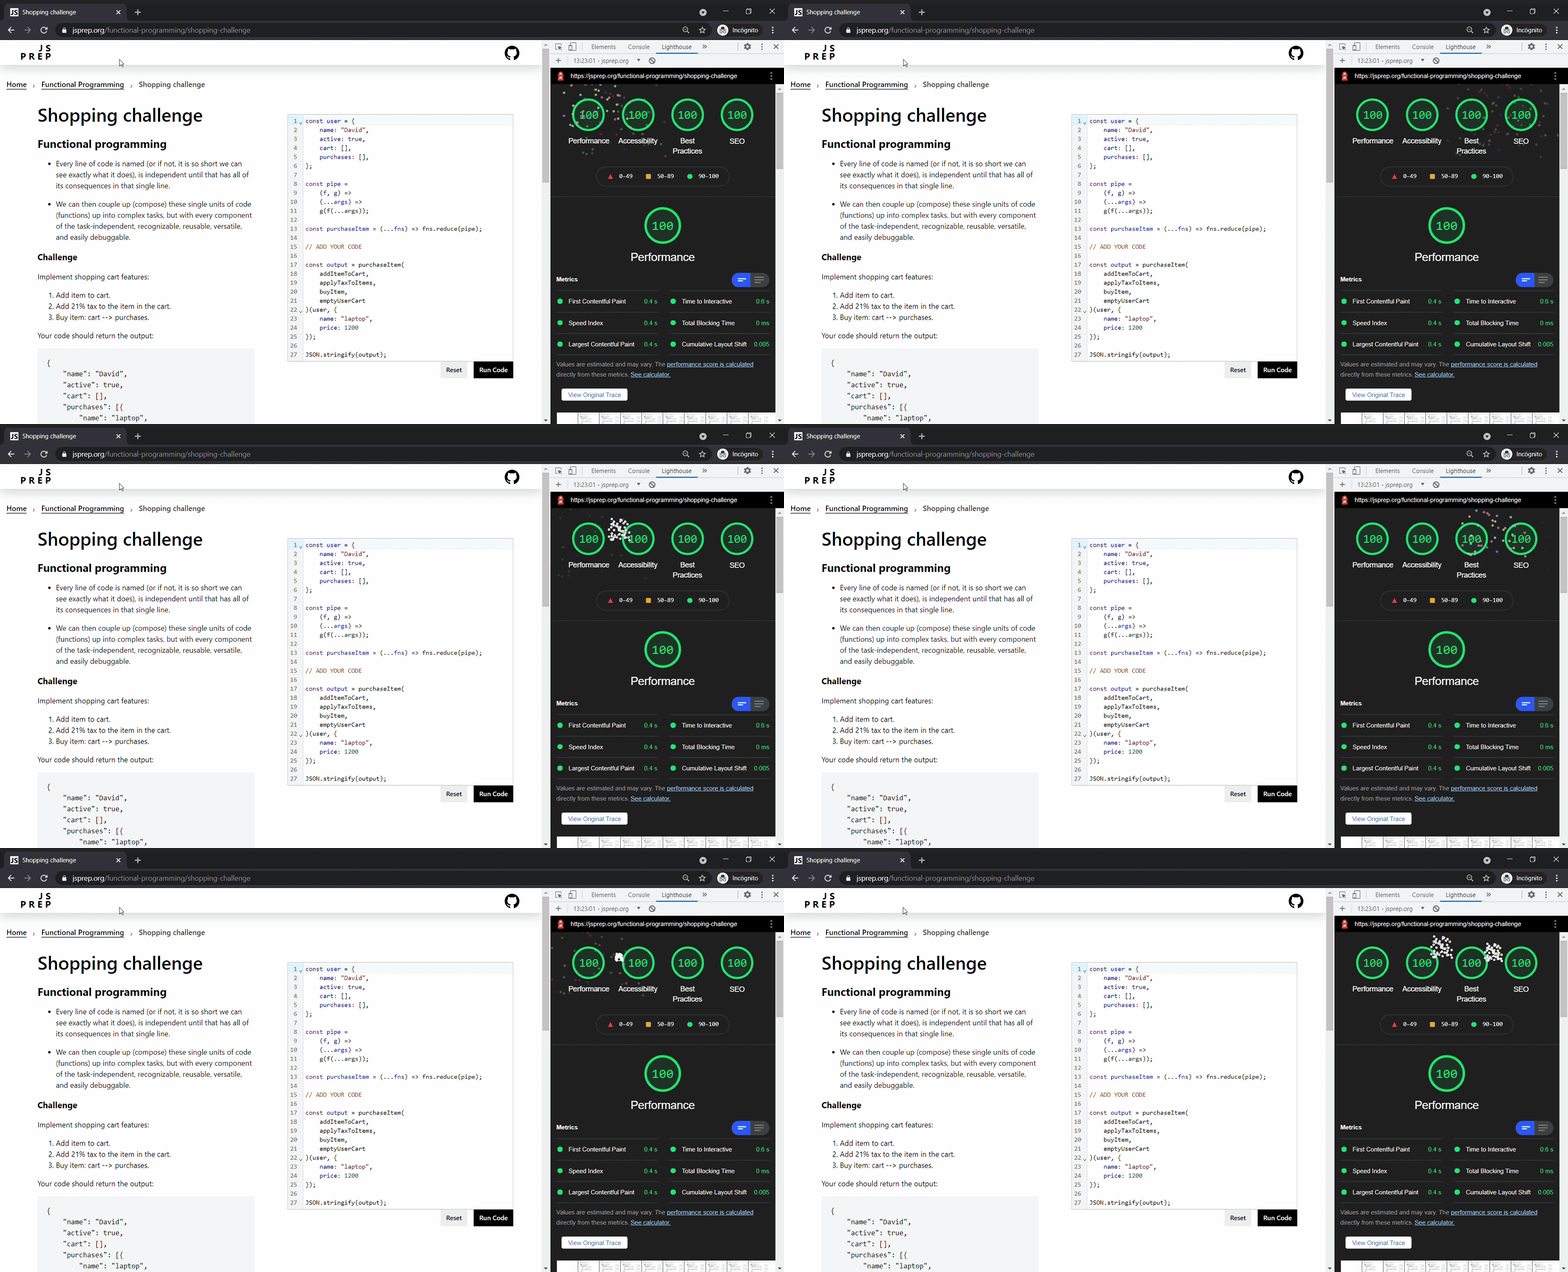
This project is optimized for the best performance and successfully passes Google's Rich Results Test and Lighthouse.
The web application uses React, GraphQL, backed by Django.
On the front-end, this project utilizes Apollo Client - JavaScript GraphQL client. Apollo Client takes care of the request cycle from start to finish, including tracking loading and error states.
On the back-end, this project uses Graphene - a Python library for building GraphQL APIs.
The client folder contains all necessary code for running React front-end application.
The server folder contains the back-end Django application.
First, you'll need to get the source of the project. Do this by cloning the whole JSPrep repository:
git clone git@github.com:olga-f/jsprep.org.git
Before running your front-end application, you will need to run a Server.
After, please go to the front-end source folder: /client
cd client
Install and validate your project by running the following command:
npm run setup
This project uses the Next.js framework that helps build web applications using React.js.
Check out why Next.js
This application use mostly static site generation with some client-side rendering using in both cases Apollo Client.
You can read more about data fetching in Next.js
The app includes:
- home page with a list of Units
- unit page with a list of Exercises
- exercise page
Depending on the category, the exercise page may include a javascript code editor.
JavaScript code runner used in code editor is isolated from the global JavaScript environment. None of the DOM APIs are exposed.
The code editor uses a dedicated web worker. That allows us to stop running some poorly written algorithms, for example, infinite loops. Another reason for using a web worker is performance. A web worker performs tasks in the background, preventing the UI from freezing up. Web worker browser support is good, starting from IE10.
This application use Base Web. Base Web is a design system for building websites in React. It is open-source.
The main benefits of the Base Web design system are:
- built-in accessibility
- performance
Styletron is the CSS-in-JS engine powering Base Web. That is one of the fastest solutions.
This project includes these forms of testing:
- Static Analysis: catch typos and type errors as you write the code.
ESLint statically analyzes your code to find problems. Prettier enforces a consistent code style. This project use TypeScript. By understanding JavaScript, TypeScript saves you time catching errors and providing fixes before run code.
- Unit: verify that individual, isolated parts work as expected.
- Integration: verify that several entities work together in harmony.
This application uses JavaScript Testing Framework - Jest with React Testing Library. Tests live in the tests folder, when is possible, next to the file they are testing.
Jest also collects code coverage information.
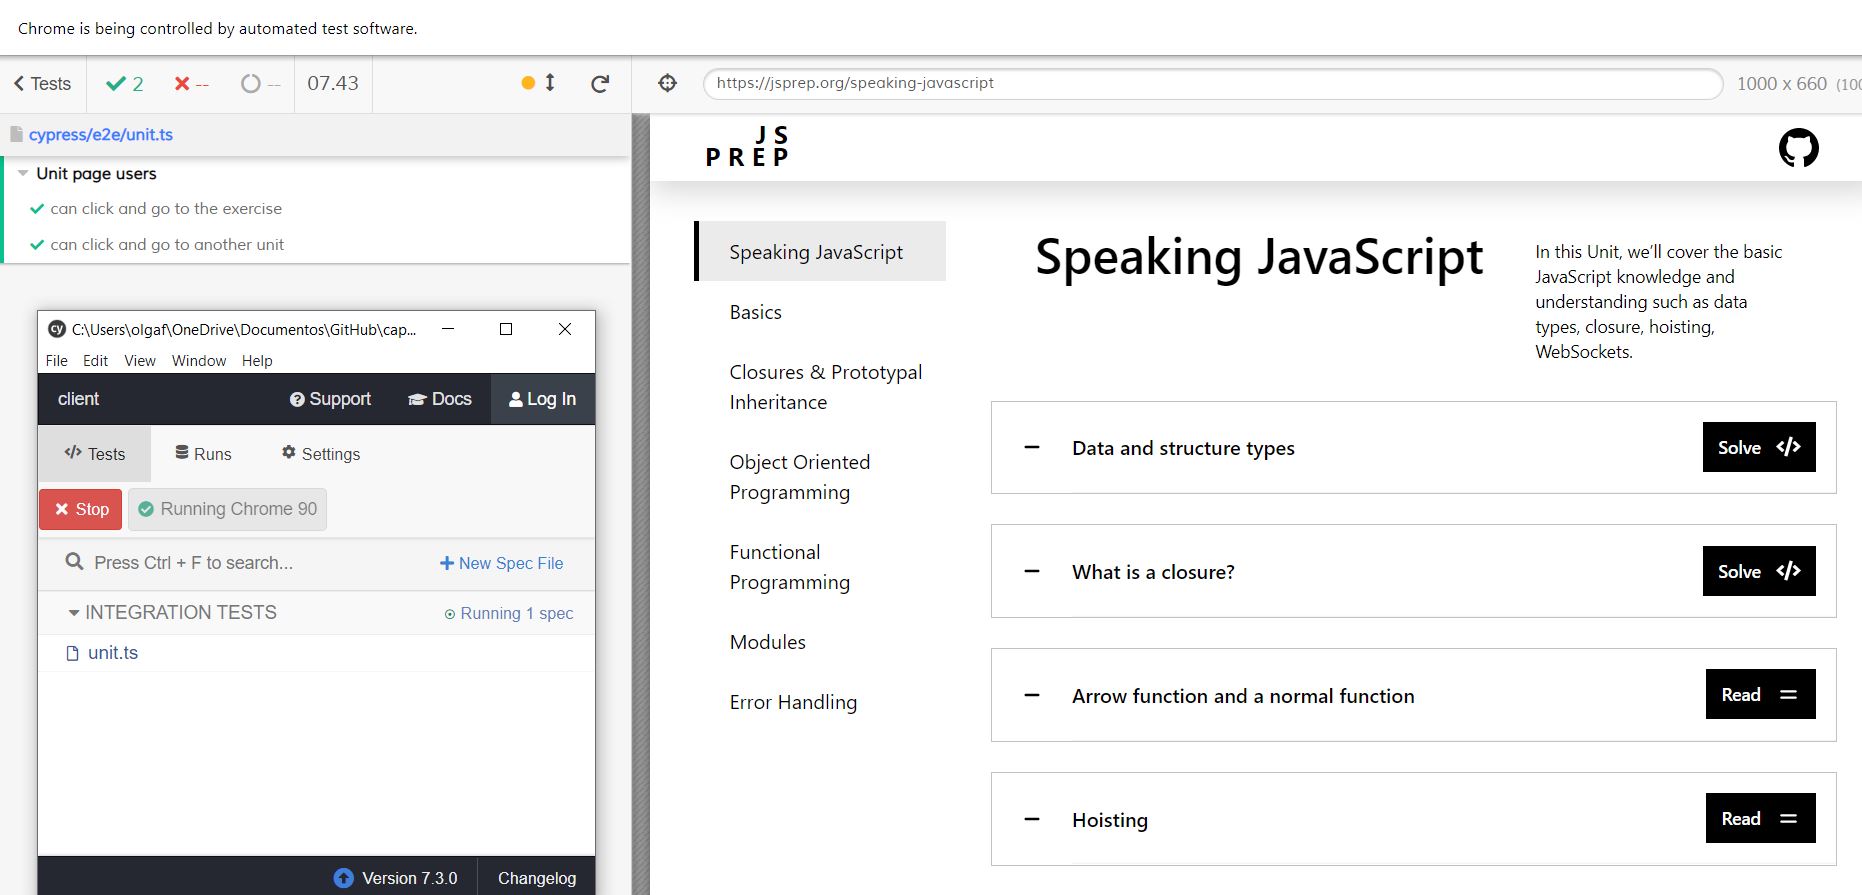
- End-to-end: a helper robot behaves like a user to click around the app and verify that it functions correctly, sometimes called "functional testing" or e2e.
These tests are written with cypress and Cypress Testing Library. End-to-end tests live in the cypress/e2e folder. Use npm run test:e2e:dev commands to open and add more tests if you want.
Note. Change your "baseUrl" in
cypress.jsontohttp://localhost:3000for local testing.
Please, use the following command to run static, unit, and integration tests:
npm run validate
After cloning the JSPrep repository:
git clone git@github.com:olga-f/jsprep.org.git
Go to the server project folder:
cd server
Then create a virtual environment in which you can install the dependencies:
python -m venv venv
Activate a virtual environment:
source venv/Scripts/activate
Now install the dependencies:
pip install -r requirements.txt
Set up a MongoDB connection and create a database
🔹 MongoDB Atlas offers Free Shared Clusters.
- Add
.envfile with your MongoDB credentials to theserverfolder.
SECRET_KEY=XXXXXXXXXXXXXXXXXXXXXXXXXXXXXXXXXXXXXXXXXXXX
DEBUG=True
_MONGODB_URI=mongodb+srv://XXXXXXXX:XXXXXXXXXXXXXXXXX@clusterXX.XXXXXX.mongodb.net/XXXXXX?retryWrites=true&w=majority
CLIENT_APP_URL=http://localhost:3000
ALLOWED_HOSTS=['*']
- Run the following command:
python manage.py migrate
- Start the server:
python manage.py runserver
Now head on over to http://127.0.0.1:8000/graphql and run some queries!
mutation($input: UnitInput!) {
  createUnit(unitData: $input) {
    unit {
      title
      about
      description
      imageUrl
    }
  }
}
with variables:
{
  "input": {
    "title": "JavaScript basics",
    "about": ["Variables","Data Types Overview","Strings", "Numbers", "Booleans"],
    "description": "An introduction to core JavaScript functionality",
    "imageUrl": "https://cdn.pixabay.com/photo/2019/10/03/12/12/javascript-4523100_960_720.jpg"
  }
}
Query all units from the database:
query {
  unitList {
    id
    title
    slug
    about
    description
    imageUrl
    position
  }
}
Create exercise:
mutation ($data: ExerciseInput!, $enum: ExerciseCategory) {
  createExercise (exerciseData: $data, categoryEnum: $enum) {
    exercise {
      name
      unit {
        id
      }
    }

  }
}
with variables:
{
  "data": {
    "unit": "6075689b18ef82cb8162f733", # <== write your unit id here
    "name": "Test Exercise"
  },
  "enum": "CHALLENGE"
}
For run tests, you need to:
- activate your virtual environment:
cd server
source venv/Scripts/activate
- run pytest:
pytest -v


