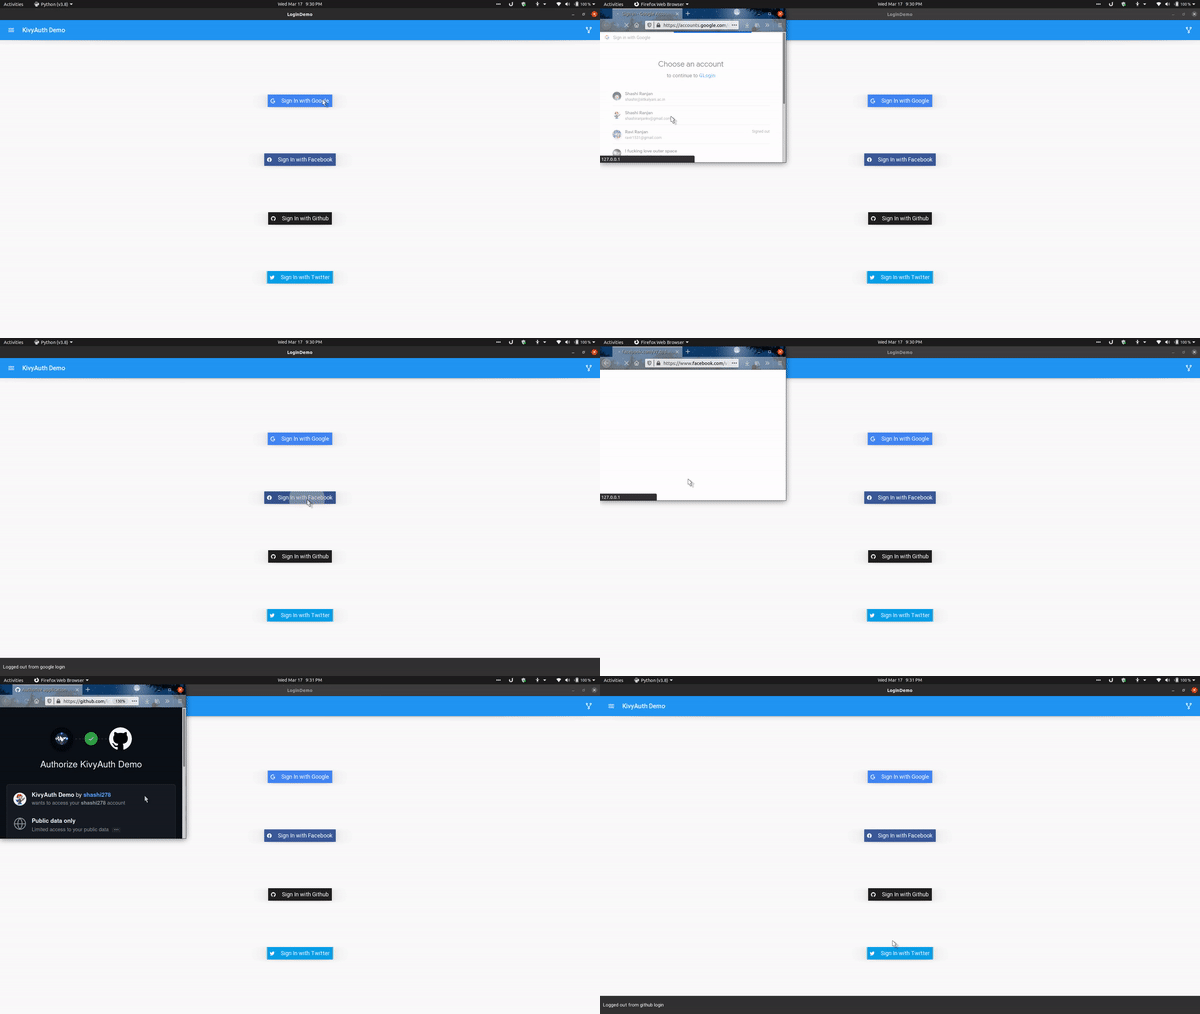
Run demo app on desktop:
- Make Sure you've created OAuth apps and have their CLIENT_ID and CLIENT_SECRET handy before running demo application
- Create an .env file in the app directory with below format:
GOOGLE_CLIENT_ID=<Your-client-id-from-google-cloud-console>
GOOGLE_CLIENT_SECRET=<Your-Client-Secret>

FACEBOOK_CLIENT_ID=<Your-Facebook-Client-id>
FACEBOOK_CLIENT_SECRET=<Your-Facebook-Client-secret>

GITHUB_CLIENT_ID=<Github-Client-id>
GITHUB_CLIENT_SECRET=<Github-Client-secret>
- pip install kivyauth==2.3.3
Make sure you go through the prerequisites for the login methods you're going to integrate in your application before moving further
The example below shows integrating google login. Similarly other login methods can also be used.
- Include necessary imports for google login
from kivyauth.google_auth import initialize_google, login_google, logout_google- Initialize google login inside your app's build method
def build(self):
  initialize_google(self.after_login, self.error_listener)
after_login is a function to be called upon successful login with name, email, and photo url of the user. So, create a success listener function which accepts three parameters and perform after-login stuffs(like updating UI, etc.). error_listener is called in case of any error and it doesn't accept any argument.
- You can also add auto-login( if the user is already logged in then directly move to after-login stuff) inside app's
on_startmethod as below(mention only login providers you are using in your app):
def on_start(self):

    if auto_login(login_providers.google):
        self.current_provider = login_providers.google
    elif auto_login(login_providers.facebook):
        self.current_provider = login_providers.facebook
    elif auto_login(login_providers.github):
        self.current_provider = login_providers.github
    elif auto_login(login_providers.twitter):
self.current_provider = login_providers.twitter-
Next, call
login_google()upon a button click to initiate login process. -
Similarly, to logout, call
logout_googleas
logout_google(self.after_logout)after_logout is a function to be called after user gets logged out. For example, to update UI.
- Make sure to include
kivyauthas a requirement in the buildozer.spec file
requirements = python3,kivy,kivyauth==2.3.3- Support iOS
- Fixed werkzeug server not shutting down
- Fixed crashing when user doesn't have a photo
- Kivyauth APIs are now platform-independent
- Desktop support for linux, win and possibly mac
- Desktop support added(in alpha)
- All android auths are inside
kivyauth.androidwhile those for desktops are insidekivyauth.desktop
- Added Auto-login feature
login_providersare now insidekivyauthrather thankivyauth.providers
- Individual login providers are moved into respective folders
- Fix problem of not being able to use individual login methods
- Now it's relatively easier to use the library
Contributing: Contributions are more than welcome. Looking for contributions in making it cross-platform(specifically for iOS) and better documentation.
Feel free to ping me or raise an issue if you want to talk about this project or Kivy in general.


