Skywire VPN Client
Note: the configuration & starting/stopping of the Skywire VPN client can also be performed using the Skywire HypervisorUI via the Apps page of the respective Visor.
Note: The VPN client currently requires root to work
assuming you have a running visor, the VPN interface can be opened in the default browser or a link to this interface can be printed with skywire-cli vpn subcommands

To list VPN servers:
skywire-cli vpn list
To start the VPN:
skywire-cli vpn start <pk>
To stop the VPN:
skywire-cli vpn stop
To open the VPN UI in the default browser:
skywire-cli vpn ui
To instead print the address of the vpn interface:
skywire-cli vpn url
example output:
http://127.0.0.1:8000/#/vpn/035b47c7cd9c8f1c1f69c4da63f3d57a64fd48f2c7fb1e320d30352316ac1f418c/


navigate to http://127.0.0.1:8000 in your browser.
Inside the Hypervisor UI, click on the Visor and access the Apps tab.

In order to browse for VPN servers available, click on the Gear icon next to the VPN client and select Search:


In order to select a remote VPN server, click on the public key and select Yes in the popup. Afterwards copy the public key you selected

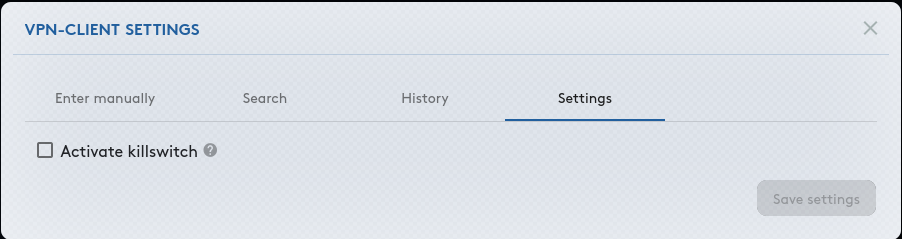
You can also enable the killswitch checkbox. The killswitch being enabled will prevent any traffic leaving your machine other than through
an encrypted VPN connection.
Afterwards, return to the Routing tab and establish a transport to the remote you selected as VPN server:


Note: The stcpr and sudph transport types will have the best performance. Try to establish these transport types first. If these are not available (red circle appears next to the transport) establish a dmsg transport.
After establishing a transport to the remote, return to the App tab and click the Start button next to the VPN client:

If the connection was established successfully, the circle next to the vpn-client will turn green. If the connection is setup and live, the up- and download windows in the bottom right corner will show constant increases in data sent and received.
Note: After starting the VPN client successfully, all the network traffic will be routed through the VPN connection until the connection is shutdown.
You can close the Skywire VPN by clicking the stop button:

After installing Skywire, open up skywire-config.json with your prefered editor. Insert the public key of the VPN server into the vpn-server field in the following way:
	{
				"name": "vpn-client",
				"args": ["-srv","02f9c5ebd8e480d33b0de67555089bcd85cc1d70c70a17fa5827159c0fcf0a755c"],
				"auto_start": false,
				"port": 43
			}
In order to obtain a list of available VPN servers, you can use the following link:
https://sd.skycoin.com/api/services?type=vpn
Continue by starting the Skywire visor with root / sudo permissions if it is not already running
sudo skywire-visor
Enter your password if prompted. Afterwards, replace the values below with the remote public key you selected:
skywire-cli visor tp add 02f9c5ebd8e480d33b0de67555089bcd85cc1d70c70a17fa5827159c0fcf0a755c --type stcpr
Note: The stcpr and sudph transports are the most performant. It is recommended to try to setup these transports first. If these are not available, setup a dmsg transport.
After you setup the transport, start the VPN by running:
skywire-cli visor app start vpn-client
In order to stop the VPN, run:
skywire-cli visor app stop vpn-client