Repository navigation
Installation Guide
The default is Nextcloud 35. Select your applications and review the plan before installing.
Stable v1.0.1: get the installer from the release page.
Prefer a file? Use a JSON recipe.
- Requires FreeBSD 15 or later (amd64).
- Use a healthy ZFS pool; run as root outside a jail.
- Complete host preparation, including PF and bridge settings.
- Give the host a fixed IPv4 address and prepare a public HTTPS hostname.
- Allow enough storage and memory; 16 GiB RAM or more is recommended for defaults.
- Euro-Office and CODE require working bhyve hardware or nested virtualization.
- Keep console recovery access and a second independent SSH connection available.
- Use the original retained installer for existing installations; no migration is provided.
Tested on FreeBSD 15.1-RELEASE, 15.2-STABLE and 16-CURRENT.
New deployments accept FreeBSD 15+ RELEASE, STABLE and CURRENT versions. Use a maintained RELEASE for production.
A clean or dedicated FreeBSD host is not required. Install alongside existing jails on a suitably configured host; see host preparation for networking, PF and resource-conflict requirements. The installer creates new deployments; it does not adopt or upgrade existing Nextcloud installations.
The public WAN address may be static or dynamic. There is one hostname-based flow, without a WAN-IP prompt. You manage DNS, router/proxy forwarding and future address changes; the host and private service addresses stay static.
Behind a router, forward to the FreeBSD host's assigned LAN/ingress IPv4, not private jail or VM addresses. With a public host address, permit the corresponding traffic in upstream firewalls. The installer does not configure those devices. These are defaults: use the ports in your reviewed plan for every instance.
| Service | Protocol | Public → host port |
|---|---|---|
| Nextcloud and office web access | TCP | 443 → 443 |
| ACME issuance and renewal | TCP | 80 → 80 |
| Optional HTTP redirect with supplied certificates | TCP | 80 → 80 |
With custom ports, map public_https_port to https_port. ACME always requires
public TCP 80, mapped to http_port; keep it open for renewal. Supplied
certificates do not require public HTTP. Web access needs no UDP 443 forward.
At the endpoint named by the Talk media hostname, forward the following to the FreeBSD host. Keep the same port numbers on both sides and include each full range.
| Service | Protocol | Public → host ports |
|---|---|---|
| TURN listener | TCP and UDP | 3478 → 3478 |
| Talk media | UDP | 20000–20999 → 20000–20999 |
| TURN relay | UDP | 30000–30999 → 30000–30999 |
These are needed even with an external HTTPS proxy: that proxy does not carry TURN or media/relay UDP. HTTPS alone is insufficient for Talk calls.
Public HTTPS reaches your proxy, which forwards to the host's HTTP backend
over a trusted private LAN or VPN. examples/external-proxy.json uses TCP 8080.
Restrict it to narrow proxy_networks; never expose this backend to the Internet.
Configure HTTPS, forwarded headers and WebSocket support on the proxy.
Supply proxy_callback_address: a private/VPN IPv4 by which managed services reach
the HTTPS frontend. It need not appear in public DNS. Set proxy_networks separately
to the trusted source CIDRs seen by the HTTP backend. Talk media still reaches the host.
Prefer LAN/VPN access. Outside access, if needed, must be restricted to management sources at the router/firewall and in the selected management CIDR.
| Destination | Protocol | Default public → host port |
|---|---|---|
| Existing host SSH | TCP | 22 → 22, or your existing management port |
| Optional Nextcloud jail SSH | TCP | 2201 → 2201 |
| Optional native ONLYOFFICE jail SSH | TCP | 2202 → 2202 |
Jail SSH forwards internally to port 22. There is no Talk-jail or office-VM SSH forward. Use the host's management path for KEEP checks.
Do not expose office backends (8081 or CODE's 9980), databases, Redis, Client Push or Talk control services. Browser office access, Push and signaling use HTTPS.
From the reviewed installer directory, run as root:
sh install.sh installMissing pkg/Python prerequisites need your consent. Bastille installation follows deployment approval. Keep the installer directory for Resume and removal.
Use arrows, Tab, Space and Enter. Continue saves a section, not permission to
install. At Review, choose Edit a section to correct settings. For native dialogs
use at least 80 columns × 24 rows, or run sh install.sh --plain install.
| Choice | Services per instance |
|---|---|
| ONLYOFFICE — default | Separate Nextcloud and native ONLYOFFICE jails |
| Euro-Office | Nextcloud jail plus a dedicated Alpine/bhyve/Docker office VM |
| Collabora CODE | Nextcloud jail plus a dedicated Alpine/bhyve/Docker office VM |
| Nextcloud only | Nextcloud jail; no office server or connector |

Office servers are not shared across instances; installed backends cannot be switched. Client Push is always included. The default app selection includes Calendar, Contacts, Deck, Antivirus, Mail, Notes, Talk and Tasks.
Talk adds a separate native HPB/TURN jail. Antivirus needs extra memory and logs detections without blocking or deleting files. Choose Nextcloud Mail (default) or SnappyMail and configure accounts afterward; neither installs a mail server or notification SMTP.
External files is off by default. Enable it to connect existing SFTP or HTTP/HTTPS storage, then set up connections in Nextcloud after installation. See external storage and custom firewall rules for setup and allowed ports.
ONLYOFFICE defaults to comprehensive fonts and nine optional plugins. Microsoft webfonts require licence consent with either font profile. Custom fonts need suitable rights; some plugins need separate accounts or API keys.
Enter the public hostname and administrator details. Instance names are 1–8 lowercase letters/digits, starting with a letter. Jail hostnames can be set separately.
In Identity and software, choose Country / default phone region, then the first letter of your country's name and the country itself. For example, S → South Africa (ZA) lets Nextcloud accept profile phone numbers without the international prefix. Not set leaves this optional setting empty and Nextcloud's default-phone-region notice will remain.
Choose Timezone, then a region and location—for example,
Africa → Johannesburg (Africa/Johannesburg). Other choices include
Europe/London, America/New_York, Asia/Kolkata and UTC. Country and timezone
are independent. Defaults are Not set for country and UTC for timezone.
Both lists are included in the installer; selection needs no download. The timezone also sets Nextcloud's fallback when a user's timezone is unknown.


FreeBSD-ports latest is the default; quarterly is an explicit alternative.
Signed pkg install may update pkg itself and required installed dependencies.
Nextcloud defaults to the newest stable release in major 35; PHP 8.5 and
MariaDB 12.3 are editable defaults. Apache24 stays fixed.
Under Advanced software settings, edit Nextcloud, PHP and MariaDB on one form:
-
Nextcloud: a numeric family such as
36or36.0selects the newest stable release within that family;36.0.1requests that exact stable release. -
PHP:
8.6selectsphp86and matching modules. -
MariaDB:
11.4selectsmariadb114-serverandmariadb114-client.
These examples show the input format. Untested choices show a warning before APPLY, but you can still try them. Installation may fail if the software is unavailable or incompatible; the installer does not substitute other versions.
resources/tested-versions.json records individual versions and optional tested
combinations separately. Individually tested selections receive an INFO note when
their exact combination is unrecorded. See software versions
for selection details and how to edit the list for new installations.
Choose an existing ZFS pool and leave room for growth and snapshots. No installer quotas is the default; optional quotas limit individual storage areas. For office VMs, virtual disk size and its containing dataset quota are separate limits; either can stop writes when full.
Review the host interface, assigned ingress IPv4, DNS resolver, management CIDR, private service networks and bridges. These are not public-WAN-IP settings. Avoid conflicts with running and stopped resources. Keep your SSH source within the management network; service traffic is routed through host PF.
- ACME — first-instance default: hostname, listener ports and account email; accept the Let's Encrypt terms.
- Supplied certificates: absolute paths to the chain, protected key and optional CA bundle. Keep these files for Resume.
- External proxy: public HTTPS identity, explicit private callback IPv4 and narrow trusted proxy networks, with private HTTP transport and WebSockets.
For Talk, choose talk_media_hostname, normally the web hostname. Use a different
name when the HTTPS proxy is not the media endpoint. Installation resolves it once
for numeric Janus/coturn settings; TURN advertises the hostname. Later WAN/DNS
changes are your responsibility. No automatic refresh is installed.
Jail SSH is off by default. Enabling it requires a public key, username and reviewed
ports; access is key-only and management-restricted. doas root administration
requires separate approval. This does not enable Talk-jail or office-VM SSH.
Review host and service memory, plus VM CPUs/disk where applicable. Reduce selections or provide more resources if the proposed total is too high.
Check hostname, software, storage, networking, HTTPS, Talk forwarding and budgets. Open View complete plan, or Edit a section. Accept configuration saves the choices; host checks, credentials and final installation approval still follow.
After host checks, enter an administrator password or leave it blank to generate one. The installer creates the private credentials file automatically.
Read the software summary and package-update disclosure. Choose APPLY; Cancel
is focused by default. Plain mode requires exact typed APPLY.

To configure without installing, use sh install.sh configure. It still checks the
host and saves private settings/credentials; continue with its displayed Resume command.
When prompted, open a new independent SSH connection, confirm management access
and type exact KEEP in the waiting installer before the deadline. An existing
connection is not enough. Repeat for each request. If access fails, do not confirm:
let rollback finish and follow its recovery instructions.

Open the displayed HTTPS address. Read credentials privately from
/var/db/cloud-installer/instances/INSTANCE/secrets.json.
Replace INSTANCE with your instance name:
sh install.sh status INSTANCE
sh install.sh verify INSTANCE
sh install.sh add-user INSTANCE
Verify does not install, resume or upgrade. add-user creates a non-administrator.
Check login, file transfer, office edit/save and selected Talk calls on your network.
Configure mail accounts and notification email separately, and test your backups.
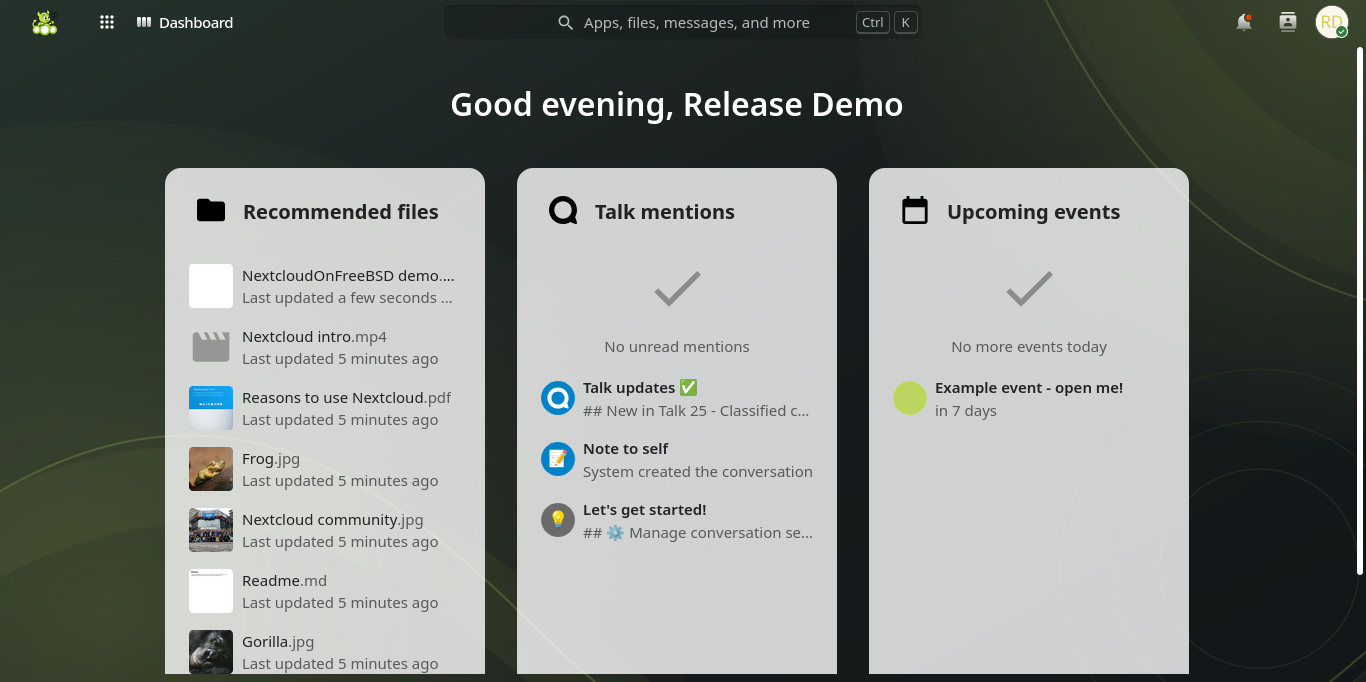
Your Nextcloud dashboard; users can choose their own appearance.
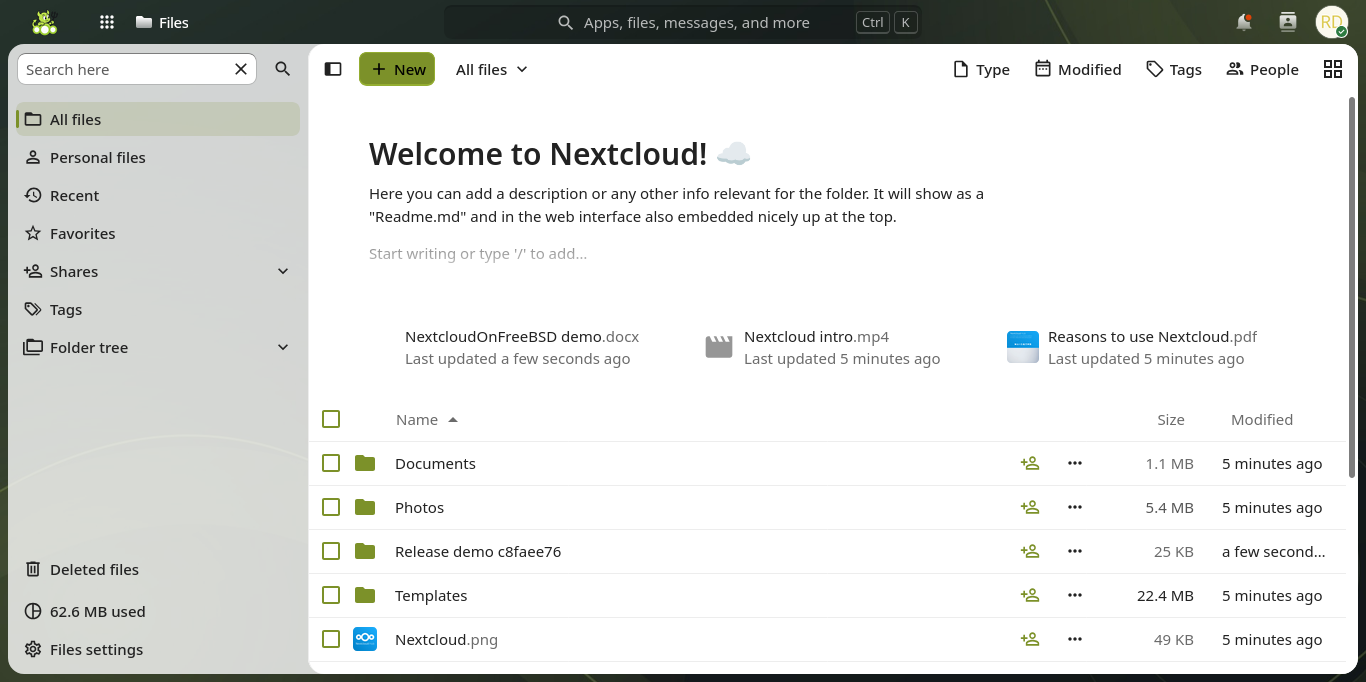
Browse and manage files in Nextcloud.
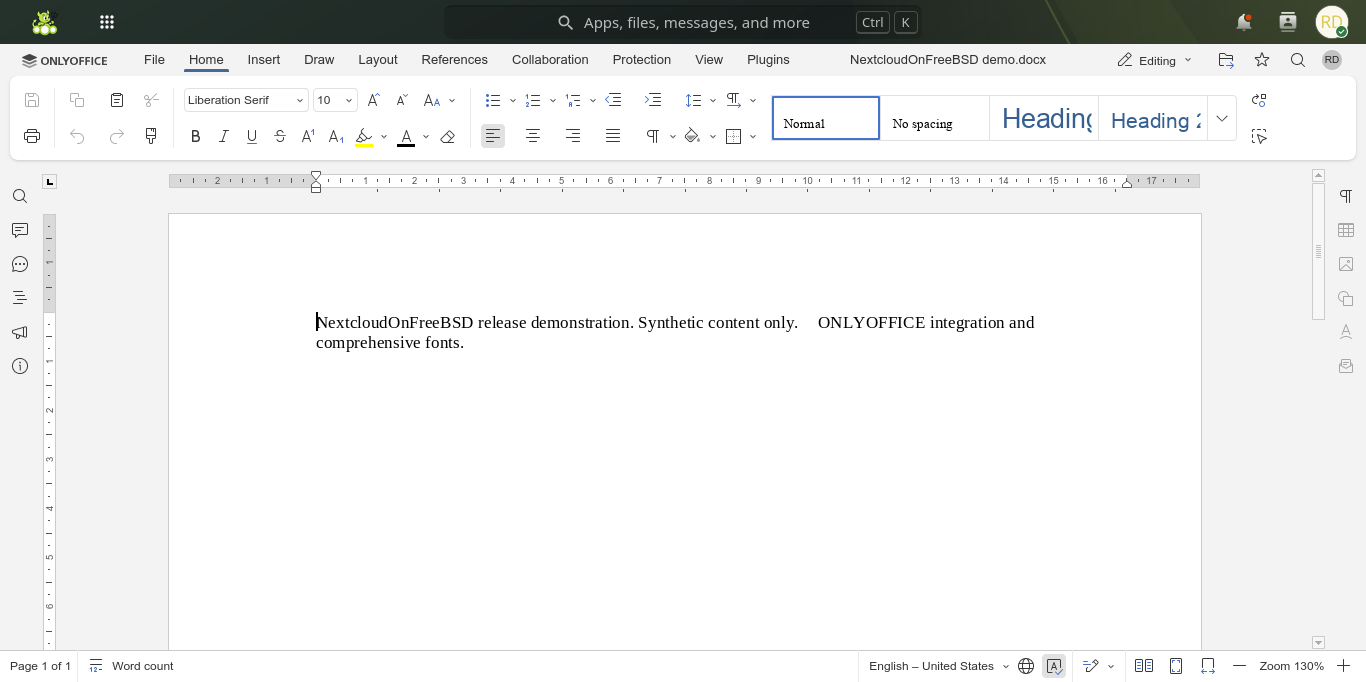
An ONLYOFFICE document reopened after saving, with Liberation Serif selected.
Read the recovery message before retrying. From the original installer:
sh install.sh status INSTANCE
sh install.sh resume INSTANCE
Keep saved settings, credentials and referenced files unchanged. Follow any
recover-network instructions first; do not edit saved state to force a retry.
Resume continues unfinished setup. It reuses the prepared Talk address;
Verify does not refresh services or firewall rules after a WAN change.
The installer's backup/restore commands and upgrade assistant are unavailable for new installations. Manage updates and maintain your own backups. For removal, follow Uninstall an instance.