Connecting to the Load Balancer
You can log in to Photon Controller by connecting to the load balancer. First, find the load balancer's IP address by running the following commands with the Photon command-line utility on your workstation:
photon deployment show
Connect to the IP address of the load balancer by appending Port 443:
photon target set https://<production_system_ip>:443
And then you can log in by using an account that you created in the Lightwave directory. Lightwave authenticates the user. Here's an example with a user named pc-admin:
photon target login --username pc-admin@example --password 'Your$ecret1!'
After you log in, check the system's status:
photon system status
Overall status: READY
Component          Status
PHOTON_CONTROLLER  READY
As the status says, you're now ready to work with the system by creating tenants, quotas, and projects.
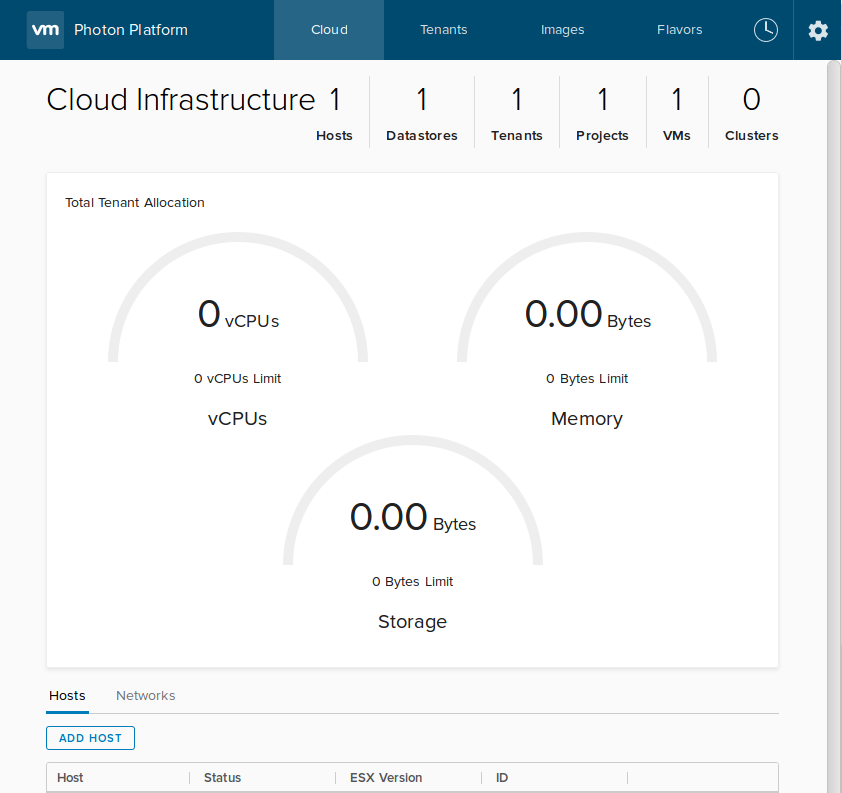
You can also log into the web interface to view a range of information:
https://<ip-address-of-load-balancer>:4343
Here's what the web interface looks like after Photon Controller was installed but no resources have been created: