- Go to the Adoptium JDK website and download JDK 8 msi installer for Windows.

- Install the JDK with the configuration shown in the below image.

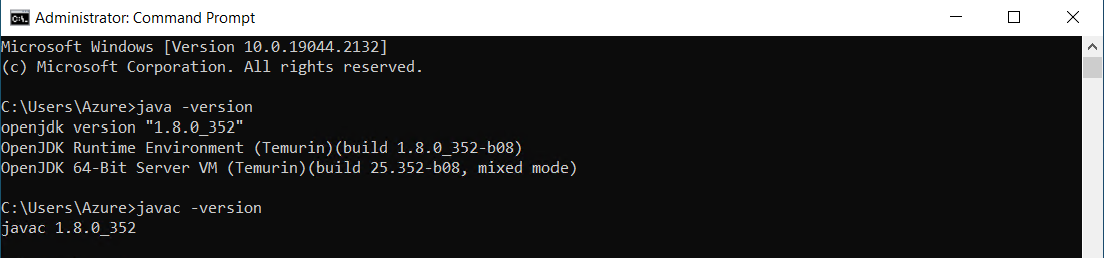
- Now open a new window of Command Prompt and run the command "java -version" and followed by "javac -version". If there are no errors in the output, and the version number is being shown in the output, then Java installation is successful.
- Go to the Apache Maven website and download the Binary Zip Archive of Apache Maven.

- Extract the compressed folder and copy the path upto the "bin" folder.

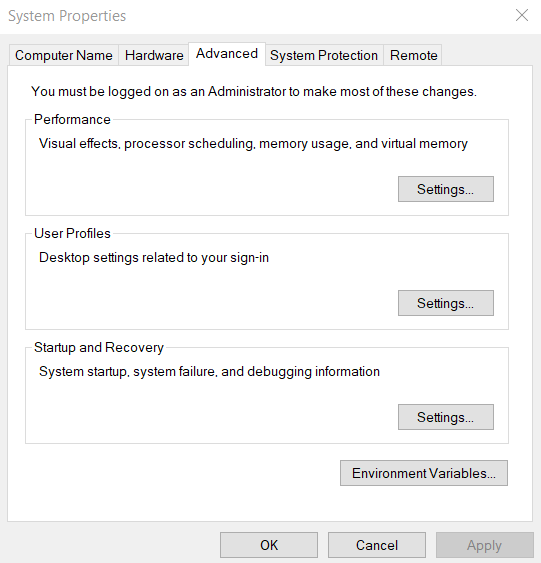
- Now go to "Start" and search for "Edit the environment variables" and click on "Environment Variables".
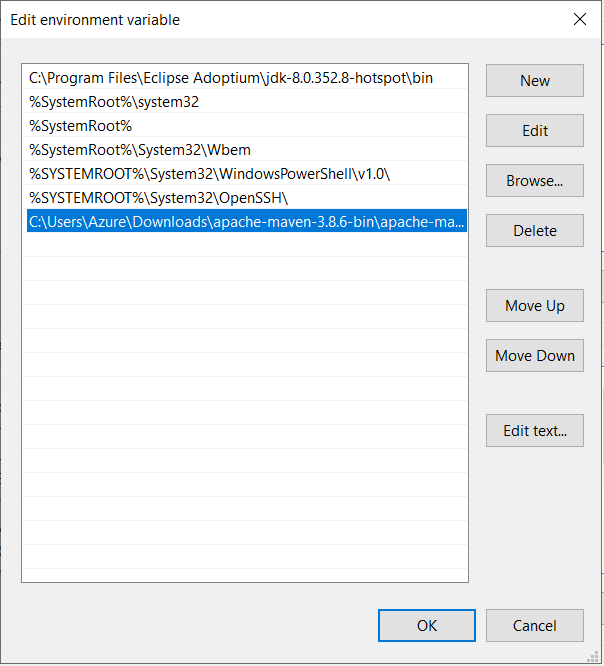
- Now, under "System variables", click on "Path" followed by "Edit". Now, click "New", and paste the path that was copied. Click "Ok" and close.
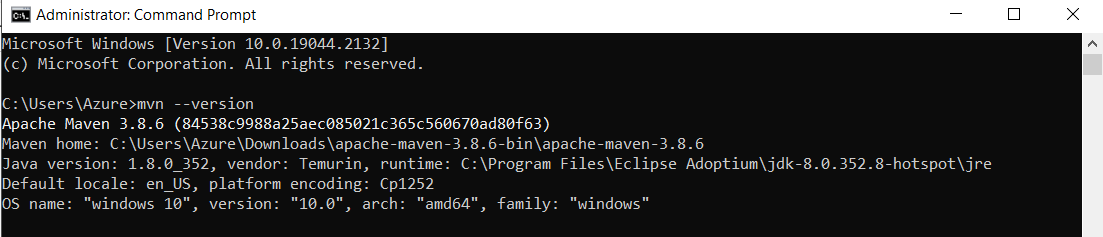
- Now open a new window of Command Prompt and run the command "mvn --version". If there are no errors in the output, and the version number is being shown in the output, then Maven installation is successful.
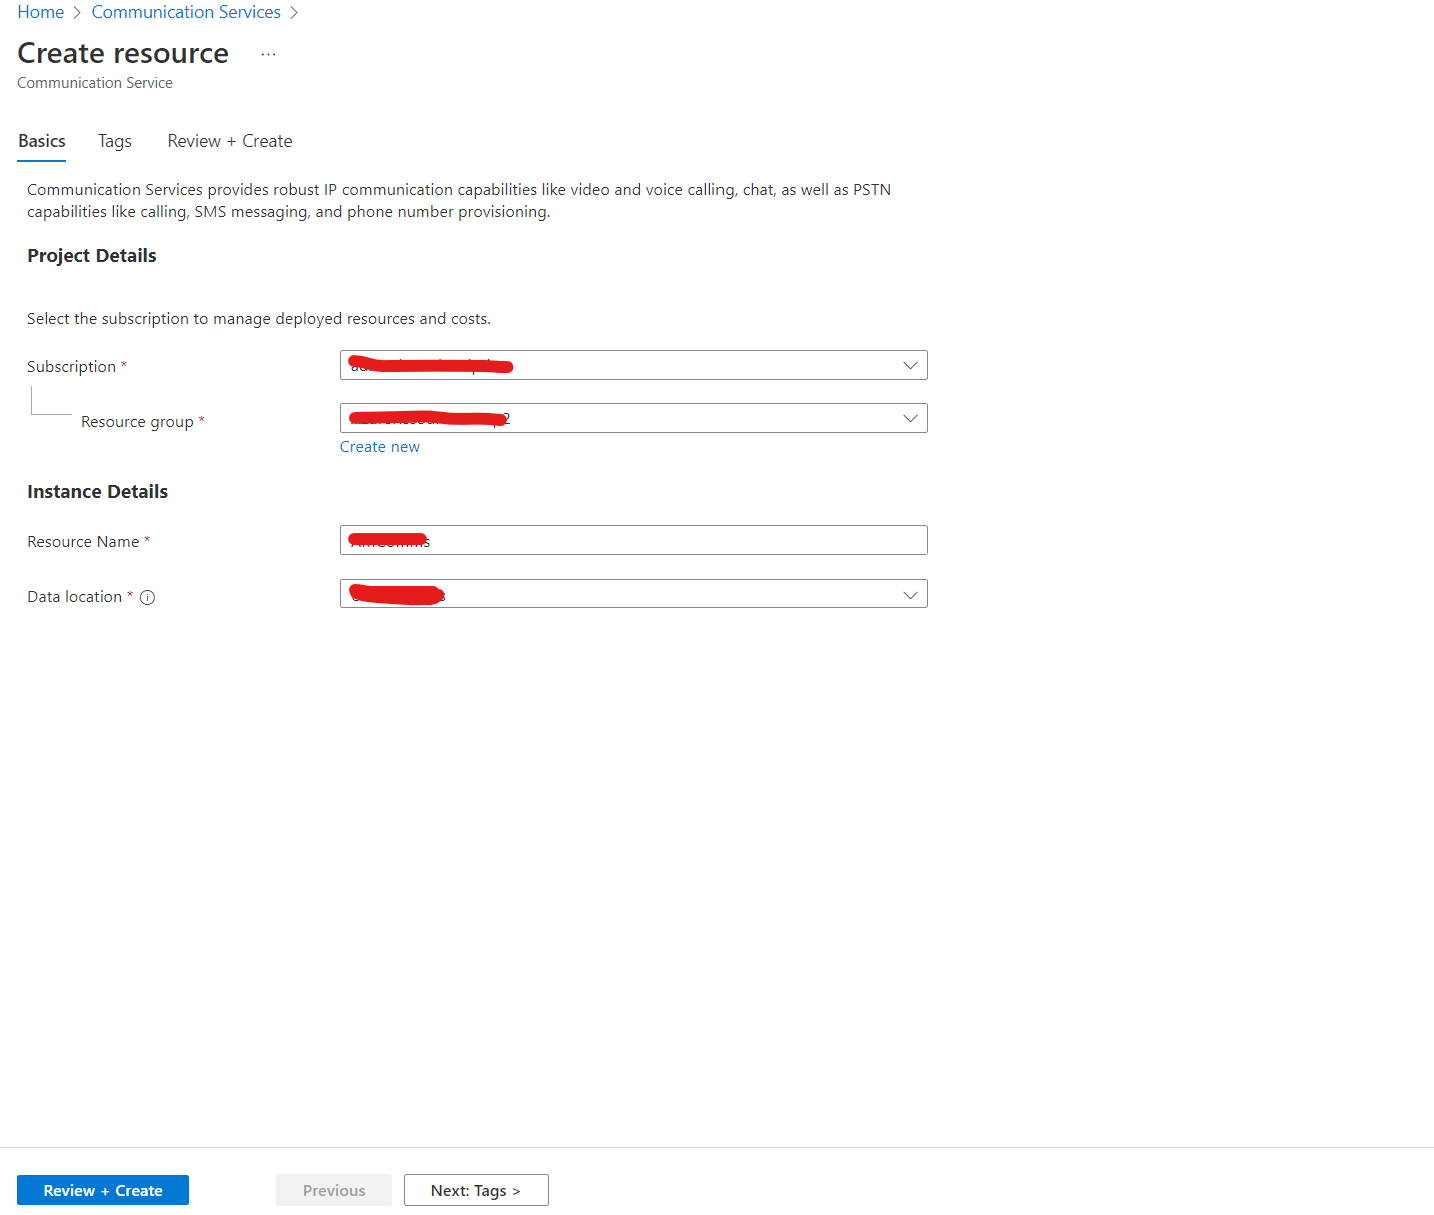
- Go to Azure Portal and search for "Communication Services" and select it.

- Click on "Create", select the "Subscription", "Resource Group", "Resource Name" and the "Data Location", then click "Review + Create".
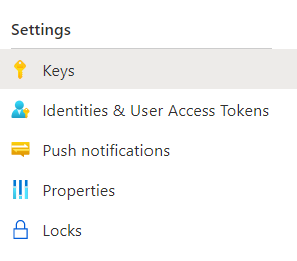
- After creating, go to the resource and then go to "Keys" under "Settings" and keep note of the "Endpoint", "Connection string", and "Key".

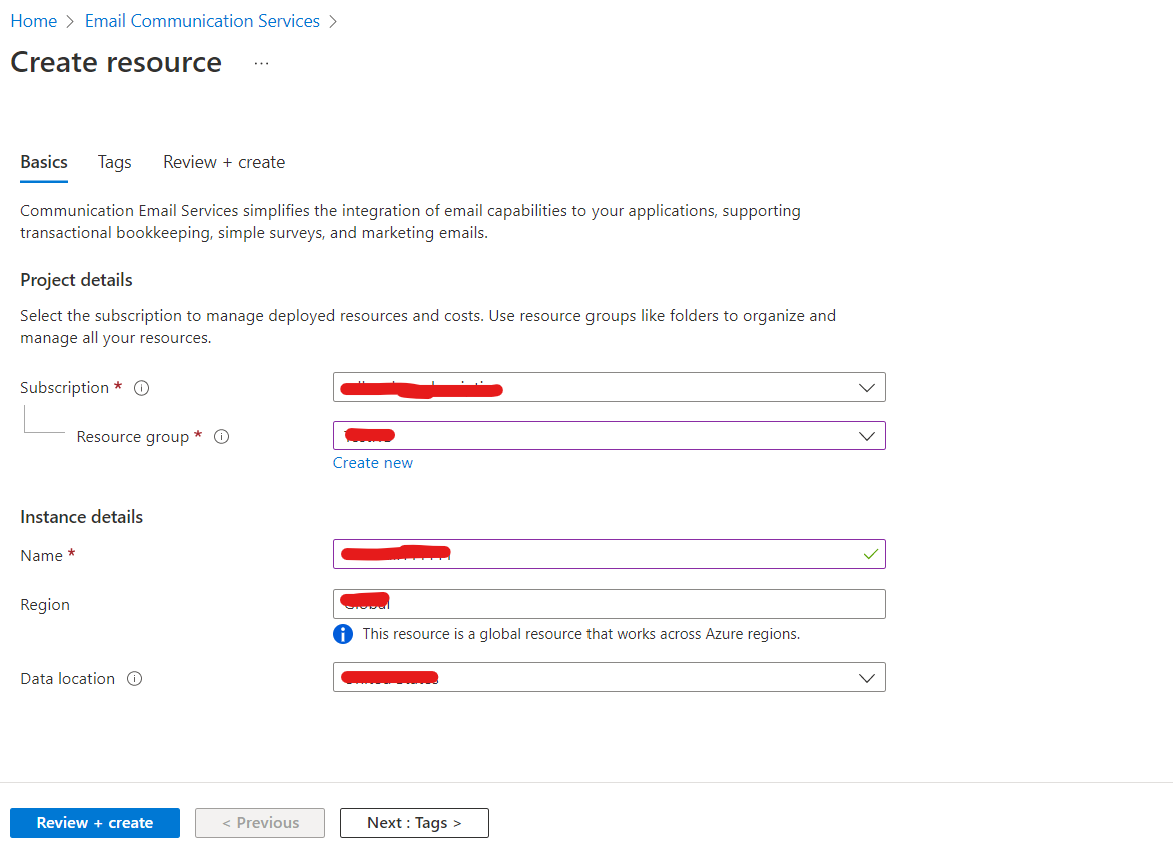
- Go to Azure Portal and search for "Email Communication Services" and select it.

- Click on "Create", select the "Subscription", "Resource Group", "Resource Name", "Region" and the "Data Location", then click "Review + Create".
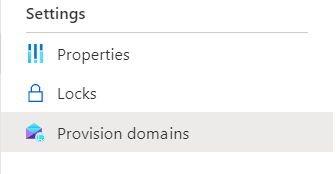
- After creating, go to the resource and then go to "Provision Domains" under "Settings".
- Click on "Add domain" and choose the domain setup according to preference.

- Now go back to the Communication Service that was created. Under "Email", click on "Domains".
- Now click on "Connect Domain", and select the domain which was set on the Email Communication Service.

- Go to the Command Prompt, and type the following Maven command: mvn archetype:generate "-DgroupId=com.projectname" "-DartifactId=projectname" "-DarchetypeArtifactId=maven-archetype-quickstart" "-DarchetypeVersion=1.4" "-DinteractiveMode=false" and press enter.
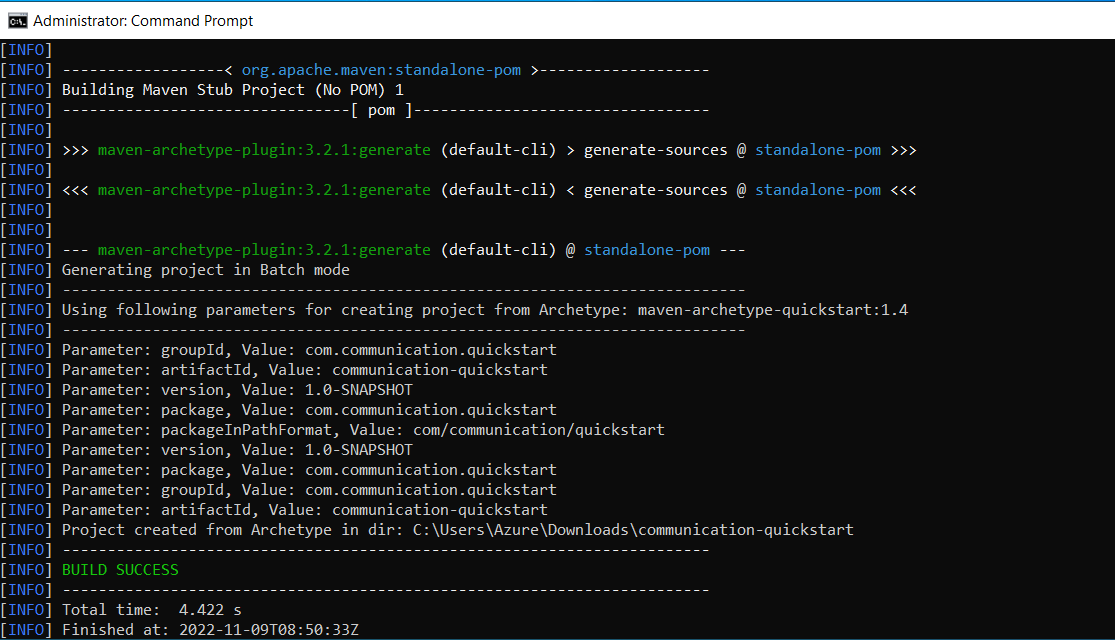
-
Now open the maven project you have created on the IDE, and open the file "pom.xml" in it. Now copy the contents of "pom.xml" in the repository to that in the project folder.
-
Now open the java file (in "src\main\java\com\yourprojectname\yourprojectname\App.java") and copy the contents of the java file in the repository to the java file in the project.
WARNING: Before proceeding further, make sure the values for connection string, key, sender email, receiver email, subject and content. Without them it would lead to build errors.
- Run the below commands on the terminal (command prompt / powershell in windows) (make sure the terminal path is your project's path).
mvn compile && mvn package && mvn exec:java -Dexec.mainClass="com.communication.quickstart.App" -Dexec.cleanupDaemonThreads=false
NOTE:- // Make sure you change the package name in "-Dexec.mainClass = "change name here.App".