This document will guide you on creating your first Django application and deploying it on the cloud using Raillway.
The steps are:
- Install Python 3 on your machine
- Install Python Dependencies
- Create a Django Application
- Create a Raillway account
- Deploy your application
There are many web sites that explain how to install python on a variety of platforms (Windows, MacOS, etc.). You google it yourself or try this one.
Our application is going to be based on the Django Web Framework. The Raillway cloud service uses gunicorn web server as its WSGI (Web Server Gateway Interface). Run the following command to install these dependencies on your machine so we can run our application locally in the same Raillway does:
pip3 install gunicorn djangoPick a name for your project. In the instructions below, I will use the name YourProjectName. Replace it with the name you have chose where appropriate.
Create a new GitHub repository for your project called YourProjectName. Clone your new Git repository on your machine and change to this folder.
Create your first Django application by running the following command:
django-admin startproject YourProjectName WARNING: Make sure you replace YourProjectName above with a name of your chosing.
Now you must do three things in order to run your application on the Raillway service:
- Create your requirements.txt file
- Create a file called .python-version to indicate the version of python you are using
- Create a Procfile to tell Raillway how to start your application
- Change your setting.py files
- Manage statics
- Push your changes
Make sure you are on the base of your git repository folder and run the following command (if you are using a Mac/Linux machine):
python3 freeze > ./requirements.txtIf you are using a Windows machine you have to use pip or pip3 (if you have multiple Python versions):
pip freeze > ./requirements.txtBe careful, if you didn't create your project as a separate environment in your machine, this may generate a file that has all modules/libraries that you have installed in your computer. And this may bring issues.
Create a new file called .python-version on the base of your git repository folder (no file extension).
Run the following command to check the version of the python 3 interpreter you are using:
python3 --versionCopy the version string (i.e.: 3.11.3) and paste it the file you created above. Save it.
Create a new file called Procfile on the base of your git repository folder (no file extension).
Paste the following line on it:
web: cd ./YourProjectName && python manage.py migrate && gunicorn YourProjectName.wsgiWARNING: Replace YourProjectName above with the name you gave to your project when you created the Django application.
Save it.
Next, we need to make some adjustments to our settings.py file Look for the line that has
ALLOWED_HOST = [ ]and change it to:
ALLOWED_HOST = ['*']also add the lines below:
STATICFILES_DIRS = [os.path.join(BASE_DIR, 'static')]
STATIC_ROOT =os.path.join(BASE_DIR, 'staticfiles')
Look for the line that has:
DEBUG = Trueand change it to:
DEBUG = FalseLook for the line that has:
MIDDLEWARE = [
    ...
]
and add the following line above all other middleware lines apart from Django's SecurityMiddleware. It should look like:
MIDDLEWARE = [
    "django.middleware.security.SecurityMiddleware",
    "whitenoise.middleware.WhiteNoiseMiddleware",
    ...
]Make sure you are on the base of your git repository folder and run the following command to collect our static files into one folder:
python manage.py collectstaticNow you should have a lot of changes that you need to add, commit and push to git. Make sure you are on the folder of your clonned repository and run the following commands:
git add .
git add -f ./.python-version
git commit -m "Initial Project Setup"
git pushFollow the steps on the link below to create your Railway account: https://docs.railway.app/reference/accounts
Connect your Railway account with your GitHub project repo:
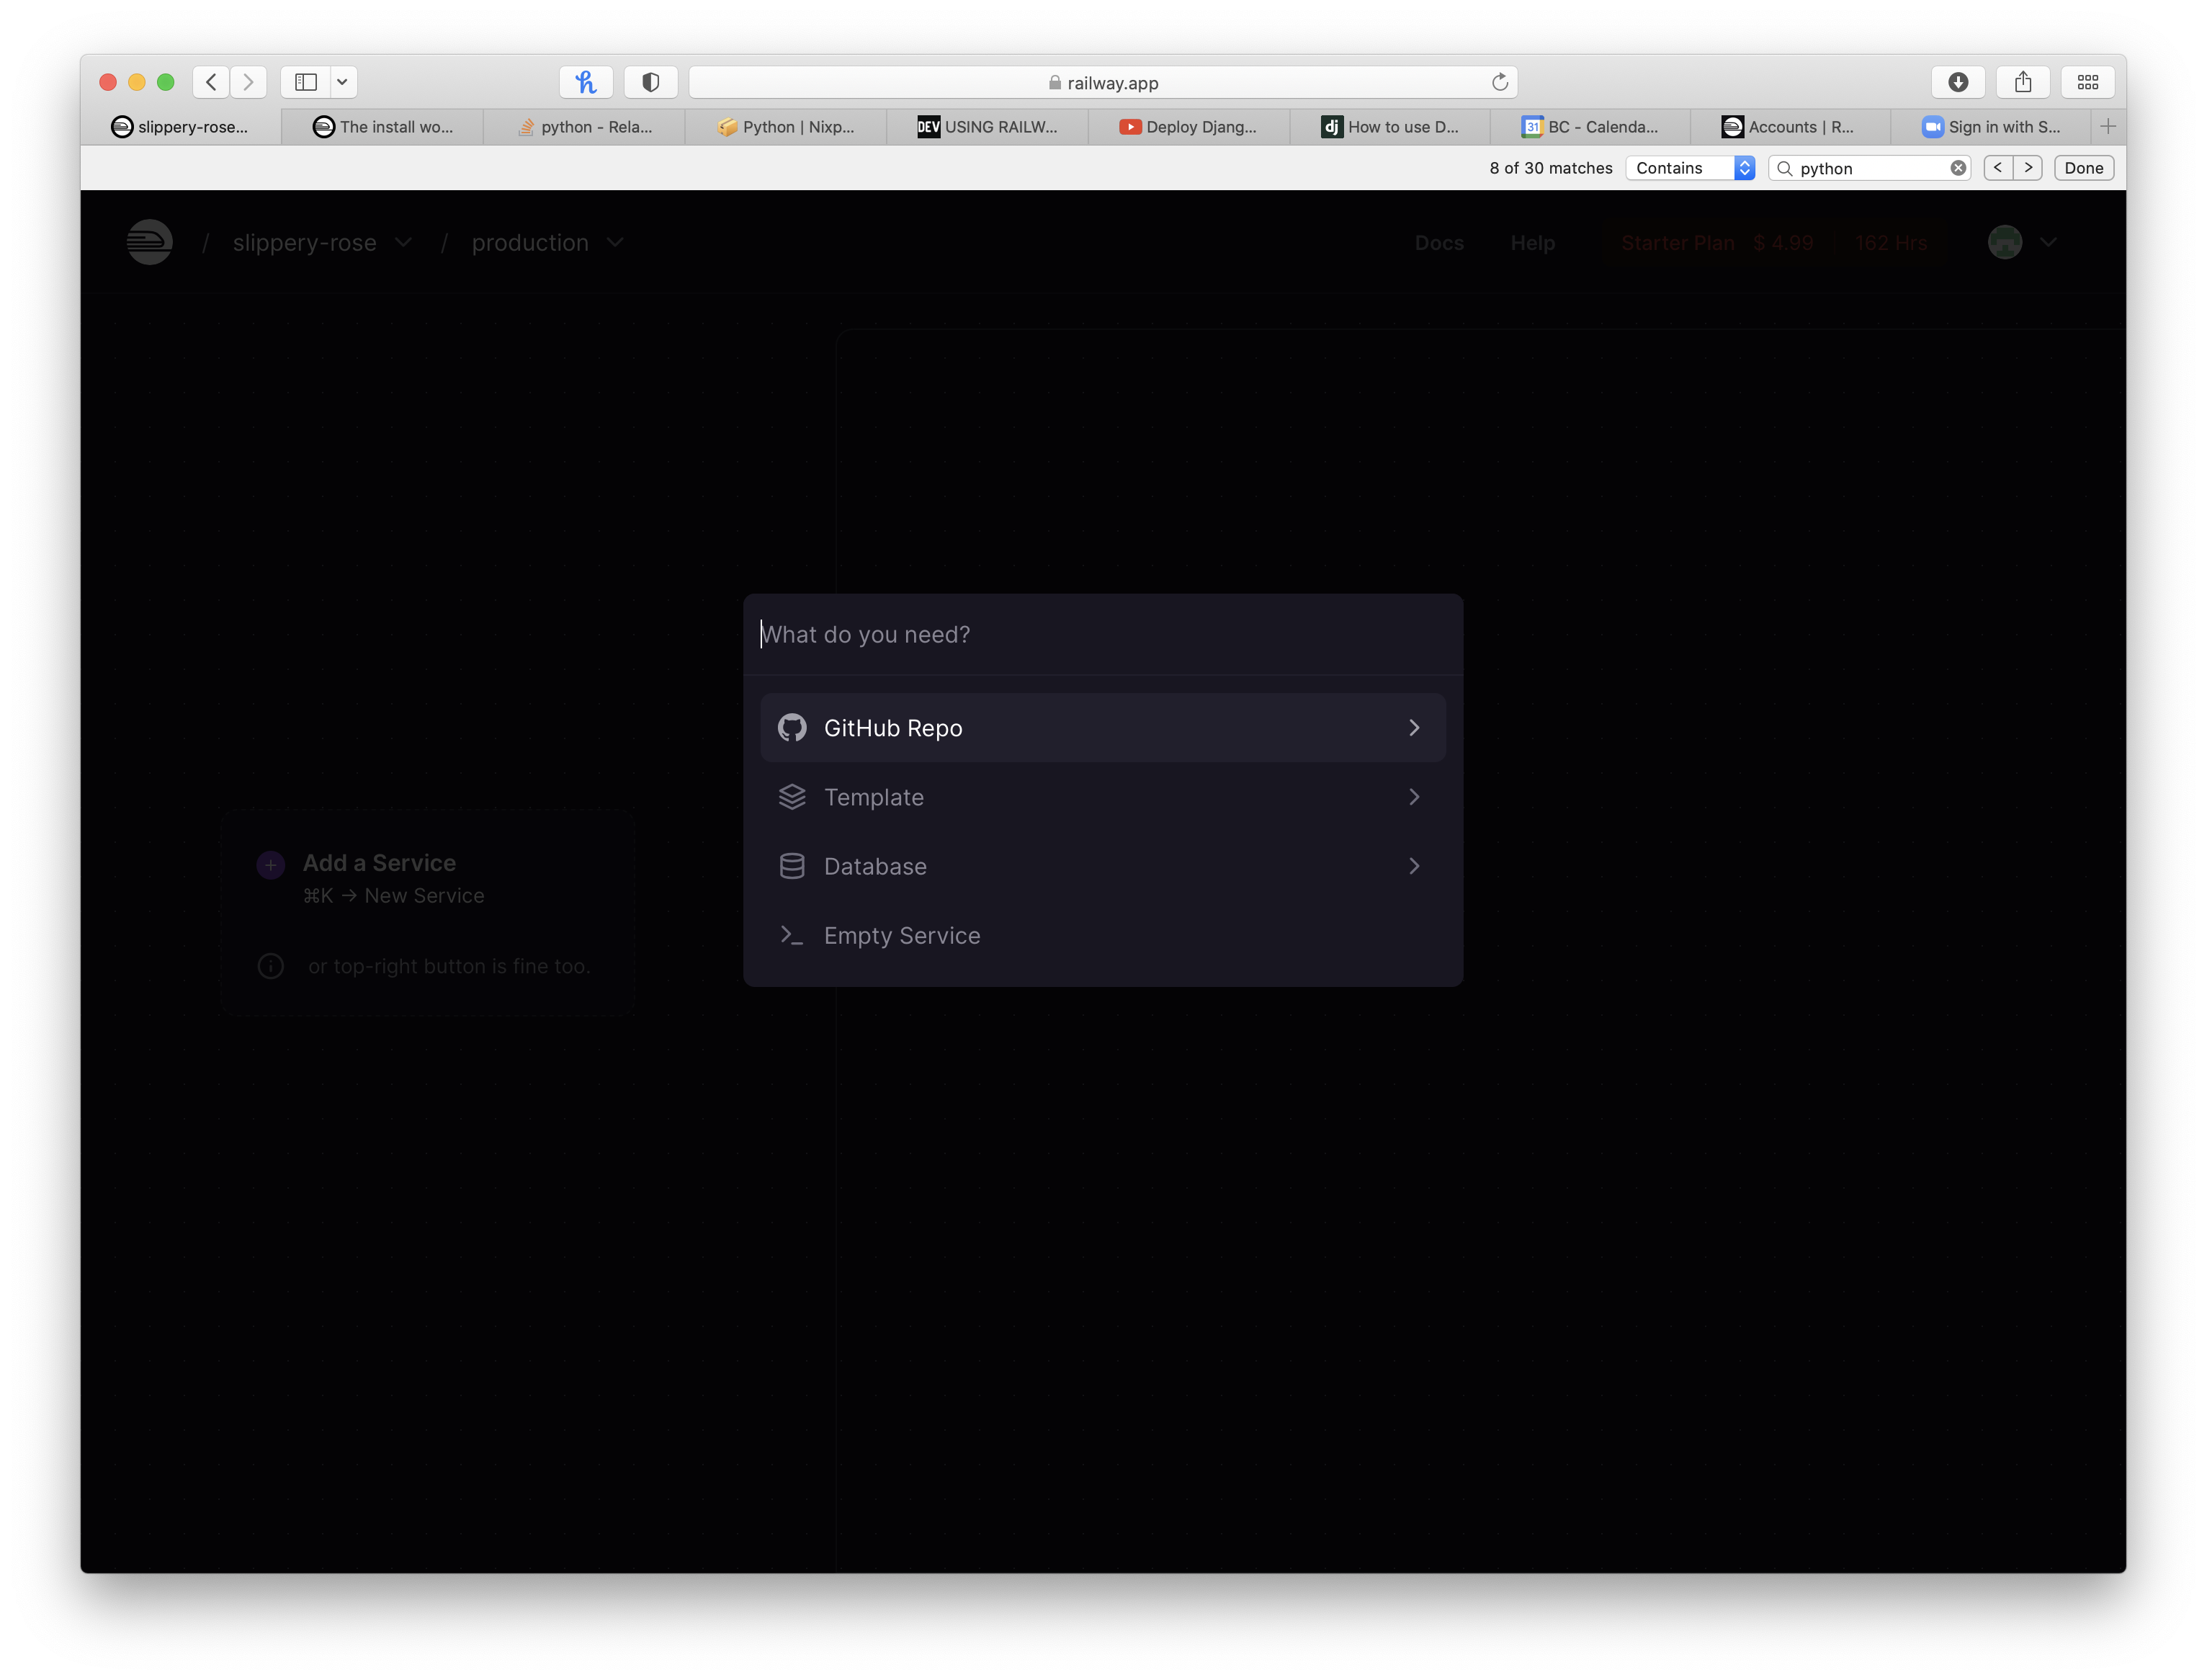
Select your project repo:

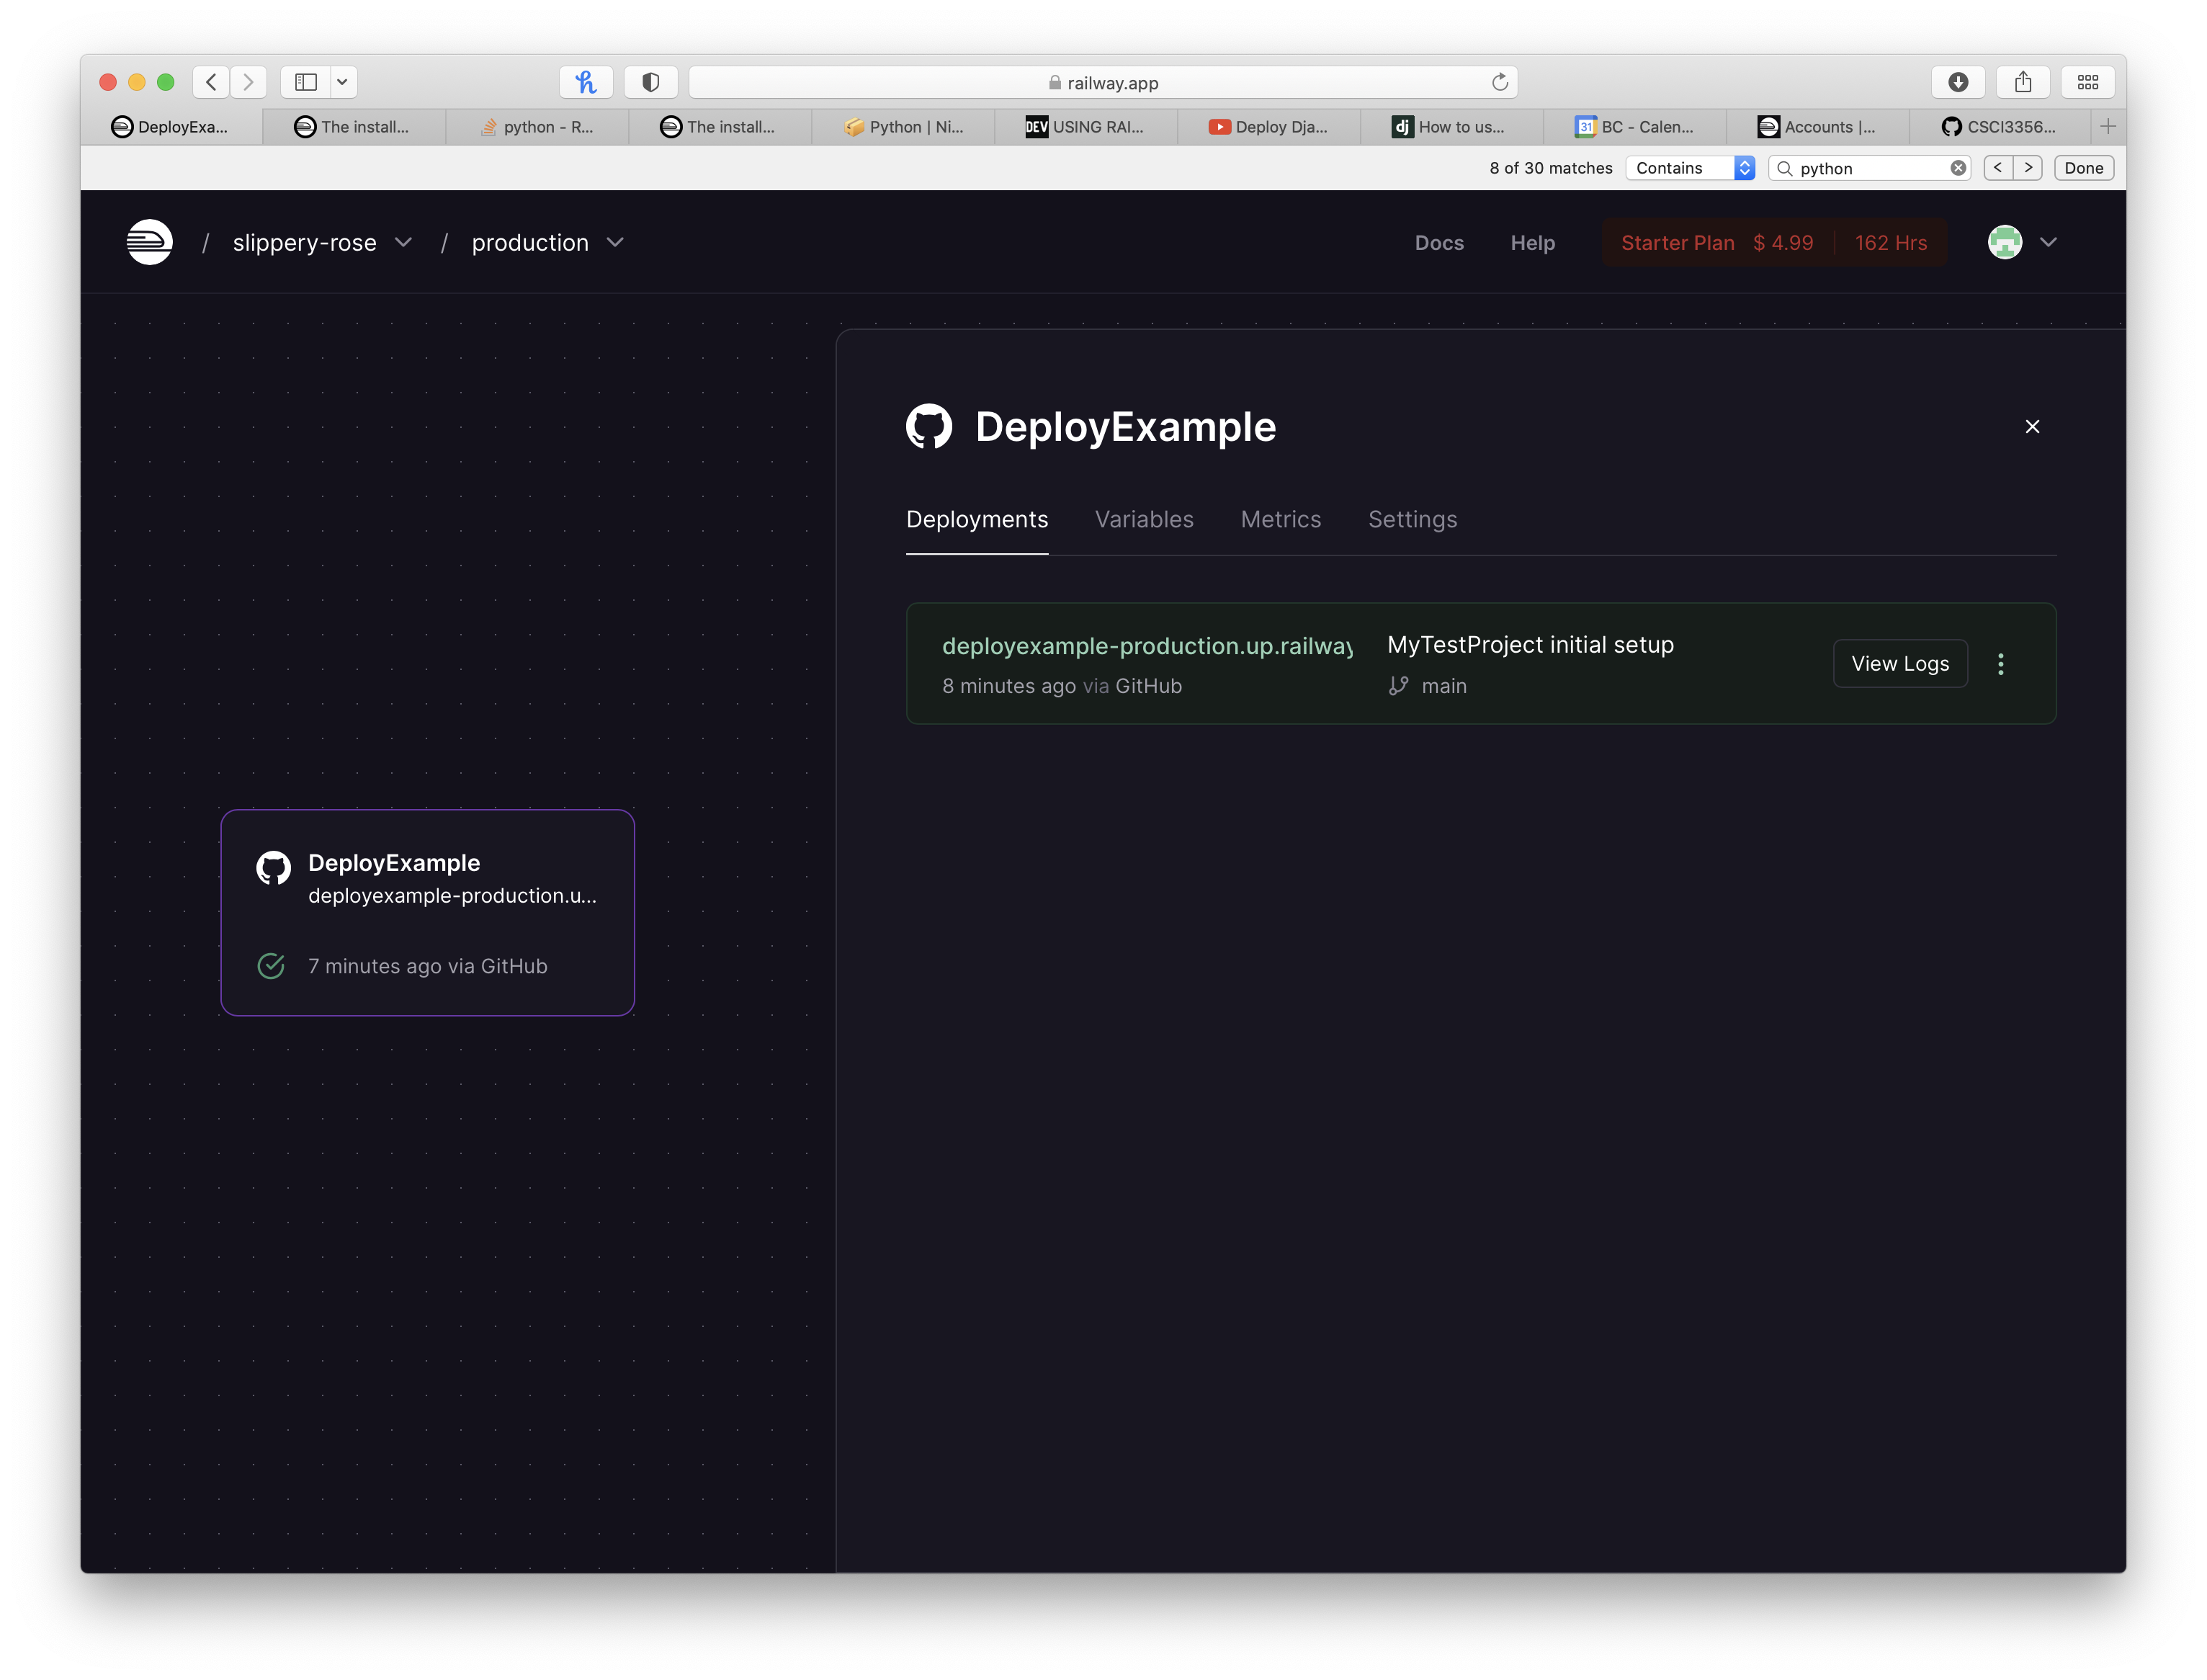
You will see this, it means that Railway is running everything you said it needs to have to be able to run your project:
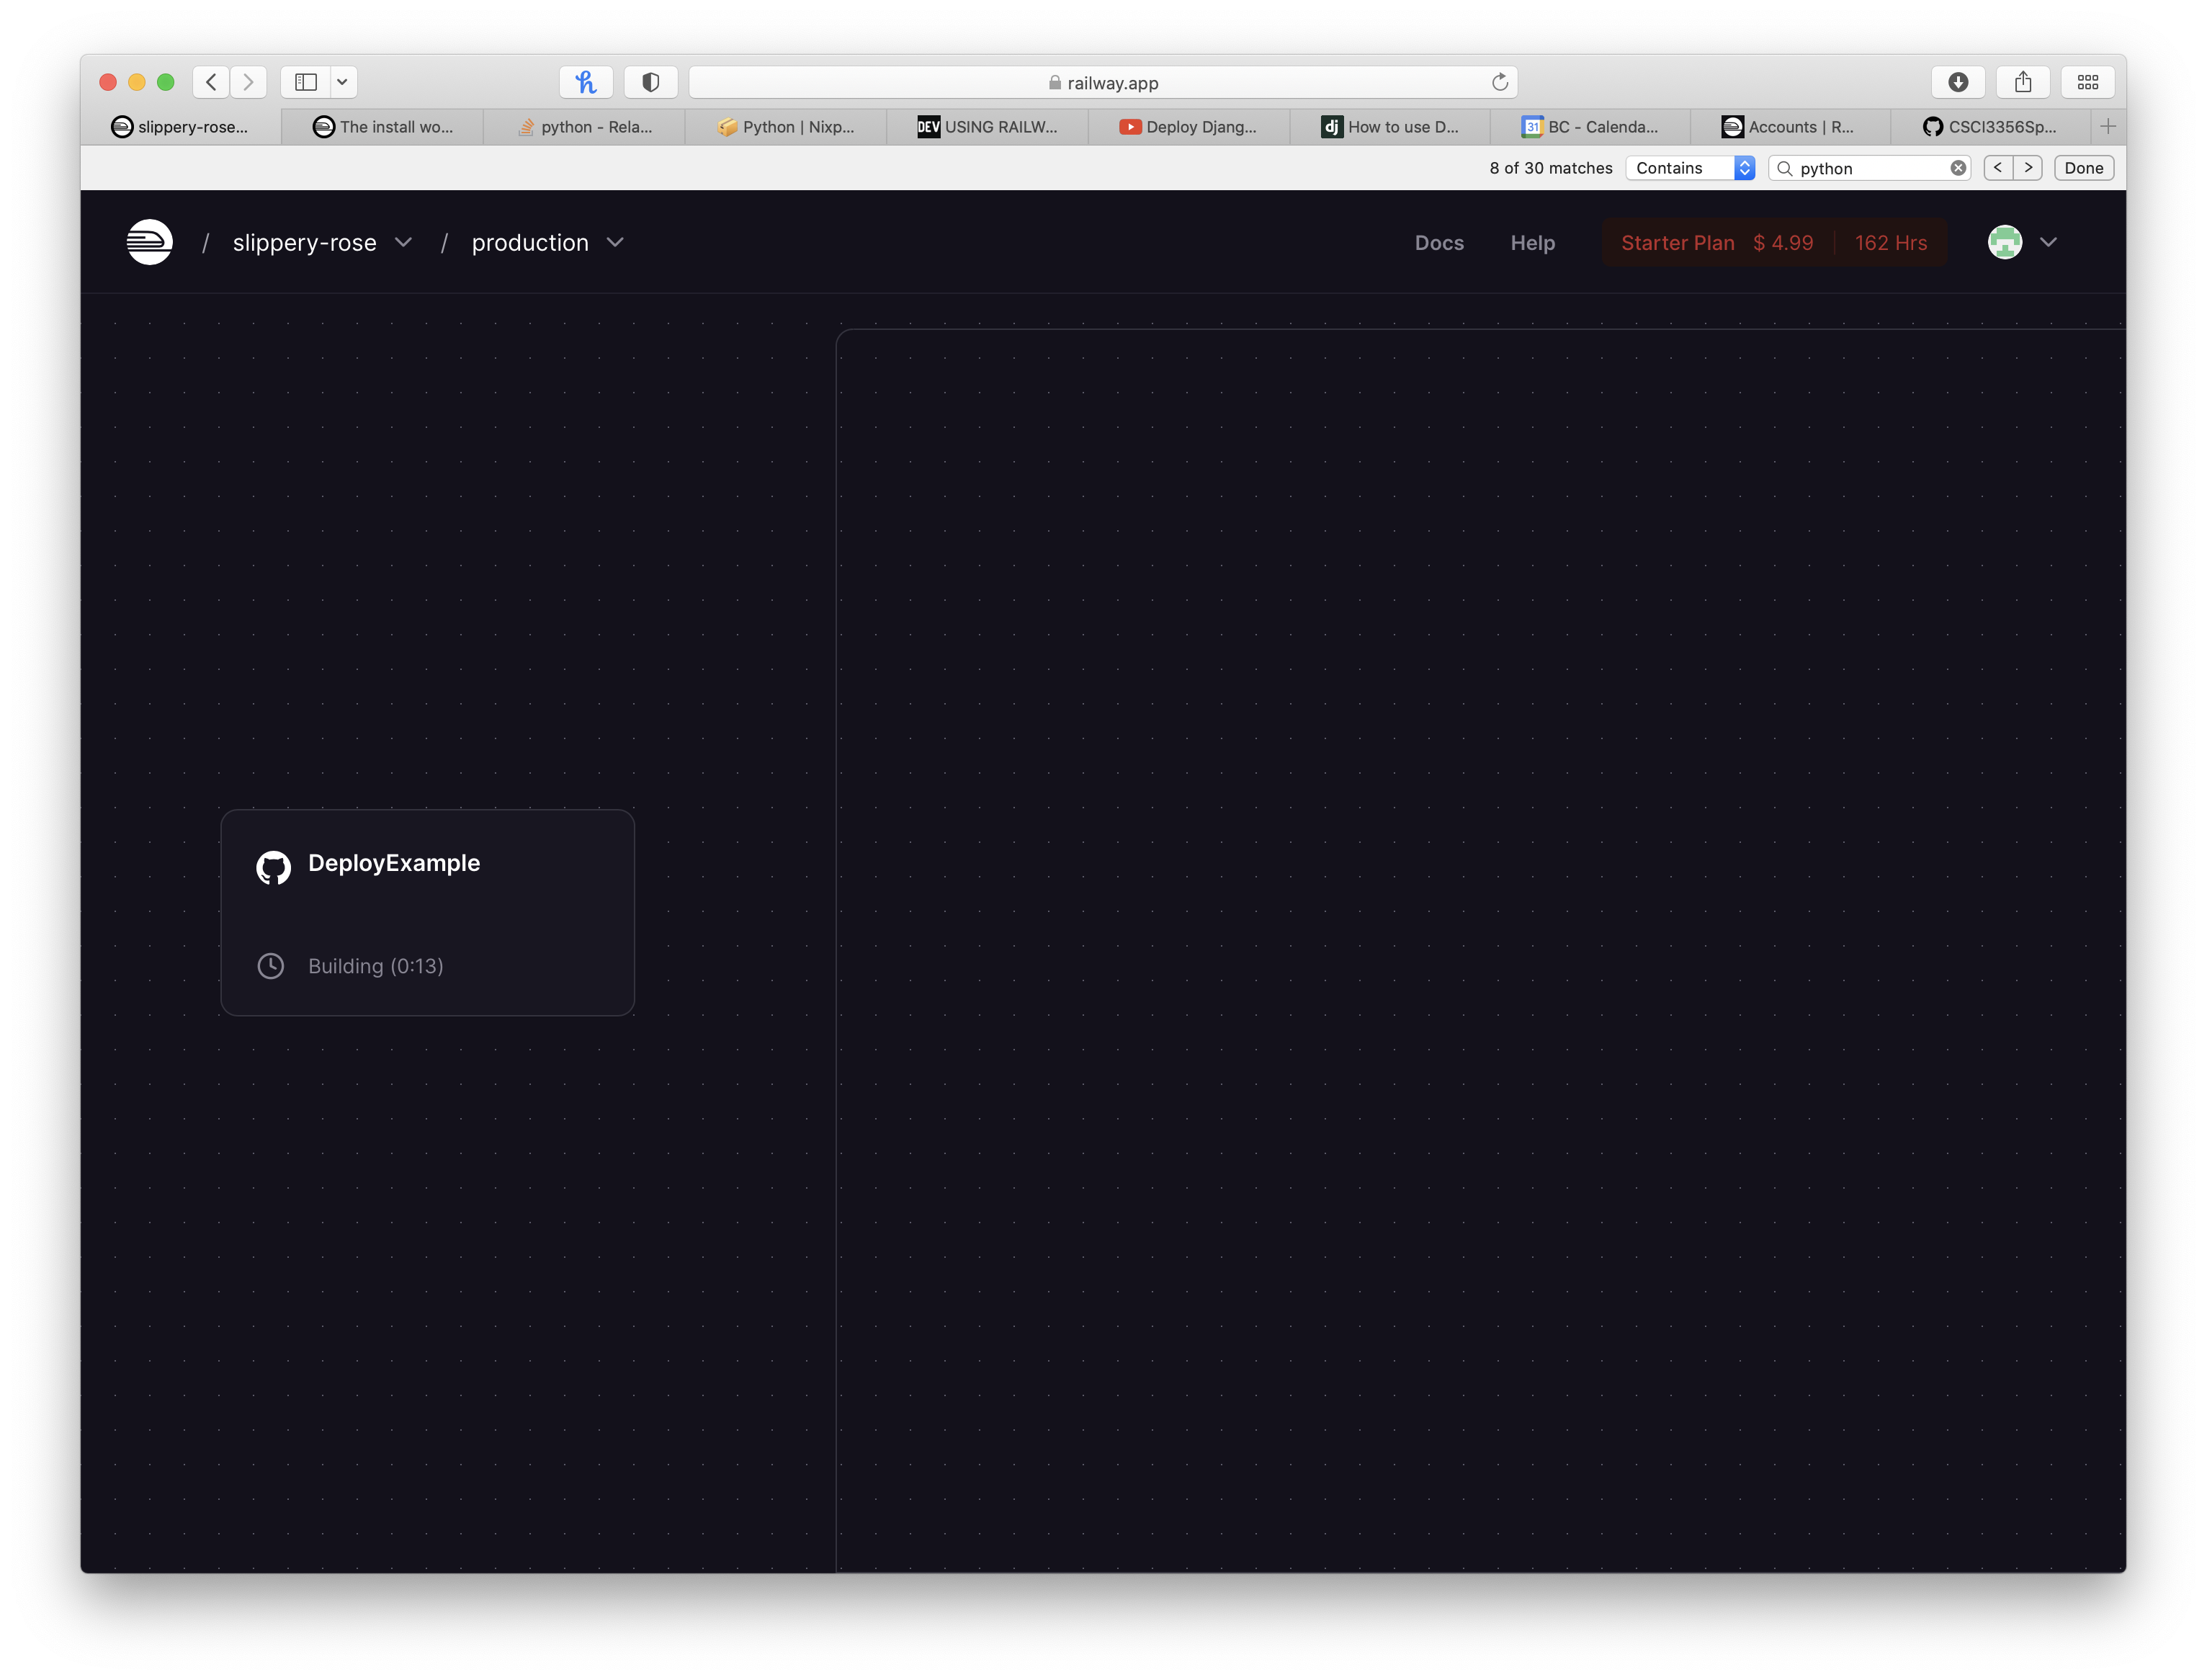
When you click on the left "widget" that has your project name, you can see how things are working.
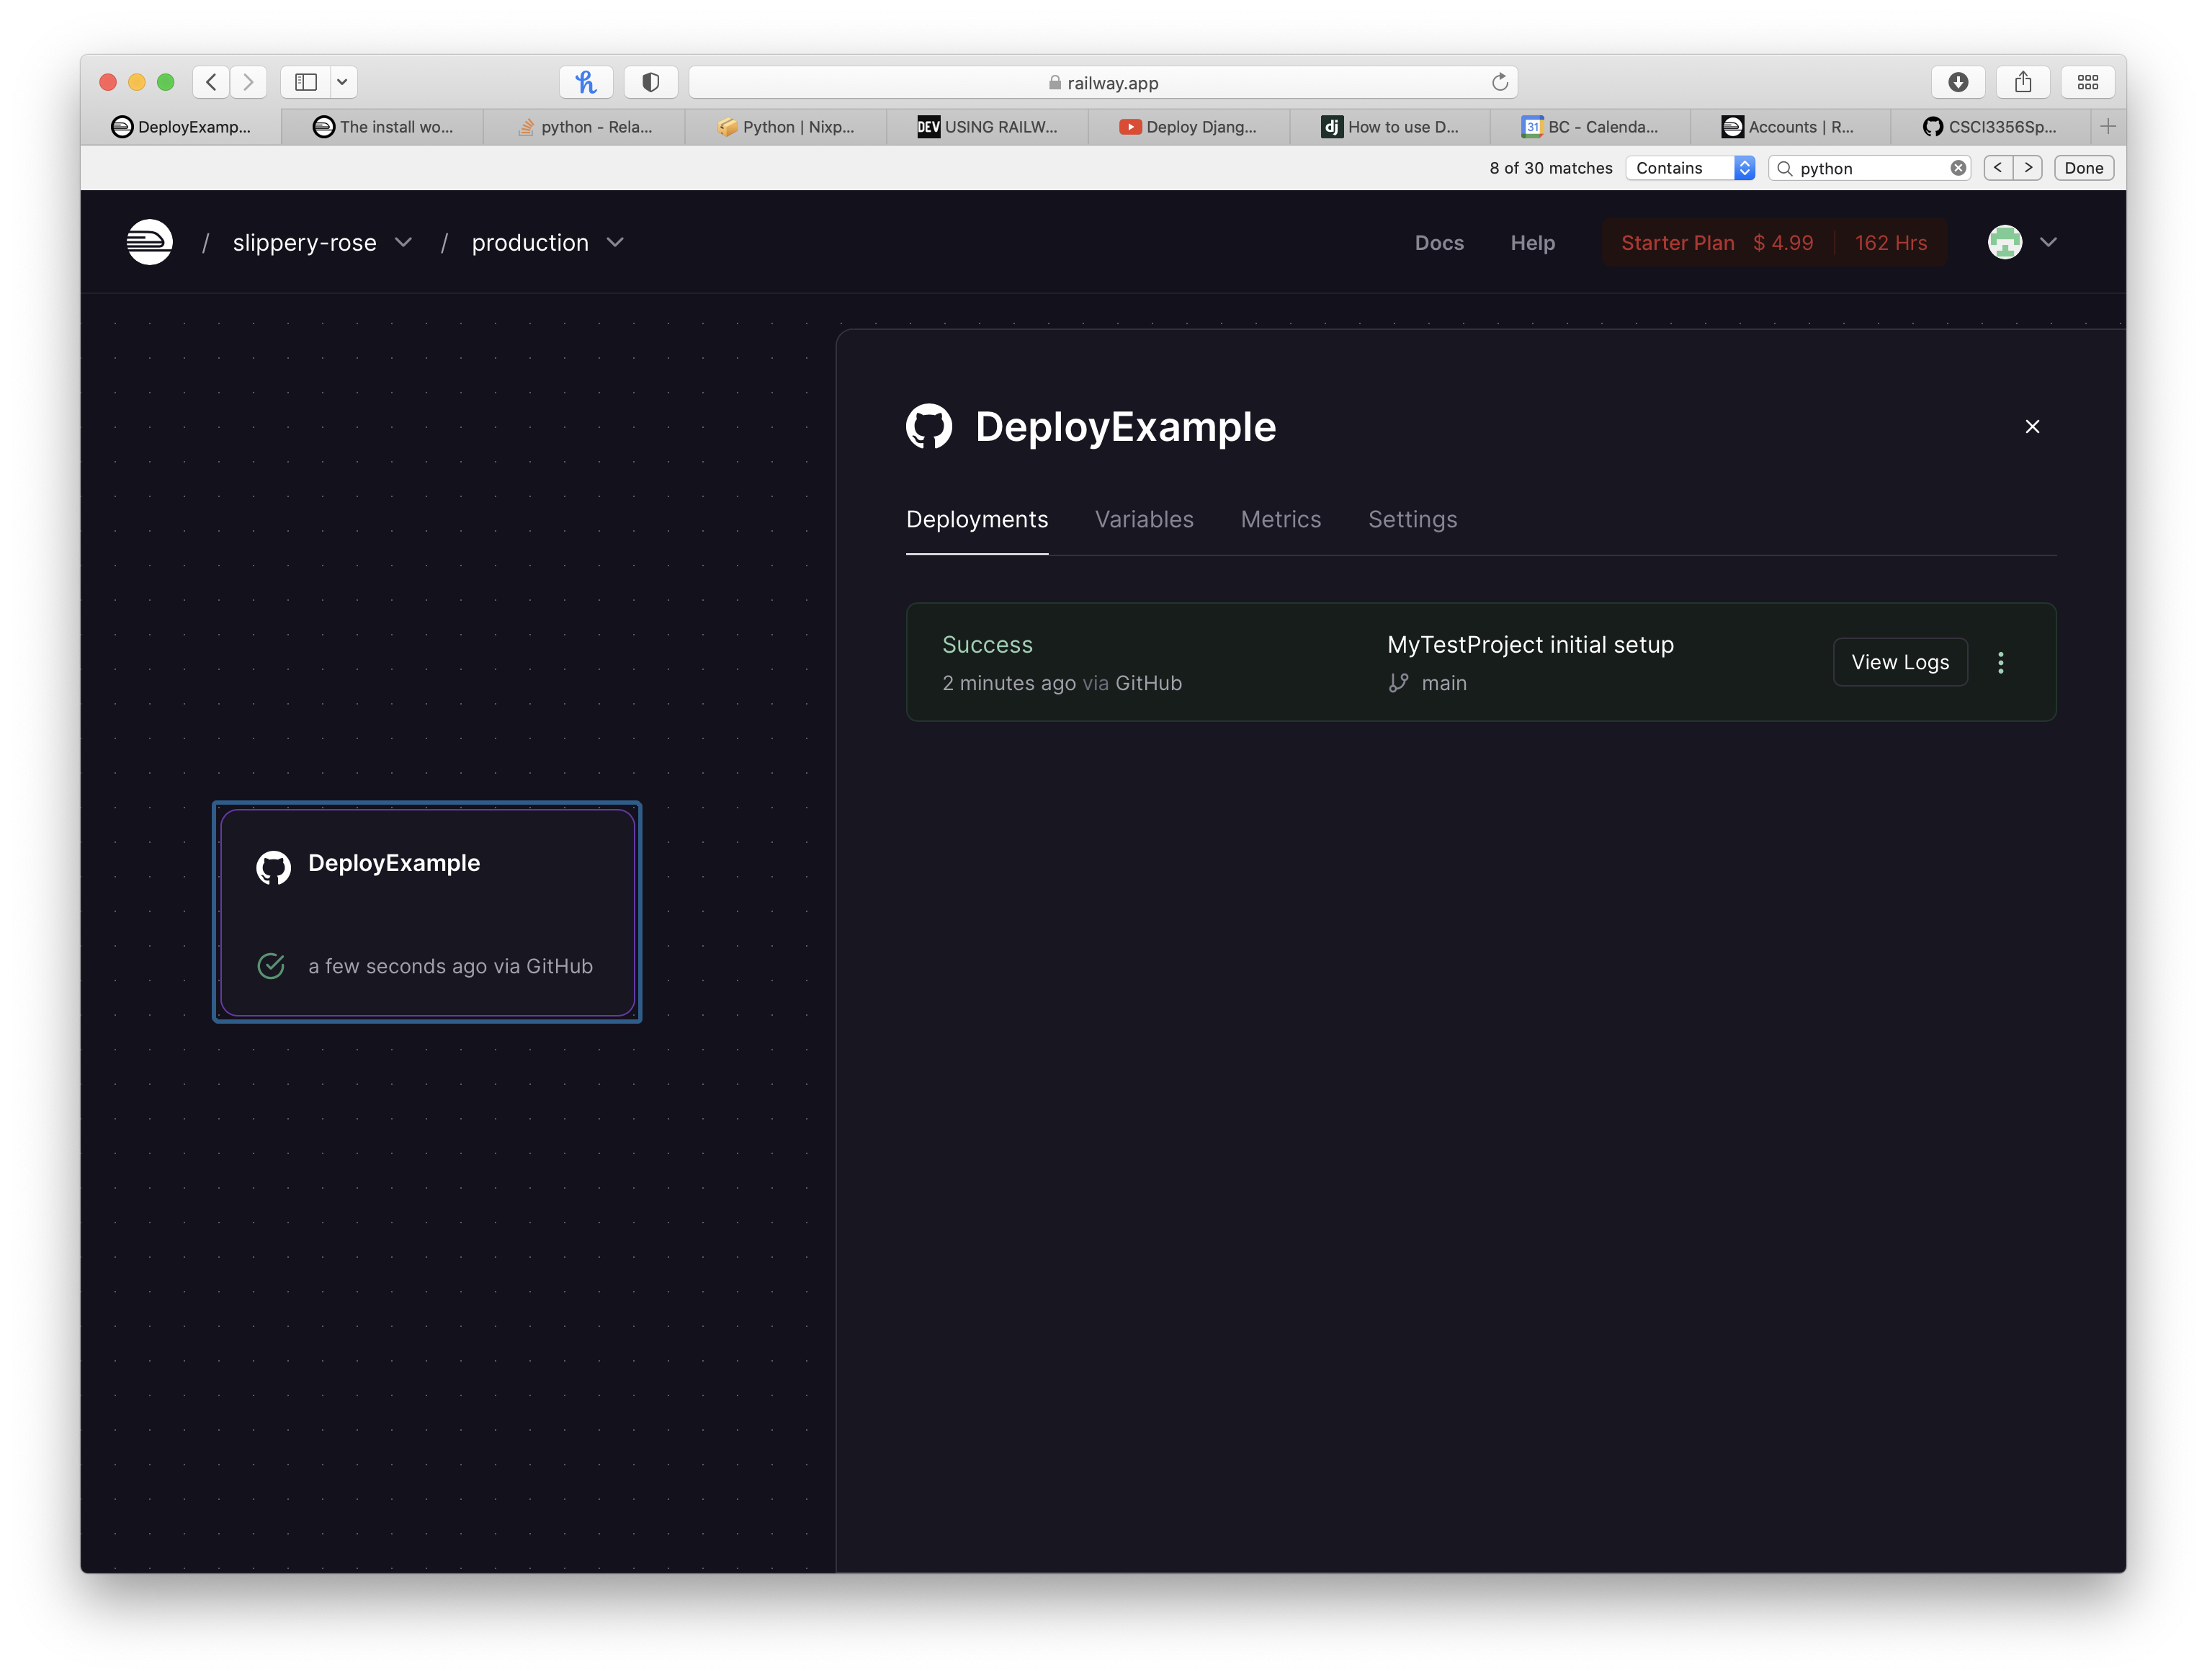
Click on the settings tab (screen below), in the middlle of screen there is an option that says domain. Click on generate domain.

When you click on generate domain, a web address will appear:
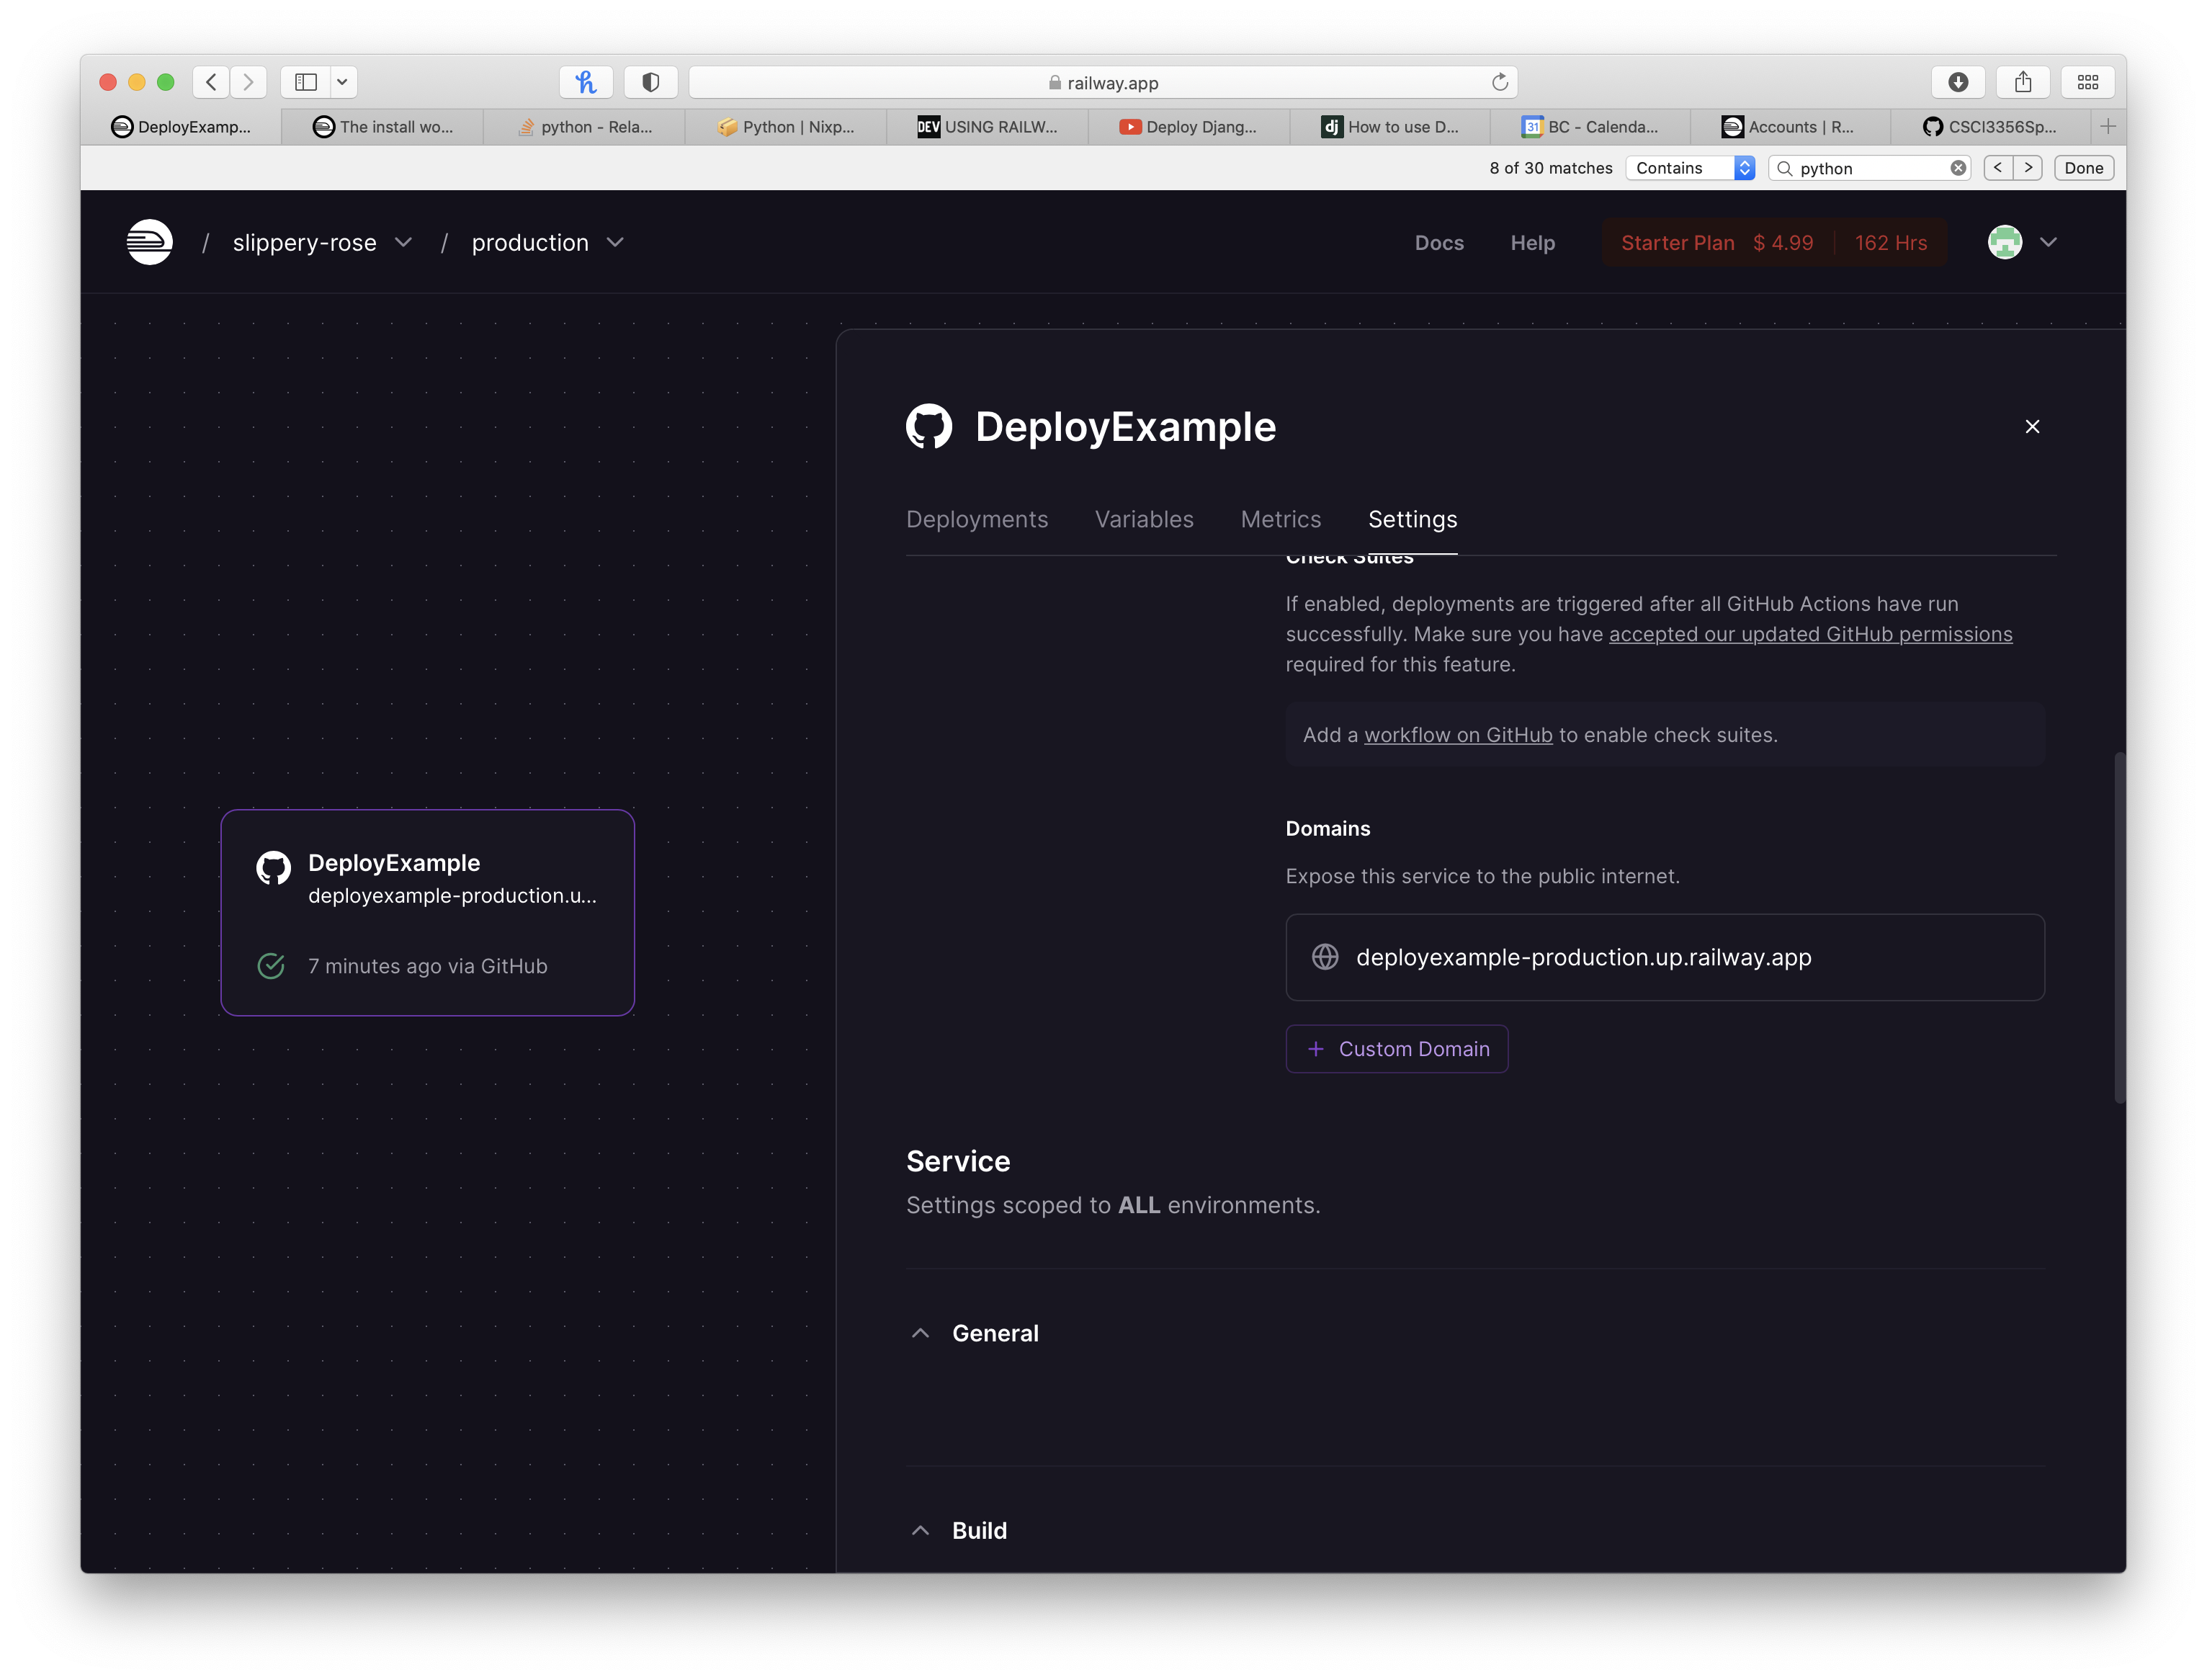
This web address is your project deployed address.
Look at the web address that Railway gave you, let's say that mine it was: https://your-base-domain,
Go back to the settings file on your project and add the following lines, with the web address that Railway gave to you:
CSRF_TRUSTED_ORIGINS = [
    'https://your-base-domain'
]
You are done deploying your project.
If you have issues with your deployment, go back to to deployment and click on the buttom that says view logs. This will show you the same logs you can see in your machine and you will have to google the message to try to sort it out the issues you have.