3. VSCode & extensions
In this section, you'll install and configure Visual Studio Code (VSCode), an open-source IDE we love :)
-
Download & install Visual Studio Code.
-
Go to Extensions (Ctrl+Shift+X) and install "C/C++ Extension Pack".
-
Open the Command Palette (Ctrl+Shift+P) - this is a useful shortcut that provides access to many VSCode commands. Type and choose "Remote-WSL: New WSL Windows".
-
In the newly opened window, go to Source Control (Ctrl+Shift+G), and choose "Clone Repository", and then "Clone from GitHub". Sign in.
-
Open the Terminal (Ctrl+`) and run these commands with your information:
git config --global user.email "you@example.com"
git config --global user.name "Your Name"
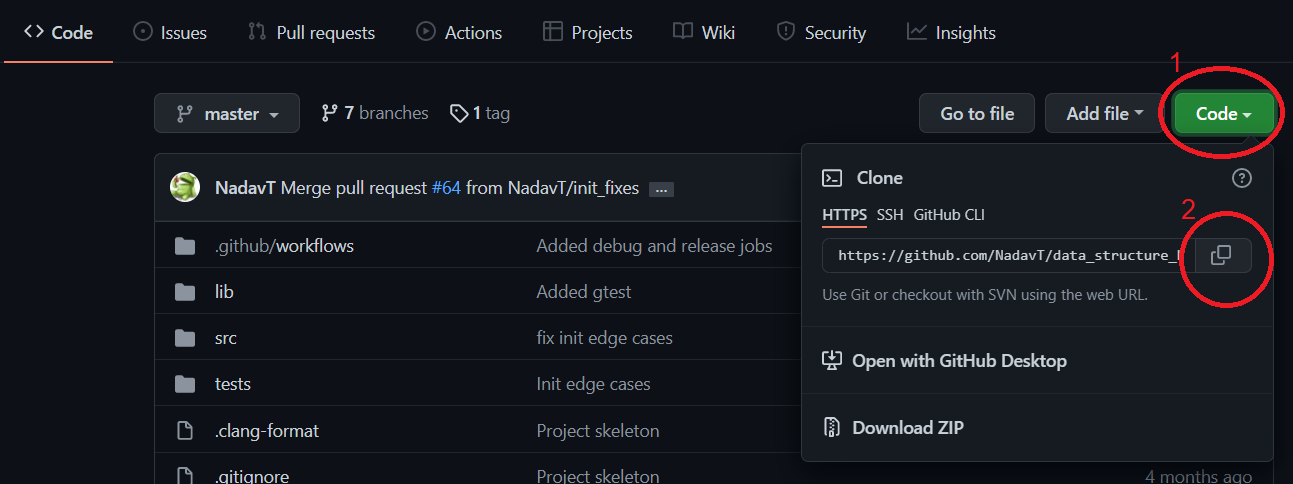
- Open the Command Palette (Ctrl+Shift+P), type "Clone from GitHub", then copy and paste your repository link from GitHub, as shown in the image.
- You'll be asked where you'd like to clone your repository to. Choose
/home/<your username>. Open your project folder in VSCode.
Now that you have cloned the repository, let's practice making another contribution to the project, this time using VSCode.
-
Install another extension: "Clang-Format". This extension will allow you to completely forget about formatting (indentation, blank lines, ...). Instead, you'll create a file specifying your desired conventions, and the code will be reformatted on every save.
-
Create a new branch (Ctrl+Shift+P, "Create branch").
-
Download .clang-format, put it in your project directory.
-
Commit and push your changes. You can do it all from the UI, using the Source Control window (Ctrl+Shift+G).
-
Open your project on GitHub. You'll see a pop-up message about a recent push. Click "Compare & pull request", and then "Create pull request".
-
As before, your partner should now review this pull request, merge it, and then delete the branch.
- Check out other recommended extensions: "Python", "Clang-Tidy".