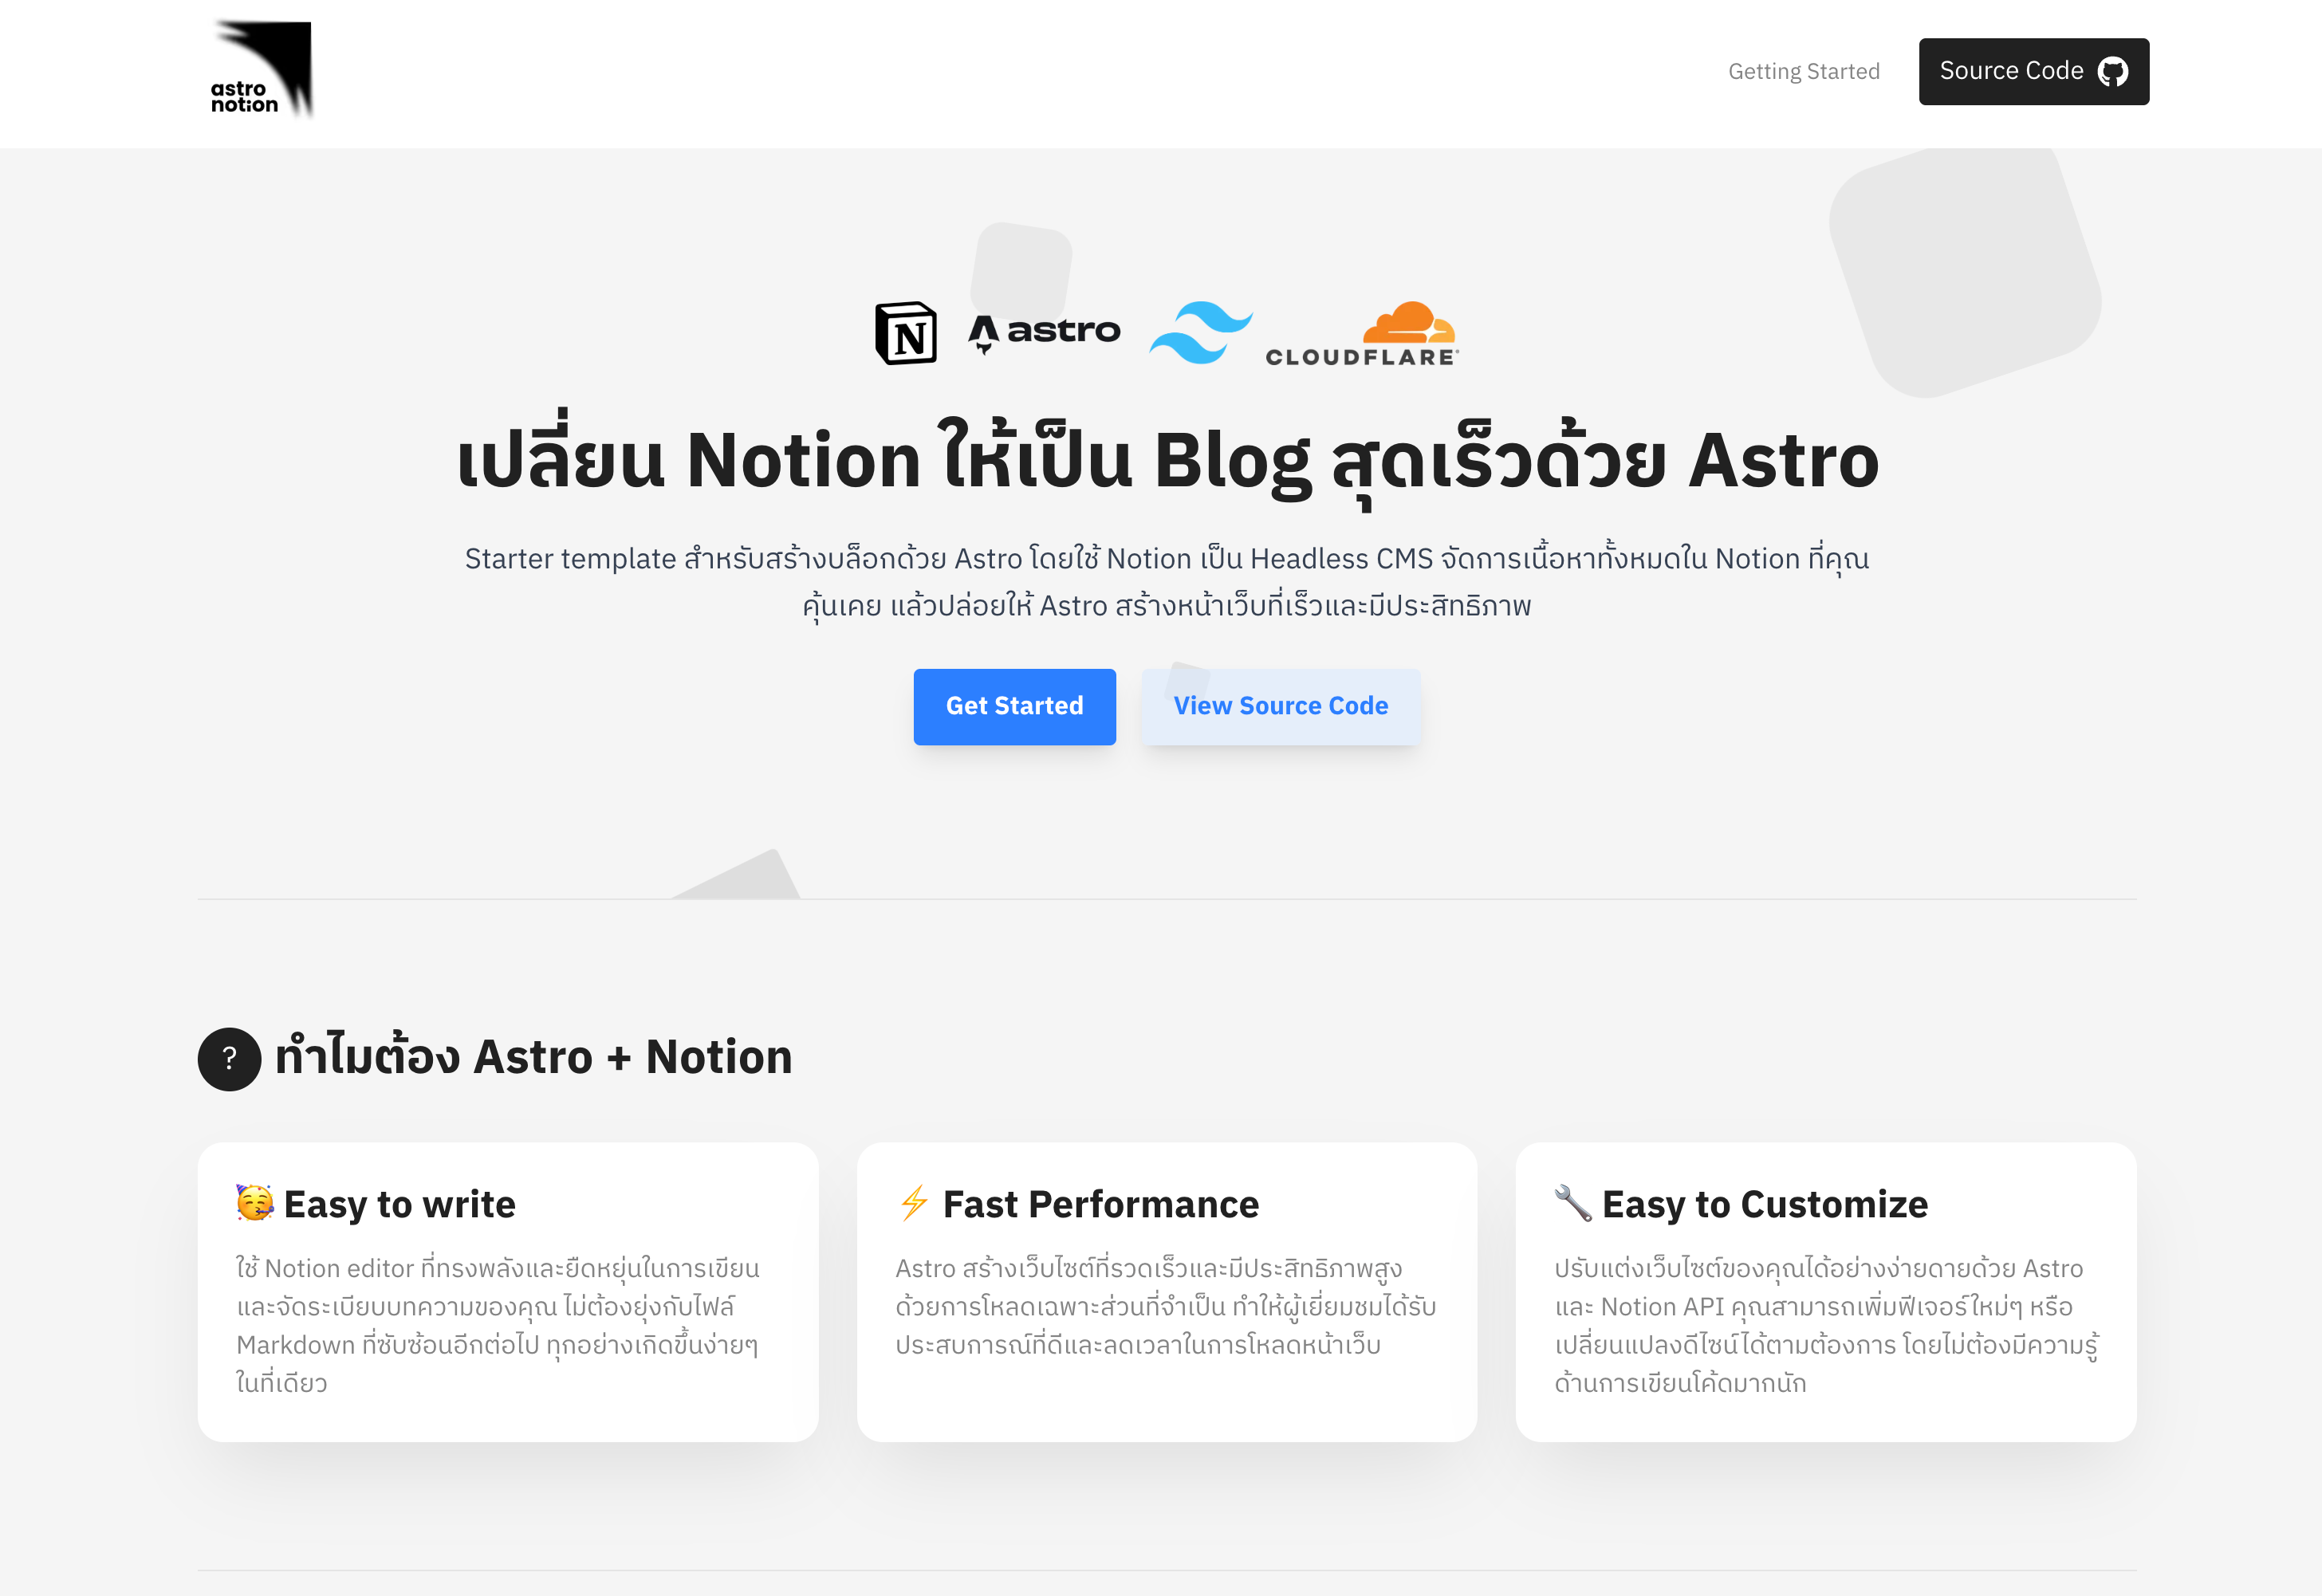
A powerful starter template for building a blazing-fast blog with Astro and using Notion as a Headless CMS. Manage all your content in the familiar Notion editor and let Astro build a high-performance, static website.
Live Demo: https://astro-notion.theduckrr.com/
- Blazing Fast Performance: Built with Astro for optimal loading speeds and a great user experience.
- Notion as CMS: Use the powerful and flexible Notion editor to write and organize your articles. No more complex Markdown files.
- Easy to Customize: Easily tweak the design and add new features with Astro and the Notion API. Minimal coding knowledge required.
- Fully Responsive: Looks great on all devices, from desktops to mobile phones.
- SEO Ready: Astro provides excellent SEO capabilities right out of the box.
- Dynamic Tag Pages: Automatically generates pages for each tag, listing all associated posts.
- Recursive Block Rendering: Supports nested blocks like toggles, lists, and headings with children.
Follow these steps to get your Astro Notion blog up and running.
The first step is to set up a Notion database to store your blog posts.
-
Duplicate the Template: Go to the Notion Database Template and click the "Duplicate" button in the top-right corner to copy it to your own Notion workspace.
-
Database Structure: The template includes essential properties for your blog:
Name: The title of your post.Slug: The URL-friendly identifier for the post (e.g.,getting-started).Published: A checkbox to control whether the post should be live.Description: A short summary of the post.Tags: A multi-select property for categorizing your posts.Cover: A file property for the post's cover image.Created: The creation date (automatically managed by Notion).
To allow your Astro project to fetch data from Notion, you need to create an "Integration".
-
Create a New Integration:
- Go to My Integrations.
- Click "+ New integration".
- Give it a name (e.g., "Astro Blog") and associate it with the correct workspace.
- Click "Submit".
-
Copy the Secret Token:
- Notion will reveal an Internal Integration Token.
- Copy this token and keep it safe. You will need it in the next step.
⚠️ Warning: This token is a secret. Do not expose it in your frontend code or commit it to public repositories. -
Connect Integration to Your Database:
- Go back to the database page you duplicated in Step 1.
- Click the three-dot menu
(...)in the top-right corner. - Select "+ Add connections" and search for the integration you just created.
- Confirm the connection.
Now, it's time to configure your Astro project.
-
Clone the Repository:
git clone https://github.com/Duckrr/astro-notion.git cd astro-notion -
Create Environment Variables File:
- In the root directory of the project, create a new file named
.env. - Add the Notion Token and your Database ID to this file.
- In the root directory of the project, create a new file named
-
How to Find Your
NOTION_DATABASE_ID:- Open your database in the browser. The URL will look like this:
https://www.notion.so/YOUR_WORKSPACE/DATABASE_ID?v=... - The
DATABASE_IDis the long string of characters between your workspace name and the?v=.... - For example, if the URL is
https://www.notion.so/myworkspace/853c6531c1954f988c5822b3149e2908?v=..., your ID is853c6531c1954f988c5822b3149e2908.
Your
.envfile should look like this:NOTION_TOKEN="secret_xxxxxxxxxxxxxxxxxxxxxxxxxxxxxxxxxxxx" NOTION_DATABASE_ID="853c6531c1954f988c5822b314xxxxxxx" - Open your database in the browser. The URL will look like this:
You're all set! The final step is to install dependencies and run the development server.
-
Install Dependencies:
npm install
# Or using yarn, pnpm
# yarn install
# pnpm install
-
Start the Development Server:
npm run dev
-
View Your Blog: Open your browser and navigate to http://localhost:4321. You should now see your blog, populated with content from your Notion database!
- Astro: The web framework for building fast, content-driven websites.
- Notion API: Used as a headless CMS for content management.
- Tailwind CSS: A utility-first CSS framework for rapid UI development.
- TypeScript: For type safety and a better developer experience.
Contributions, issues, and feature requests are welcome! Feel free to check the issues page.
This project is MIT licensed.