HTCondor Installation
-
Go to http://research.cs.wisc.edu/htcondor/downloads/, and download stable version 8.0.6-225363.
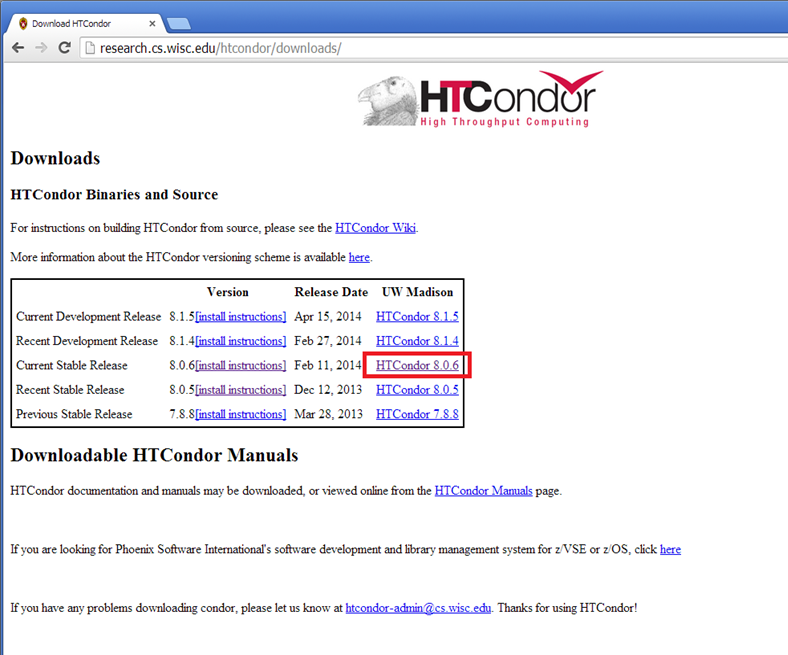
-
Check the file 'condor-8.0.6-225363-Windows-x86.msi'.
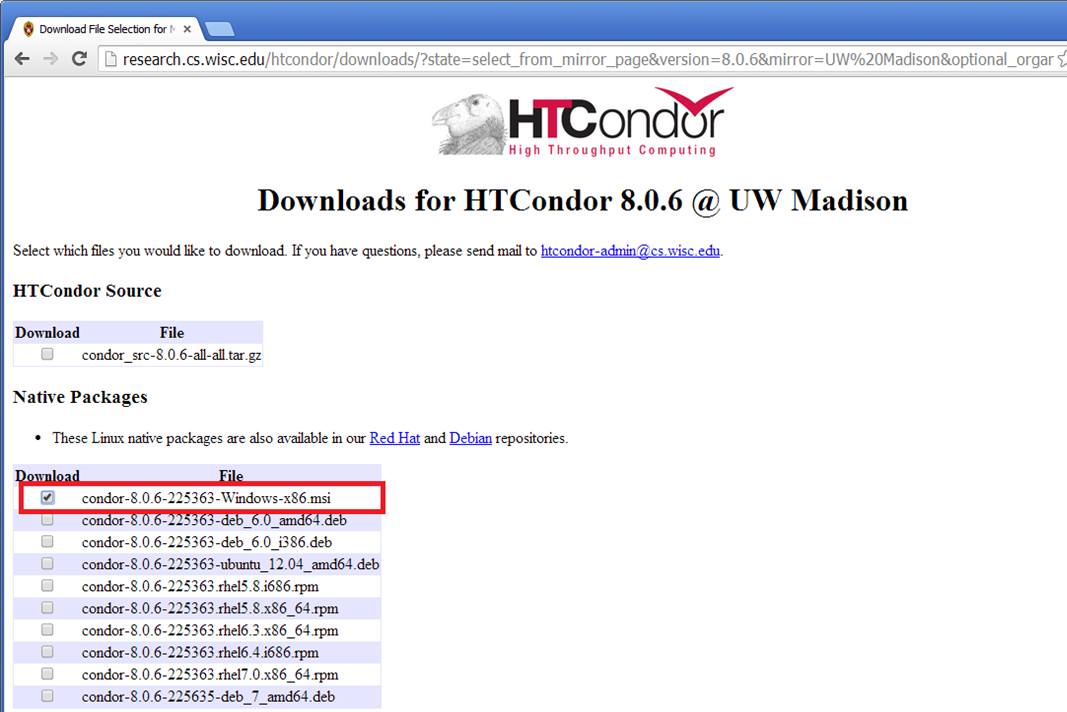
-
Scroll down and fill out the required form and then click the 'Submit Download Request' Button.
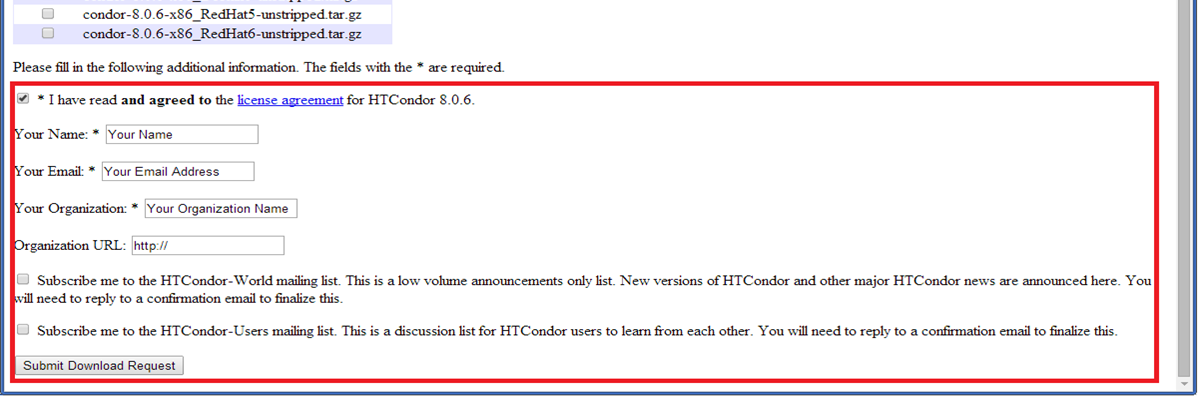
- check the “I have read and agreed to the license agreement for HTCondor 8.0.6.”
- Input your name, email, organization name, and organization URL.
- May want to check subscription options
-
Click the link to download the installation file.
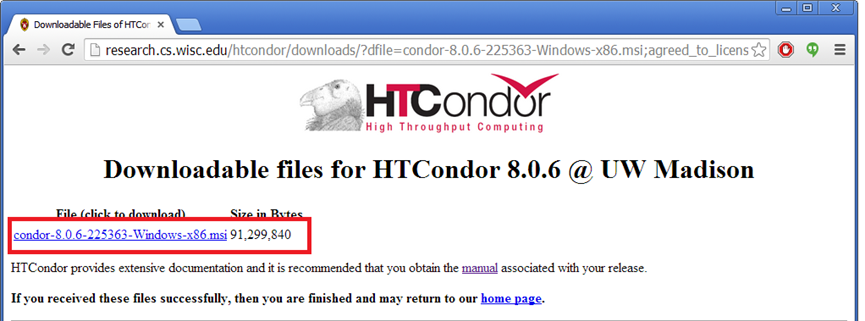
- If it is successfully downloaded, you can find it in your ‘Download’ folder.
- Else If the 404 page is appeared, it means that there is a problem in the HTCondor server side so please try again few minutes or hours later.
- Else, please contact your IT staff to figure out a problem.
-
Find the downloaded installation file ‘condor-8.0.6-225363-Windows-x86l.msi’ in your ‘Download’ folder and double-click the file.
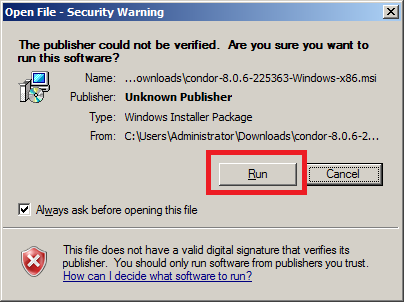
- Depending on your computer setting, a ‘security warning dialog’ window may be popped up as follows and click the ‘Run’ Button.
-
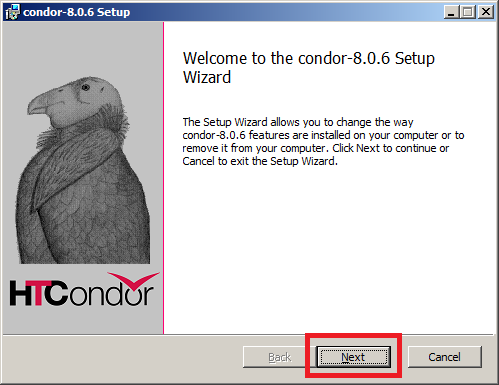
When a setup wizard launches as below, click ‘Next’ button.
-
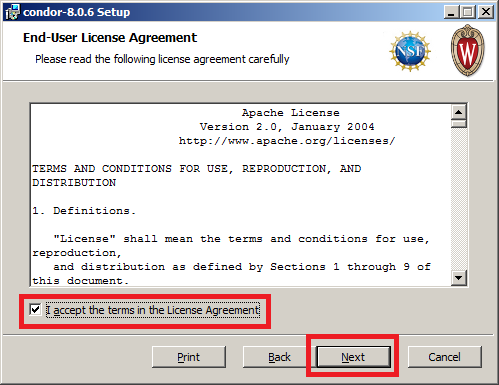
Read the ‘End-User License Agreement’ and check the ‘I accept the terms in the License Agreement’ box. Then click ‘Next’.
-
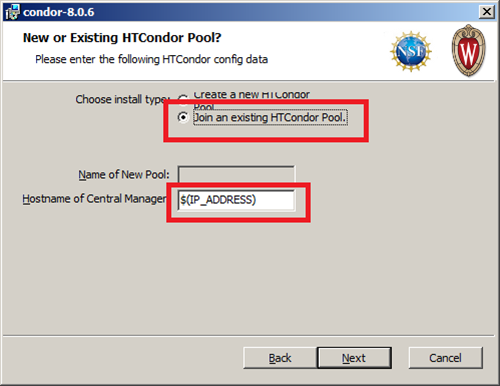
Select the ‘Join an existing HTCondor Pool’ option and enter the ‘10.254.0.1’ in the ‘Hostname of Central Manager’ input box and then click ‘Next’.
-
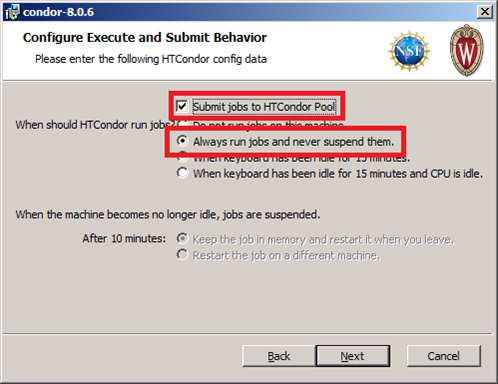
Check ‘Submit jobs to HTCondor Pool’ and select the ‘Always run jobs and never suspend them’ option, and then click ‘Next’.
-
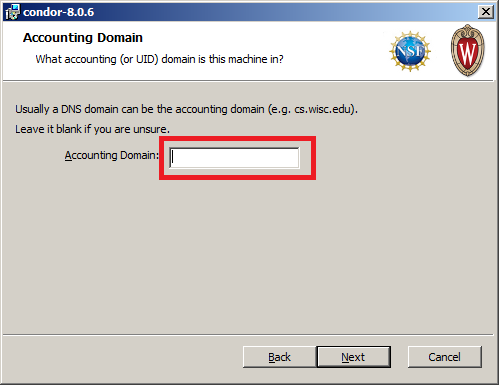
Enter ‘ipop’ in the ‘Accounting Domain’ box then click ‘Next’.
-
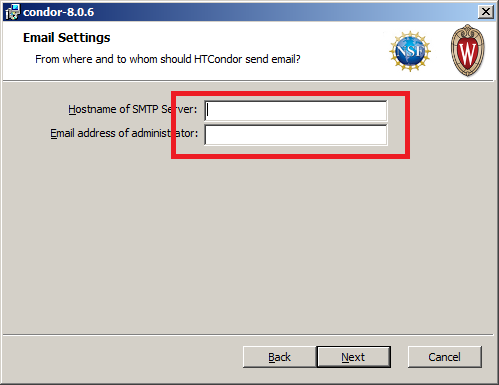
You can skip this step. There is no need to enter a value here.
-
The setup wizard automatically detects Java Virtual Machine (VM) Path.
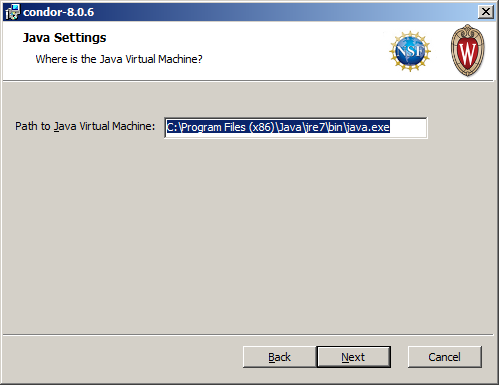
- If not, it means that JVM is not installed in your computer so please click ‘Cancel’ button and install a JVM through the following link, https://www.java.com/en/download/.
- After installing the VM, click ‘Next’.
-
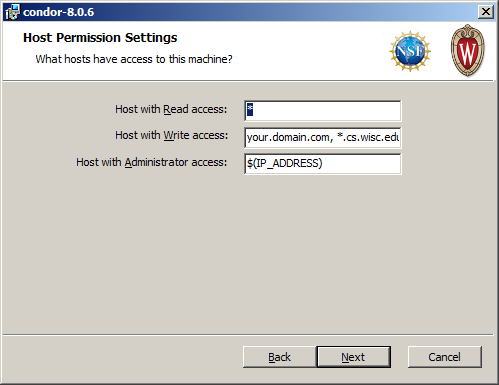
Leave the default ‘*’ value in the ‘Host with Read access’ text box, and enter ‘*’ into the ‘Host with Write access’ text box. Enter ‘$(IP_ADDRESS)’ into the ‘The Host with Administrator access’ text box and then click ‘Next’.
-
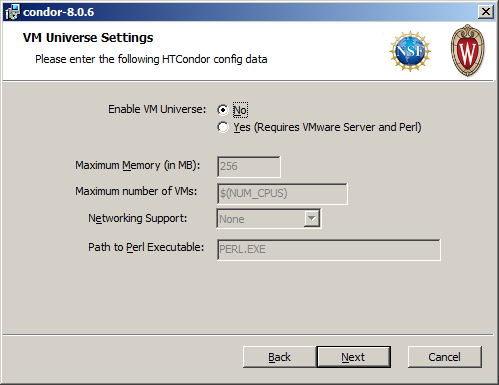
Choose ‘No’ for the question ‘Enable VM Universe’ and click ‘Next’.
-
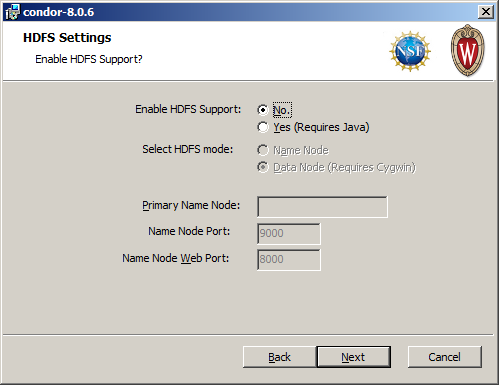
Choose ‘No’ for the question ‘Enable HDFS Support’ and click ‘Next’.
-
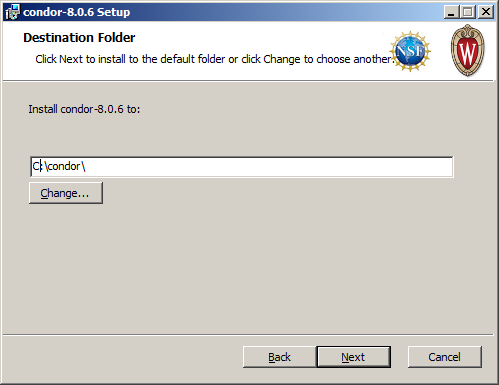
Set a destination folder. The default folder is ‘**c:\condor*’ or ‘**c:\Program Files\condor*’ but you can change it into any folder you want. Click ‘Next’.
-
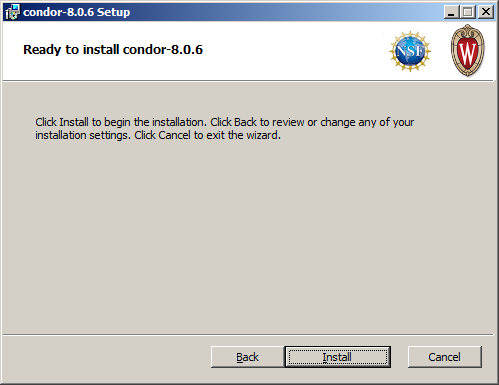
Click ‘Install’ Button.
-
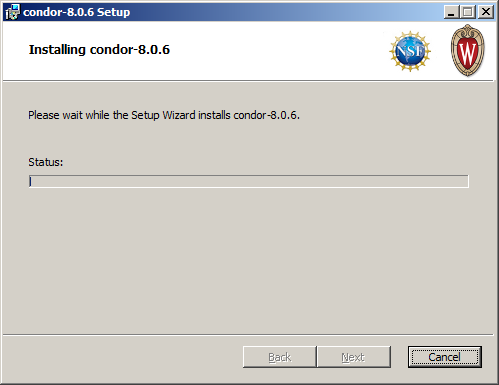
The setup wizard installs a HTCondor software in your machine so please wait a few minutes. When the installation is completed, it goes to next step automatically.
-
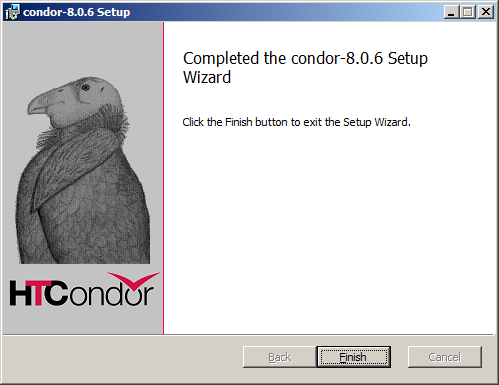
Click ‘Finish’ Button to exist the Setup Wizard.
-
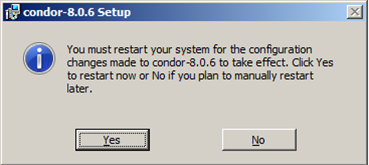
After installation, you have to restart your computer.
- Before you restart, edit your c:\condor\condor_config file with the following values. If any line is preceded with an hash sign ‘#’, remove it.
PRIVATE_NETWORK_NAME = ipop PRIVATE_NETWORK_INTERFACE = $(NETWORK_INTERFACE) NO_DNS = True
* Finally, if you have unsaved programs such as _Word_, _Excel_, or _research programs_, you should save it before restarting your machine.
* When ready, click ‘**Yes**’ to restart your computer.