HTCondor Installation
!! Will be modified with actual configurations soon !!
-
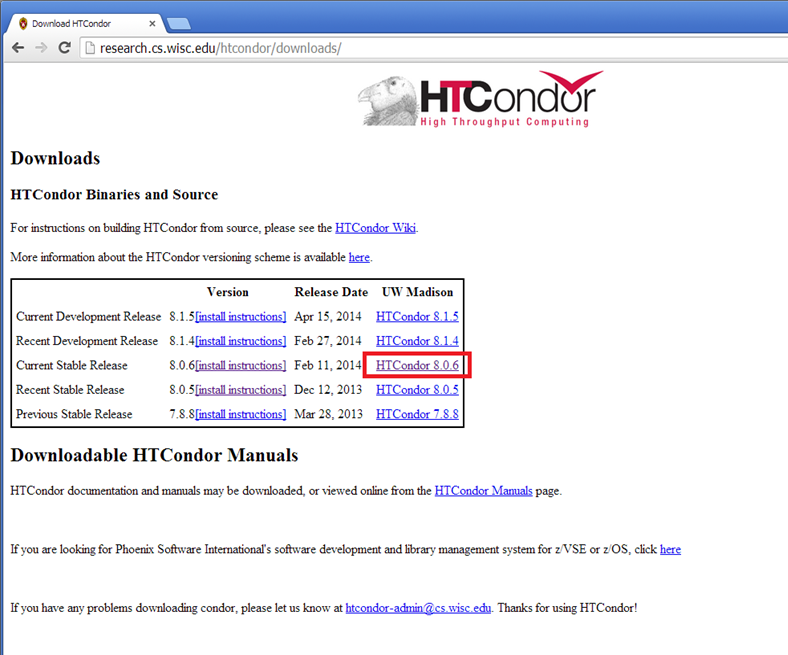
Go to http://research.cs.wisc.edu/htcondor/downloads/, and download the most current stable version as shown below.
-
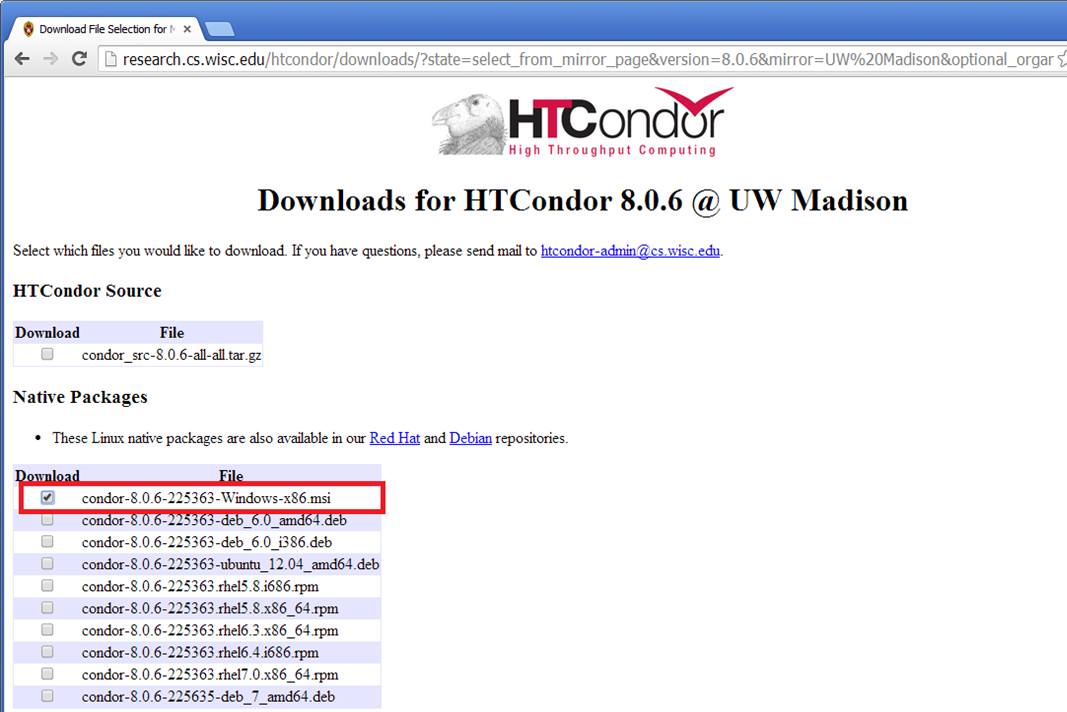
Check the file 'condor-8.0.6-225363-Windows-x86.msi'.
-
Scroll down and fill out the required form and then click the 'Submit Download Request' Button.
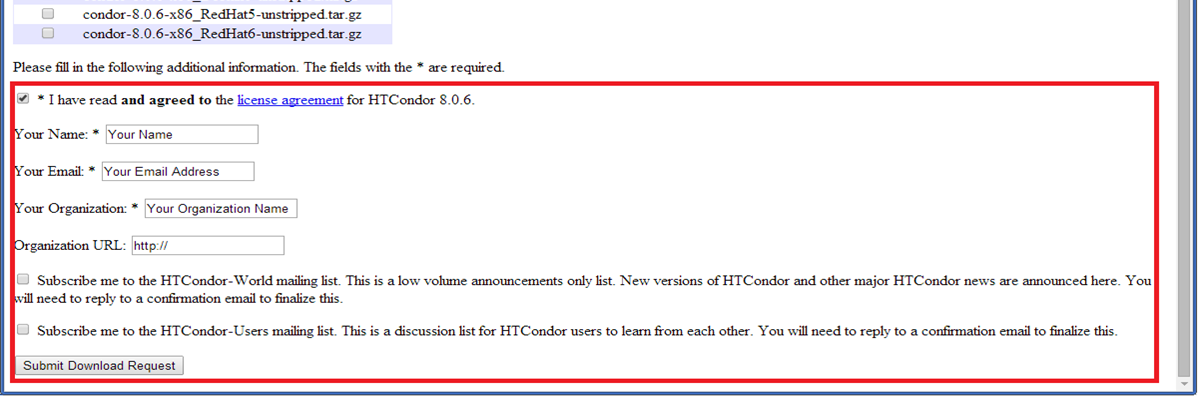
- check the “I have read and agreed to the license agreement for HTCondor 8.0.6.”
- Input your name, email, organization name, and organization URL.
- May want to check subscription options
-
Click the link to download the installation file.
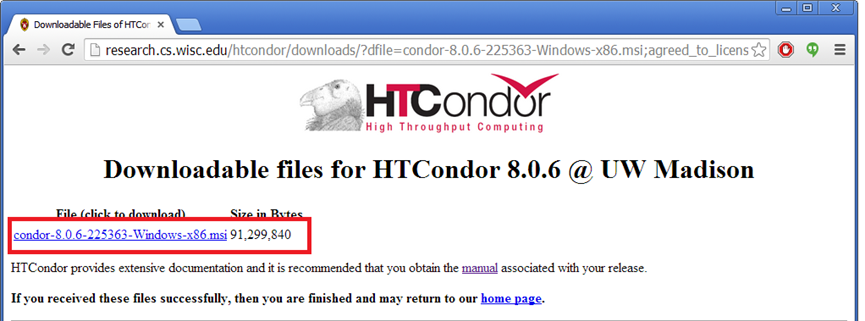
- If it is successfully downloaded, you can find it in your ‘Download’ folder.
- Else If the 404 page is appeared, it means that there is a problem in the HTCondor server side so please try again few minutes or hours later.
- Else, please contact your IT staff to figure out a problem.
-
Find the downloaded installation file ‘condor-8.0.6-225363-Windows-x86l.msi’ in your ‘Download’ folder and double-click the file.
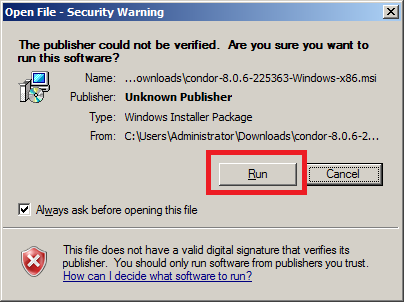
- Depending on your computer setting, a ‘security warning dialog’ window may be popped up as follows and click the ‘Run’ Button.
-
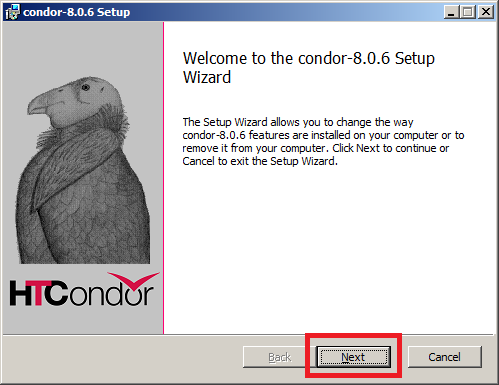
When a setup wizard launches as below, click ‘Next’ button.
-
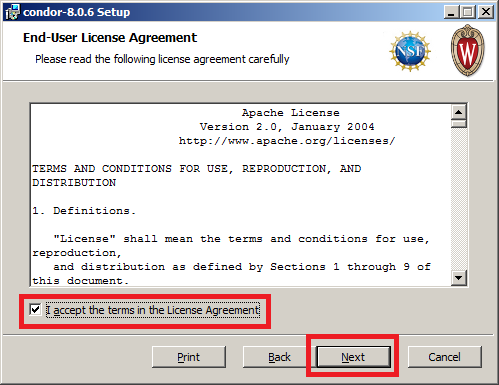
Read the ‘End-User License Agreement’ and check the ‘I accept the terms in the License Agreement’ box. Then click ‘Next’.
-
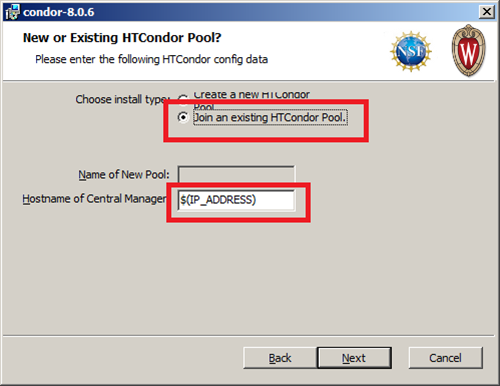
Select the ‘Join an existing HTCondor Pool’ option and enter the ‘???.???.???.???’ in the ‘Hostname of Central Manager’ input box and then click ‘Next’.
-
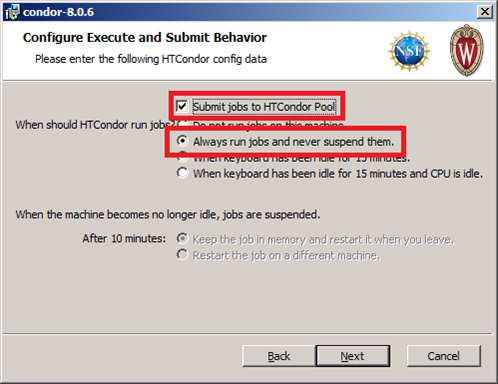
Check ‘Submit jobs to HTCondor Pool’ and select the ‘When keyboard has been idle for 15 minutes and CPU is idle’ option, and then click ‘Next’.
-
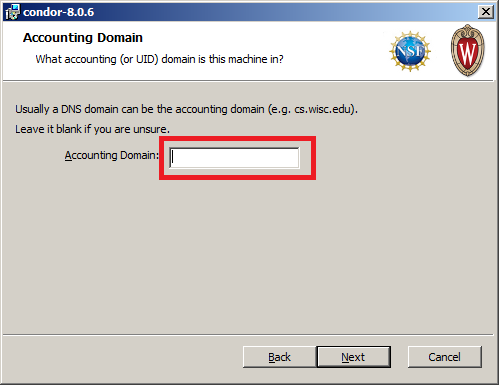
Enter ‘???.???.???’ in the ‘Accounting Domain’ box then click ‘Next’.
-
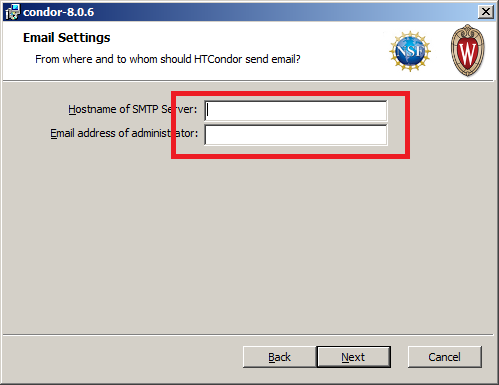
Enter ‘????.????.???.???’ into the ‘Hostname of SMTP Server’ text box and enter ‘admin@???.???’ into the ‘Email address of administrator’ text box, and then click ‘Next’.
-
The setup wizard automatically detects Java Virtual Machine (VM) Path.
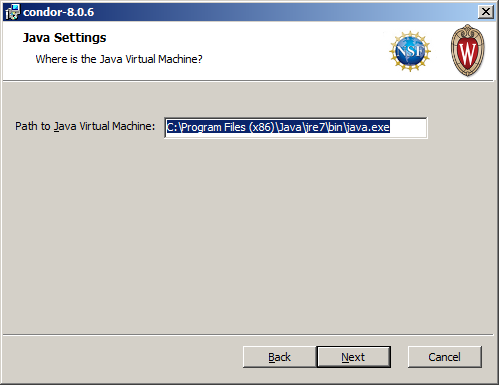
- If not, it means that JVM is not installed in your computer so please click ‘Cancel’ button and install a JVM through the following link, https://www.java.com/en/download/.
- After installing the VM, click ‘Next’.
-
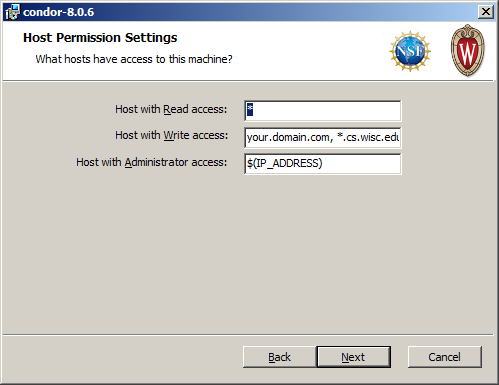
Leave the default value ‘’ in the ‘Host with Read access’ text box, and enter ‘???.???.???’ into the ‘Host with Write access’ text box. Enter ‘???.???.???.???’ into the ‘The Host with Administrator access’ text box after deleting ‘$(IP_ADDRESS*’ and then click ‘Next’.
-
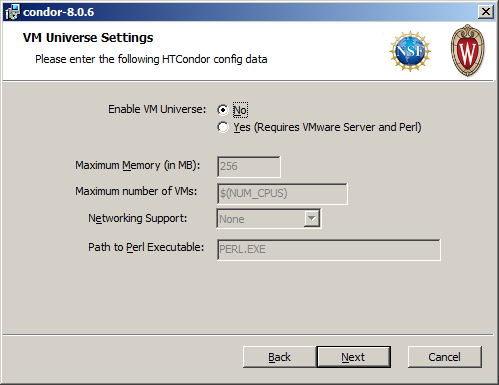
Choose ‘No’ for the question ‘Enable VM Universe’ and click ‘Next’.
-
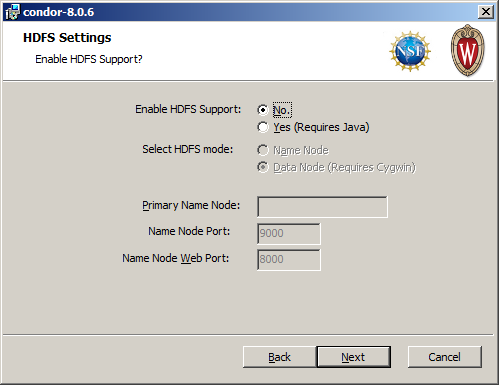
Choose ‘No’ for the question ‘Enable HDFS Support’ and click ‘Next’.
-
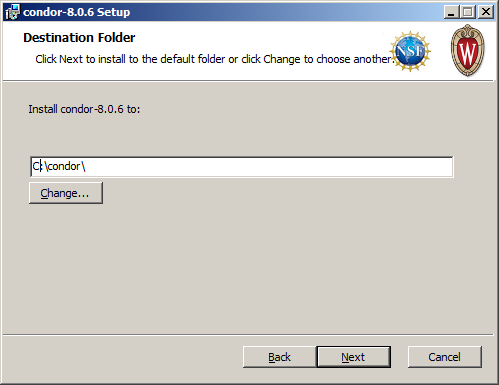
Set a destination folder. The default folder is ‘**c:\condor*’ or ‘**c:\Program Files\condor*’ but you can change it into any folder you want. Click ‘Next’.
-
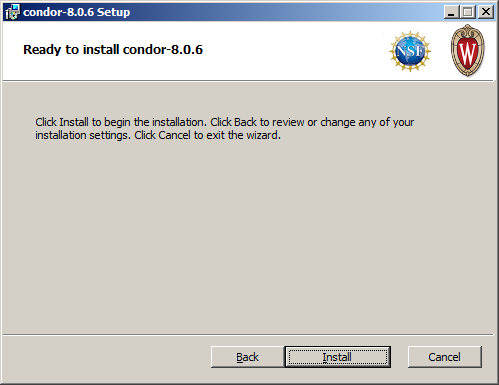
Click ‘Install’ Button.
-
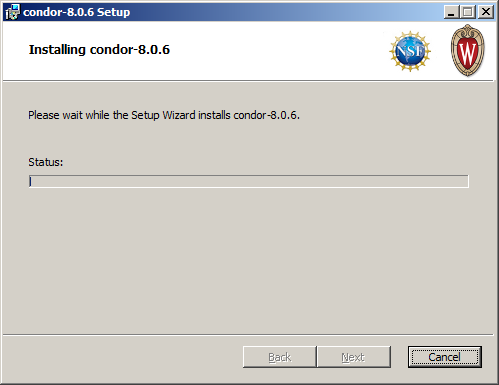
The setup wizard installs a HTCondor software in your machine so please wait a few minutes. When the installation is completed, it goes to next step automatically.
-
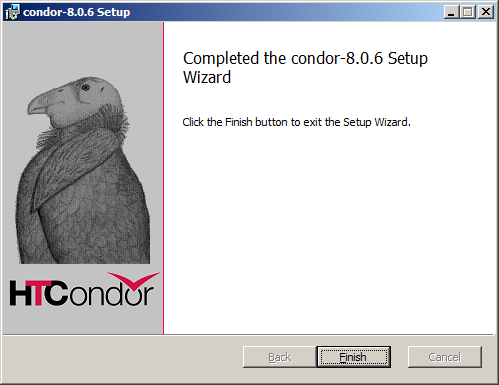
Click ‘Finish’ Button to exist the Setup Wizard.
-
After installation, you have to restart your computer.
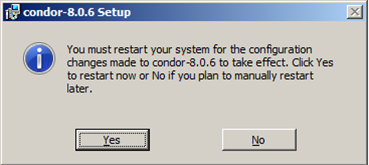
- If you have unsaved programs such as Word, Excel, or research programs, you should save it before restarting your machine. If you are ready, click ‘Yes’ to restart your computer.