forked from duxan/quagmir
-
Notifications
You must be signed in to change notification settings - Fork 5
QuagmiR on the Seven Bridges Cancer Genomics Cloud (CGC)
Xavier edited this page Jul 19, 2018
·
10 revisions
Create a CGC account and project
- Import data into your project using one of the following approaches:
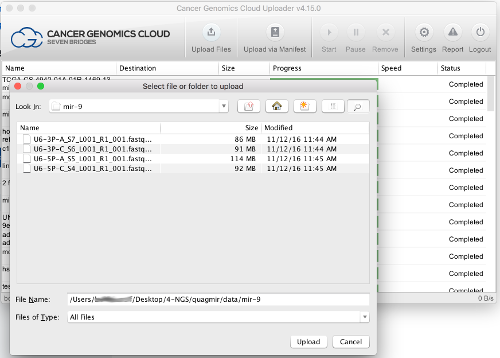
- Upload your own data using the CGC Uploader (recommended) or other available tools
- Browse and select data from one of the publicly available datasets on the CGC using the Data Browsers
- Add the
QuagmiRapp to your project.
- Click on the
Appstab in your project. - Click on
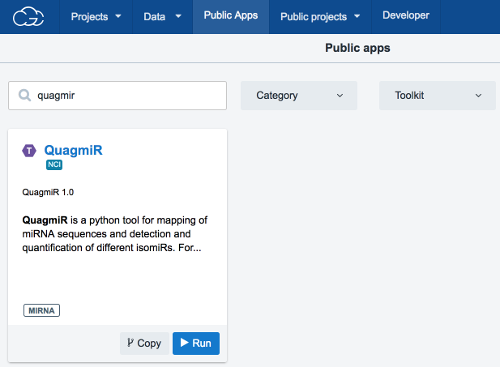
+ Add app. - Browse for
QuagmiRin the CGC Public Apps gallery. - Click
Copyto copyQuagmiRto your project.
- Add a motif reference file to your project using one of the following approaches:
- Create your own file, and upload it to your project (see step 3).
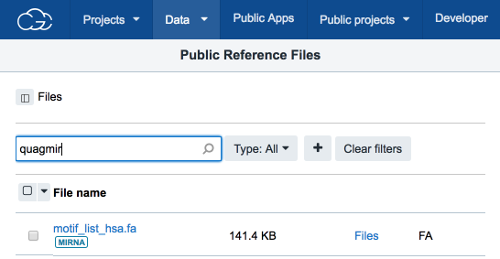
- Copy the available
motif_list_hsa.fareference file into your project.- Click on the
Filestab in your project. - Click on
+ Add app. - Browse for the file in the
Public Reference Files. - Check the checkbox next to the file.
- Click
Copy to Project.
- Click on the
- Click on the
Appstab in your project. - Next to the QuagmiR app, click
Run. - In the
Set Input Datatab, select the desired fastq file(s) and motif reference file from within your project.
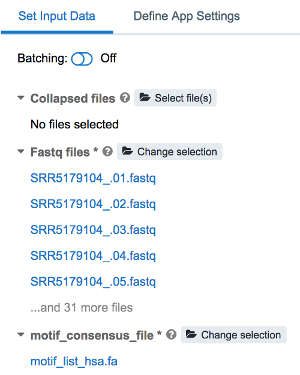
- Edit the configuration of the run as needed in the
Define App Settingstab. - Click on
Run.
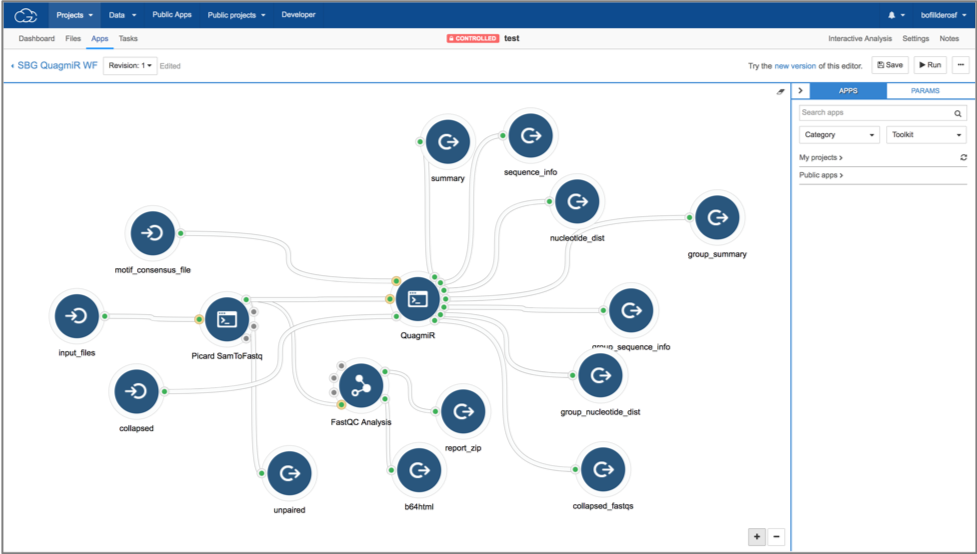
- If desired, use the CGC Workflow Editor to create a custom workflow that combines
QuagmiRwith other available bioinformatics tools.
Example workflow on the CGC that uses Picard SamToFastq to convert *.bam files into *.fastqfollowed by analysis of those files using FastQC Analysis and QuagmiR
