1. Initial Setup
This page is up to date to the latest version.
Previous versions may differ, but the core concept is still the same.
Modules are just used to encapsulate the logic.
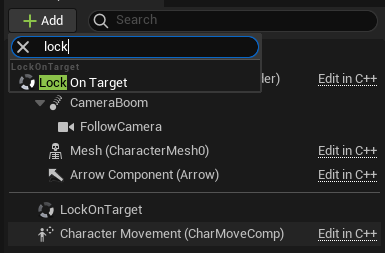
- Add the LockOnTargetComponent to your character.
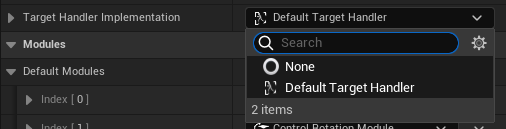
- Set the DefaultTargetHandler to the TargetHandlerImplementation. It's basically used to find a Target.
- Update the player's input. Input Overview.
- Capturing and releasing the Target:
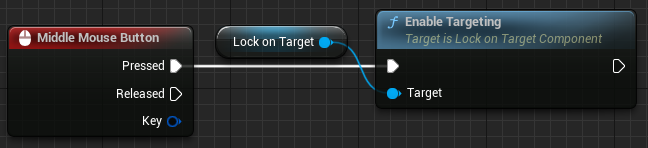
- Switching the Target with the axis input:
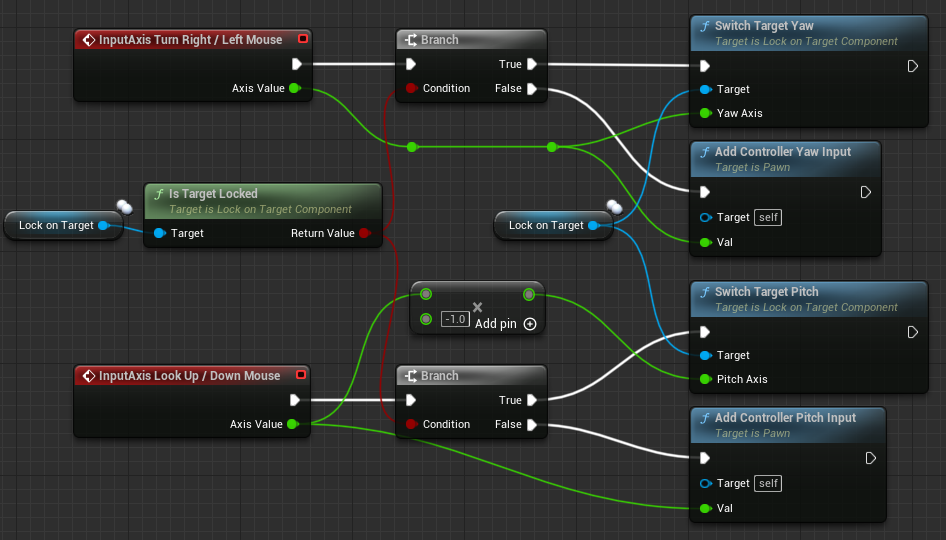
Note that the raw input is processed in the component, you don't need to setup any EnhancedInput features.
Perhaps in future updates the input will be processed via the EnhancedInput.
- Make sure to set the UsePawnControlRotation to true in the Camera or the SpringArmComponent.

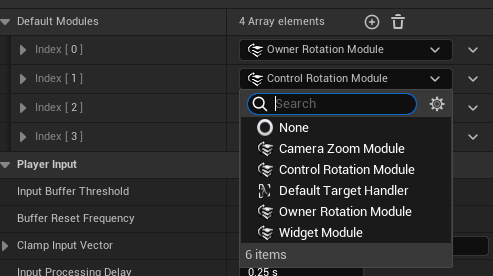
- Add the ControlRotationModule to the DefaultModules.
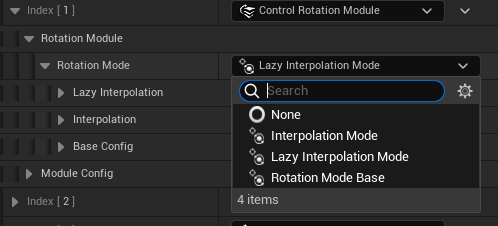
- Expand the ControlRotationModule and add the LazyInterpolationModule.
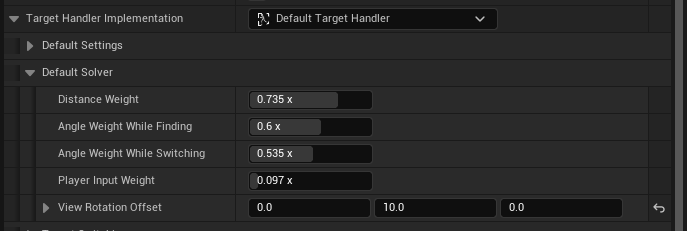
- (Optional) If you want to move the Target from the center of the screen.
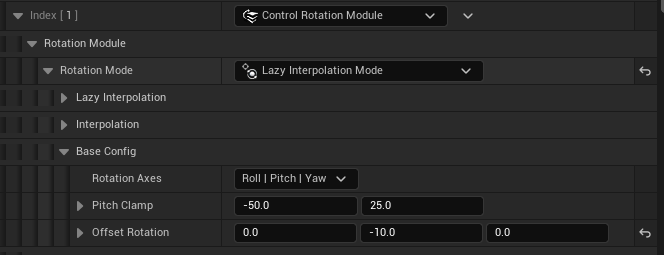
- Change the OffsetRotation pitch value in the ControlRotationModule->LazyInterpolationMode->BaseConfig to -10.f.
- Change the ViewRotationOffset in the DefaultTargetHandler->DefaultSolver to the opposite value.
- Add the WidgetModule to the DefaultModules.

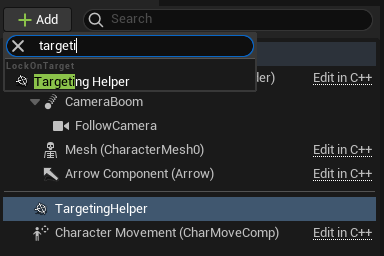
- Add the TargetingHelperComponent to the Target.
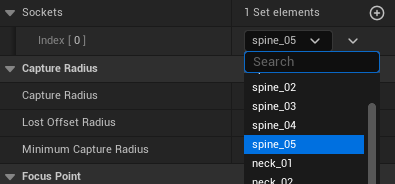
- Select a desired mesh in the MeshName. Socket location will be calculated from that mesh.

- Select desired sockets in the Sockets. Sockets are used for finding and tracking.
There are many ways to achieve this behavior. The easiest one will be demonstrated below. For a multiplayer game you may want to extend the UCharacterMovementComponent, all the necessary information is provided by the LockOnTargetComponent. This is not done in this plugin, cause otherwise the plugin would be very complicated and impose restrictions (inheritence from the custom Character).
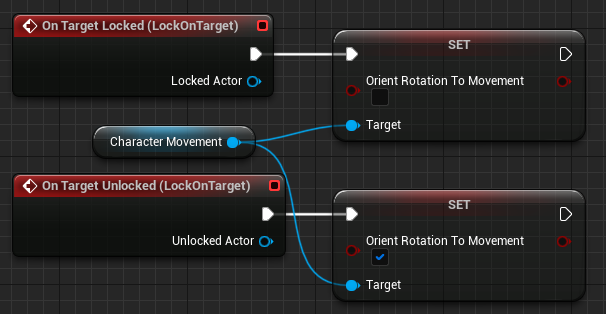
- Add the OnTargetLocked/Unlocked events from the LockOnTargetComponent:

- Disable the bOrientRotationToMovement in the CharacterMovementComponent if used.
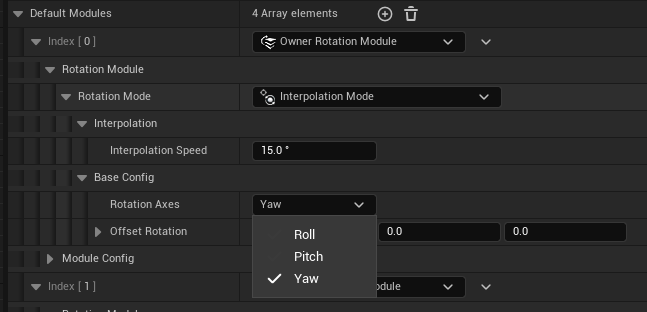
- Add the OwnerRotationModule to the DefaultModules and set the RotationMode to the InterpolationMode. Set the RotationAxes to the Yaw.