1. Initial Setup
- Engine plugin - enable plugin in Edit/Plugins/LockOnTarget.
- Project plugin - clone the repository to Project's Plugins folder. Generate project files and build Project.
- Add
LockOnTargetComponentto your character.
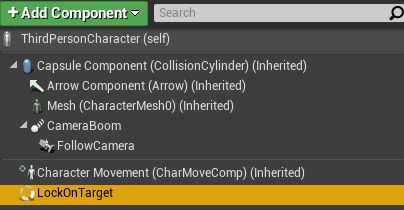
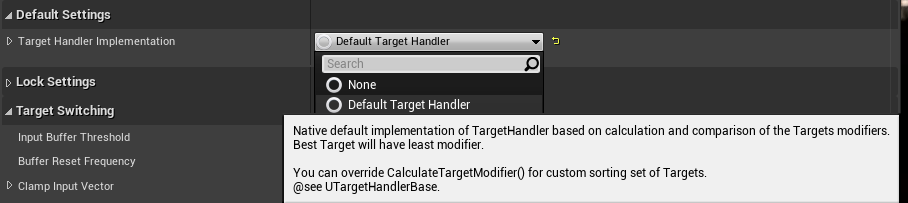
- Add
DefaultTargetHandlerto TargetHandlerImplementation.
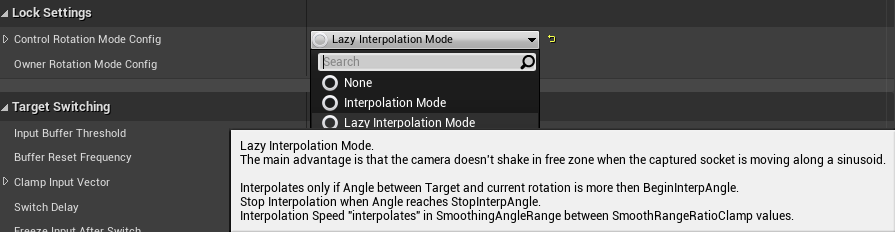
- Add
LazyInterpolationModein ControlRotationModeConfig.
- Update Character input.
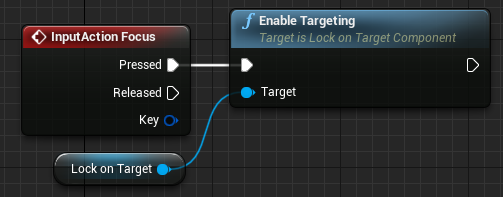
- Capturing and Releasing Target:
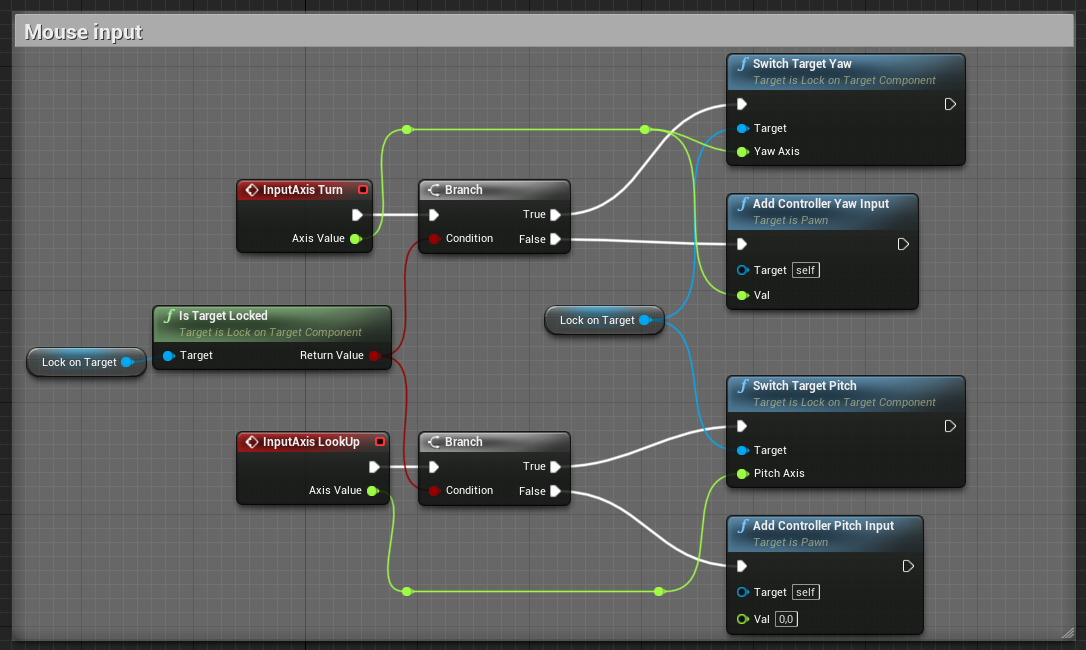
- Switching Target with axis input:
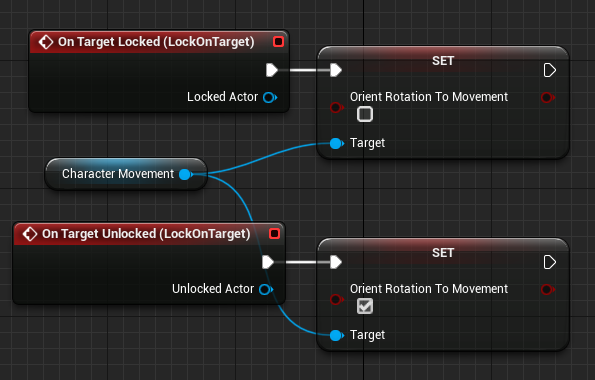
- (Optional) Strafe movement.
Disable bOrientRotationToMovement if used.
-
If your camera doesn't have offset or not using LazyInterpolationMode
-
Clear OwnerRotationModeConfig if set.

-
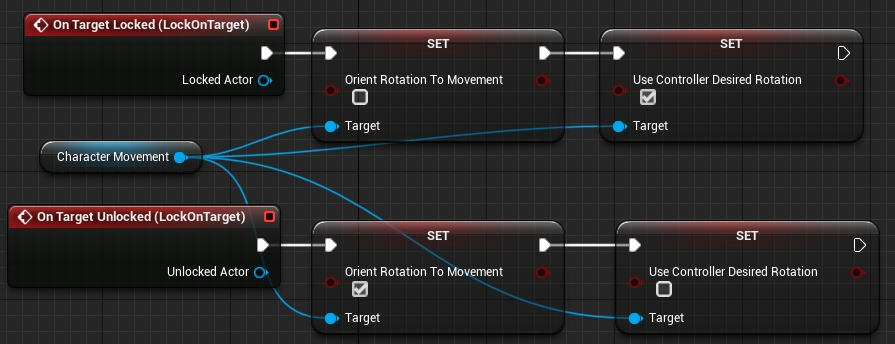
Set bUseControllerRotationYaw in APawn subclass or bUseControllerDesiredRotation in UCharacterMovement.
-
-
Otherwise. If character looking a little in the wrong direction.
- Fill OwnerRotationModeConfig with InterpolationMode/RotationModeBase.

- Choose proper axes in RotationConfig

- Fill OwnerRotationModeConfig with InterpolationMode/RotationModeBase.
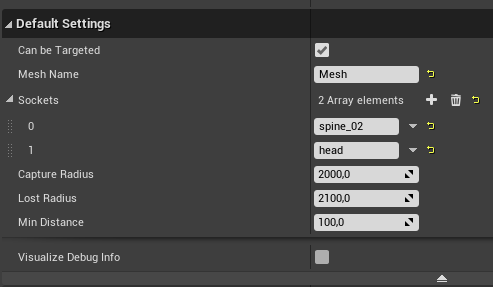
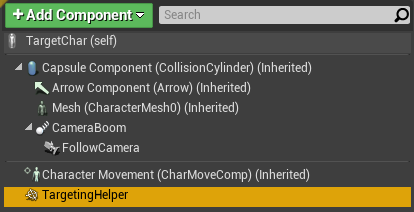
- Add
TargetingHelperComponentto every Target.
- Change None socket to the desired.
- Change MeshName to the desired (if multiple Meshes).