Repository navigation
Getting Started
- macOS 15.0 or later
- A licence key, once the 72-hour free trial ends, for anything beyond Jamf Pro settings reports. Without one, the app runs in a limited mode; see Licensing.
- API credentials for whichever platform you're reporting on:
| Platform | Needs |
|---|---|
| Jamf Pro | Server URL plus either a username/password or an API client — see Connecting to Jamf Pro |
| Microsoft Intune | An Entra app registration — see Connecting to Microsoft Intune |
| Iru | Tenant subdomain and API token — see Connecting to Iru |
The app ships as an installer package — there's nothing to build.
- Download the latest
.pkgfrom Releases. - Double-click it and follow the installer.
- Launch MDM Reporting Tool from
/Applications. - The 72-hour free trial starts on first launch, with everything unlocked. Activate your licence any time — see Licensing.
The package is signed with a Developer ID certificate and notarised by Apple, so it installs without any Gatekeeper warnings.
It's an ordinary signed installer package, so it can be uploaded to Jamf Pro, Intune or anything else and deployed like any other package — or installed on the command line:
sudo installer -pkg /path/to/MDMReportingTool.pkg -target /Each machine still activates its own licence — see Licensing.
Download the newer package and run it over the top. The app is replaced in place; preferences, saved server profiles, scheduled agents and anything held in the Keychain are left alone.
The app has a single window. Closing it (⌘W) leaves the app running so scheduled agents keep working. Click the Dock icon to bring the window back.
Quitting (⌘Q, or the power button in the header) asks you to confirm if a report is being generated or an automated report is running. It doesn't ask when the Mac is logging out, restarting or shutting down.
Deactivate the licence first (About → Manage License → Deactivate Licence) so the key is released from the machine, then delete the app from /Applications. Preferences and the debug log stay in ~/Library/Application Support/com.mdmmagic.MDMReportingTool/, and saved credentials stay in the Keychain until you remove them.
The progress bar across the top shows six stages: MDM → Authenticate → Options → Sections → Generate → Done. You can go back at any point.
Jamf Pro runs have two more optional screens inside the Sections stage:
| Platform | Screens |
|---|---|
| Jamf Pro | MDM → Authenticate → Options → Sections → Check Application Versions → Report Extras → Generate → Done |
| Microsoft Intune / Iru | MDM → Authenticate → Options → Sections → Generate → Done |
Pick the platform to report on. Once the trial has ended, only Jamf Pro can be selected without a licence.

Enter credentials for the selected platform. Nothing continues until the connection has actually been tested, so a bad URL or an expired secret surfaces here rather than halfway through a run. Credentials can be saved to the macOS Keychain, and every platform supports saved server profiles for quick reconnects.
Spaces and line breaks pasted around IDs, tokens and URLs are trimmed for you.
Save to Keychain only affects this connection. Leaving it unticked no longer deletes credentials you saved before, because automated reports may depend on them. To remove saved credentials, use Clear Saved. It asks you to confirm and names any automated reports that will stop working.

For Jamf, the tool also preflights the account's privileges before continuing — see Connecting to Jamf Pro.

Choose the output format, optionally turn on raw-API debug capture, and add a Microsoft Teams and/or Slack webhook to be notified when the report is ready. PDF/DOCX output and webhooks need a licence once the trial has ended.

| Output format | Produces |
|---|---|
| HTML Only | The interactive report (default) |
| HTML + PDF | Report plus a paginated PDF export |
| HTML + DOCX | Report plus an Office Open XML document |
This step is optional — Skip takes the defaults.
Every section is opt-in, grouped by area, with select-all and per-group clear controls. The Customise Report panel lets you override the report title and footer for this run only, and add a customer logo to the report's top banner.

See Report Sections for the full list per platform.
For Jamf, each part of the Unused group (Settings, Computers, Mobile Devices) can only be selected when at least one section from the matching main group is selected.
Once the trial has ended, only the Jamf Settings sections can be selected without a licence. The others show Licensed Only.
An optional step that compares the app versions installed across your managed Macs with the latest on Homebrew, optionally only for Macs with a recent inventory update. You can run the check here and see the results straight away, or leave it to run with the report. See Application Version Check.
Optional add-ons:

- Guidance Document: coming soon. Shown on this screen but can't be turned on yet
- Security Audit: see Security Audit
Neither the version check nor the extras depends on the section checkboxes. You can select no sections and generate a report containing only the version check or the Security Audit.
Each selected section runs against the live API, with overall progress, the current operation, and a running list of completed work.
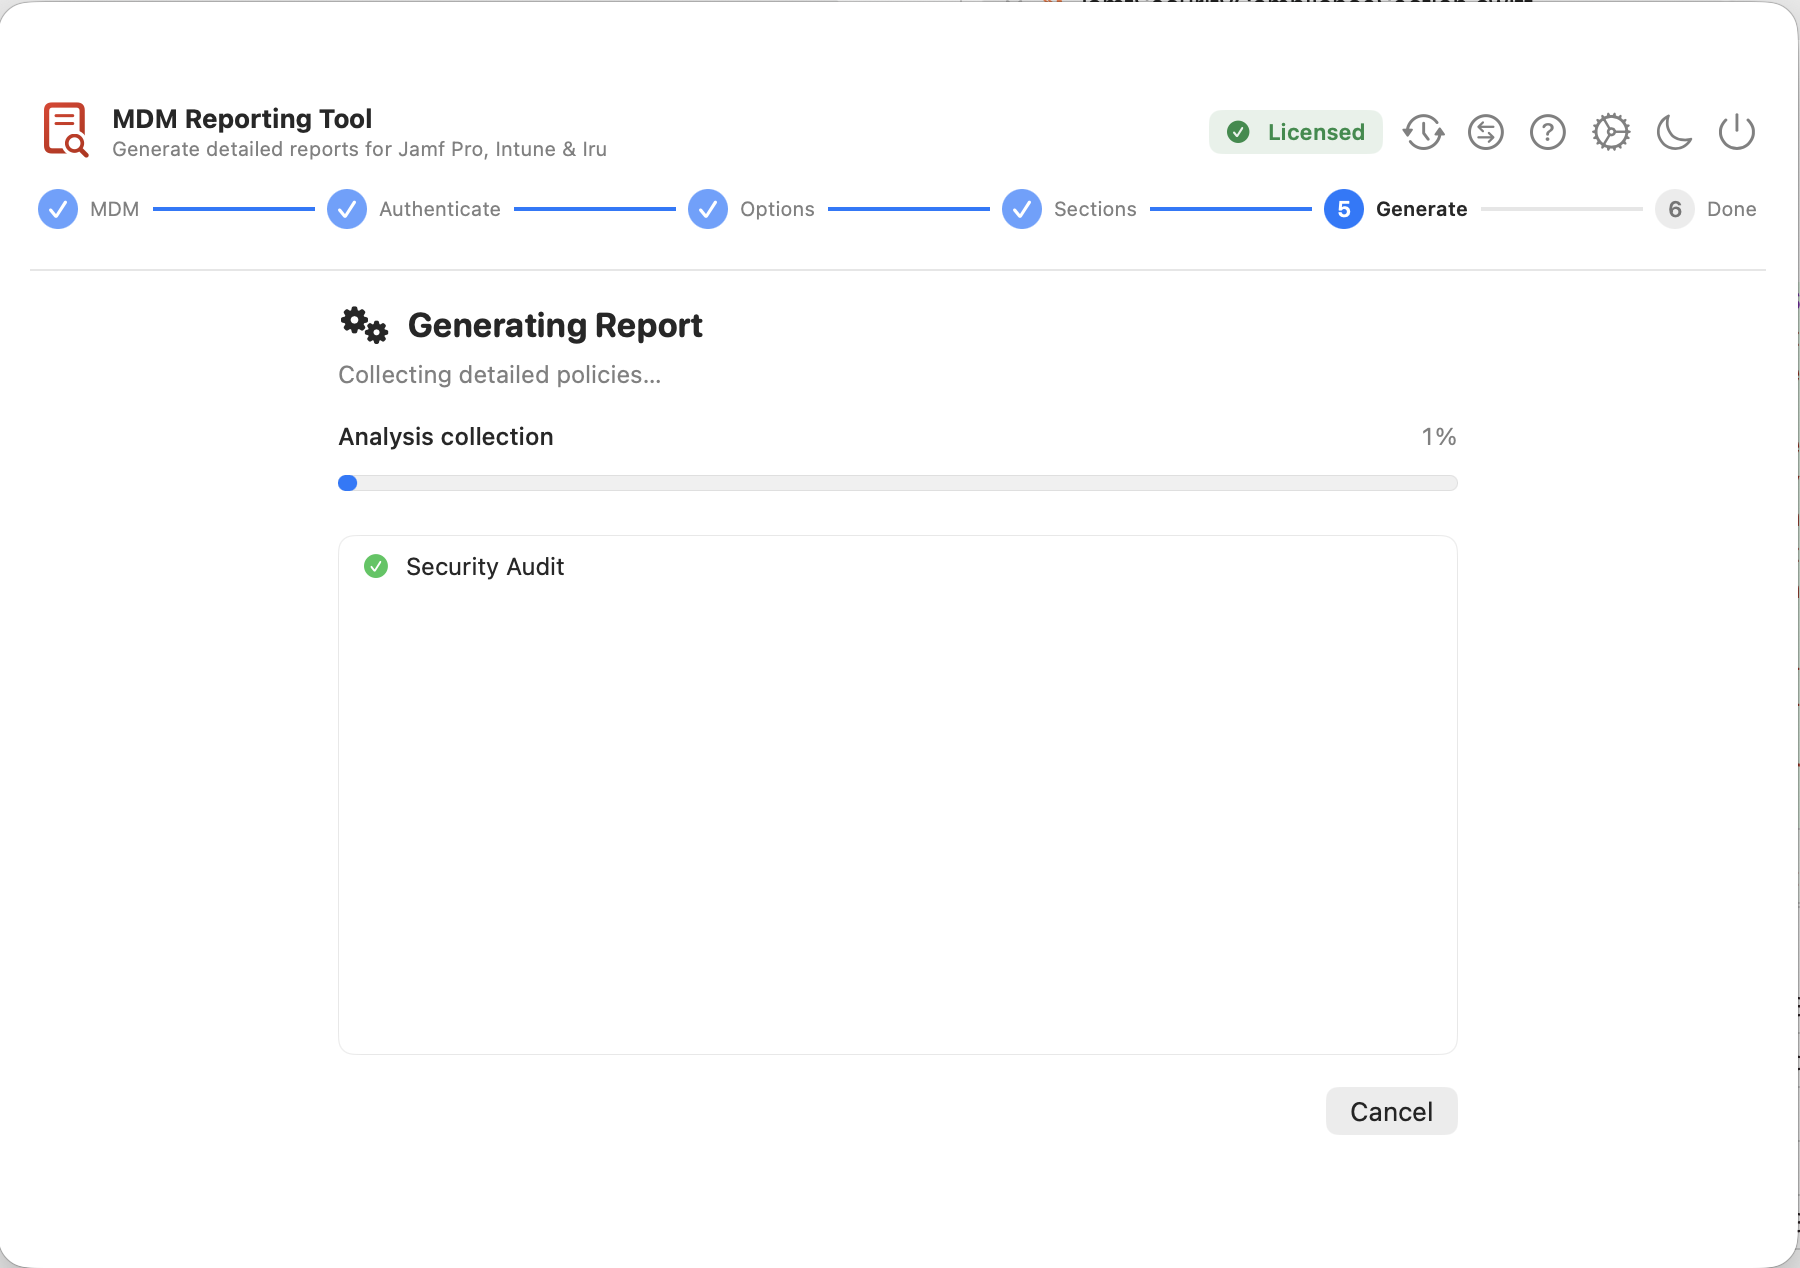
A run can be cancelled at any point. Cancelling stops the run straight away, deletes any report files it had already written, and sends no webhook notifications, so a half-finished report is never left behind.
If you try to quit the app while a report is generating, it asks you to confirm first.
The completion screen shows how many sections ran and how many API calls they took. It has buttons to open the report, PDF and DOCX, to show the folder in Finder, and to open the debug folder if debug mode was on.
If anything couldn't be fetched, or a webhook failed, an orange Some data may be incomplete box lists the problems (the first six, with the rest in the report). Treat those parts of the report as unverified.

The same screen for Intune and Iru runs — the counts reflect how many sections you selected:


| Run | Folder |
|---|---|
| Jamf Pro, Microsoft Intune and Iru | The save folder set in Preferences if it exists and is writable, else the Desktop (~/Desktop), else ~/Documents/JamfReport
|
| Agents | The agent's own save folder if set, else ~/Desktop/AgentReports/<Agent Name> — see Automated Reports
|
Changed in 1.0.2: Reports used to go to a
JamfReport,IntuneReportorIruReportfolder on the Desktop. With no save folder set, all three platforms now save straight to the Desktop. Reports already in the old folders aren't moved.
A save folder chosen in Preferences keeps working after the app restarts. If you chose it in an earlier version and reports start landing in the default folder, choose it again in Preferences.
Filenames start with the platform and are timestamped, e.g. JamfReport-20261022_183456.html, IntuneReport-… or IruReport-…, so runs never overwrite each other. A PDF or DOCX export has the same name as its report. Reports made before 1.0.2 were named like iru_report_20260922_183456.html. That's what makes Comparing Reports useful. If debug mode is on, the raw API responses go in a debug-<timestamp> folder in the app's Application Support folder, not next to the report. See Troubleshooting.