Feel free to copy and share.
If some of you don't even know what a Raspberry Pi is, it's a Linux based computer running Raspbian OS.
Order Raspberry Pi's here:
GPIO pins are the various header pins that stick out of the Raspberry Pi's motherboard. Usually people attach these to breadboards using ribbon cable and a cobbler. The cobber has an insert for the ribbon cable that connects to the GPIO pins.
- Place Cobbler on breadboard
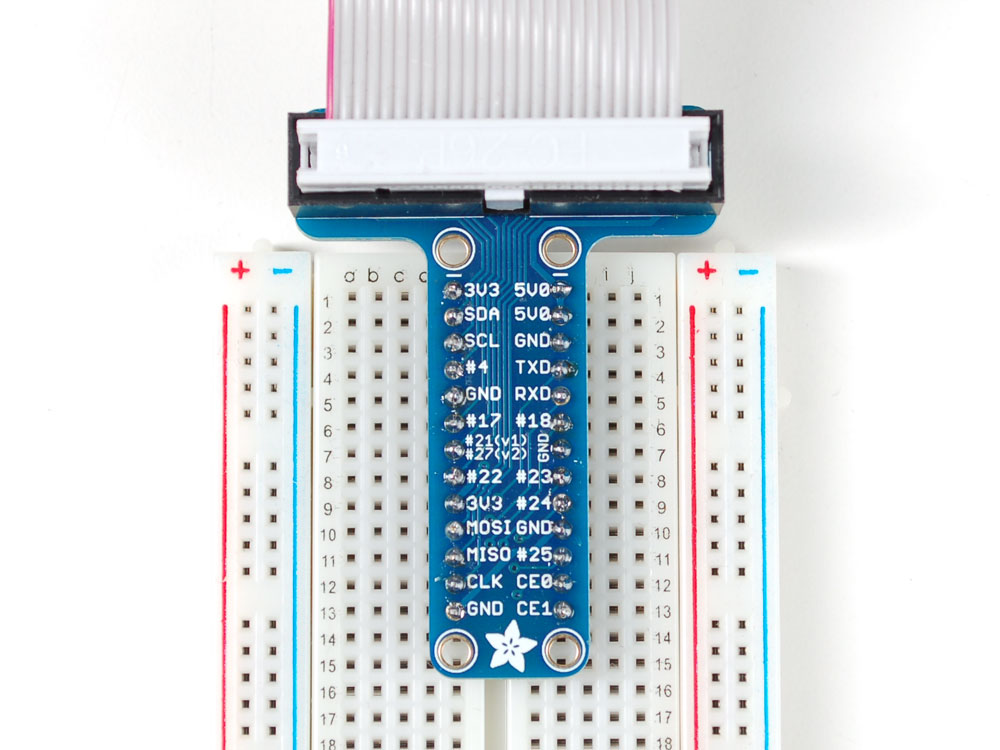
- Place ribbon cable on the GPIO pins and connect it to the cobbler.
-
As for the LED to blink in the program, you need to connect the positive LED pin to the correct pin number it's assigned to in the python code. Our default pin number is PIN 11. The positive goes in PIN 11, and the negative pin of the LED goes into the GND. Of course, you can change this is you ever want to.
-
This step requires the Raspberry Pi terminal. For a shortcut to the terminal just press CTRL + ALT + T.
You should see this window:
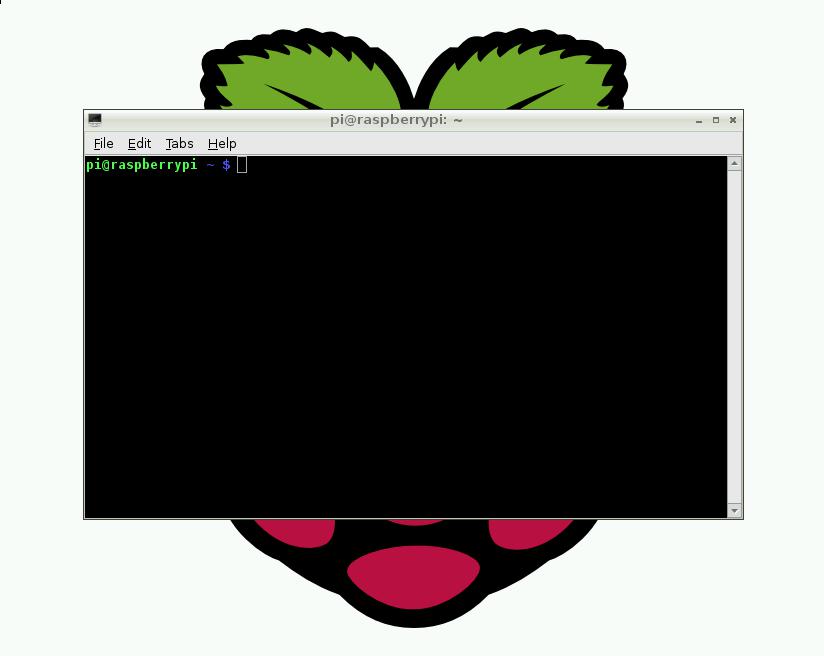
If you see this window, great! That's what should happen. Now navigate to the directory the python code is in by using cd your/dir/here
After you're in the directory, make sure either your root@raspberrypi or you enter the sudo command.
All you have to do is type in sudo su, then type python Program.py.
To run this program as the user pi, all you need to type is sudo python Program.py
© Microsoft Corporation 2018. All rights reserved.