A smart, AI-powered web application that translates natural language into shell commands for both Bash and PowerShell. This project is fully containerized with Docker for easy local development and is ready for production-grade deployment with Kubernetes.
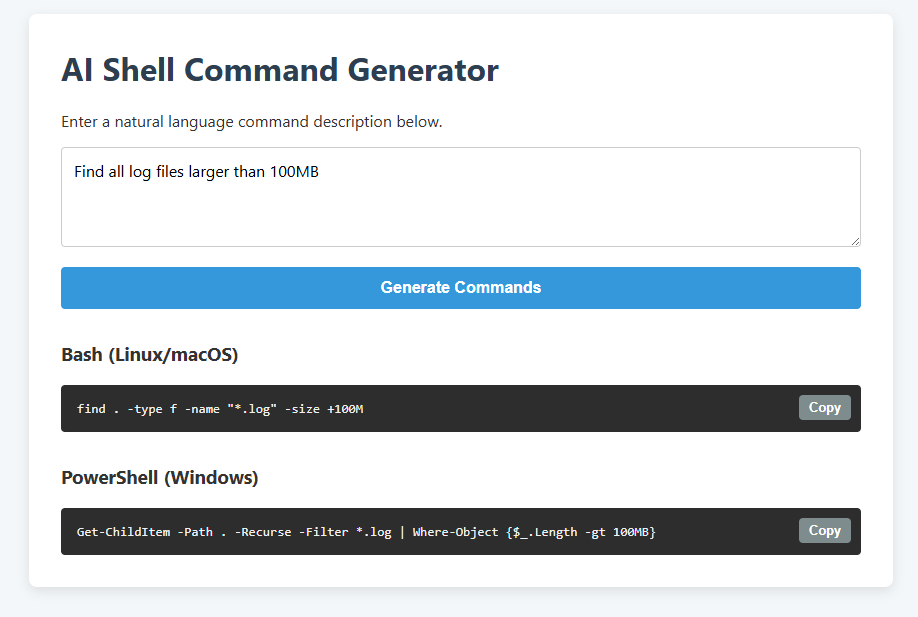
- Live AI Command Generation: Translates natural language prompts into shell commands in real-time using the Groq API.
- Cross-Platform Support: Generates commands for both Bash (Linux/macOS) and PowerShell (Windows) simultaneously.
- Robust Backend: Built with FastAPI, including rate limiting and comprehensive error handling.
- Containerized Environment: The entire application (backend and frontend) runs in Docker containers for a seamless setup experience.
- Kubernetes Ready: The application is fully deployable in a Kubernetes cluster, demonstrating scalable, resilient, and production-ready orchestration.
- Backend: FastAPI (Python), Uvicorn
- AI Integration: Groq API (
openai/gpt-oss-120bmodel, feel free to change) - Frontend: Vanilla JavaScript, HTML5, CSS3
- Web Server: Nginx
- Containerization: Docker, Docker Compose
- Orchestration: Kubernetes
To run this project locally for development, you will need Docker and Docker Compose installed.
-
Clone the Repository:
git clone https://github.com/TechWizard27/ai-shell-command-generator.git cd ai-shell-command-generator -
Set Up Environment Variables: Create a
.envfile by copying the example file.cp .env.example .envOpen the newly created
.envfile and add your Groq API key and define the model:GROQ_API_KEY=xxxxxxxxxxxxxxxxxxxx MODEL_NAME=your preferred model -
Build and Run with Docker Compose:
docker-compose up --buildThis command will build the Docker images and start both the backend and frontend services.
-
Access the Application: Open your web browser and navigate to
http://localhost:8080.
This project is configured for a declarative, production-style deployment on Kubernetes.
- A running Kubernetes cluster (e.g., enabled in Docker Desktop, Minikube, or a cloud provider like GKE/EKS/AKS).
kubectlcommand-line tool configured to connect to your cluster.- Local Docker Images: The deployment is configured with
imagePullPolicy: Never, so it requires the application's Docker images to be available in your local image cache. Please ensure you have rundocker-compose buildat least once before proceeding.
-
Create the Groq API Key Secret: Before deploying, you must create a Kubernetes Secret to securely store your API key. Replace
your_actual_groq_api_key_herewith your real key.kubectl create secret generic groq-api-key-secret --from-literal=GROQ_API_KEY=your_actual_groq_api_key_here -
Deploy the Application: Apply all the manifest files located in the
kubernetesdirectory. This single command will create all the necessary Deployments, Services, and ConfigMaps.kubectl apply -f kubernetes/ -
Check the Status: Wait a minute for all components to start. You can monitor the status of the pods with:
kubectl get podsYou should see both the
ai-shell-backend-deploymentandai-shell-frontend-deploymentpods in aRunning (1/1)state. -
Access the Application: Open your web browser and navigate to
http://localhost:30008.
To remove all created Kubernetes resources, run:
kubectl delete -f kubernetes/
This project is licensed under the MIT License. See the LICENSE file for details.