Getting Started with the Source Code on Windows
These instructions describe how to clone the source code on windows and build it
- We assume you have Git installed locally (https://git-scm.com/) or any application like SourceTree (https://www.sourcetreeapp.com) for visualizing Git repositories.
- Create a GitHub account if you would like to contribute to the project, click Sign up at the top of this page.
- The main solution Vts.sln contains a .NET Standard 2.0 project so you will need Visual Studio 2017 and all the latest updates and service packs. If .NET Standard 2.0 is still not recognized install the .NET Core 2.1 SDK
- The solution requires the .NET Core Runtime 2.1 if you do not have a version of Visual Studio including this runtime or to build without Visual Studio, download the following:
Proud to use:

Clone the source code from GitHub:
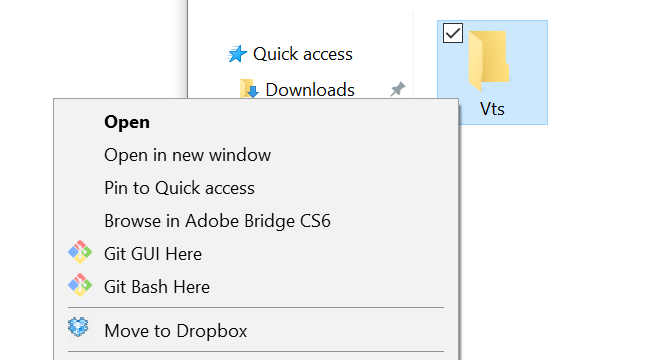
- Create a new folder on your machine. Or if you are using an existing folder make sure there is no folder named Vts within that folder (This is the name it will use for the Vts repository).
- Right-click on the folder and select Git Bash Here
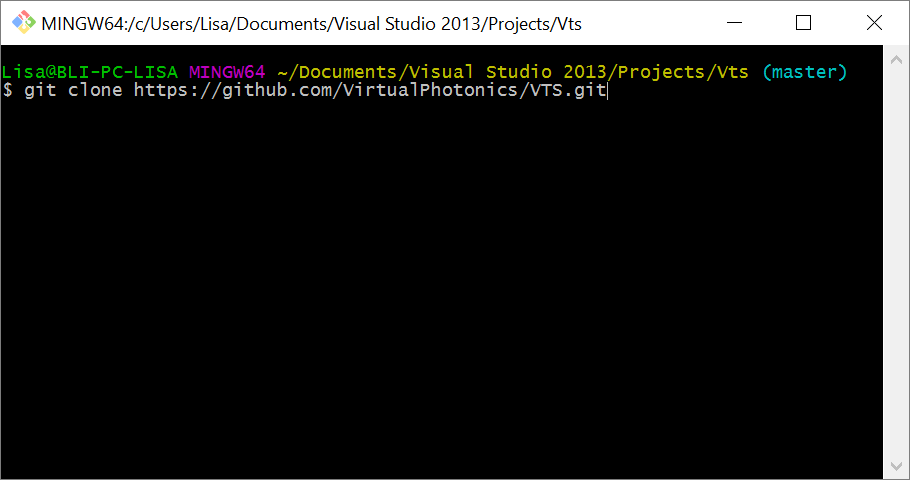
- Type
git clone https://github.com/VirtualPhotonics/VTS.git
- Once the files are cloned, open the solution file in Visual Studio <clone_root>/Vts/src/Vts.sln
- For intructions on building the software in Visual Studio go to Compile and run the VTS
- It is possible to build the solution without Visual Studio
Clone branch code from GitHub:
- Type
git clone -b branchName --single-branch https://github.com/VirtualPhotonics/VTS.git - This will clone only the branch. Periodically the master trunk is merged into each of our branches, however, note that updates to the master trunk will not appear in the branch until this merge occurs.
Build the Monte Carlo Command Line (MCCL) and the VTS Matlab packages:
- Install powershell (https://docs.microsoft.com/en-us/powershell/scripting/install/installing-powershell-core-on-windows?view=powershell-7)
- In File Explorer, navigate to the Windows PowerShell app and Run as Administrator. Within PowerShell navigate to the vts folder. Run command ```./BuildTestRelease.ps````. This will build the source code and run unit tests. The unit tests use Matlab, if this are not installed on your computer, the batch file will continue (some warning windows might appear). Four zip files will be created in the root of the ../vts/release/ folder, three MCCL zip files and one VTS MATLAB file: 1) linux-x64/MC_vxx.zip, 2) osx-x64/MC_vxx.zip, 3) win-x64/MC_vxx.zip and 4) VTS_MATLAB_vxx.zip. These are the same zip files that we distribute in the downloads section. For instructions on how to use the software click MCCL and MATLAB.