Repository navigation
Shiny Egg Getting Started Guide
If this is your first time using Shiny Egg, make sure to read First Time Setup before you continue.
Important! Shiny Egg does not work the way most ROM hacking tools do. It does not edit a ROM file in place. Instead, it keeps changes you make as overlays that it stores separately for each project. Then, when you want to test/build/export the project, it combines your overlay files with the base ROM's files and compiles them together using asar.exe from source. Under the hood, Shiny Egg uses a modified version of https://github.com/Yoshifanatic1/SNES-ROM-Framework and https://github.com/Yoshifanatic1/Yoshi-s-Island-Disassembly.
This means that all of the game's assets, level data, and ASMs are editable and kept separate. You can see all of the files you've changed in the overlays folder of your project. This makes it much less likely that you'll accidentally write over your changes or corrupt your ROM. It also has a number of benefits, including more control over ROM layout and ASM patches that have access to symbols that don't break when things shift around.
A new project is created for you automatically, but you can create a new project using the project menu.
Export will build your current changes into a compiled .sfc file and prompt you to save it elsewhere on your computer. The most recent build of your project is also available in the project folder
Open folder will open the folder containing your project files where you can access all of your overlay files, patches, and build.
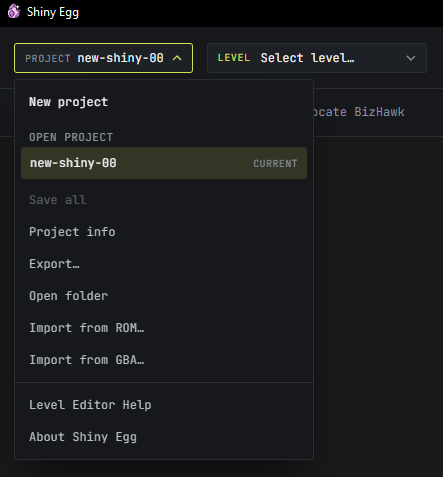
To rename or delete an existing project, select Project Info.
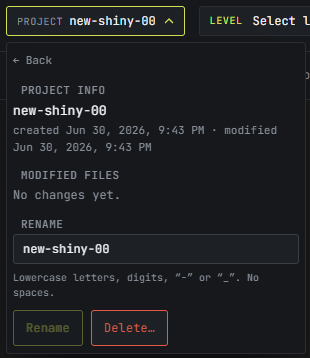
The editor itself contains a lot of documentation and help text to explain various features and panels. In the project menu Level Editor Help provides information about the level editor including mouse/keyboard controls and shortcuts.
Each panel in the editor also has its own help dialog with additional information.
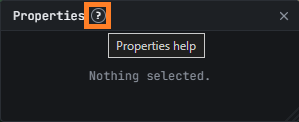
Tip: All panels can be moved and resized by dragging the header and the bottom right corner. If a panel goes off screen, you can reset it by right-clicking either its header or its button in the toolbar.
To open a level for editing, either select it from the Level menu, or type the record ID of the level in the go to room box.
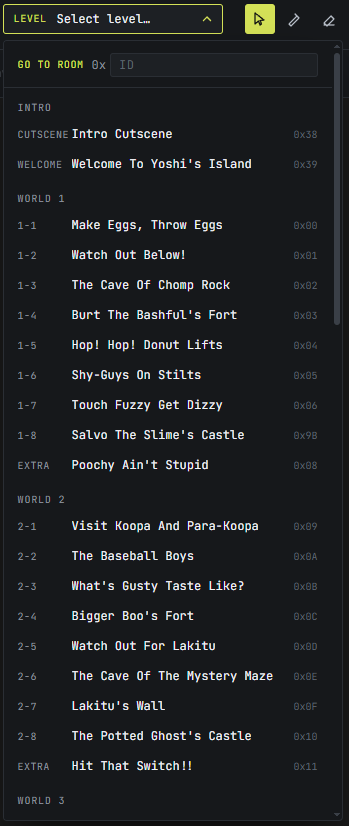
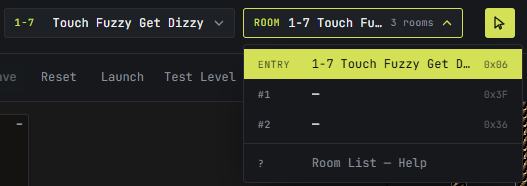
Once a level has been opened, you can view its subrooms in the room dropdown. The help entry here explains how the list is populated and how to add rooms to a level.
The toolbar is split up into 5 sections.

Always available.
- Click + Drag to Pan
- Mouse Wheel to zoom in/out
- Ctrl + C/X/V/D to Copy / Cut / Paste / Duplicate
- Ctrl + Z / Ctrl + Shift + Z to Undo / Redo
- Double Click an Exit to jump to its destination
- Mouse 4 / Alt + Left to jump back to a previous level or warp (works like browser history)
- Mouse 5 / Alt + Right to jump forward after a jump back (works like browser history)
- Arrow Keys to move an object/sprite
- Shift + Arrow Keys to resize an object/sprite
- Space - Toggle "Render Only" mode which hides all overlay/outline visuals
- Shift + Space - Toggle Camera Preview mode
From left to right on the toolbar.
Select (Q) - Click to select an object (level object/tiles or sprite). Click again to cycle through objects stacked on top of each other. Shift + Click to drag a selection box and select multiple objects.
Place (W) - Open the place panel to place level objects/sprites/exits. Stays in select mode until an object is chosen for placement.
Erase (E) - Drag to erase many objects at once. Select + Delete to remove a single object.
Refresh RNG (R) - Roll a new RNG seed to help visualize alternate RNG tile visuals.
Set Test Level Spawn (Middle Click / T) - Place a test level spawn position. When Test Level is clicked, the editor will use the emulator's Lua interface to load the current level and spawn Yoshi at the specified position, overriding the default level spawn. Middle Click on the spawn point to remove it.
BG Color - The color of the flat color background visible when out of bounds and when the background gradient visual is turned off.
Grid Color - The color and alpha of the grid lines draw on top of the level canvas.
Top Row - From left to right. Show/hide rendered visual. Keyboard Shortcut: Shift + 1/2/3/4/5
- Show/Hide Sprites
- Show/Hide BG1 - The level objects/tiles that compose the majority of the level's terrain.
- Show/Hide BG2 - Decorative background layer 2. Can sometimes appear in front of BG1.
- Show/Hide BG3 - Decorative background layer 3. Can sometimes appear in front of BG1.
- Show/Hide Backdrop Gradient - Decorative background gradient.
Bottom Row - From left to right. Toggle outline visibility and enable/disable editing of specific layers. Keyboard Shortcut: 1/2/3/4/5
- Show Detailed Sprite Outlines / Show Basic Sprite Outlines / Disable Sprite Editing
- Show Detailed Object Outlines / Show Basic Object Outlines / Disable Object Editing
- Objects are standard and extended objects on BG1, the level's tiles and decorations.
- Show/Hide Exits
- Show/Hide Collision Visuals - A color overlay showing actual collision shapes and some collision metadata.
- Show Screen Grid / Show Tile Grid / Hide Grid
Navigation Back / Forward. Same as mouse 4/5 and alt + left/right.
Undo / Redo
Save all changes to the current level.
Reset level data back to original ROM data.
Locate BizHawk / Locate Mesen. To use the emulator test features, download and install BizHawk ( https://tasvideos.org/Bizhawk ) or Mesen ( https://www.mesen.ca/ ). Once installed, use Locate BizHawk or Locate Mesen to point the editor at where it's installed.
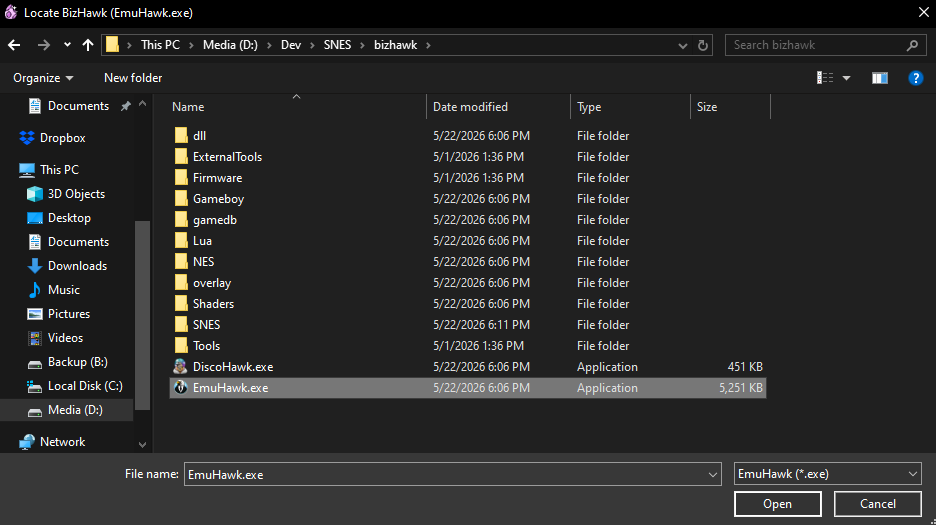
Once located, the Launch and Test Level buttons appear. Right click on these buttons to change to a different emulator or re-select your current emulator's exe if it was moved.

Launch - Build the .sfc ROM file (if there are changes) and launch it in the emulator.
Test Level - Build the .sfc ROM file (if there are changes) and launch it in the emulator. Then, using the Lua interface, load the currently open level and optionally teleport Yoshi to where the test level spawn is set.
- EGGS - Spawn with this many eggs.
- KEYS - Spawn with this many keys.
- Max 6 items.
These buttons show/hide the corresponding panel.
Properties - View and edit the properties of the currently selected object/sprite.
Place - Place objects/sprites. Includes search, thumbnail previews, and filters.
Find - Find objects placed in levels. Shift + click in the place panel to auto-search for objects. Useful for finding usage examples.
Exits Map - A map of sub-rooms and the exit/entrance connections that connect them.
Level Header - View and edit level header data.
Graphics Panels:
-
Graphics - Export graphics into a variety of formats to allow editing and importing them back in as changes.
- Spritesets tab - Edit the six graphics files in each of the game's 128 sprite tilesets, with a live preview. Fit to level rearranges the selected tileset so the current level's sprites have the graphics they need, and warns when they can't all fit. Unsaved changes already show on the level. Tilesets are shared: a change affects every level that uses that tileset, and the tab lists which rooms use the selected one (the tileset dropdown shows each one's room count, and marks unused tilesets). Reset to reference restores a tileset's original files.
- Tiles - View the level's loaded Map16 blocks, tilesets, spritesets, and more detailed level header data. Not currently very useful, mostly informational.
- Palette - View and edit level and global colors with live preview in editor for level colors and sync to emulator for other colors. Level gradient editing is also here.
Global Panels:
- Strings - View and edit game strings.
- Audio - Export music, sfx, and samples for editing and re-import. Allows importing songs in AMK and AMY style format.
- World Map - View and edit the world map. Which levels go in which world map slot and level unlocks.
- Level Banks - View and manage level memory. If levels get too big for their current slot, use this panel to migrate a level to freespace.
- Validation - Various level validation checks, such as item memory positions overwriting each other.
- Patches - Add and manage byte and asm patches. Includes a selection of pre-authored patches for convenience and debugging.
The editing canvas and render of the currently loaded level. Previews changes live including graphics and palette color changes.
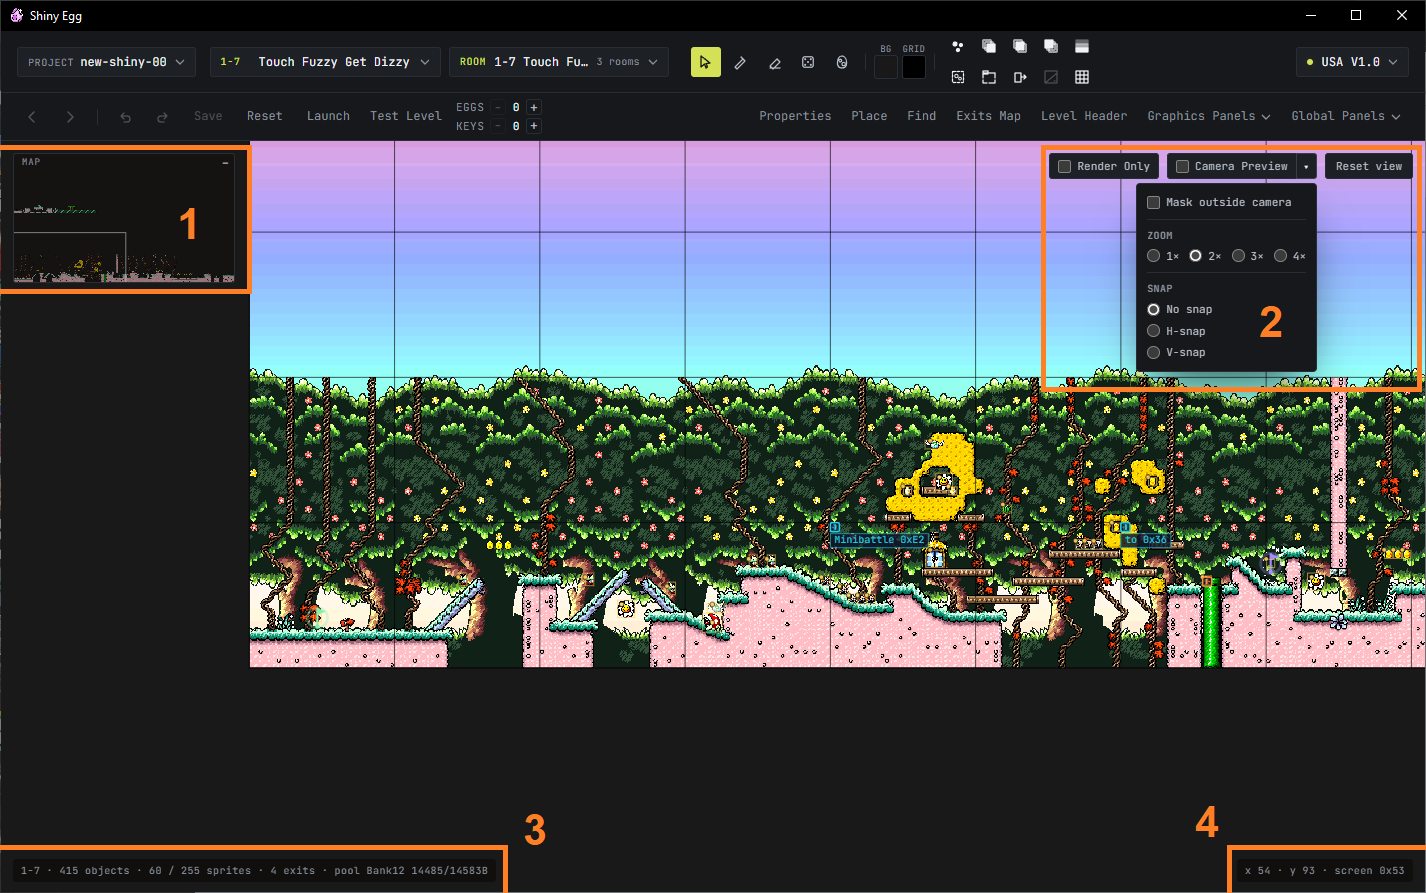
1 - Minimap. Click/drag to pan. Click on the header to minimize. 2 - Camera Controls
- Render Only - Space - Toggles render only mode which temporarily disables all overlay visuals like outlines and other informational markers. Helpful for quickly previewing the level layout without additional visual noise.
- Camera Preview - Shift+Space - Previews the way the camera looks in game. Including BG2/3/gradient parallax. Options for masking, zoom, and snapping the camera.
-
- Reset View 3 - Current level statistics 4 - Cursor x/y/screen position
More advanced tutorials for other features such as Import from ROM and some of the more advanced panels to come.