This is a walkthrough of building a Login Form using HTML and CSS.
- For this project we are going to use
VScode(Visual Studio) code editor
- Create a folder inside vscode and create a
index.htmlfile. - To have a basic
htmlstructure type,! + Enter - Your file shoule look somthing like this:

👉 Login Page Heading
- At first we give a heading to our login page using
<h1>tag.
<h1> Login page </h1> - Next, to create a section in the html page we use the
<div>tag which has aclassattribute with value"login". - Inside the div we include a
<form></form>tag.
<div class="login">
    <form>

    </form>
</div>
👉 Building the Form
- Then we use the
<label>tag to label the input fields. <input>tag helps us to create input fields for the username and password.
<h1>Login Page</h1><br>
    <div class="login">
    <form id="login">
        <label><b>User Name
        </b>
        </label>
        <input type="text" name="userName" id="userName" placeholder="Username">
        <br><br>
        <label><b>Password
        </b>
        </label>
        <input type="Password" name="password" id="password" placeholder="Password">
        <br><br>

    </form>
-
To submit the form, we use the input field of
buttontype.
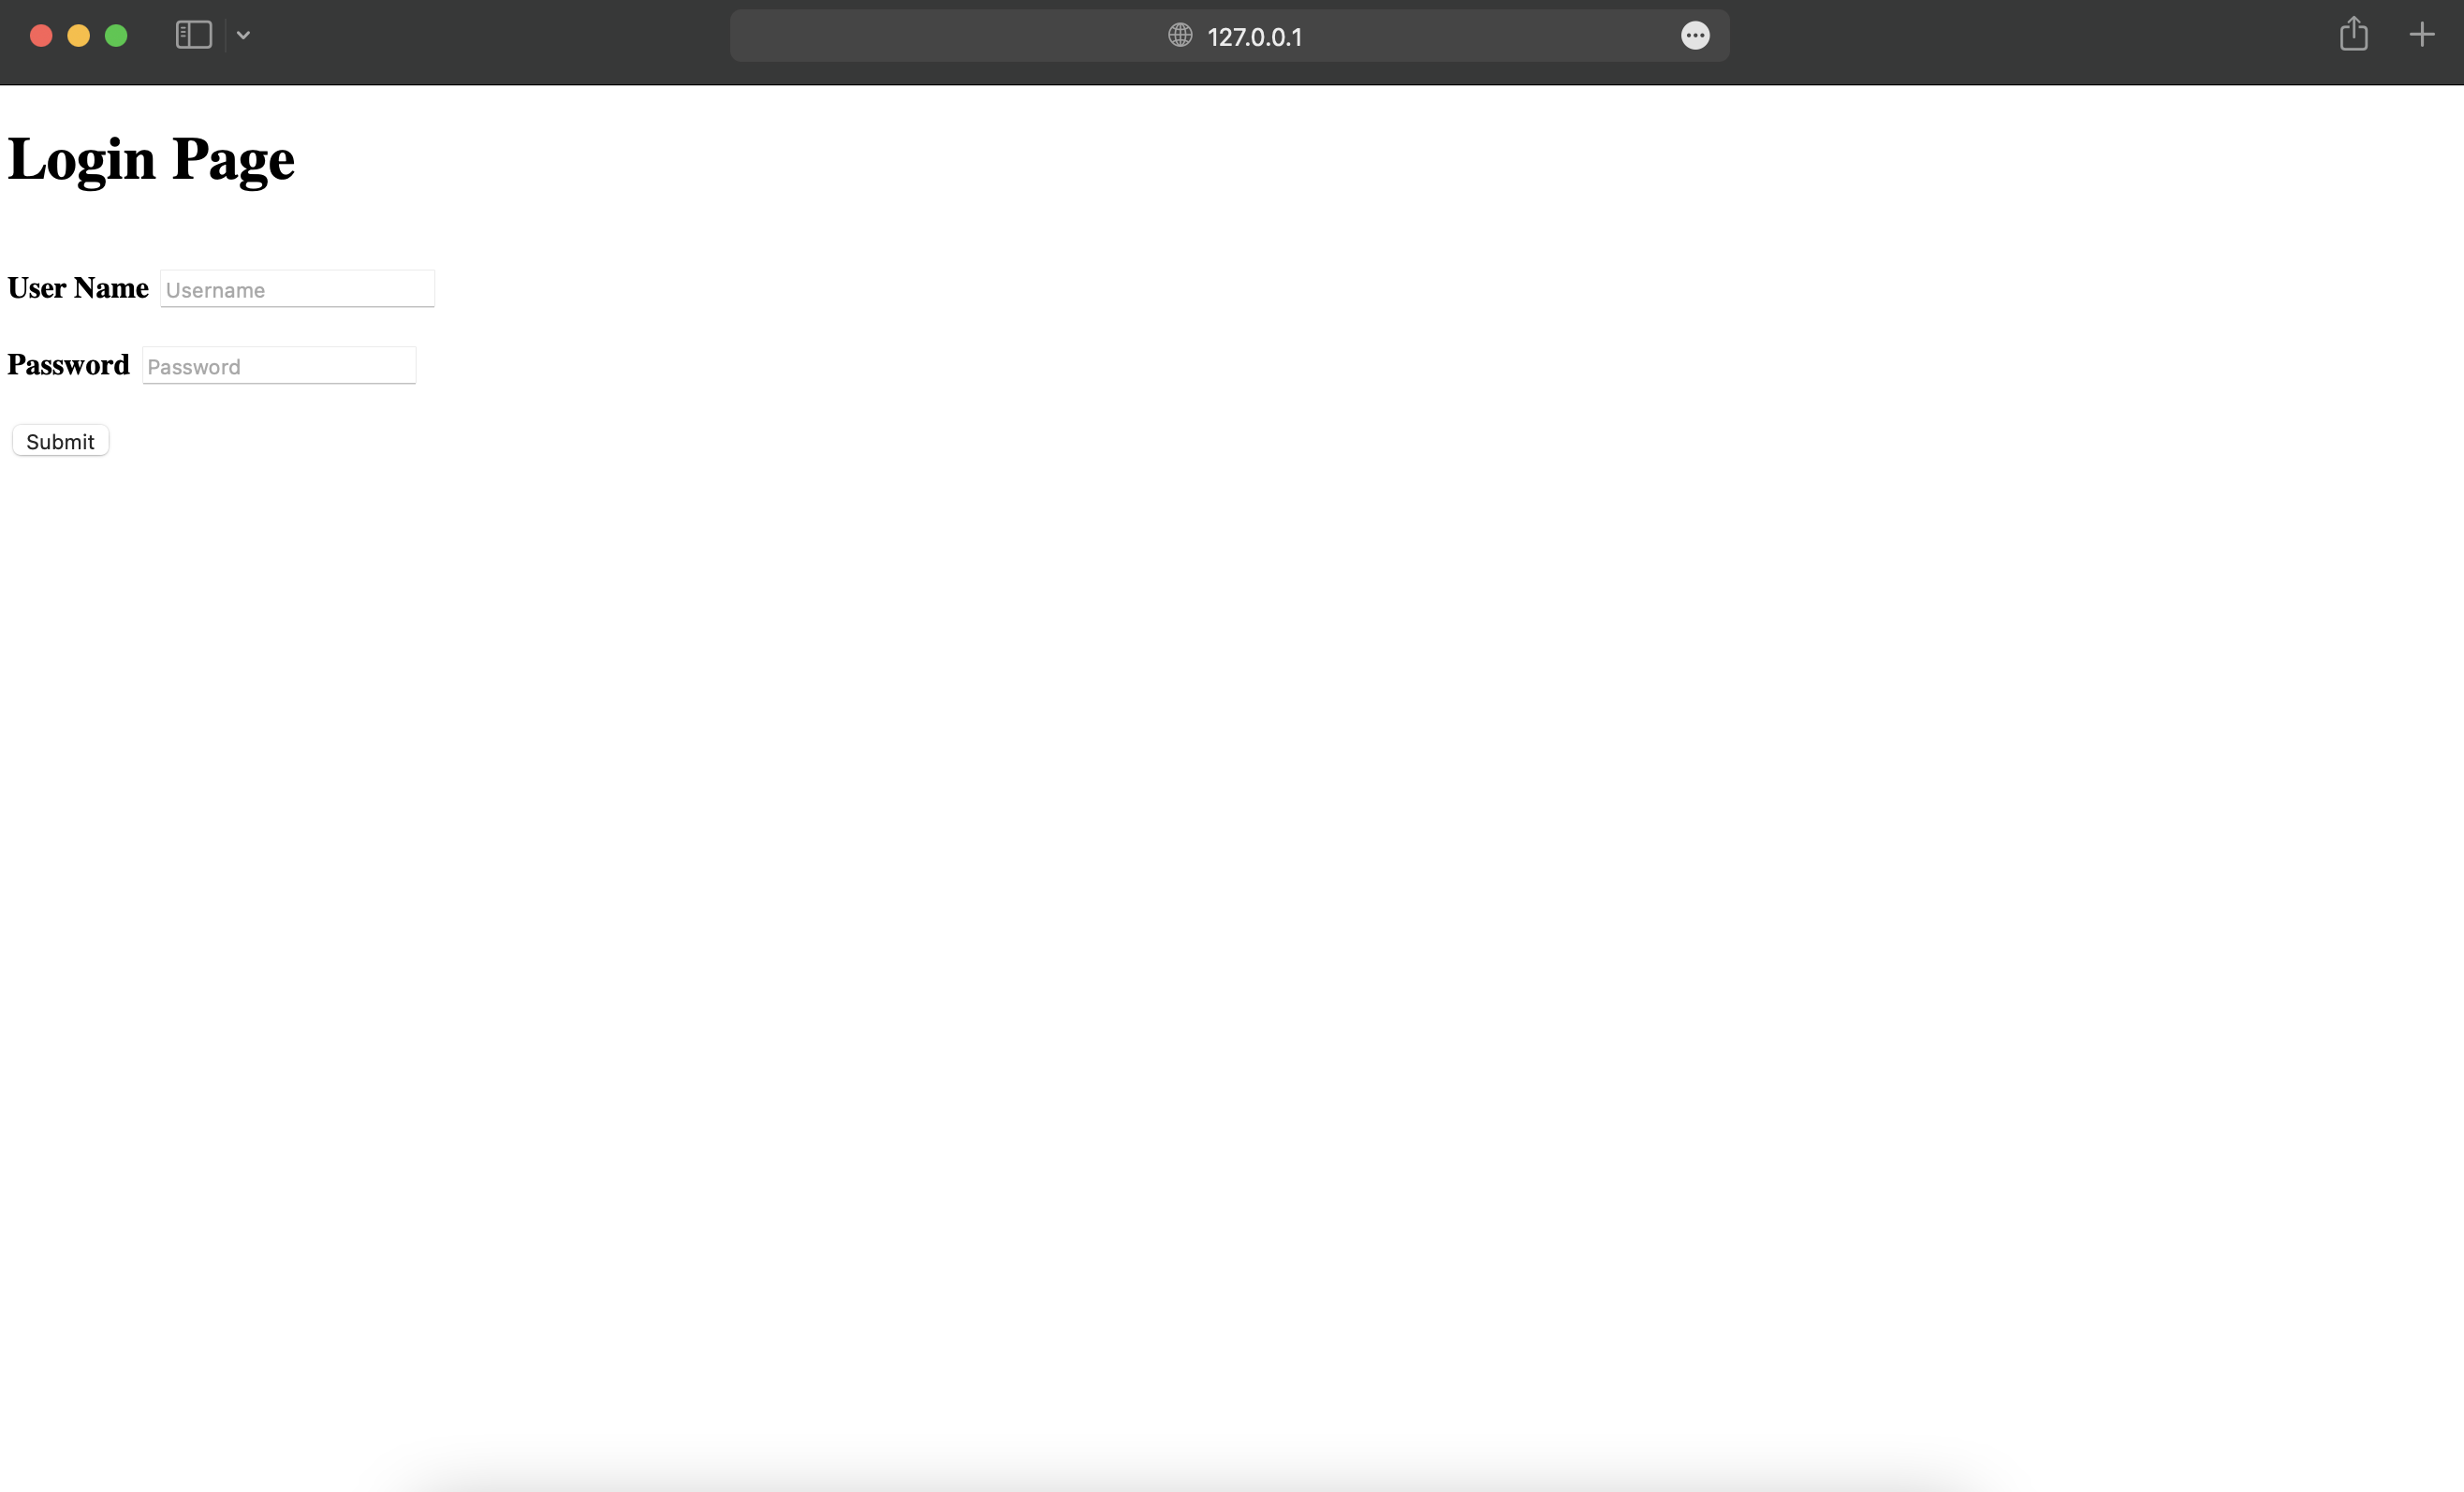
<input type="button" name="submit-btn" id="submit-btn" value="Submit"> -
The login page will look like this.
- Create a new
style.cssfile inside the project folder. - Now to link the html file with the CSS file, we need to add the below
<link/>tag inside the heading tag of the index.html file.
 <head>
   <link rel="stylesheet" href="style.css"/>
</head>
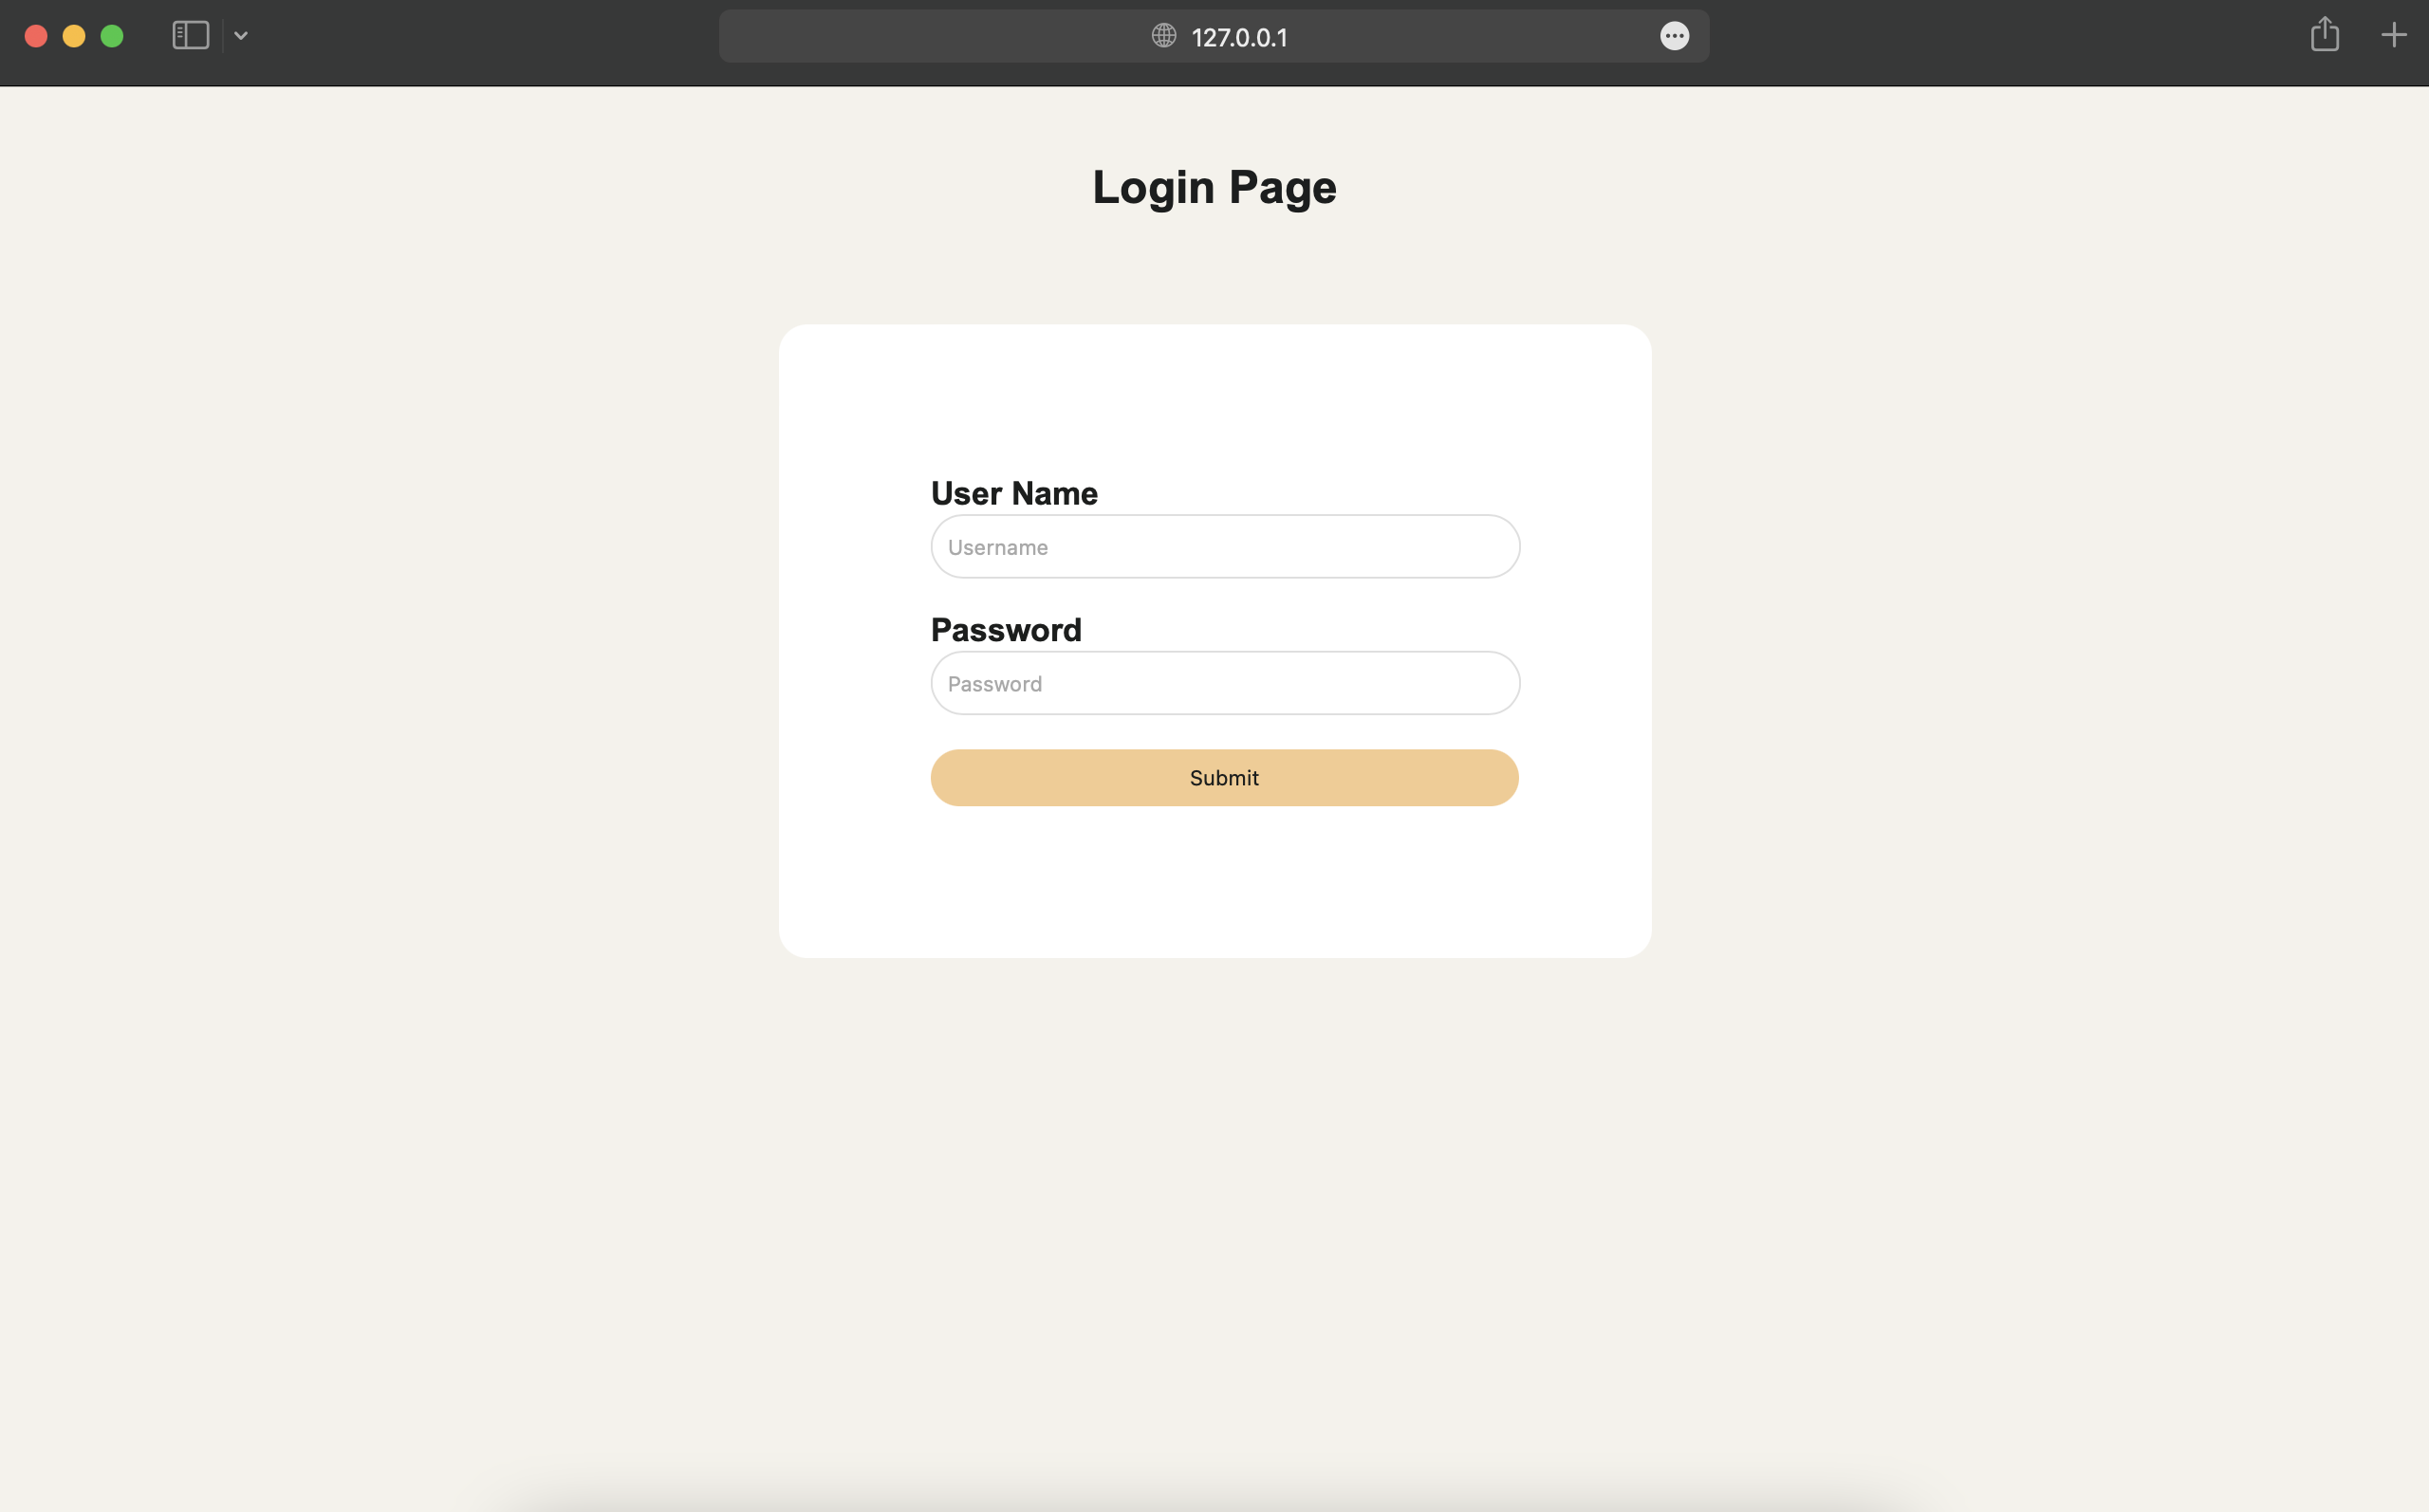
- The first style we will do using
cssis to define a background color and some other attributes by writing this below code inside the style.css file:
body
{
    margin: 0;
    padding: 0;
    background-color: rgba(245, 242, 235);
    font-family: 'Arial';
}
- The
<div>and<form>element insidebodyis specified withclassandidattribute with the value "login". These attributes helps thestyle.cssfile to style those specific elements in index.html file.
 <div class="login">
    <form id="login">
    </form>
</div>
The css code for the above elements:
.login{
    width: 300px;
    overflow: hidden;
    margin: auto;
    padding: 80px;
    background: #ffffff;
    border-radius: 15px ;
 }
- To bring our
<h1>tag in the center and styling our fonts, the code below is used:
h2{
    text-align: center;
    color: #1c1e1e;
    padding: 20px;
}
label{
    color: #1c1e1d;
    font-size: 17px;
}
- Finally, We have used the following
csscode to modify theidattribute with the values "userName", "password" and "submit":
#userName{
    width: 300px;
    height: 30px;
    padding-left: 8px;
    border: none;
    border-radius: 17px;
    border-color: #dfdfdf;
    border-width: 1px;
    border-style: solid;

}
#password{
    width: 300px;
    height: 30px;
    padding-left: 8px;
    border: none;
    border-radius: 17px;
    border-color: #dfdfdf;
    border-width: 1px;
    border-style: solid;
}
#submit{
    width: 310px;
    height: 30px;
    border: none;
    border-radius: 17px;
    color: #1c1e1d;
    background-color: rgba(245, 202, 143);

}